When you click on links to various merchants on this site and make a purchase, this can result in this site earning a commission. Affiliate programs and affiliations include, but are not limited to, the eBay Partner Network.
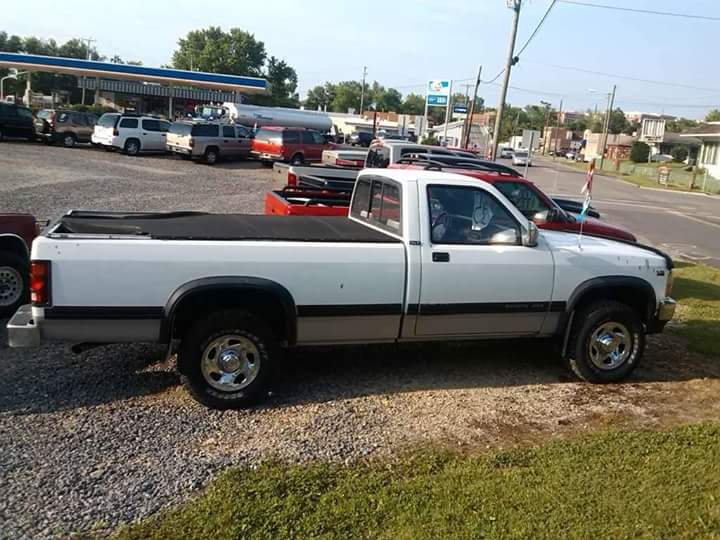
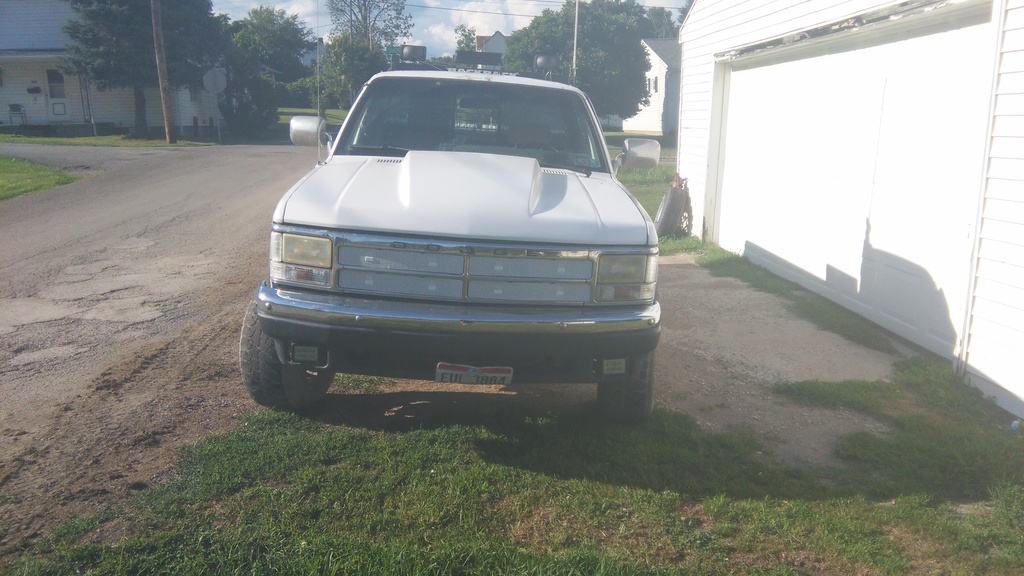
Here my 96 5.2 auto 4x4 long bed when I first got it. It was a grandpa farm truck putter with lowish miles for the year.
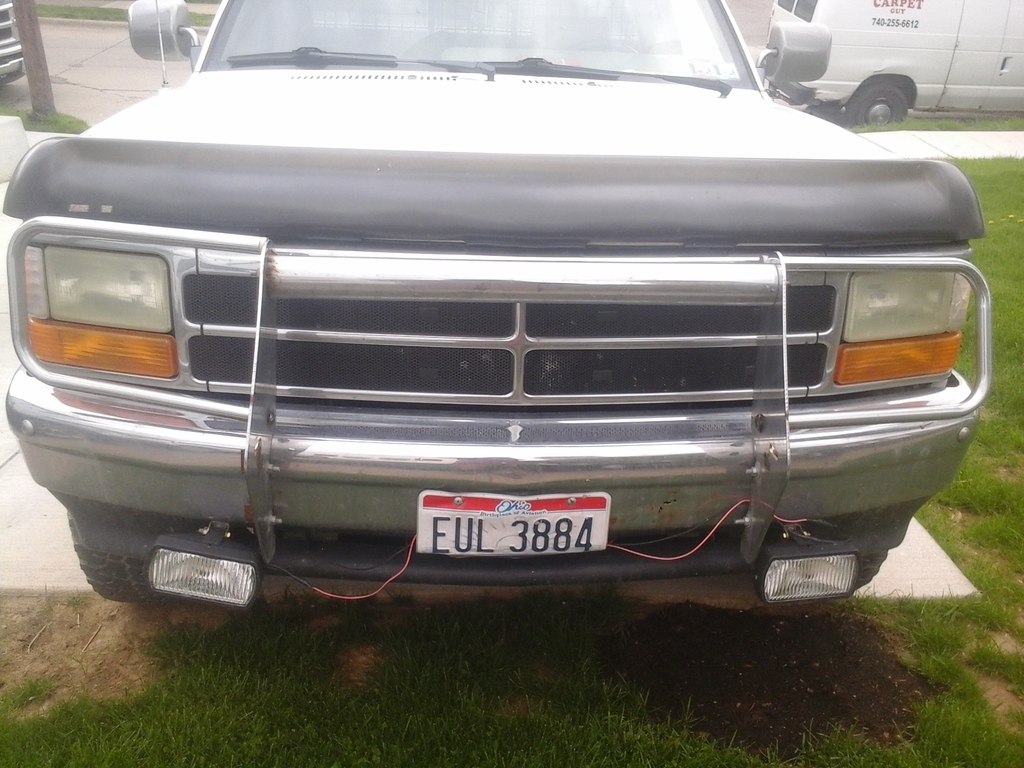
The only thing it had was a bug shield. So I hadded a hoopdy brush guard for cheap, grill inserts and some driving lights.
Then a deer got it but only did cosmetic damage. Found the sport valance and put in proper led driving lights. They're not supre bright as to where I can't use them on the road without blinding people but do the job nicely.
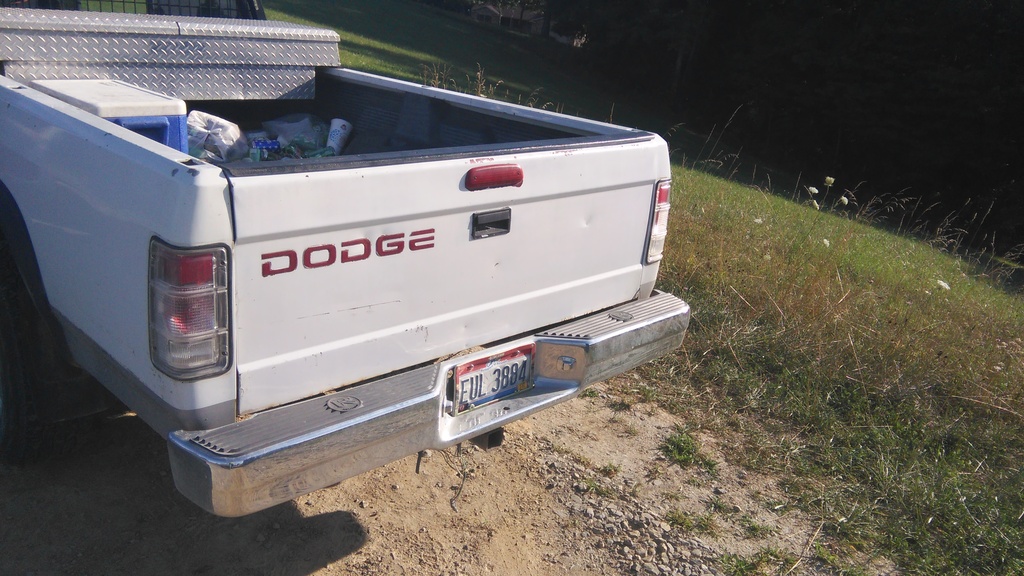
Over time I've replaced the rear bumper (twice) , the tailgate and the drivers side door, as well as removed the rubber molding, added a headache rack, lights on it, rare clear tail lights etc
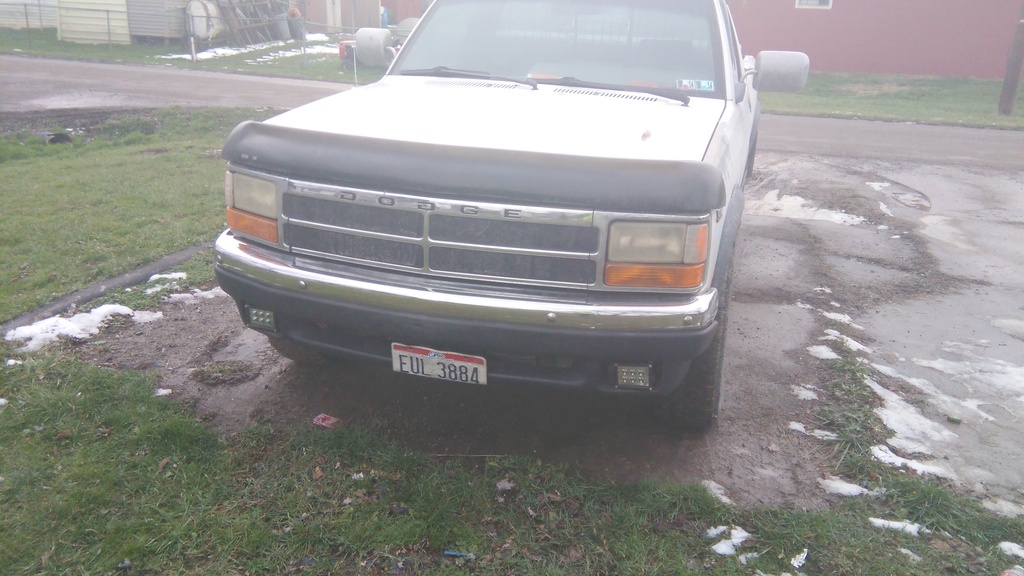
Then I found the piece de resistance, an aar 3" fiberglass cowl hood for $250! Painted the grill inserts body color.
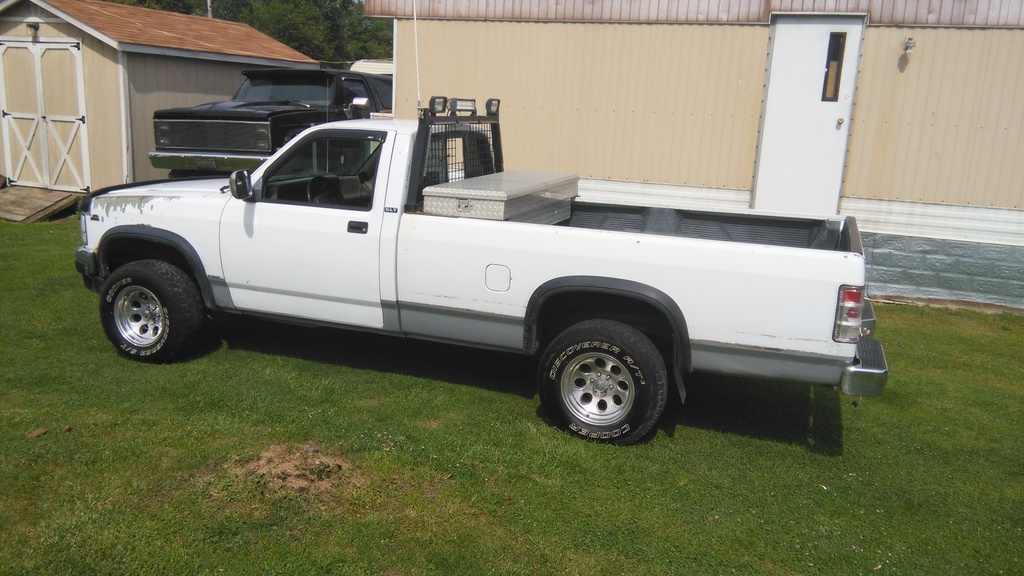
Here she is all cleaned up and a good pic of the aftermarket wheels. As she is now without the cowl hood here.
Lol, and people say you can't find anything for these trucks anymore. Just gotta wait, look constantly, have the cash and willing to make the drive.
Some before and after on the Windshield Wiper Cowl Grille trim work. This piece spent 3 days soaking in some EvapoRust to clean the metal as seen at the top (back to bare metal) from the rusty mess you see at the bottom of the image. This is (hopefully soon was) one of the more rusty pieces on the truck and I'm doing my best to get it back to something that I can pain back to the white you see remaining around the wiper hole near the top of the pic.
I hope to get some more pictures up soon of the rest of the poor ol' truck. For most of the rest, I'm gonna aim to stick with the patina. For this piece, it was too rusty (in my opinion) and needed to be rescued back to more normal. I primed it soon after taking this picture, and will go back to white with it as soon as I can get the rest of the thing de-rusted. (It's about 1/4 done at this point)
So, here's a bit of after - the cowl with paint on it (after I got rid of the rust that had been on it).
And after that, more before pics of the truck as it currently sits (with a little bit of after happening at the same time.... explanation on that as necessary below).
That's the cowl with the rust gone and the new layer of Rust-o-leum White Gloss on it (and some Clear Acrylic on top of that). My mechanic friend was going to put it back on the truck after some tune-up work is done. See more of the other pics that follow for some examples of work in that area....
Lots of patina in this poor old work truck. (And plenty of down-right rust in a few spots that will show along the way) One nasty cancerous spot on the front side of the fender just in front of the wheel.
You can see some evidence of where I've been cleaning away some of grease up under the hood there. My mechanic friend was busy replacing plugs and wires for me and wanted to read the label that provides the spark plug gap info, so he wiped it clean a bit and I proceded to go a little crazy from there... I'll get it more clean later when I can get some more degreaser to apply and scrub a little with...
This shows the nicely cleaned underside of the hood a bit better (see the shiny area there)
Sadly the roof area is one of the rustiest and needs the most attention along with the spot on the corner of the bed. I'm gonna try to use some Evapo-Rust there to get back down to bare metal if possible and then use the same white paint I used on the Cowl piece on the roof. Probably leave the patina on the doors and side... (and just clear coat over that to help save the metal)
The truck's former owner and/or his family had given it this dent over the years...
More of the patina on the back end. The paint back there is flaking off in big flecks.
Previous owner had done the primer to help keep that part from rusting more... notice the small dent under the truck bed on that side too.
Roof on the passenger side and a nice shot of the hood. Oddly enough the paint on the hood cleaned up pretty well, though the clear coat was worn away in a spot about the size of a pillow for a typical bed.
I wiped down the innards a bit with some Tub-o-Towels to help remove the grease that had piled up there. It actually didn't look that bad in there after I was finishing up. (Air cleaner temporarily removed while mechanic was working on swapping the plugs and wires and doing a basic tune-up)
A better shot of the underside of the hood where I had been cleaning up...
After a bit of cleaning you could actually read that label and learn a little about this old truck and the options it came with.
Labels even (after cleaning) tell me what the color code was!!!
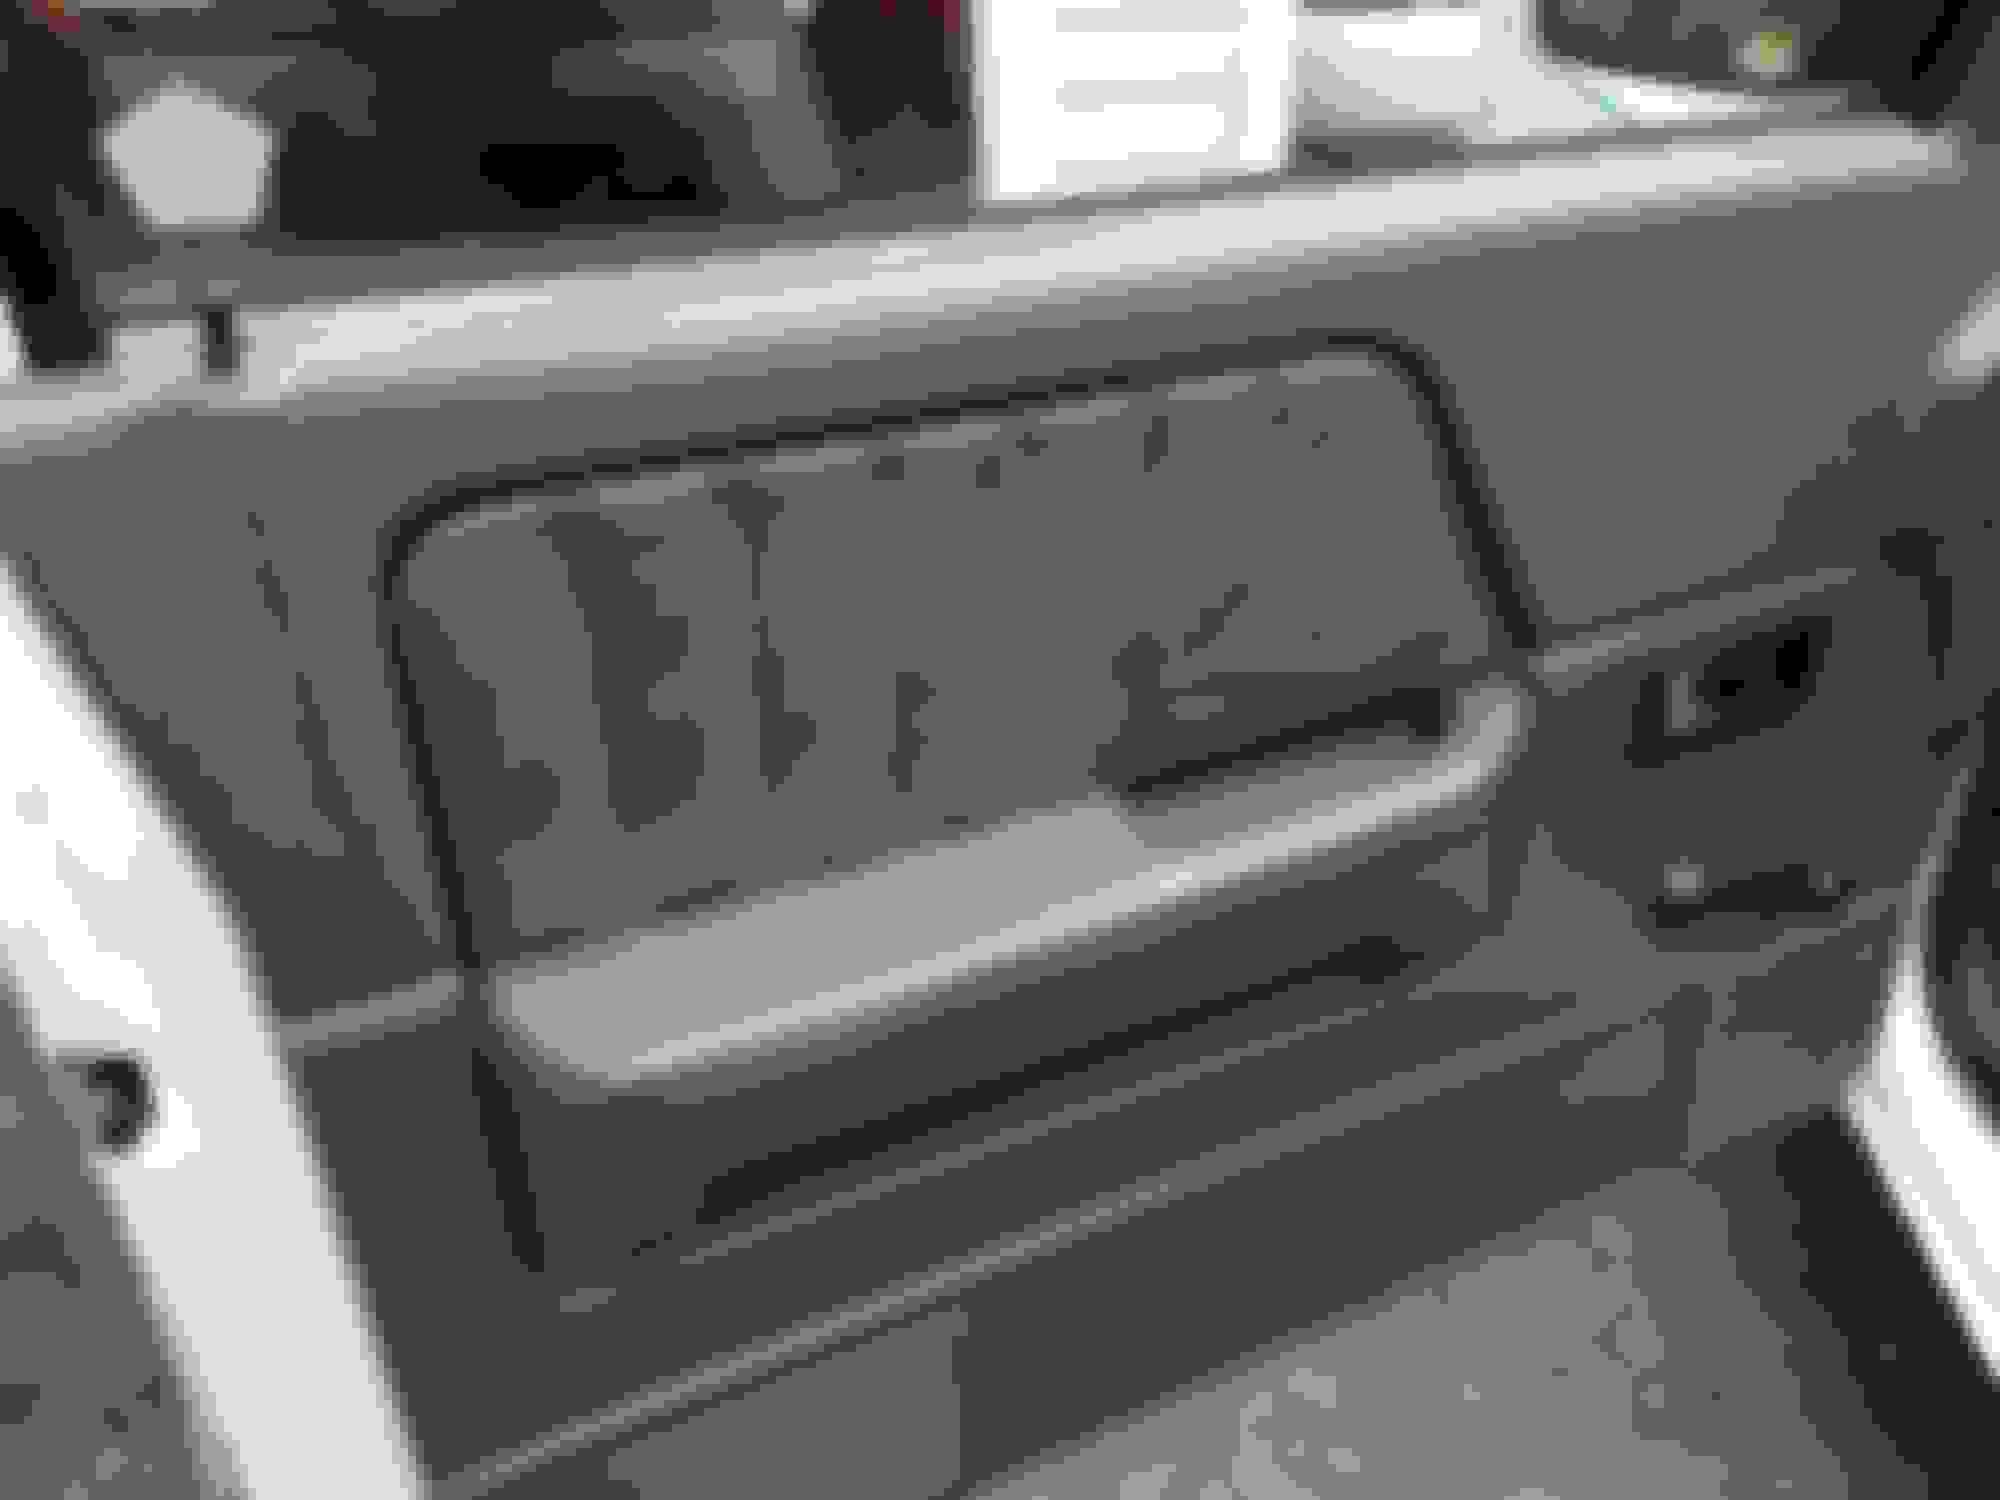
Interior after some clean-up (I used a carpet/upholstery cleaner to clean the carpet... it was a greasy and smelly mess when I first got the truck). Note that I had to replace the bezel behind the door handles on either door. Those had gone missing over the years before I got the truck.
Original equipment door lack **** back in place there (thanks to Toby for selling me those for both doors). Looks better to me than the after-market ones that had been there. I had also cleaned up the door panels on the interior as those were greasy and slimy when I first got the poor old truck.
A view of the seats and upholstery. This may not show the old stains as well as it would, but a few remain that wouldn't clean out even with my effort with the carpet cleaner/upholstery cleaner. Better, but definitely still some stains.
Definitely a way to go on my 'resto' efforts. I kind of want to leave the patina where possible, but at the same time, I want to stop the rust from getting worse and if I do that, I gotta lay down new paint where the rust had been.
Unseen in there is the replaced OEM stereo. I was able to get a used AM-FM/CD/CAS unit from a 96 that I was able to easily swap in. The original was dead (well, the clock worked, but it couldn't be set... but all else on it was dead). The new one installed fairly easily though was a pain to connect the cables on as the cables were on the opposite side of the back of the head unit (needed a bit more length, but had just enough) I was sooooooo happy to hear tunes and news radio coming out of the speakers since it means I can get traffic reports while driving.
93 Dakota 5.2
Needed a beater truck to pick up parts for my small trucking business. Found a real heap for cheap that already had new brake lines and tires and already inspected. Bought it last month and I had plenty of time on my hands. Cleaned up exterior by doing a quick sand. And then shooting out with cheap implement paint from tractor supply. Went with 3/4 gloss and 1/4 matte. Used plasti dip on wheels. Pulled motor apart to replace gaskets and such. Anyhow, interior was fully intact. This was about a 3 week over. Runs like new. Before and after vids

 07-23-2016, 04:07 PM