
Check out my Restoration build
#21
 06-02-2014, 10:07 AM

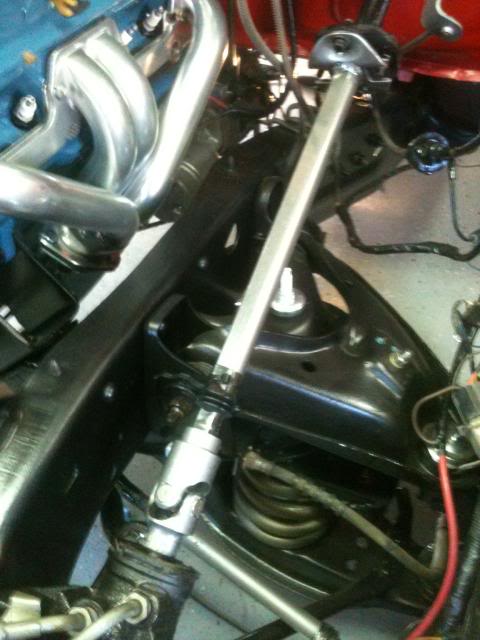
Nice clean installation and it looks great. While you have the front clip off have you considered changing your steering shaft to a Borgeson unit? I cant see the pictures too well with my crappy computer but it looks like you are using stock and the Borgeson will be a big improvement for you.
#22
06-04-2014, 10:56 PM

#23
06-09-2014, 10:24 AM
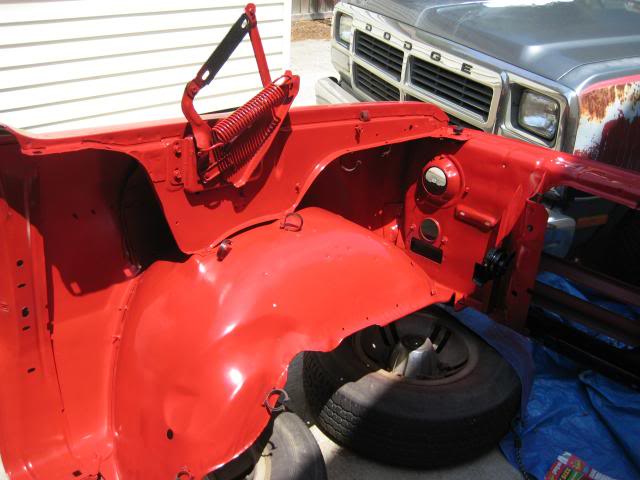
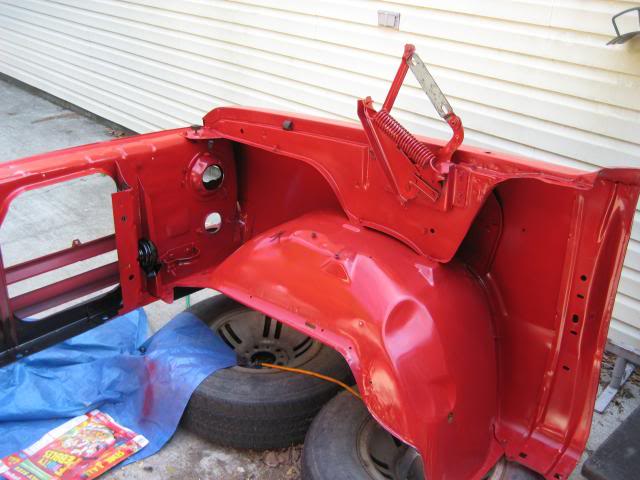
So i was able to make some progress this week. I spent all week sanding and prepping the engine bay for a respray while I have the front clip off. I wanted to match the factory appearance so no clear coat. i also re-shot the grille black out and tried to match the overspray as best as possible. They were actually quite sloppy at the factory with that black out. While I was at it, I stripped the wheel wells and epoxy painted them satin black.
I wired up the new ignition system since I am deleting the old lean burn system and all the pollution control items as well. It is going to have to stay exposed as in the picture for now because I know better than to spend hours running it through the harness only to have to remove it when there is a problem trying to fire up the motor. Once she's dialed in I'll be sure to make it pretty.

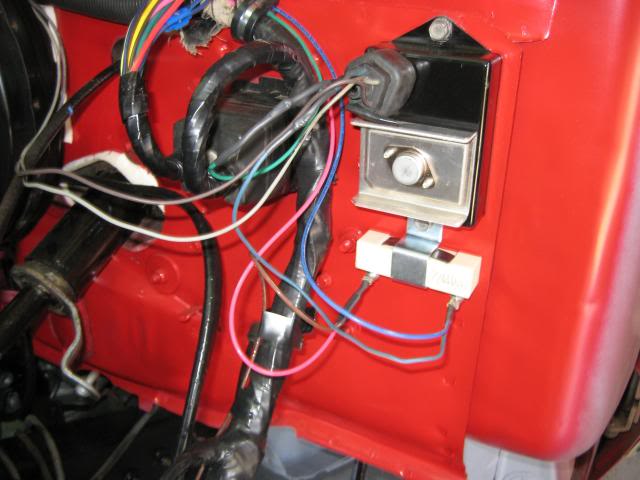
I wired up the new ignition system since I am deleting the old lean burn system and all the pollution control items as well. It is going to have to stay exposed as in the picture for now because I know better than to spend hours running it through the harness only to have to remove it when there is a problem trying to fire up the motor. Once she's dialed in I'll be sure to make it pretty.
#24
07-11-2014, 07:29 PM
#25
07-24-2014, 01:54 PM
Hey Six Gun,
My summer has been less productive than I would have liked. I am trying to adjust doors ( PIA) and finsish some wiring so that I can put the front clip back on. Once that is complete I will be towing it over to the exhaust shop and then I will be able to post some pics. As of now the plan is to route the drivers side under the oil pan over to the passenger's side and run both pipes parallel straight back to a 2 in 2 out single muffler tha has a built in x pipe. Thats the plan anyway.... I do know that the Trans cooler lines are going to need some manipulation to clear the drivers side exhaust.
#26
08-28-2014, 10:47 AM
So....Ive been away from the computer all summer ( School Teacher) and figured I should post an update.
This summer I finsihed getting the front clip respray, Electronic ignition, shift linkage, Carb and trans kick down cable adaption, front clip is back home, everything is buttoned up under the hood, motor is ready to be fired and broken in, new exhaust..... So I am going to post the link to the slide show for now. Lots of new pics....
http://s115.photobucket.com/user/the...48032459991659
Last edited by emnestor; 08-28-2014 at 10:55 AM.
#27
08-28-2014, 08:47 PM
While on spring break I decided to get out and enjoy the weather. I was debating on removing the cab to finish the frame and floor resto but I got way lucky!!!! Spent hours cleaning and grinding down the frame rails. Then POR 15 to the rails and heres what I ended up with.
100% original epoxy primer from the factory and not one spec of rust!!!!

100% original epoxy primer from the factory and not one spec of rust!!!!


#28
08-29-2014, 07:17 AM


