
HOW-TO!!! How to change your struts
#1
 04-02-2010, 12:35 AM

Join Date: Nov 2005
Location: Grand Haven, Michigan (go Red Wings)
Posts: 1,139
Likes: 0
Received 0 Likes
on
0 Posts
So I have not see a how too on changing struts here.
I put my Tokico HP blues on my new car today.
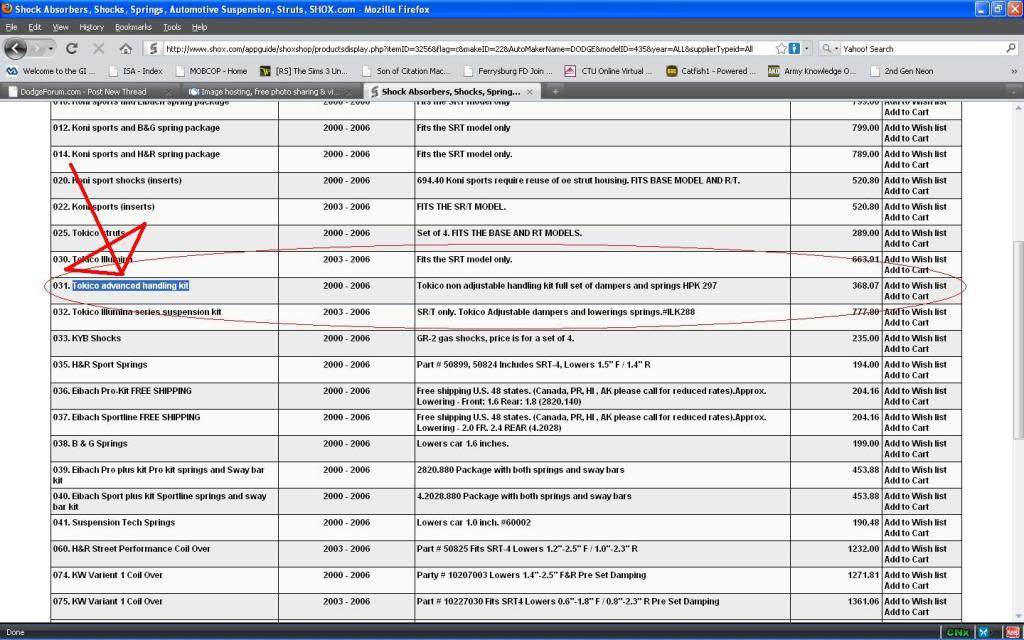
Here is the link where I purchased mine. (advertised as 2000 - 2006 neon's) ( http://www.shox.com/appguide/shoxsho...lierTypeid=All ) They are #31. The "Tokico advanced handling kit" less then $400 and they are great. You do need a spring compressor to install, but if you have any questions give this place a call and they will help you get what you need. I even called them during my first install and they helped me through that. GREAT COMPANY!
Here is a pic of the site:
NOTE:
This is my openion.......
Remember, these are a step above the stock suspension, they are not adjustable, but for me they were the only option for new suspension. cheap drop springs from ebay ARE NOT WORTH IT! They destroy your struts and ride like crap! You can buy just springs, but you will destroy your struts. This is all from personal experience.... I have put on ebay drop springs.... destroyed my struts and bump stops and rode like hell. I have also bought just springs, were great until my stock struts were destroyed. Then I purchased these. I LOVE THEM!!! You get a bit off a rough ride, but that is to be expected. Even mi wife loves the look and the handling of these strut/spring combo, and at the price you can't beat them!!!! (IMHO)
Ok, so on to how to change your struts:
With the kit mentioned above you will have to put the springs on the shocks. I am not discussing that here. But to do that you need this tool: (for rent at most auto stores.... be careful it is VERY dangerous!! spring compressor from auto-zone
(this is one wheel at a time)
Tools:
1. Basic Automotive socket set
2. Good Crescent wrench
3. Muscle
4. A little time
5. Some good old budlight!!
(DO NOT DRINK WHEN YOU WORK N YOUR CAR... THAT'S WHEN YOU HURT YOURSELF AND/OR OTHERS!! )
)
OK, here we go:
1. First untighten your lug nuts. Just don't do what I did and shear off a rusted lug nut:

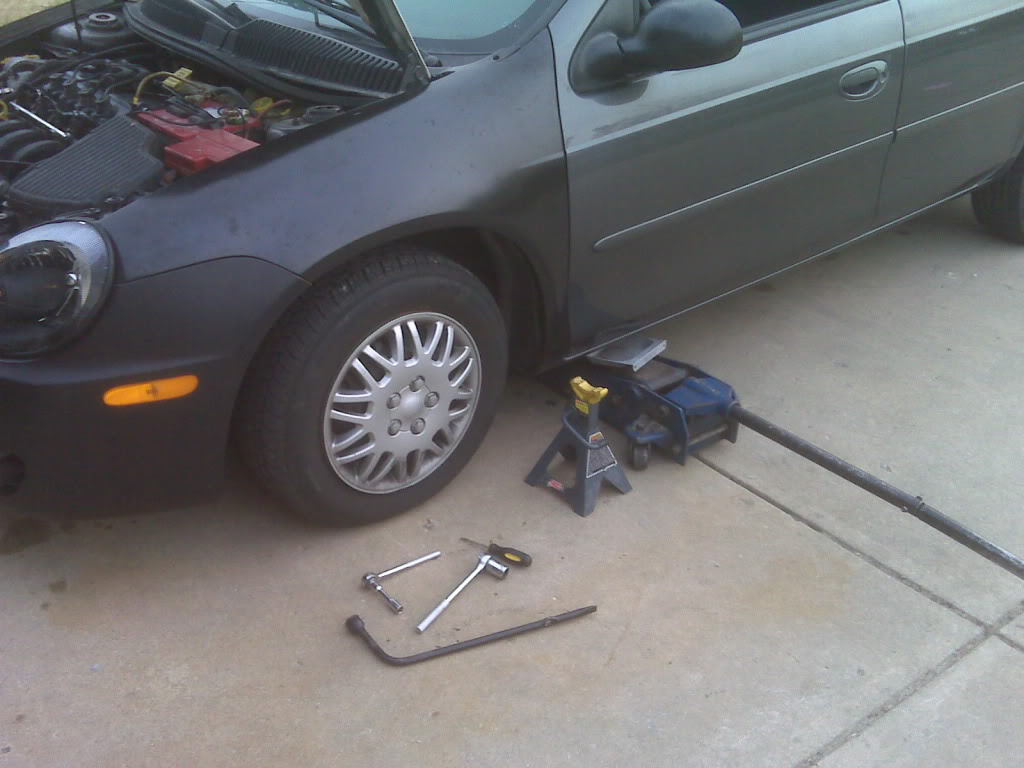
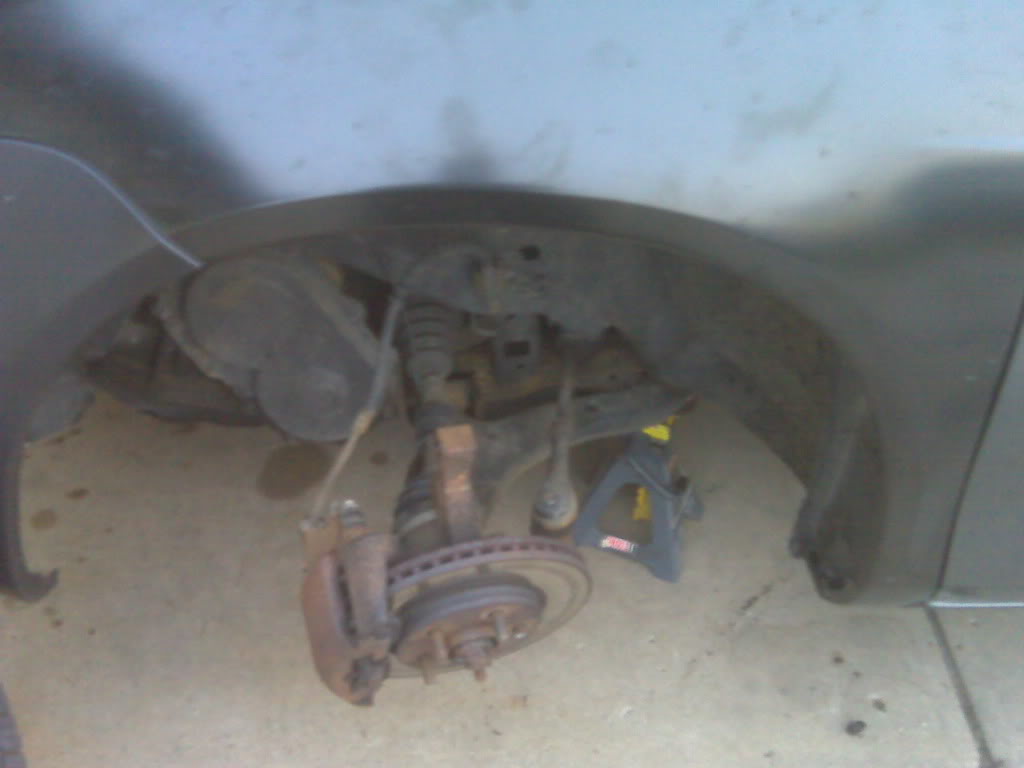
2. Jack up you vehicle.
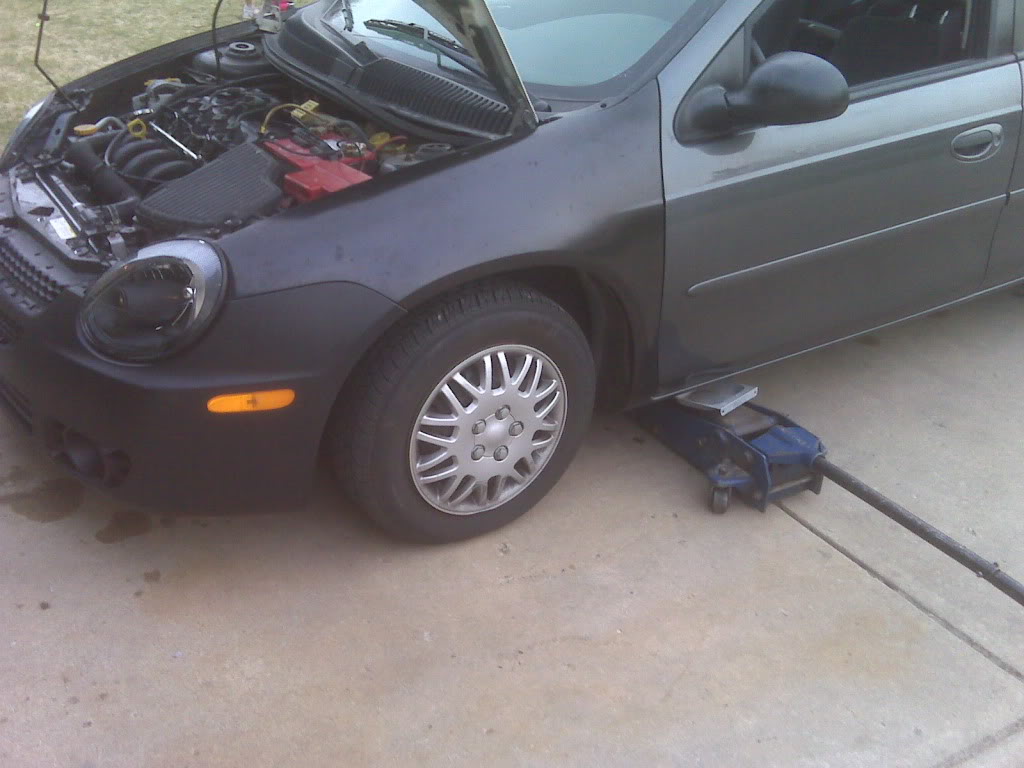
its nice to have your tools waiting. AND ALWAYS USE A DAMN JACK-STAND!!! It sucks when a car falls on you!
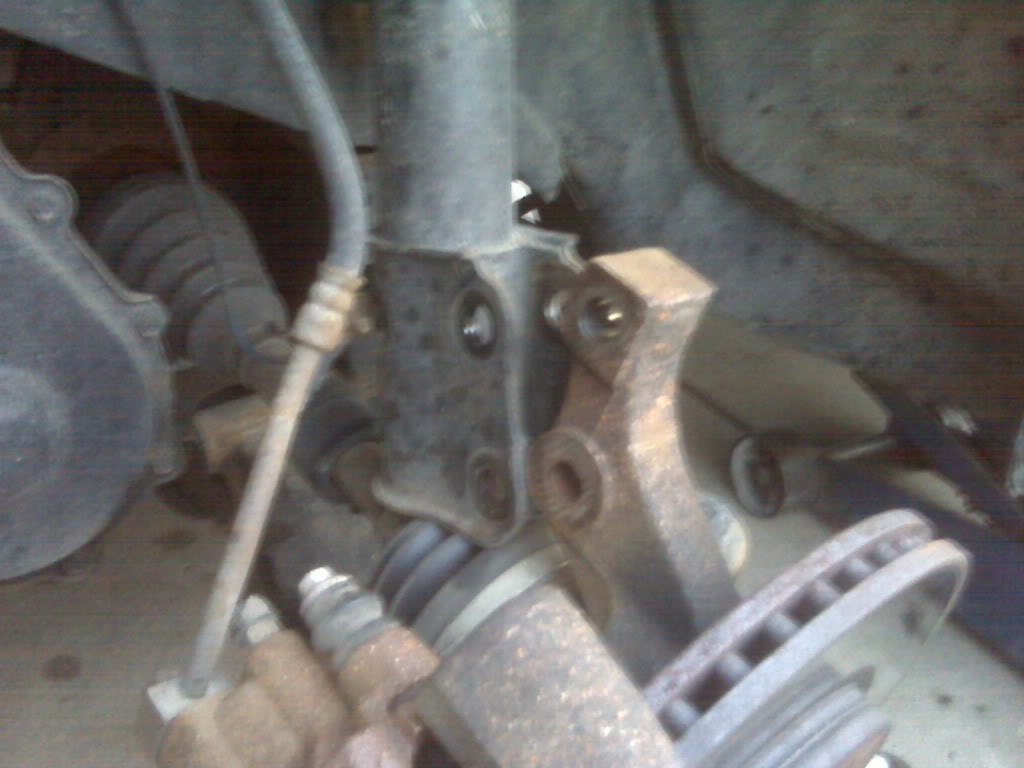
3. Next remove the two bolts at the bottom of the strut. Where the strut connects to the spindle.

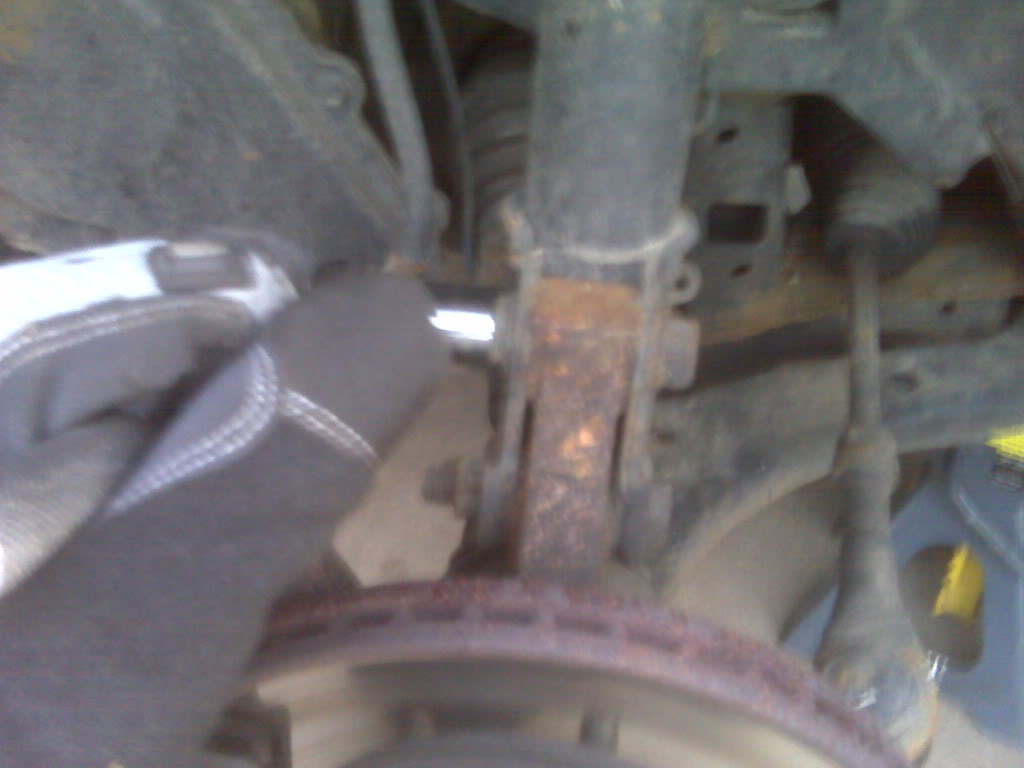
4. Both of these bolts will come out with a little hammer love when the nut is removed. (you should support the spindle like I did not...) The lower end of the strut is then disconnected:
5. Then is the 3 nuts in the engine bay or trunk area. Very easy to remove, but it might help if you hit it with PB Blaster the day before.
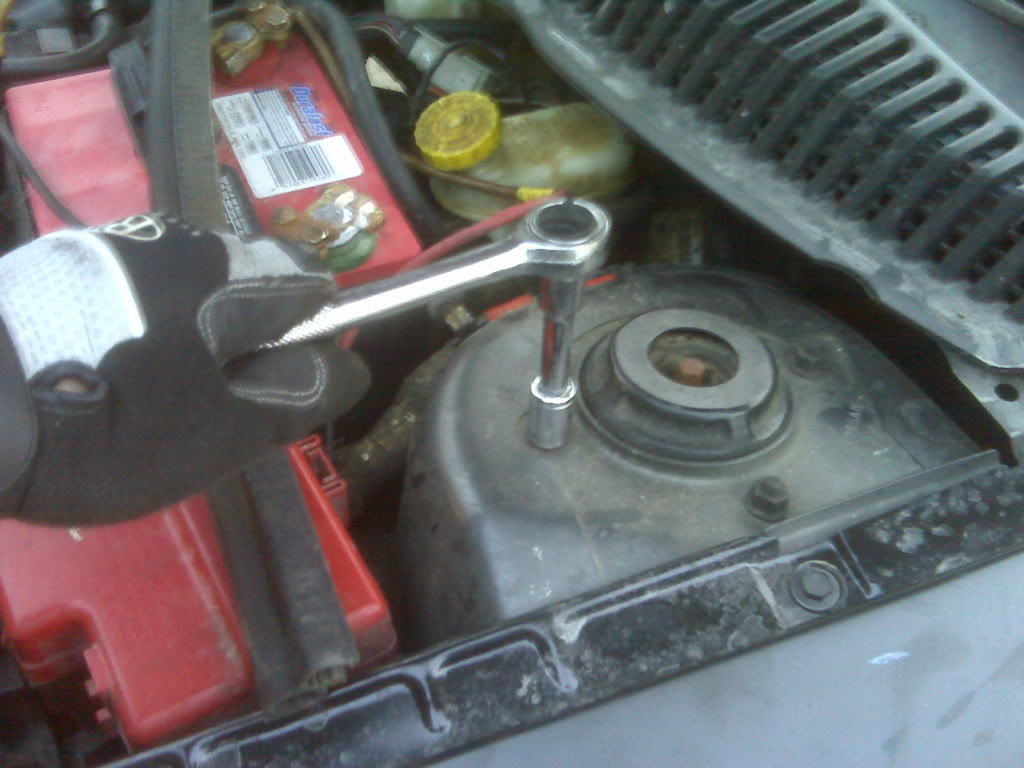
6. Once those three nuts are removed the strut will fall out of place.... might take some convincing. Just don't smash your finger between the strut and control arm....... good gloves will not stop the blood!!!
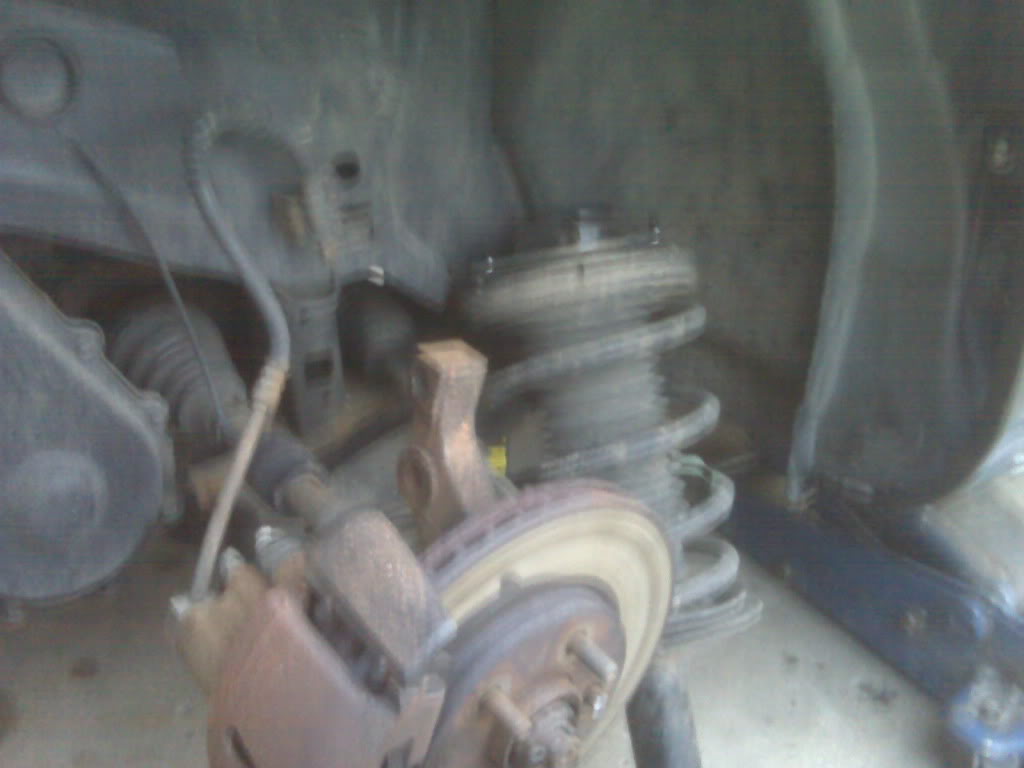
7. BAM the old strut is gone!!!
8. The installation of the new strut is opposite of the old one. I like to put one top nut in first and connect one of the three nuts later. Leave it loose, just enough to hold it up.
9. Then get the bottom in place. It will take a little work. Get the first lower strut bolt in place and use a hammer to drive it in. The bolt end has groves to hold it in place, so use a hammer, it makes life easier. Next do the second bolt.
10.Next up is the top three nuts in the engine bay or trunk compartment. Tighten those bad boys down and its on to the tire.
11. Get that little tire back on the lug nuts and tighten them down.
12. YOUR DONE!!! ITS THAT EASY!!! 5 BOLTS/NUTS AND YOU DID IT!!!
Last part is to check every nut and bolt you messed with in 25-50 miles. Then can and will work themselves lose. I am not sure of the exact torch they need but they do need to be checked, that includes the lug nuts!!!
Have fun!!! It feels good to do this yourself and will save you a ton of cash!!!! Remember, you only need basic hand tools, some time, maybe a rented tool and you being careful and you can save lots of money!!!!
PM me if anyone has any questions or needs help!!
Takes me about 20minutes a wheel.... but I have done it a few times!!
Good luck!
Remember, I am, not a professional. There are other small things, such as grounding straps. You can get those on your own. I am not responsible for any breakage or injuries you may incur!
Hope this helps someone!!!
Nick
I put my Tokico HP blues on my new car today.
Here is the link where I purchased mine. (advertised as 2000 - 2006 neon's) ( http://www.shox.com/appguide/shoxsho...lierTypeid=All ) They are #31. The "Tokico advanced handling kit" less then $400 and they are great. You do need a spring compressor to install, but if you have any questions give this place a call and they will help you get what you need. I even called them during my first install and they helped me through that. GREAT COMPANY!
Here is a pic of the site:
NOTE:
This is my openion.......
Remember, these are a step above the stock suspension, they are not adjustable, but for me they were the only option for new suspension. cheap drop springs from ebay ARE NOT WORTH IT! They destroy your struts and ride like crap! You can buy just springs, but you will destroy your struts. This is all from personal experience.... I have put on ebay drop springs.... destroyed my struts and bump stops and rode like hell. I have also bought just springs, were great until my stock struts were destroyed. Then I purchased these. I LOVE THEM!!! You get a bit off a rough ride, but that is to be expected. Even mi wife loves the look and the handling of these strut/spring combo, and at the price you can't beat them!!!! (IMHO)
Ok, so on to how to change your struts:
With the kit mentioned above you will have to put the springs on the shocks. I am not discussing that here. But to do that you need this tool: (for rent at most auto stores.... be careful it is VERY dangerous!! spring compressor from auto-zone
(this is one wheel at a time)
Tools:
1. Basic Automotive socket set
2. Good Crescent wrench
3. Muscle
4. A little time
5. Some good old budlight!!
(DO NOT DRINK WHEN YOU WORK N YOUR CAR... THAT'S WHEN YOU HURT YOURSELF AND/OR OTHERS!!
)OK, here we go:
1. First untighten your lug nuts. Just don't do what I did and shear off a rusted lug nut:
2. Jack up you vehicle.
its nice to have your tools waiting. AND ALWAYS USE A DAMN JACK-STAND!!! It sucks when a car falls on you!
3. Next remove the two bolts at the bottom of the strut. Where the strut connects to the spindle.
4. Both of these bolts will come out with a little hammer love when the nut is removed. (you should support the spindle like I did not...) The lower end of the strut is then disconnected:
5. Then is the 3 nuts in the engine bay or trunk area. Very easy to remove, but it might help if you hit it with PB Blaster the day before.
6. Once those three nuts are removed the strut will fall out of place.... might take some convincing. Just don't smash your finger between the strut and control arm....... good gloves will not stop the blood!!!
7. BAM the old strut is gone!!!
8. The installation of the new strut is opposite of the old one. I like to put one top nut in first and connect one of the three nuts later. Leave it loose, just enough to hold it up.
9. Then get the bottom in place. It will take a little work. Get the first lower strut bolt in place and use a hammer to drive it in. The bolt end has groves to hold it in place, so use a hammer, it makes life easier. Next do the second bolt.
10.Next up is the top three nuts in the engine bay or trunk compartment. Tighten those bad boys down and its on to the tire.
11. Get that little tire back on the lug nuts and tighten them down.
12. YOUR DONE!!! ITS THAT EASY!!! 5 BOLTS/NUTS AND YOU DID IT!!!
Last part is to check every nut and bolt you messed with in 25-50 miles. Then can and will work themselves lose. I am not sure of the exact torch they need but they do need to be checked, that includes the lug nuts!!!
Have fun!!! It feels good to do this yourself and will save you a ton of cash!!!! Remember, you only need basic hand tools, some time, maybe a rented tool and you being careful and you can save lots of money!!!!
PM me if anyone has any questions or needs help!!
Takes me about 20minutes a wheel.... but I have done it a few times!!
Good luck!
Remember, I am, not a professional. There are other small things, such as grounding straps. You can get those on your own. I am not responsible for any breakage or injuries you may incur!
Hope this helps someone!!!
Nick

#4
09-03-2010, 01:22 PM

Registered User
Join Date: Sep 2010
Location: Canton, MI
Posts: 25
Likes: 0
Received 0 Likes
on
0 Posts

#7
05-12-2011, 12:03 AM

Trending Topics
#8
05-12-2011, 12:19 AM
#9
05-12-2011, 01:09 AM
Record Breaker
Join Date: Aug 2009
Location: Desmoines iowa
Posts: 1,147
Likes: 0
Received 0 Likes
on
0 Posts
#10
05-12-2011, 05:58 PM

