When you click on links to various merchants on this site and make a purchase, this can result in this site earning a commission. Affiliate programs and affiliations include, but are not limited to, the eBay Partner Network.
We started this project off as servicing the top end; doing the intake manifold upgrades and modifications.. Double roller timing chain/sprocket upgrade; new seals all the way around the engine.. Engine mounts.. Front axle service, vent mod for deep water (prevent water getting in the front diff), bumper cover swapped and mod.. Replaced the front half axel ball joints, alignment, new window seals, new 3rd brake light on its way... upgraded exacust system (Magnapak's for the flowmaster) Pioneer radio upgrade, new headliner (Black but looks like a deep char/black color, complete cleaning inside carpet removed; rust prevention and paint on the floors. new carpet installed panels detail cleaned with new clips. Soft 8 Rims 15x10.5 with BFG Mud terrain 32" tires. Finally a performance tune. Only thing left is the paint job.
Various other tons of stuff done also leading up to this point but for this post the following photos's are included.
-A ton of paint and body work to repair rust.
-New OEM style bumper to replace rotted out unit.
-New tonneau cover to replace 10 year old ripped unit.
-coil over shocks in the back to add 3/4"
-torsion crank in the front to add 3/4"
-new shocks up front
-New 265/75r16 all terrains.
-Plasti dipped wheels and grille.
Also a new upper ball joint and sway bar bushings that needed replaced. Replaced spare tire winch that had been cut because of rust.
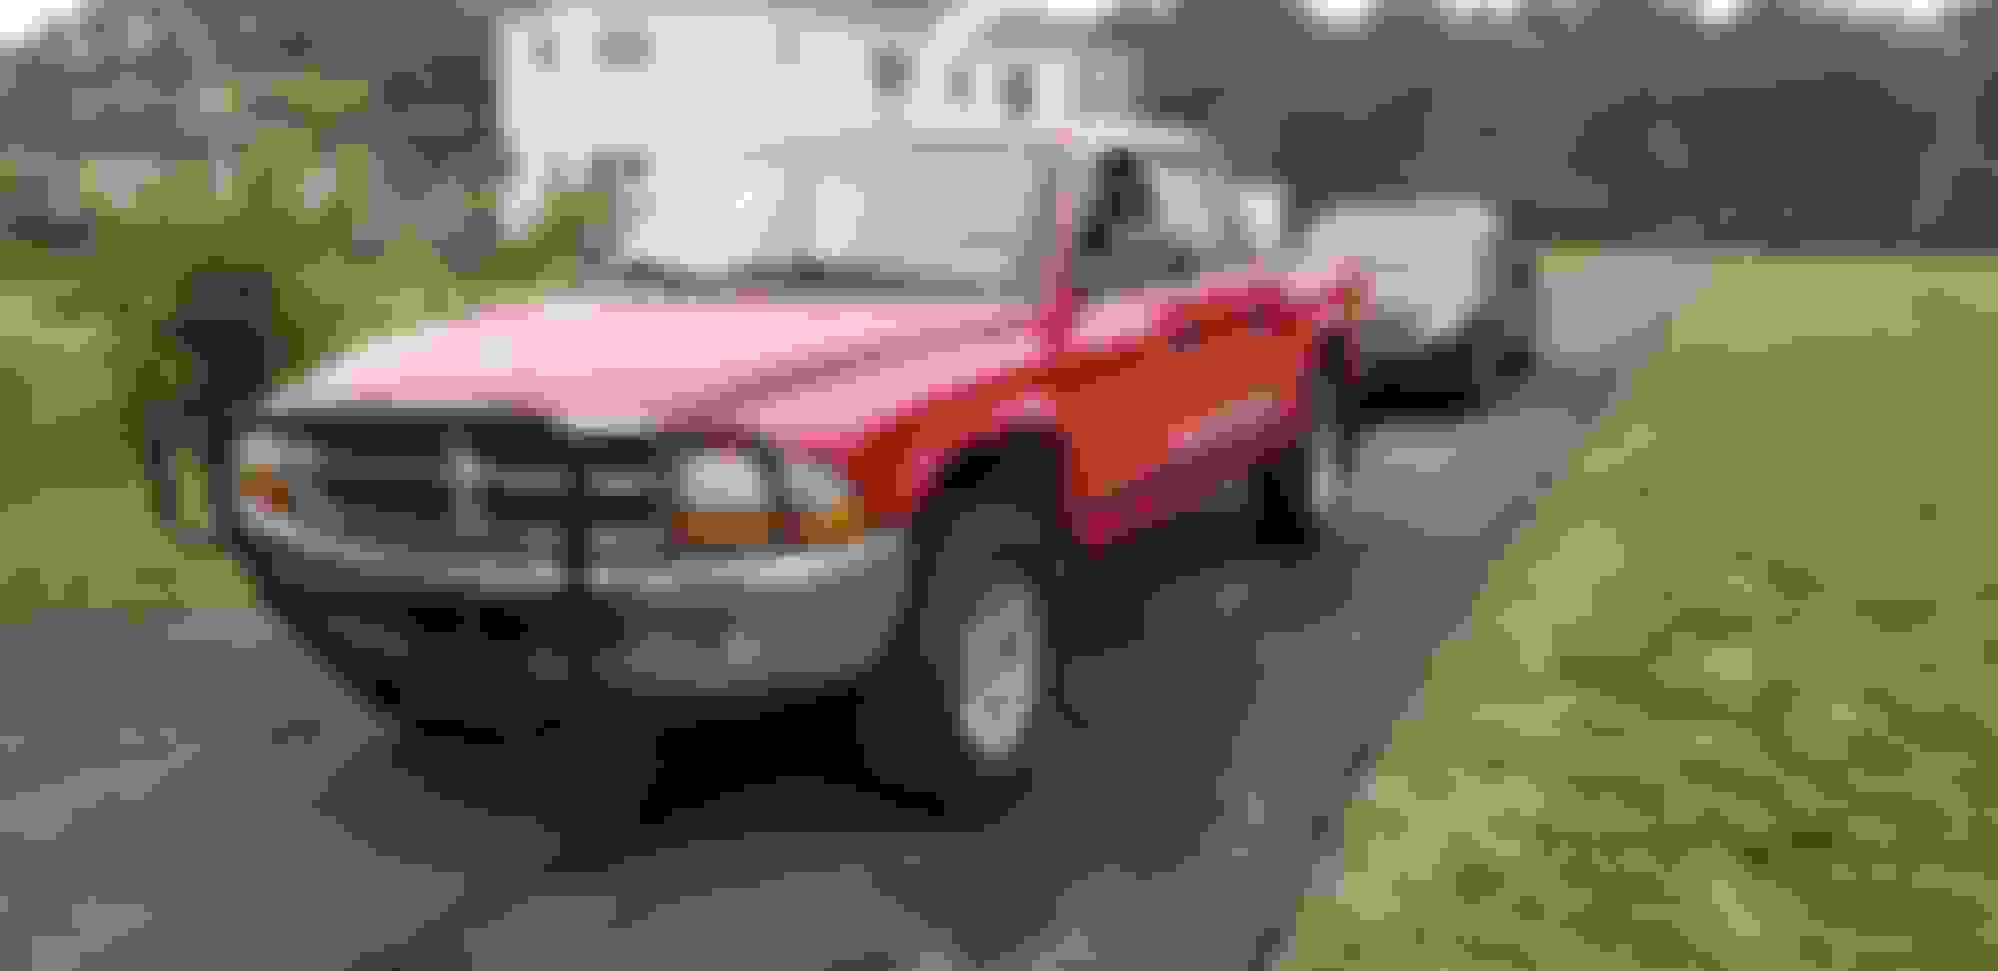
My before and after of my first attempt with a second gen. Clearly the after was not fun to see.
April 2015
May 2015
I never even got to license it before it was attacked by a teenager on a cell phone, however I have found another second gen to start over with, wish me luck!
Heres my 2000 dakota that Ive been working on for the last 8 months. 3 inch body lift, 2 inch rear blocks and 2 inch "torsion bar"lift with 33x12.5x15's on the stock rims with 1 and 1/4 inch wheel spacers......which still rub just a bit sometimes. Built a new rear bumper and a back rack.....which now has a 42 inch light bar on top....next is some body work and paint once winter is over.
So this weekend I painted my truck using raptor liner. It took three long days to strip down, fix rusted panels, prep, spray and rebuild. I've had the truck for about ten months now and I've personally resealed the motor and transmission, tune up and added a k&n filter on the already installed aftermarket intake tube. It also already had headers and exhaust. raised it 2.5" , new tires, front end bushings, ball joints, and shocks. I plan on doing another 2" body lift and putting my 33" on it. I'm in the process of building a 4bt motor for it. So like I said it's a work in progress but it has a great home.
So this weekend I painted my truck using raptor liner. It took three long days to strip down, fix rusted panels, prep, spray and rebuild. I've had the truck for about ten months now and I've personally resealed the motor and transmission, tune up and added a k&n filter on the already installed aftermarket intake tube. It also already had headers and exhaust. raised it 2.5" , new tires, front end bushings, ball joints, and shocks. I plan on doing another 2" body lift and putting my 33" on it. I'm in the process of building a 4bt motor for it. So like I said it's a work in progress but it has a great home.
New LED's for the dying OEM ones.
I am trying to find a picture of before, but it was in BAD shape. Rocker panels and wheel wells all rotted out, headliner fall apart, rusty bumpers, leaking windshield gasket, the list goes on and on. Here she is with all rush cut out and new steel. New bumpers, headlights, condenser, etc. To protect it from the Northeast elements I went ahead and Rhino lined the rockers, flares and grill. A few more things to do (replace ball joints and shock) and she be all set.

 03-18-2015, 12:43 PM


