

Rotted spring buckets, repaired!
#1
 06-23-2015, 06:14 PM


I know its a common issue to have the spring buckets rot out on these trucks, well mine were pretty far gone apparently. When I bought the truck it was nicely painted, but one winter driving it and all that paint gave way for a good look at what was really there. Pardon if anything below is repeated, its stitched from another forum I posted on.
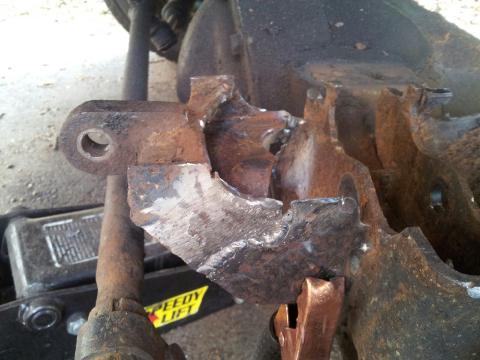
So I recently purchased my 01 Ram 2500. Its been a lot more needy than I expected. All of the truck is pretty solid, but these front spring buckets are SHOT! The axle brackets are even solid all around them, but look at this!
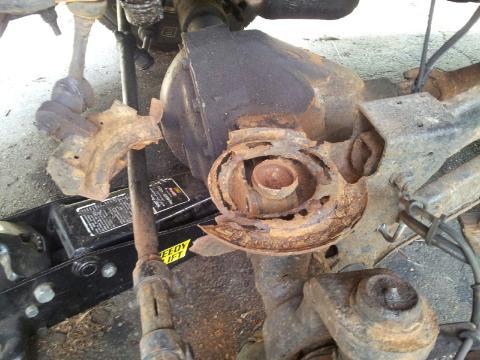
That is the bottom of the shock, still bolted to the axle, it snapped at some point, and to the left, that is the sway bar end link, still bolted to the mount that ripped off the axle along with part of the spring bucket still attached.
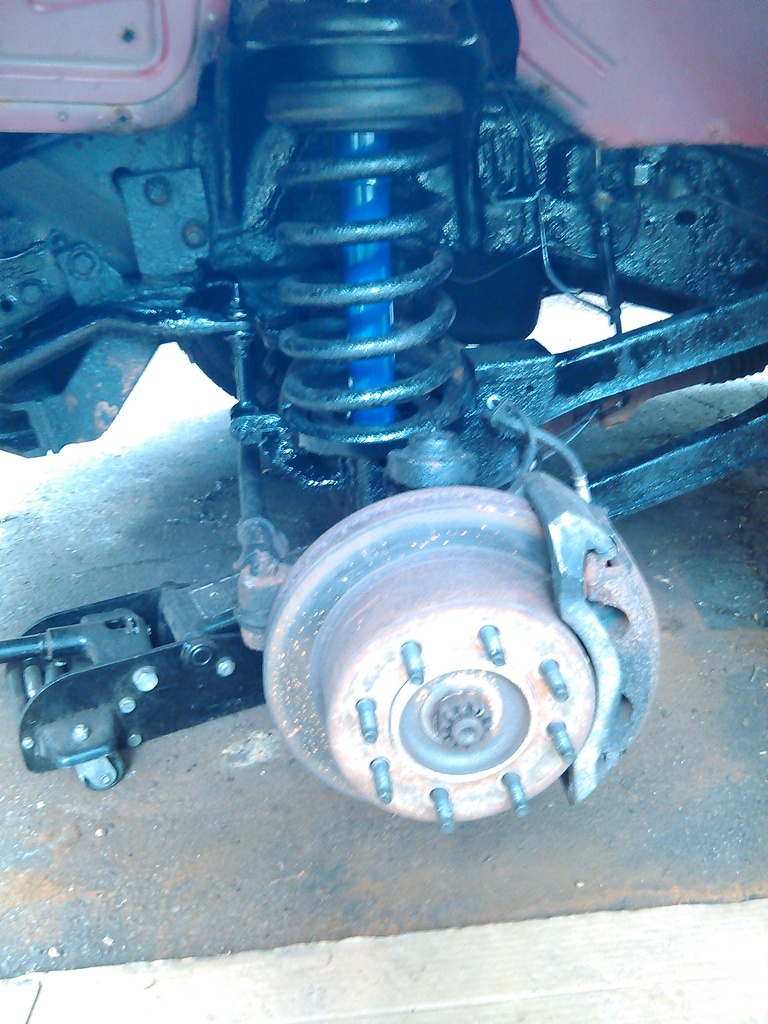
Here's where I'm at now. Ready to put on the new buckets I ordered and shocks. (And 2.5" BOLT IN leveling spacers.)
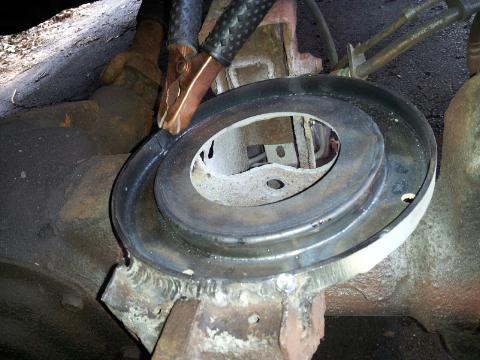
New buckets, made out of 3/16 stock most of the way welded in in this pic.
Now its fully in. Gonna start on the other side next day it stops raining.
I purchased the buckets from ebay, I thought about making them myself, but I figured it wasn't worth the time and aggravation to start messing with making a pretty exact item out of 3/16" steel. It's not exactly easy to work with into perfect circles. They were ~$70 each on ebay, a couple shops make them.
As for coatings, I coated the bottom side and the "insides" of the brackets with weld through primer before I put it together. After all the welding was done, I cleaned up the frame and housing around it the best I could and gave it a good coat of rustoleum primer and paint. It looks better now, not frame off restoration level but 100x better than it was. Just gotta do the whole rest of the underside...
Anyway, the drivers side is all back together with the 2.5" leveling upper spring bucket installed. Gotta get a pic of it, didn't think to at the time. The new lower bucket was a little too small I thought, the spring was sitting on the rim of it. I was hoping it would work out as it did though, after removing the spring compressor and jacking it up, it popped right in nice and tight, so it isn't going anywhere. Now I have the passenger side to do, but that side is cleaner than the drivers at least.
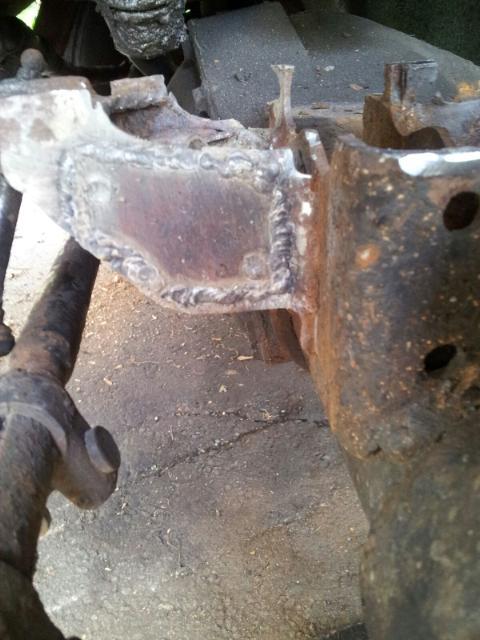
Passenger side is done now too. I thought this was the good side, almost thought about waiting to do it later. Glad I didn't! As I was scraping away the flaky steel I punched the screwdriver through the control arm bracket on the axle! It was a bit thin. So as uneventful as the bucket replacement itself was, before I could put the new bucket on I braced the hell out of the bracket by plating it on both side from the axle tube all the way to solid thick steel.
As I was going I guess I got into it and stopped taking pictures, but I took a couple now that I'm done.
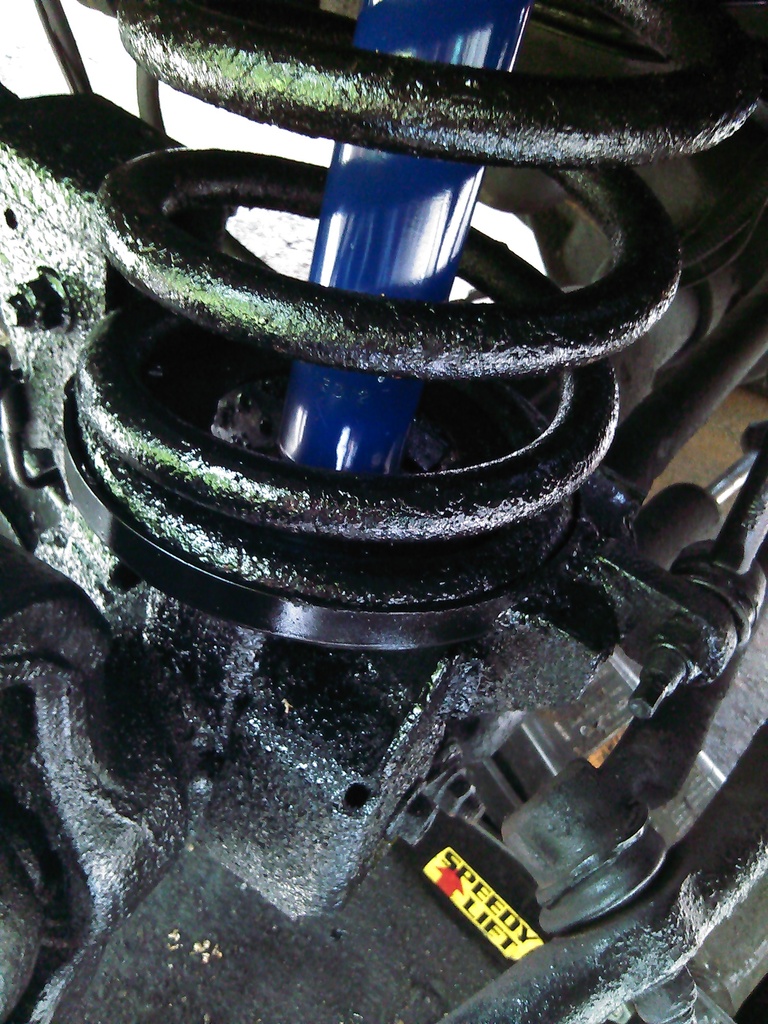
Passenger side all done. You can see the plug welds through the shock hole, I rosette welded the plate in anywhere it was solid enough, as well as perimeter.
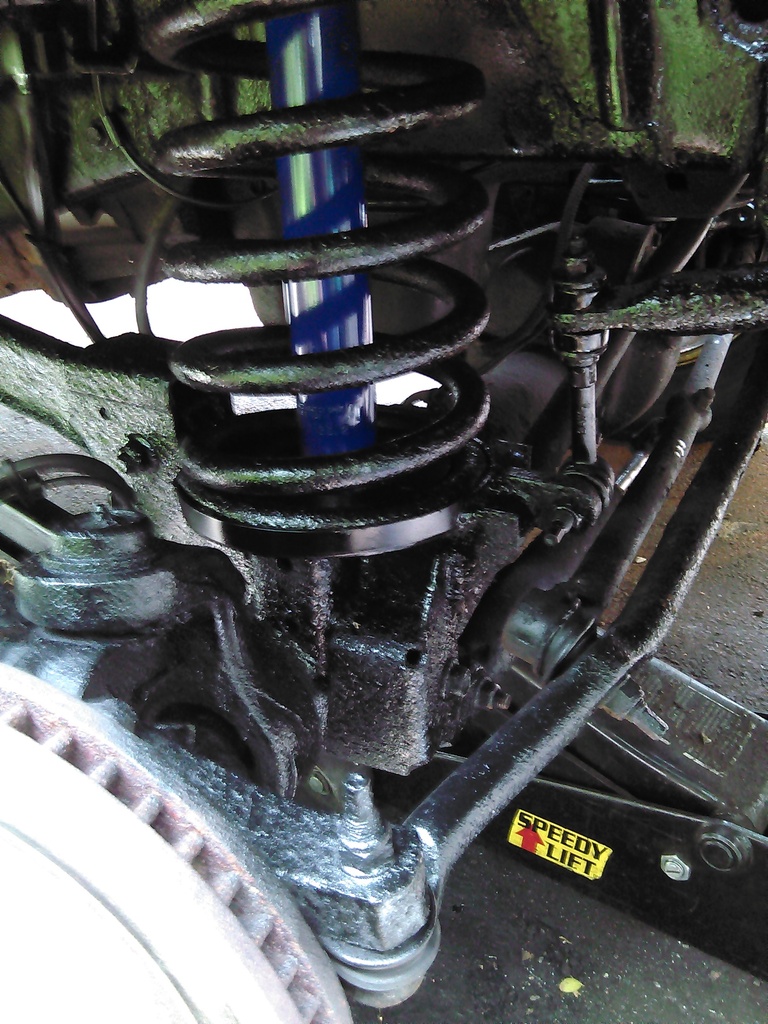
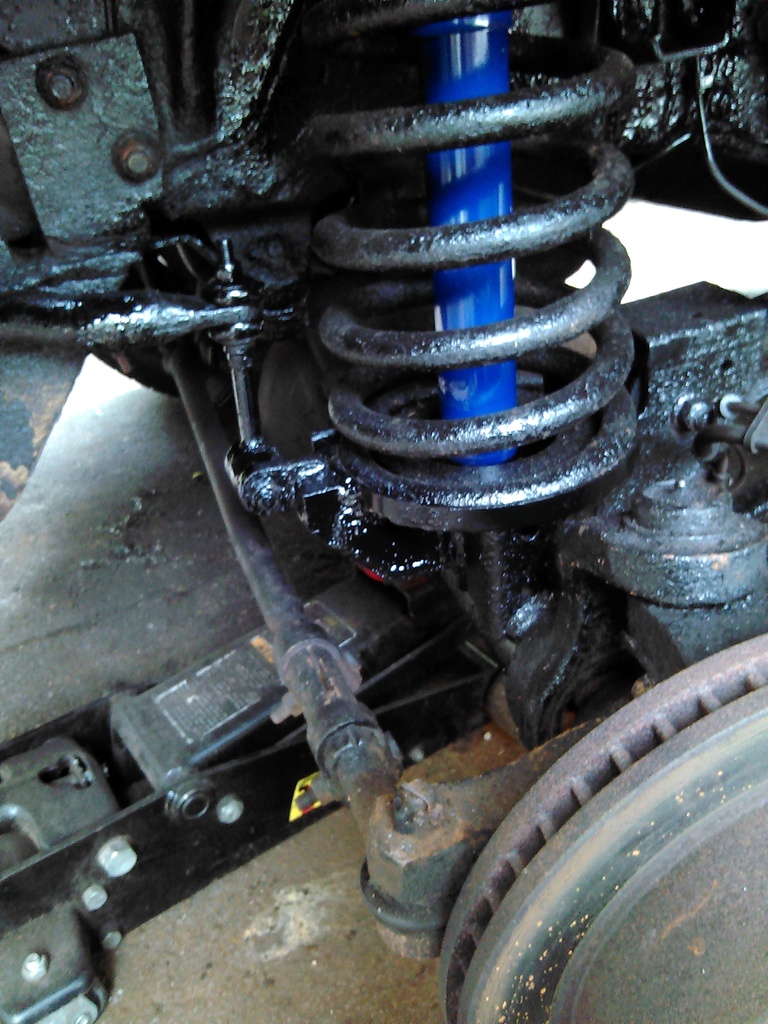
And the drivers side all done.
And! On this 100* humid day when I was done I started futzing with the a/c. It wasn't working, I threw in a can and got nothing. So I jumped the compressor, got it running, got another can in it. Now it would run plugged in, must not have had enough in it to trip the low pressure switch. Threw in enough to get the pressure up, and now I have a/c. The compressor is quiet, just gotta look for the leak. If its slow enough I'll just add more as needed.
So I recently purchased my 01 Ram 2500. Its been a lot more needy than I expected. All of the truck is pretty solid, but these front spring buckets are SHOT! The axle brackets are even solid all around them, but look at this!
That is the bottom of the shock, still bolted to the axle, it snapped at some point, and to the left, that is the sway bar end link, still bolted to the mount that ripped off the axle along with part of the spring bucket still attached.
Here's where I'm at now. Ready to put on the new buckets I ordered and shocks. (And 2.5" BOLT IN leveling spacers.)
New buckets, made out of 3/16 stock most of the way welded in in this pic.
Now its fully in. Gonna start on the other side next day it stops raining.
I purchased the buckets from ebay, I thought about making them myself, but I figured it wasn't worth the time and aggravation to start messing with making a pretty exact item out of 3/16" steel. It's not exactly easy to work with into perfect circles. They were ~$70 each on ebay, a couple shops make them.
As for coatings, I coated the bottom side and the "insides" of the brackets with weld through primer before I put it together. After all the welding was done, I cleaned up the frame and housing around it the best I could and gave it a good coat of rustoleum primer and paint. It looks better now, not frame off restoration level but 100x better than it was. Just gotta do the whole rest of the underside...
Anyway, the drivers side is all back together with the 2.5" leveling upper spring bucket installed. Gotta get a pic of it, didn't think to at the time. The new lower bucket was a little too small I thought, the spring was sitting on the rim of it. I was hoping it would work out as it did though, after removing the spring compressor and jacking it up, it popped right in nice and tight, so it isn't going anywhere. Now I have the passenger side to do, but that side is cleaner than the drivers at least.
Passenger side is done now too. I thought this was the good side, almost thought about waiting to do it later. Glad I didn't! As I was scraping away the flaky steel I punched the screwdriver through the control arm bracket on the axle! It was a bit thin. So as uneventful as the bucket replacement itself was, before I could put the new bucket on I braced the hell out of the bracket by plating it on both side from the axle tube all the way to solid thick steel.
As I was going I guess I got into it and stopped taking pictures, but I took a couple now that I'm done.
Passenger side all done. You can see the plug welds through the shock hole, I rosette welded the plate in anywhere it was solid enough, as well as perimeter.
And the drivers side all done.
And! On this 100* humid day when I was done I started futzing with the a/c. It wasn't working, I threw in a can and got nothing. So I jumped the compressor, got it running, got another can in it. Now it would run plugged in, must not have had enough in it to trip the low pressure switch. Threw in enough to get the pressure up, and now I have a/c.
The compressor is quiet, just gotta look for the leak. If its slow enough I'll just add more as needed.