

LMC 55-9505 HD headlight harness install
#1
 03-19-2017, 05:51 PM

Join Date: Jan 2013
Location: Hinsdale, N.Y.
Posts: 121
Likes: 0
Received 0 Likes
on
0 Posts
Hello, thanks to some suggestions of forum members, I purchased this headlight harness from LMC. it is said to put full voltage and full needed amperage up to the headlights where it can do the most good for the 2nd generation rams while driving at night.
Start time 12:18
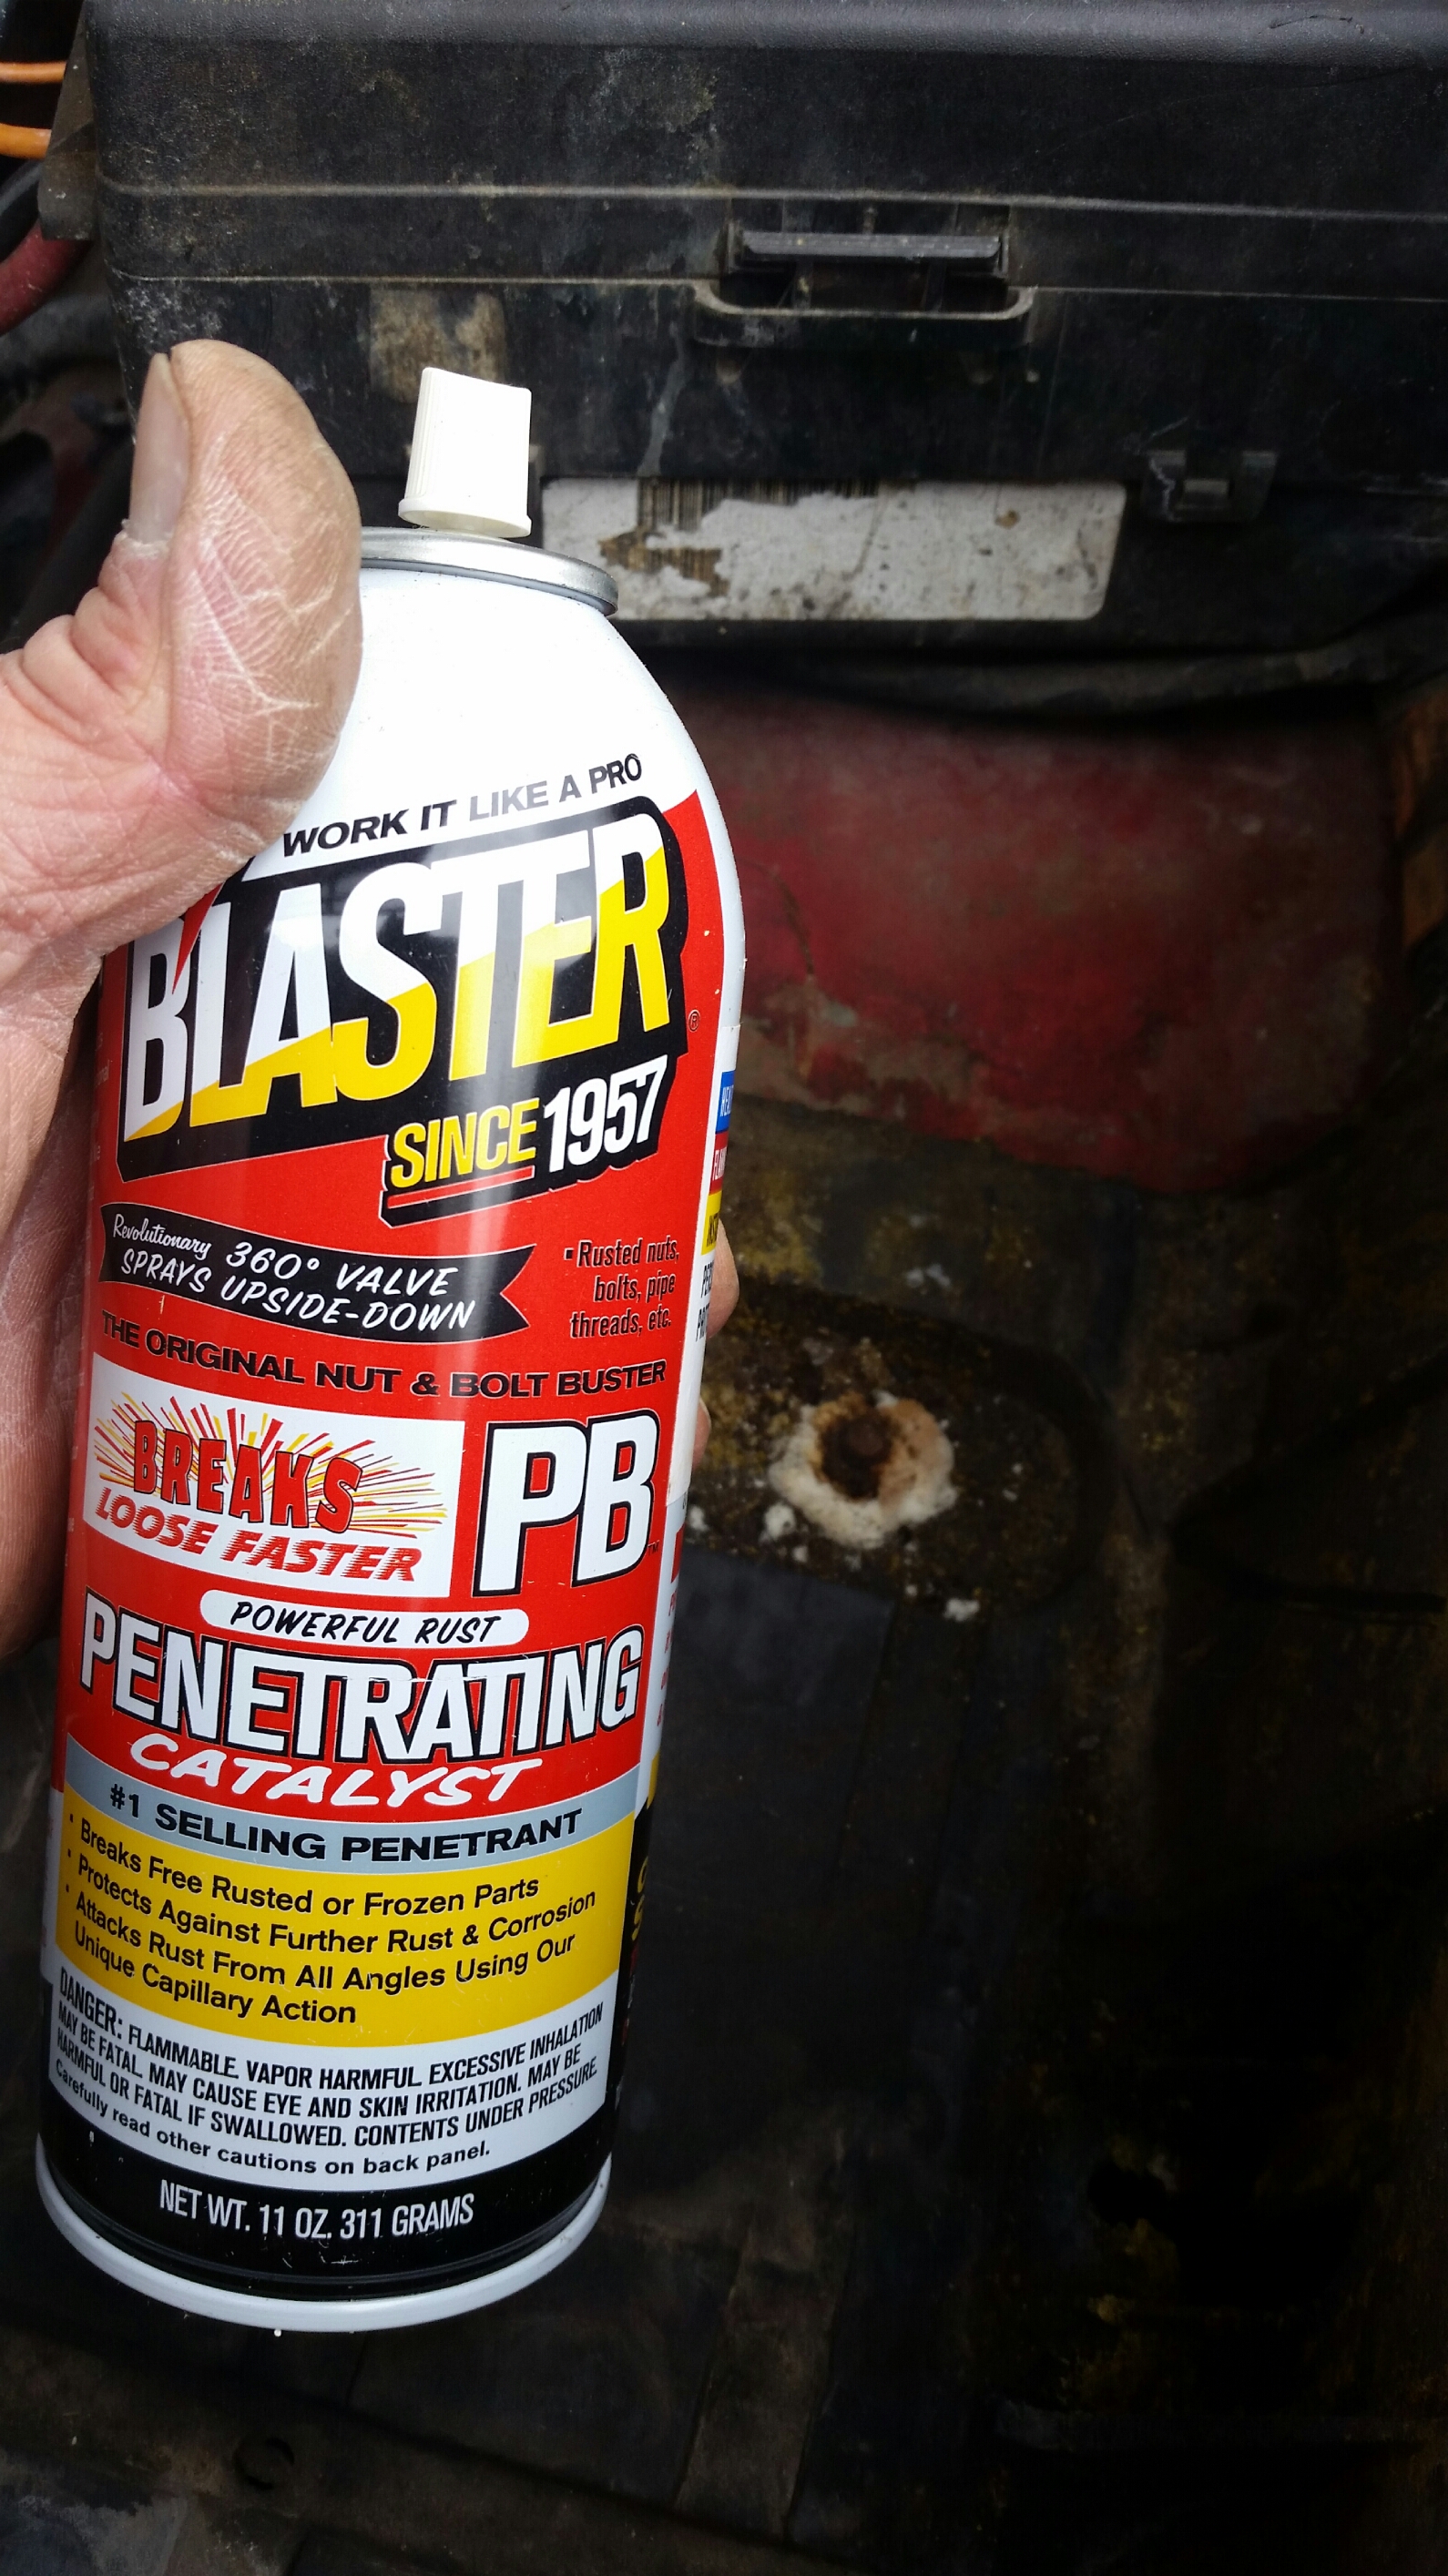
This is a good weapon to have in the arsenal when you live up here in Western New Yorks "rust belt"!!
I started by removing the battery and the battery tray

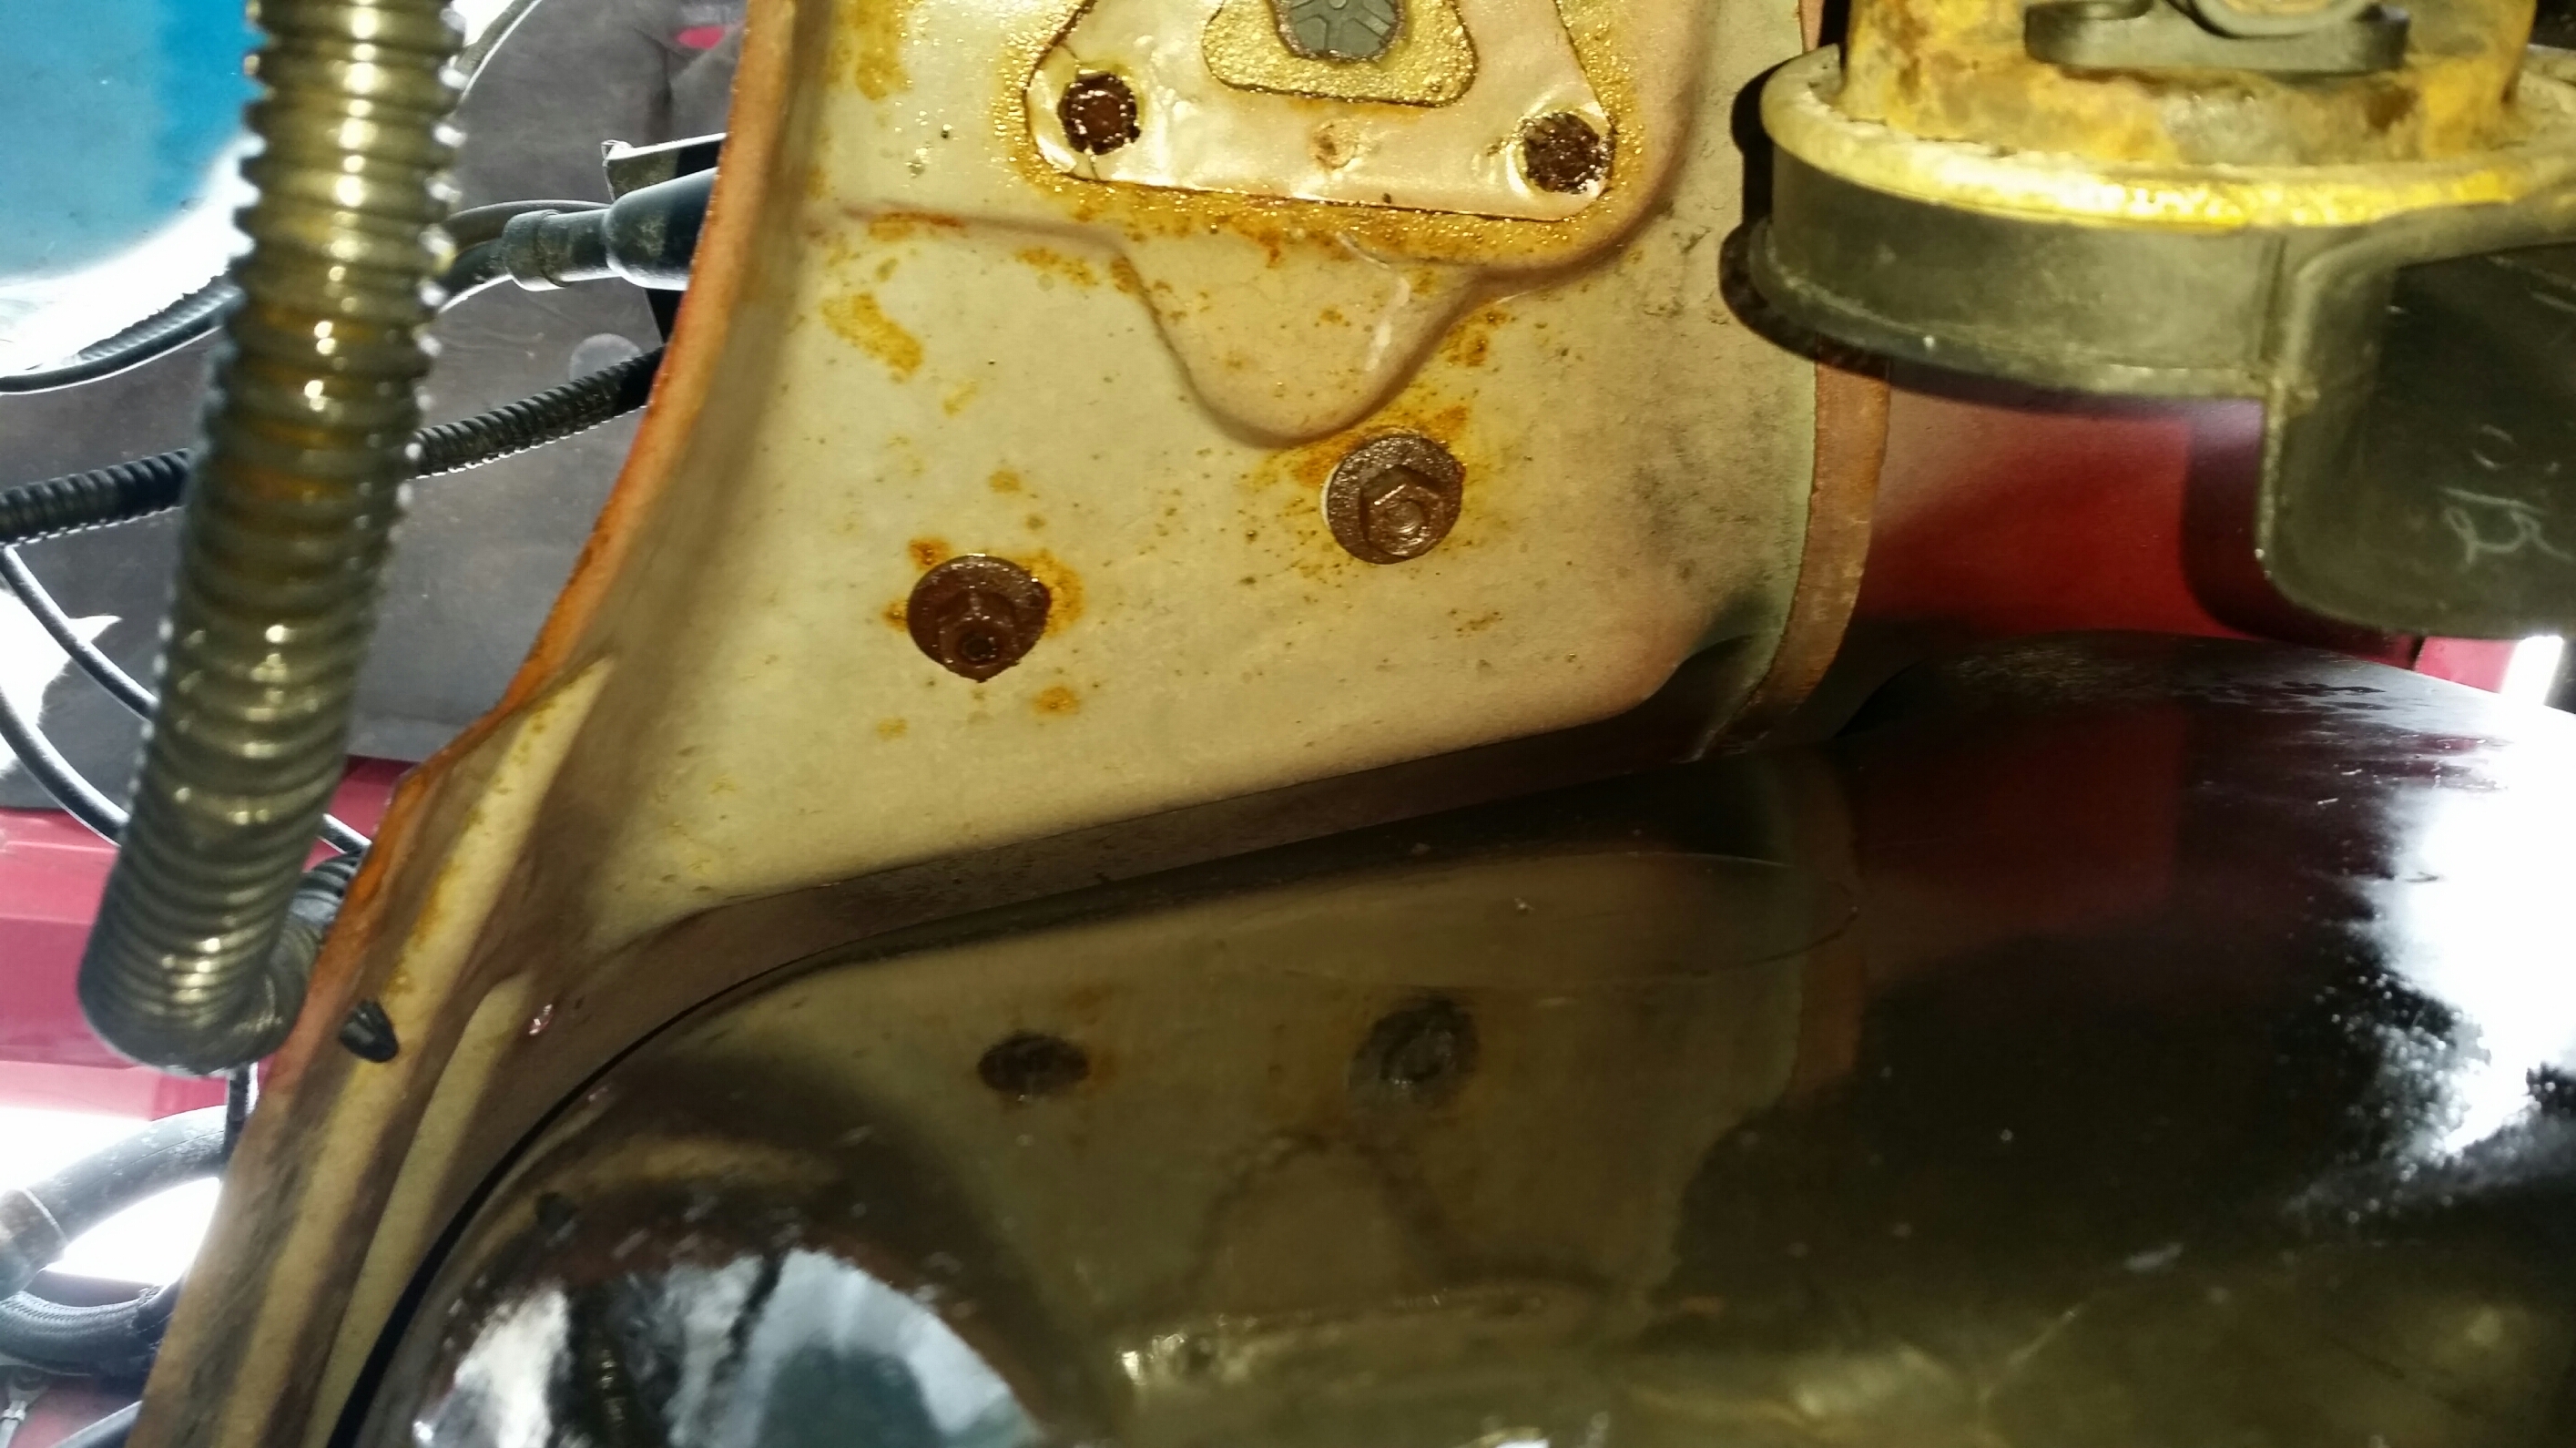
Don't overlook these 2 like I did It took me a couple minutes to find 'em!!!
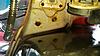
Once the battery tray was out of the way it was easy to access the drivers side headlight and made it an open shot to ground and plug connections

The supervisor got up and checked out my work from time to time too

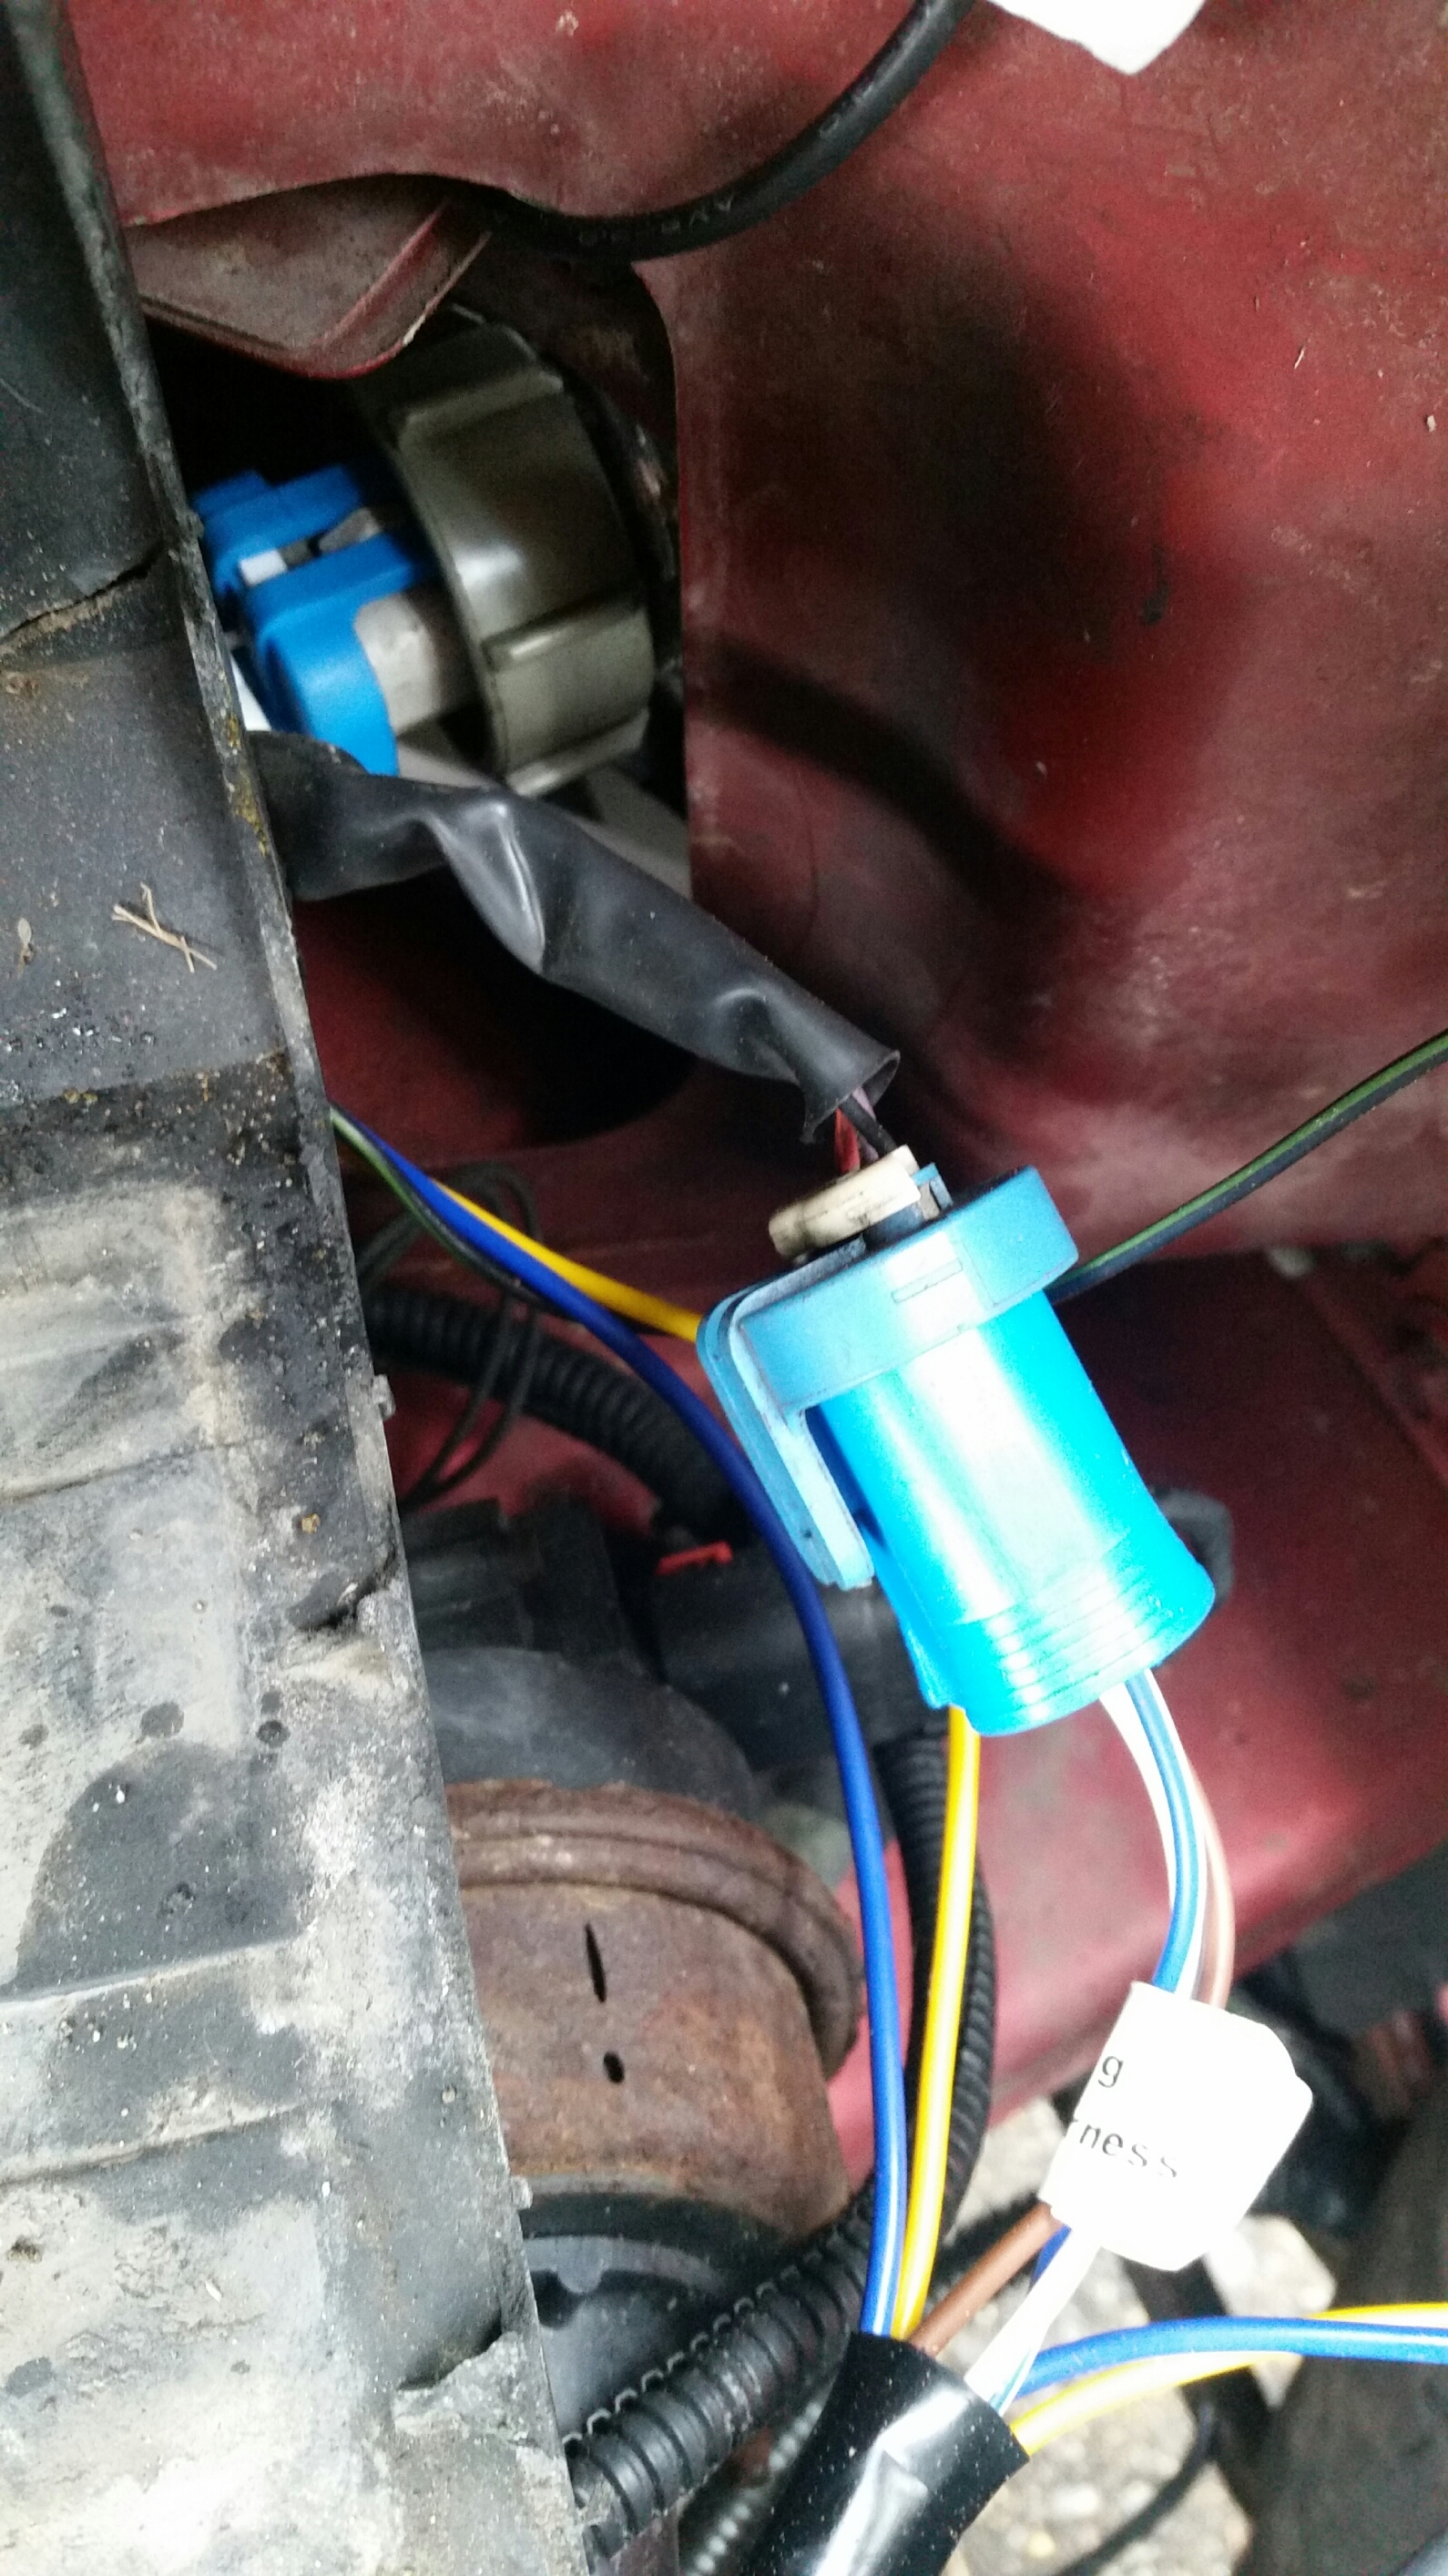
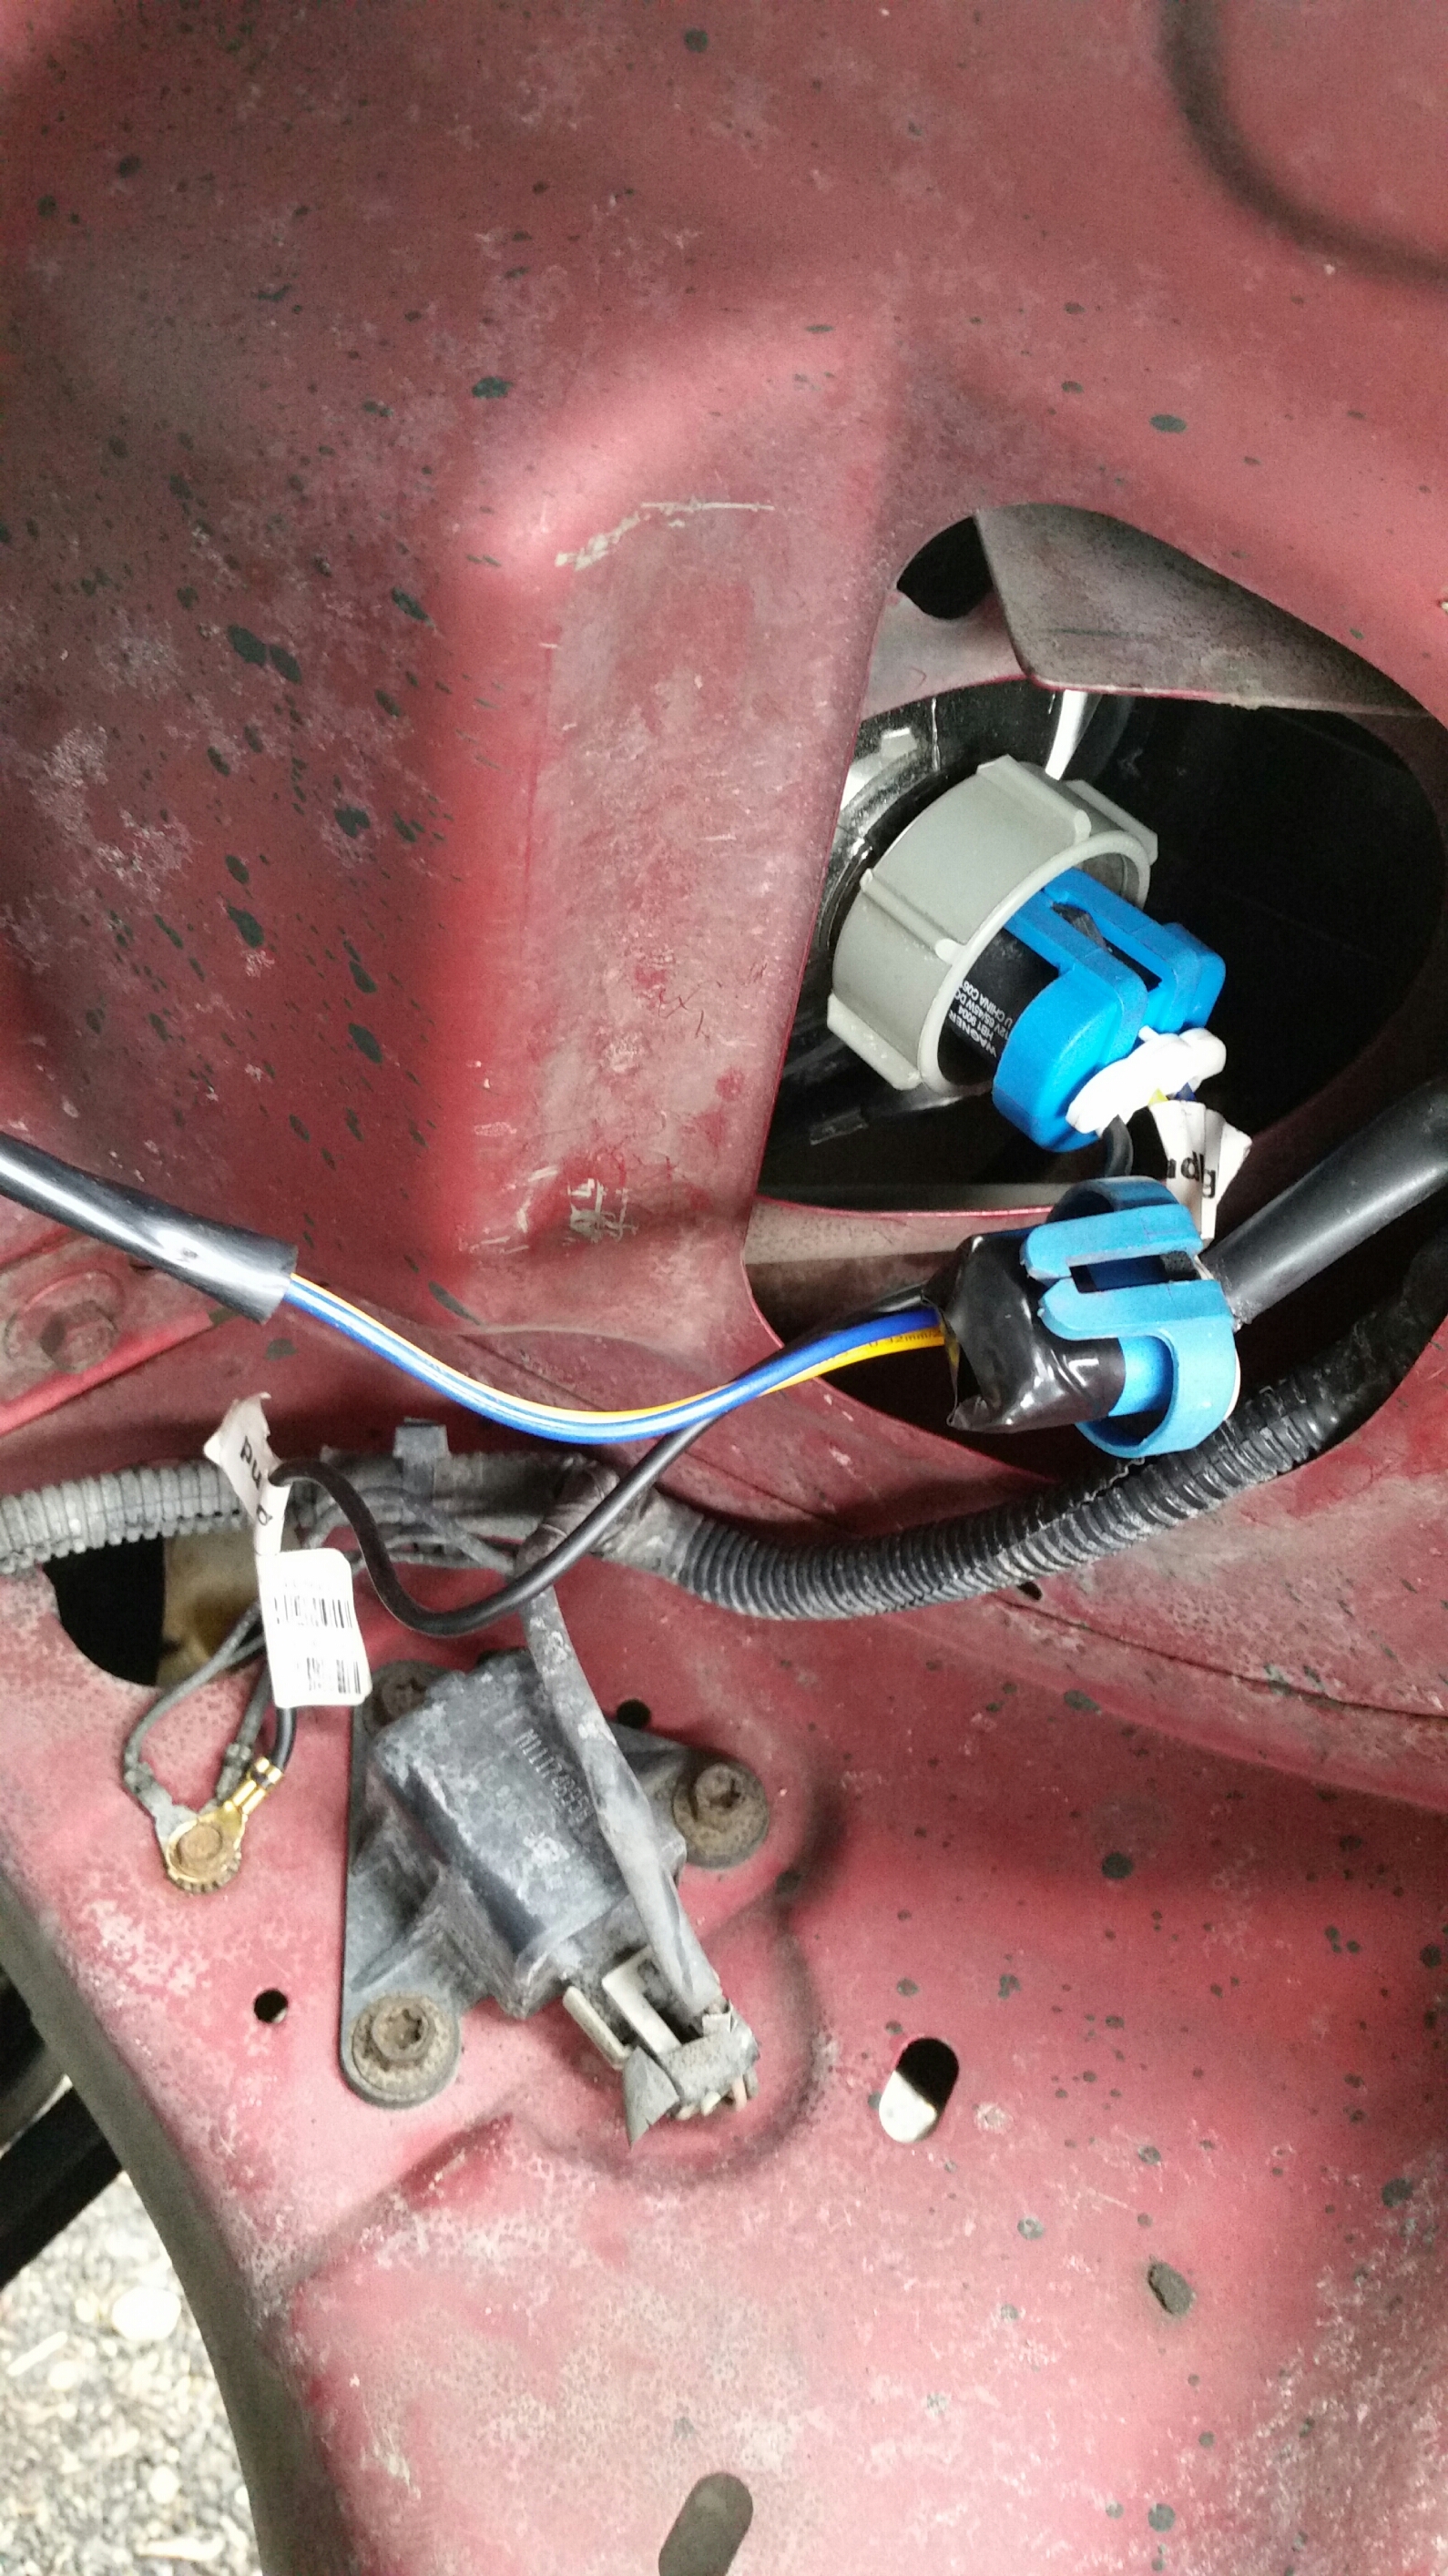
The 3 prong male plug of the new harness plugs into the trucks drivers side plug taken off the headlight.
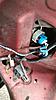
HeyYou drilled a hole to establish a ground on this side, I looked around and found that pre existing hole in the fender and ran a metal screw in it to get my ground for that side.
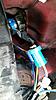
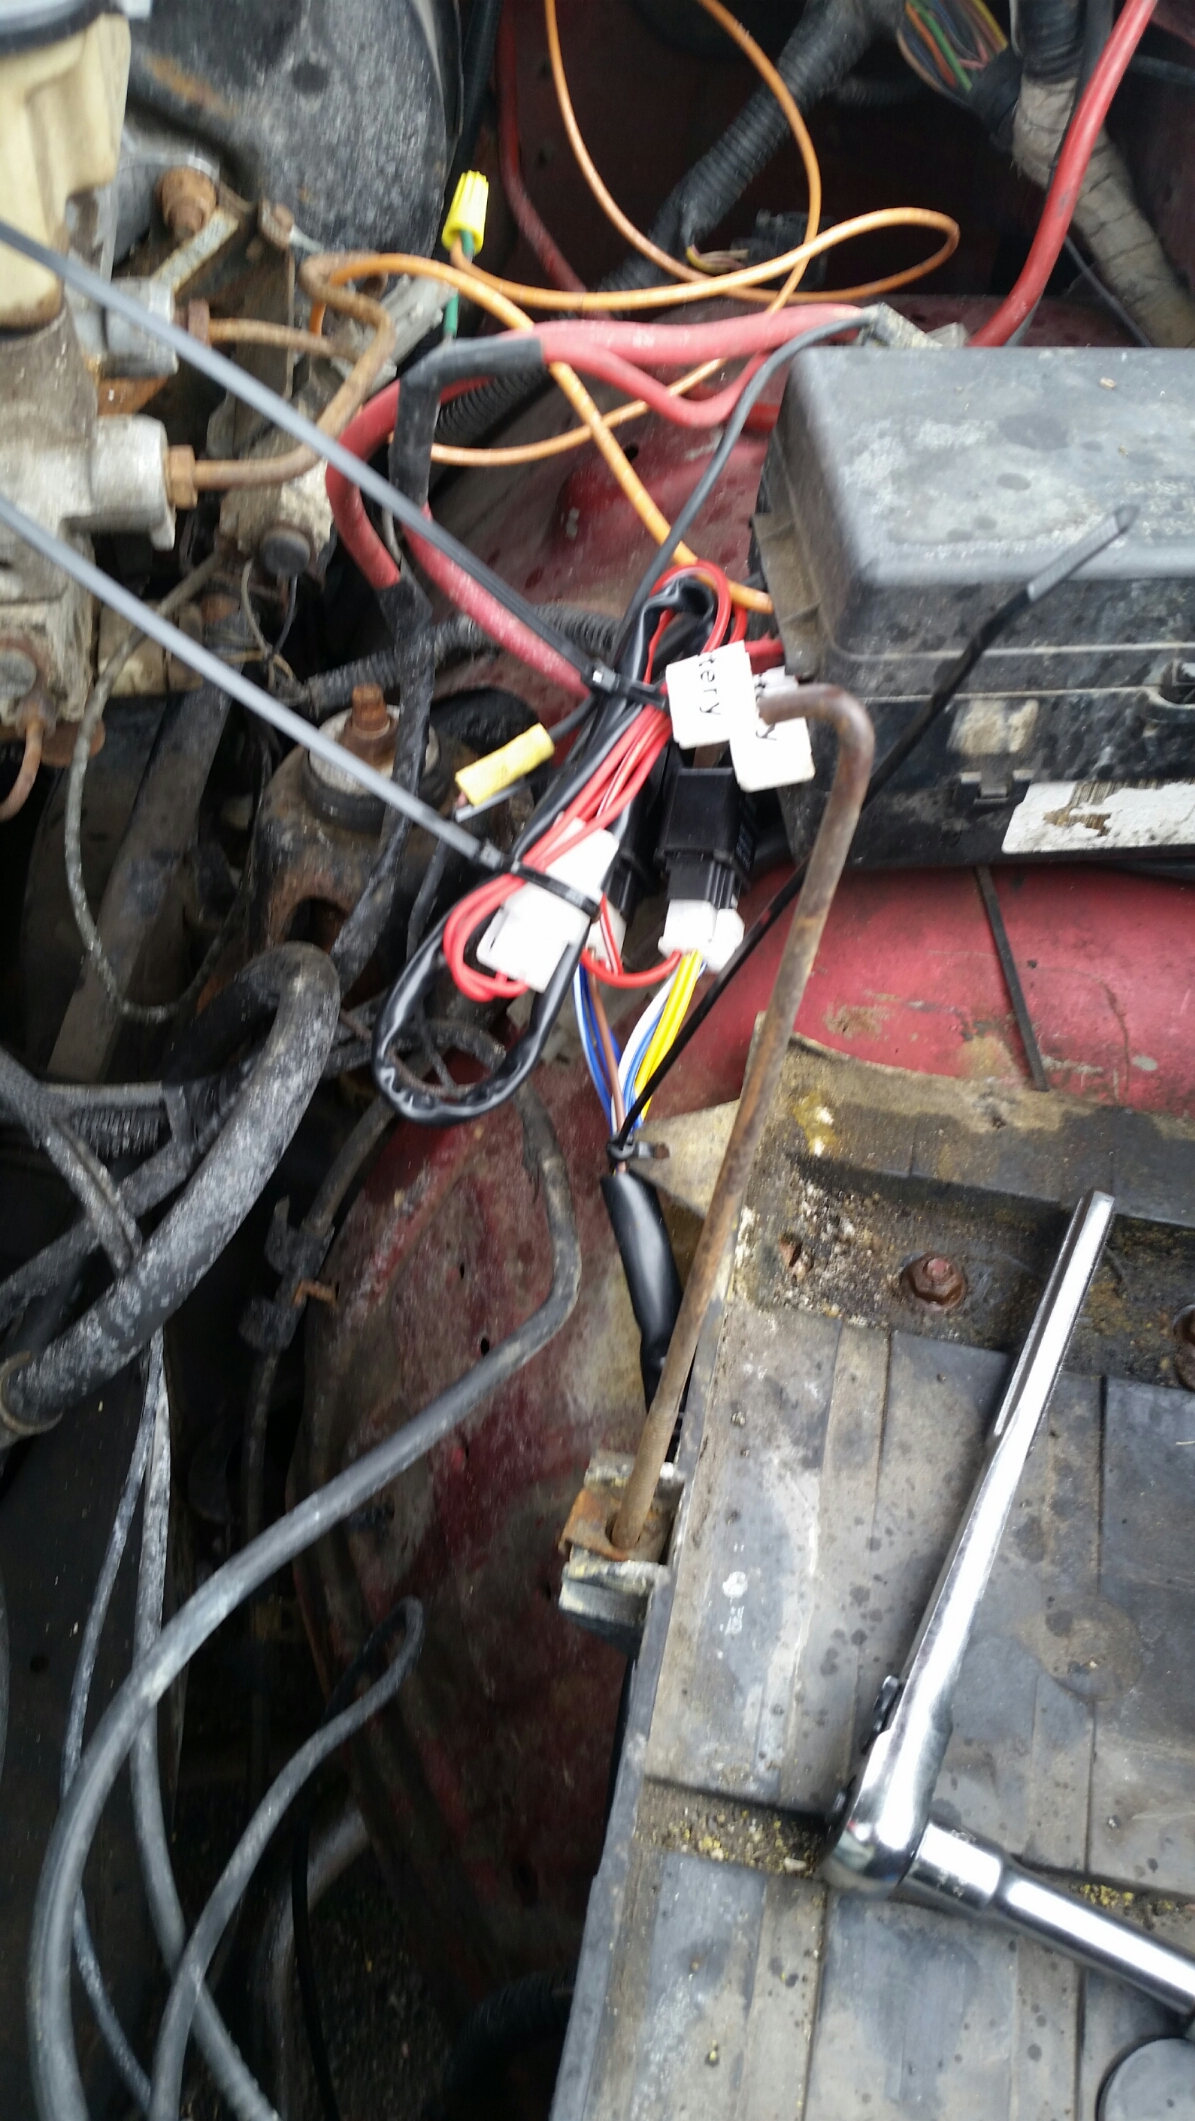
Next I grabbed 12 volts from the live post inside of the power distribution box located on the drivers side inner fender, that is where I tried to neatly, attach my relays also
Some one previous post had the great idea of using a small Tupper ware container to house them in, I will make a trip through the wife's cupboards to confiscate one of the correct size!!!
So the drivers side is where most all the connections take place, 2 to battery, 1 ground, plug the 2 provided relays in to the new harness, and plug the male 3 prong into the one removed from the head light, and naturally the female plug from the harness goes to the headlight.
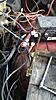
Then I routed the wires leading over to the passenger side in front of the radiator, up by the radiator support. BUT found that route left the wires "banjo tight" so I relaxed them down to about the middle of the radiator and zip tied off to those cross brace looking supports.
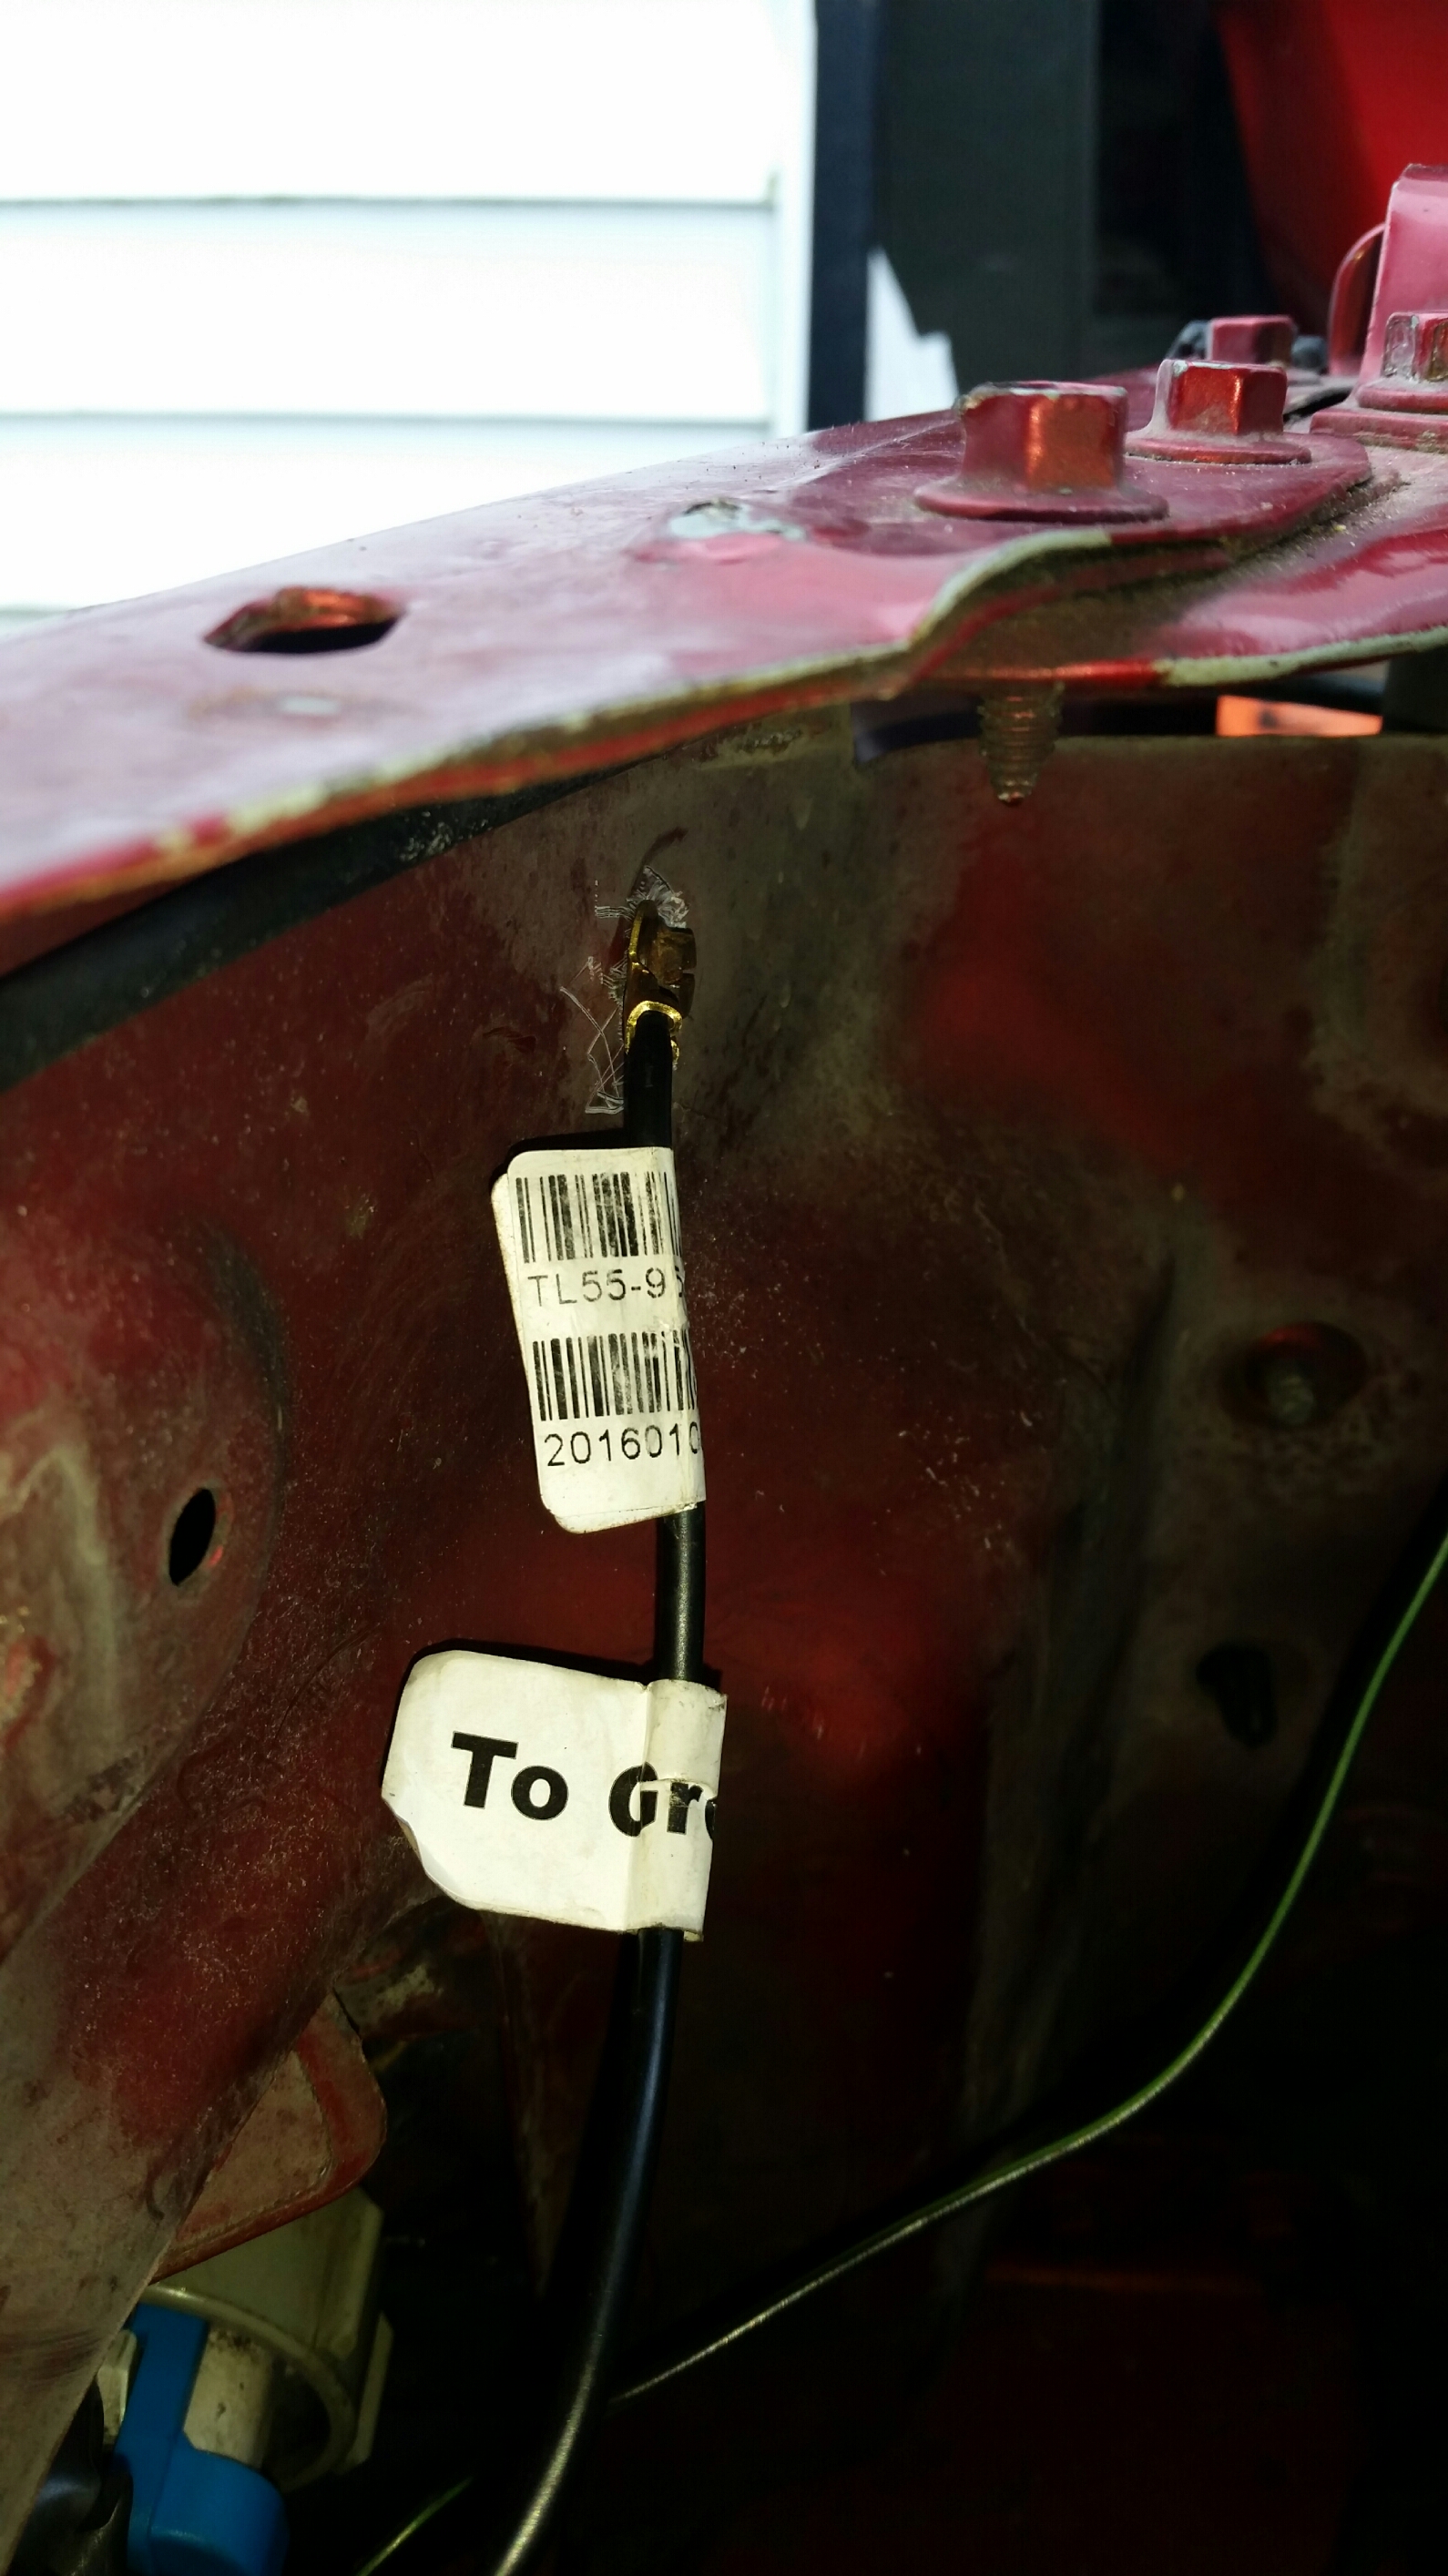
I utilized the factory ground on the passenger side
I also taped up the stock plug that went to.the headlight
End time 1:32
Yeah it took me a bit longer, but I have tools strewn all over between 3 buildings, I work on stuff when it breaks where it breaks!!
Pretty much plug and play like the guys said that recommended this harness!!!
Thank you to the members who told me about this kit and gave insight about installing
Start time 12:18
This is a good weapon to have in the arsenal when you live up here in Western New Yorks "rust belt"!!
I started by removing the battery and the battery tray

Don't overlook these 2 like I did
Once the battery tray was out of the way it was easy to access the drivers side headlight and made it an open shot to ground and plug connections
The supervisor got up and checked out my work from time to time too

The 3 prong male plug of the new harness plugs into the trucks drivers side plug taken off the headlight.
HeyYou drilled a hole to establish a ground on this side, I looked around and found that pre existing hole in the fender and ran a metal screw in it to get my ground for that side.
Next I grabbed 12 volts from the live post inside of the power distribution box located on the drivers side inner fender, that is where I tried to neatly, attach my relays also
Some one previous post had the great idea of using a small Tupper ware container to house them in, I will make a trip through the wife's cupboards to confiscate one of the correct size!!!
So the drivers side is where most all the connections take place, 2 to battery, 1 ground, plug the 2 provided relays in to the new harness, and plug the male 3 prong into the one removed from the head light, and naturally the female plug from the harness goes to the headlight.
Then I routed the wires leading over to the passenger side in front of the radiator, up by the radiator support. BUT found that route left the wires "banjo tight" so I relaxed them down to about the middle of the radiator and zip tied off to those cross brace looking supports.
I utilized the factory ground on the passenger side
I also taped up the stock plug that went to.the headlight
End time 1:32
Yeah it took me a bit longer, but I have tools strewn all over between 3 buildings, I work on stuff when it breaks where it breaks!!
Pretty much plug and play like the guys said that recommended this harness!!!
Thank you to the members who told me about this kit and gave insight about installing
Last edited by madmikesmech; 03-23-2017 at 09:05 PM. Reason: pictures show up sideways
#2
03-19-2017, 06:05 PM
#3
03-19-2017, 06:09 PM
Join Date: Jan 2013
Location: Hinsdale, N.Y.
Posts: 121
Likes: 0
Received 0 Likes
on
0 Posts
#4
03-19-2017, 06:34 PM
Join Date: Jan 2013
Location: Hinsdale, N.Y.
Posts: 121
Likes: 0
Received 0 Likes
on
0 Posts
#5
03-19-2017, 07:38 PM

#6
03-19-2017, 08:54 PM
Record Breaker
#7
03-19-2017, 10:58 PM
Veteran
Join Date: Nov 2016
Location: Omaha NE
Posts: 344
Likes: 0
Received 0 Likes
on
0 Posts
I did mine not too long ago, and I finally did some nighttime driving. It did helps some, as you have power going through the larger guage wire instead of through the switch, but don't expect it to be day and night compared to each other.
If you want better visibility, install this kit, and then go for a aftermarket headlamp assembly. Or try a HID or LED with the stock units, or aftermarket units.
If you want better visibility, install this kit, and then go for a aftermarket headlamp assembly. Or try a HID or LED with the stock units, or aftermarket units.
Trending Topics
#8
03-20-2017, 06:01 AM
Join Date: Jan 2013
Location: Hinsdale, N.Y.
Posts: 121
Likes: 0
Received 0 Likes
on
0 Posts
I did mine not too long ago, and I finally did some nighttime driving. It did helps some, as you have power going through the larger guage wire instead of through the switch, but don't expect it to be day and night compared to each other.
If you want better visibility, install this kit, and then go for a aftermarket headlamp assembly. Or try a HID or LED with the stock units, or aftermarket units.
If you want better visibility, install this kit, and then go for a aftermarket headlamp assembly. Or try a HID or LED with the stock units, or aftermarket units.
But from what my lights were yo what they are now IS day & night!!! My old ones were yellowed,
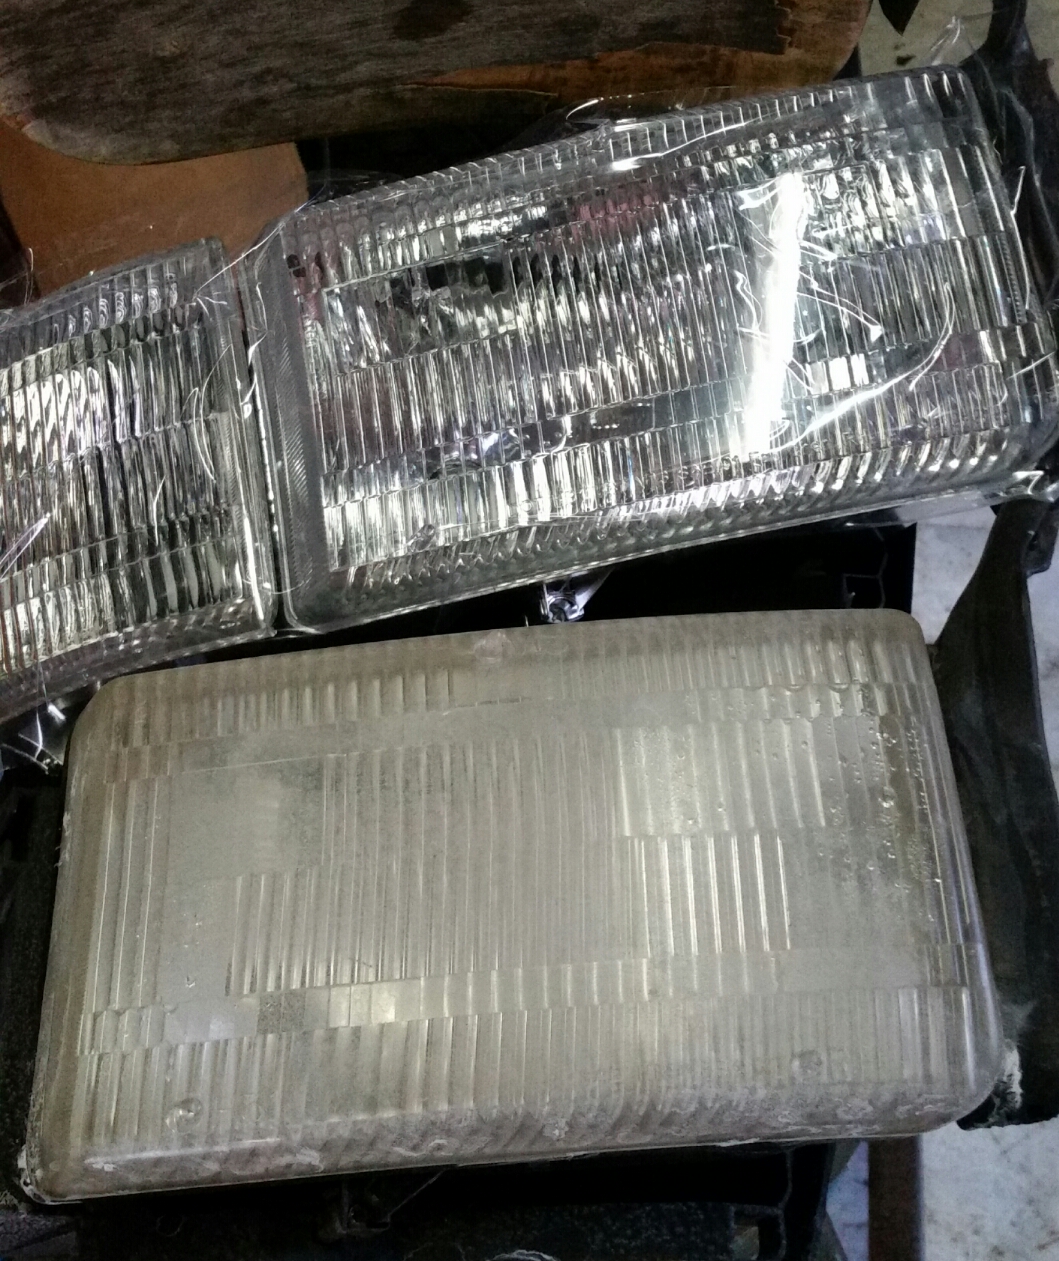
and very poor to see by, I replaced the headlight assemblies, big differance.
My main reason for changing to this harness was to get that big smperage out of the switch, I've heard there were melt bowl issues.
But this morning on my way to work will be the true test
Last edited by madmikesmech; 03-24-2017 at 01:59 PM.
#9
03-20-2017, 09:33 PM
Join Date: Jan 2013
Location: Hinsdale, N.Y.
Posts: 121
Likes: 0
Received 0 Likes
on
0 Posts
#10
03-21-2017, 06:32 AM
Join Date: Jan 2013
Location: Hinsdale, N.Y.
Posts: 121
Likes: 0
Received 0 Likes
on
0 Posts
Hello, thanks to some suggestions of forum members, I purchased this headlight harness from LMC. it is said to put full voltage and full needed amperage up to the headlights where it can do the most good for the 2nd generation rams while driving at night.
Start time 12:18
This is a good weapon to have in the arsenal when you live up here in Western New Yorks "rust belt"!!Attachment 28339
I started by removing the battery and the battery tray
Attachment 28340
Don't overlook these 2 like I didIt took me a couple minutes to find 'em!!!Attachment 28341
Once the battery tray was out of the way it was easy to access the drivers side headlight and made it an open shot to ground and plug connections
Attachment 28342Attachment 28343
The supervisor got up and checked out my work from time to time too
Attachment 28344
The 3 prong male plug of the new harness plugs into the trucks drivers side plug taken off the headlight.
Attachment 28345
HeyYou drilled a hole to establish a ground on this side, I looked around and found that pre existing hole in the fender and ran a metal screw in it to get my ground for that side.
Attachment 28345
Next I grabbed 12 volts from the live post inside of the power distribution box located on the drivers side inner fender, that is where I tried to neatly, attach my relays also
Attachment 28346
Some one previous post had the great idea of using a small Tupper ware container to house them in, I will make a trip through the wife's cupboards to confiscate one of the correct size!!!
So the drivers side is where most all the connections take place, 2 to battery, 1 ground, plug the 2 provided relays in to the new harness, and plug the male 3 prong into the one removed from the head light, and naturally the female plug from the harness goes to the headlight.
Then I routed the wires leading over to the passenger side in front of the radiator, up by the radiator support. BUT found that route left the wires "banjo tight" so I relaxed them down to about the middle of the radiator and zip tied off to those cross brace looking supports.
I utilized the factory ground on the passenger side
Attachment 28347
I also taped up the stock plug that went to.the headlight
End time 1:32
Yeah it took me a bit longer, but I have tools strewn all over between 3 buildings, I work on stuff when it breaks where it breaks!!
Pretty much plug and play like the guys said that recommended this harness!!!
Thank you to the members who told me about this kit and gave insight about installing
Start time 12:18
This is a good weapon to have in the arsenal when you live up here in Western New Yorks "rust belt"!!Attachment 28339
I started by removing the battery and the battery tray
Attachment 28340
Don't overlook these 2 like I did
Once the battery tray was out of the way it was easy to access the drivers side headlight and made it an open shot to ground and plug connections
Attachment 28342Attachment 28343
The supervisor got up and checked out my work from time to time too
Attachment 28344
The 3 prong male plug of the new harness plugs into the trucks drivers side plug taken off the headlight.
Attachment 28345
HeyYou drilled a hole to establish a ground on this side, I looked around and found that pre existing hole in the fender and ran a metal screw in it to get my ground for that side.
Attachment 28345
Next I grabbed 12 volts from the live post inside of the power distribution box located on the drivers side inner fender, that is where I tried to neatly, attach my relays also
Attachment 28346
Some one previous post had the great idea of using a small Tupper ware container to house them in, I will make a trip through the wife's cupboards to confiscate one of the correct size!!!
So the drivers side is where most all the connections take place, 2 to battery, 1 ground, plug the 2 provided relays in to the new harness, and plug the male 3 prong into the one removed from the head light, and naturally the female plug from the harness goes to the headlight.
Then I routed the wires leading over to the passenger side in front of the radiator, up by the radiator support. BUT found that route left the wires "banjo tight" so I relaxed them down to about the middle of the radiator and zip tied off to those cross brace looking supports.
I utilized the factory ground on the passenger side
Attachment 28347
I also taped up the stock plug that went to.the headlight
End time 1:32
Yeah it took me a bit longer, but I have tools strewn all over between 3 buildings, I work on stuff when it breaks where it breaks!!
Pretty much plug and play like the guys said that recommended this harness!!!
Thank you to the members who told me about this kit and gave insight about installing
Sorry

