

DIY 2wd ball joint replacement
#1
 11-05-2008, 09:49 PM

1995 dodge 2wd ram ball replacement
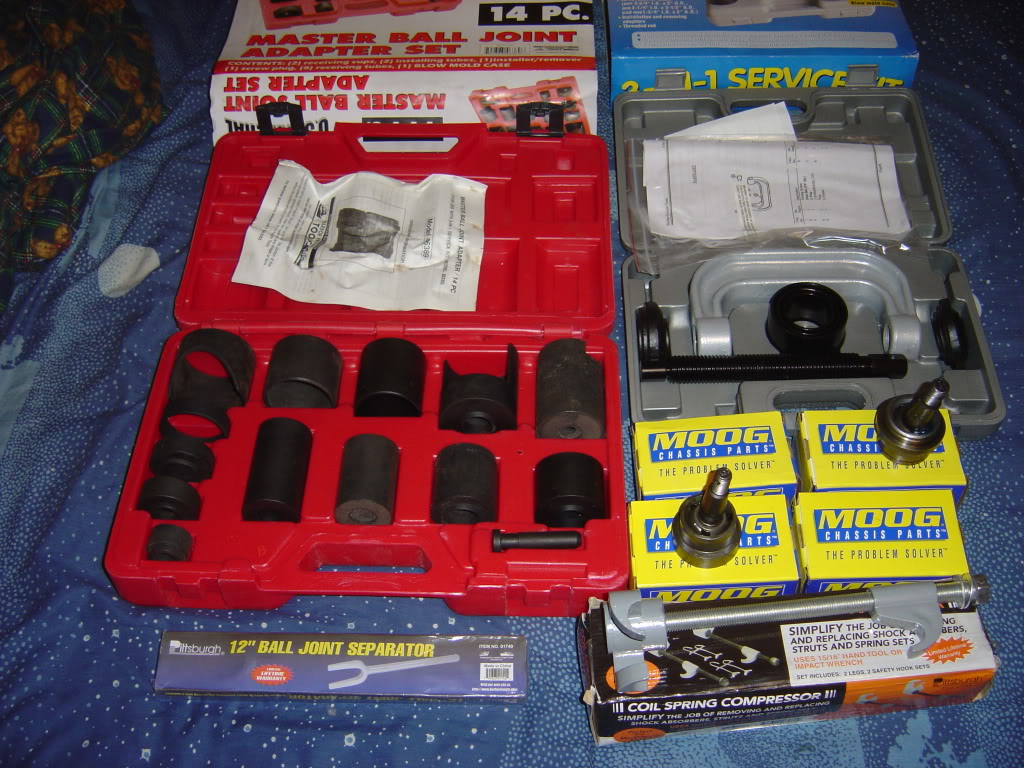
tools "i" used
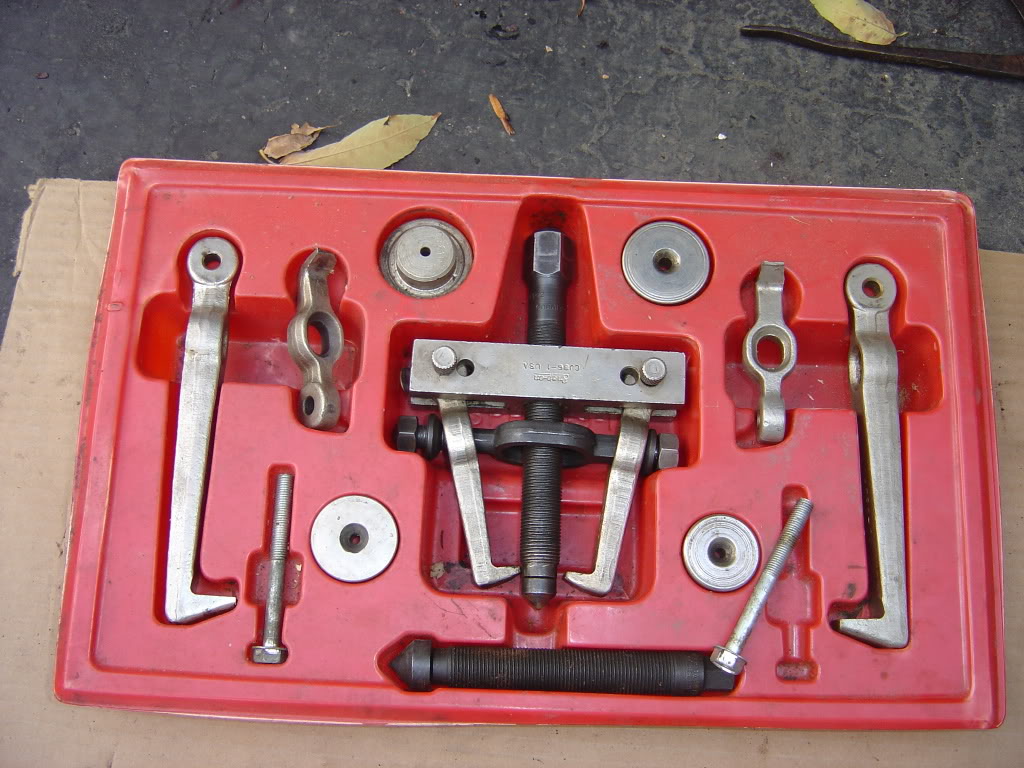
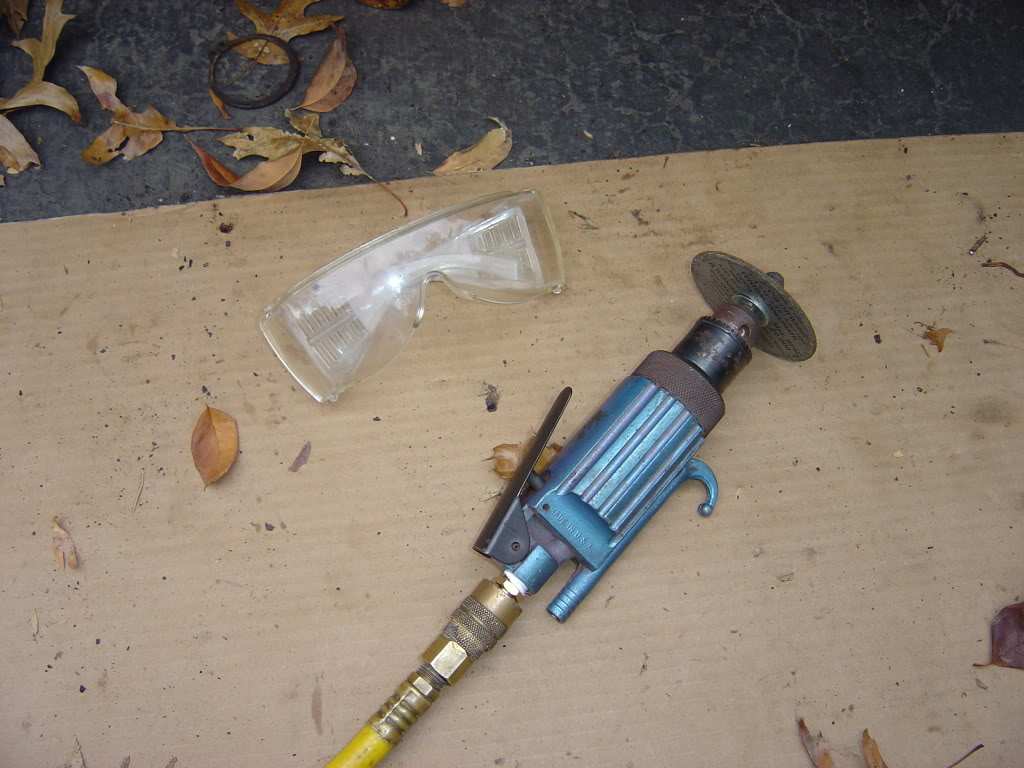
ball joint press, get the one from advance auto ( i bought one )
puller
hammer
standard screwdriver
pry bar
wrenches, 13/16 , 15/16
allen wrench, 3/8
air cut off tool, 4'' disc
channel lock, the biggest one you can get
plyers
crescent wrench
ball joint fork
( you don't need the spring compressors)
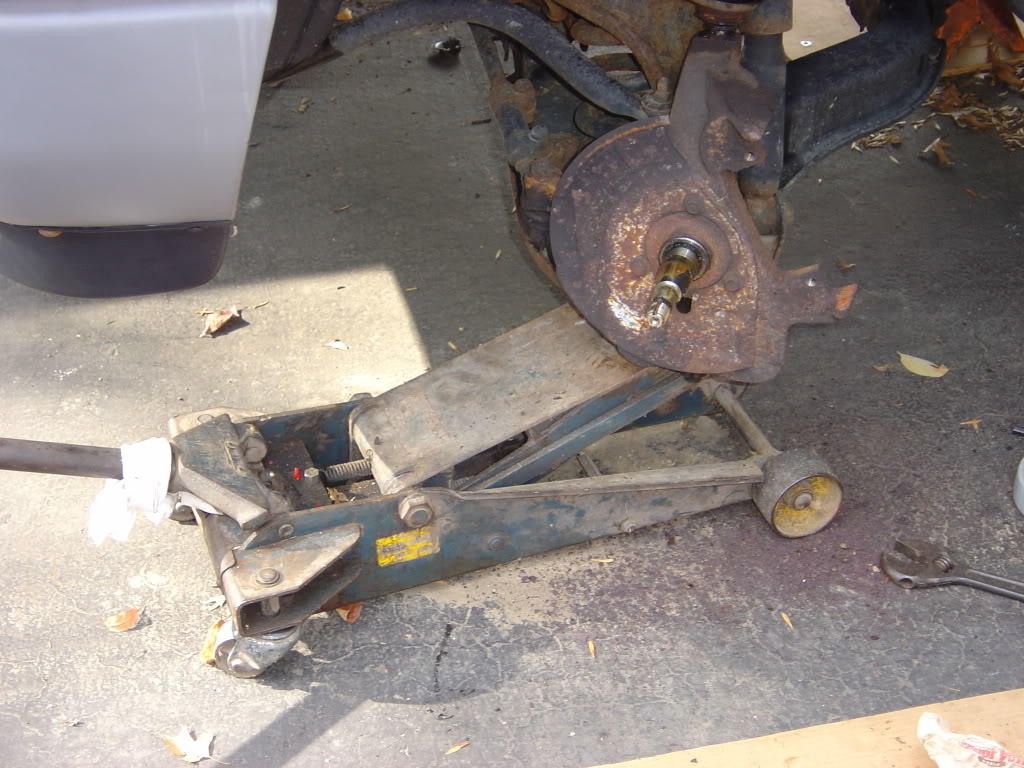
puller
wheel
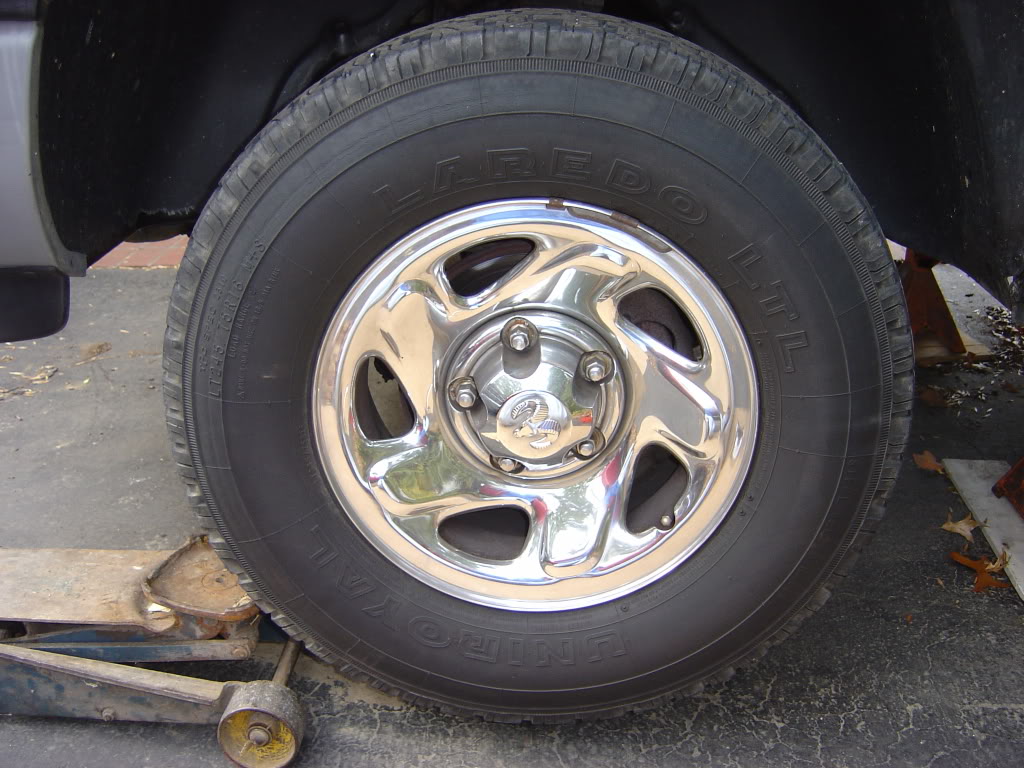
wheel off
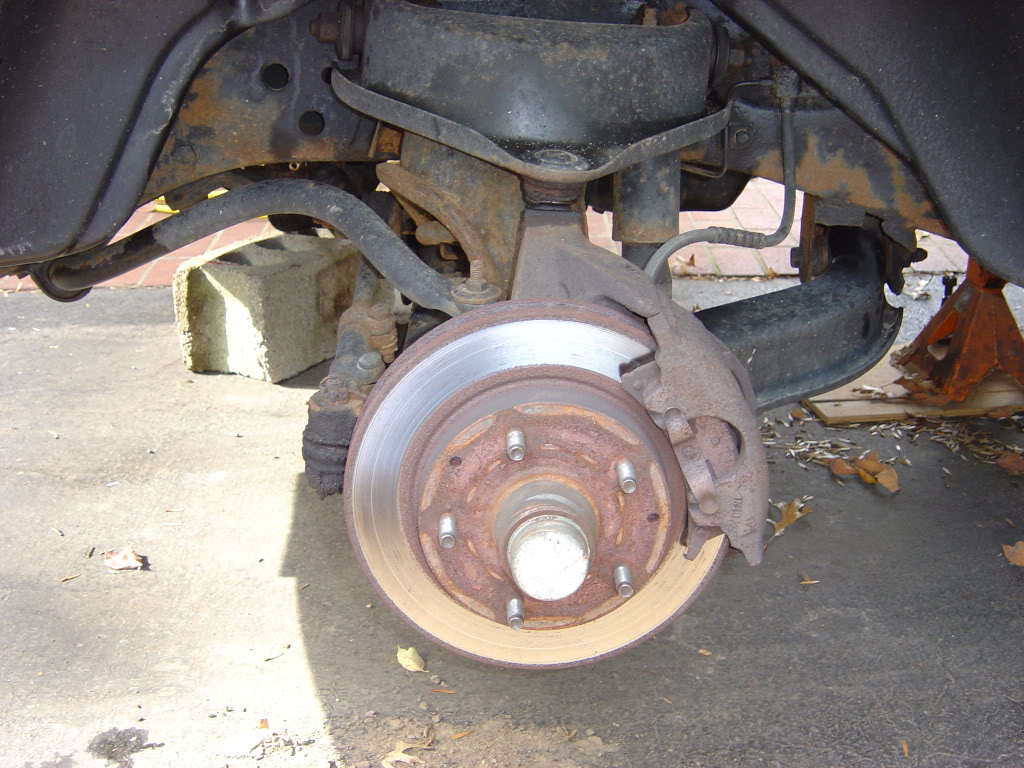
(option take off rotor< i was going to repack my wheel bearings>)
pop of master cap
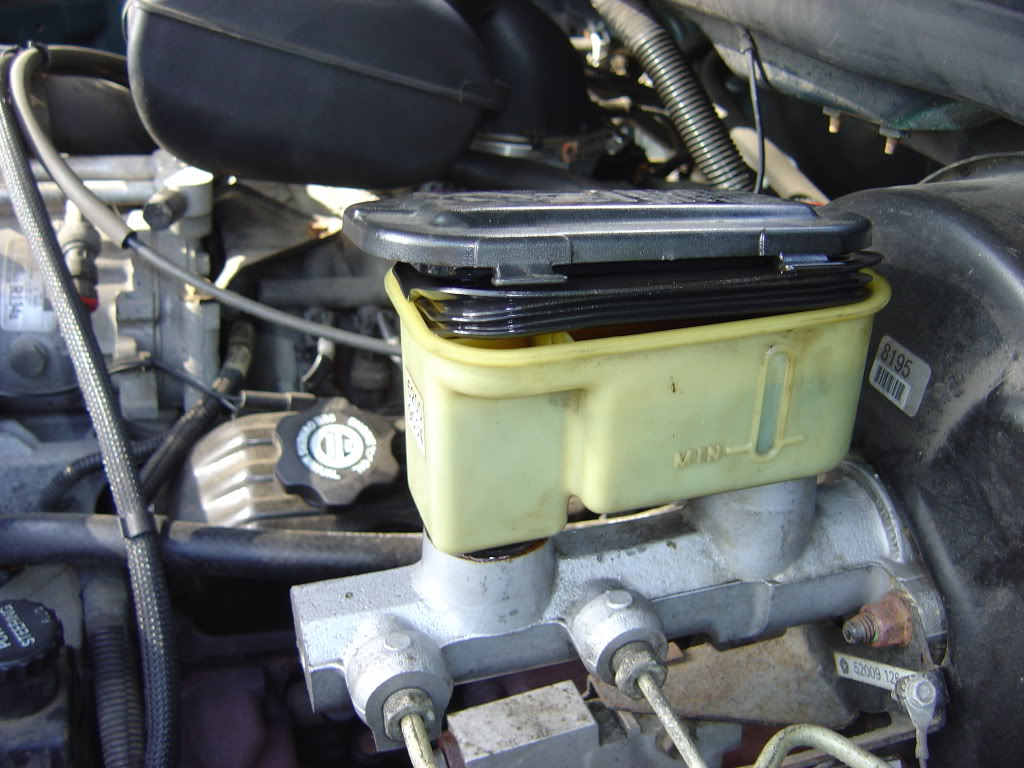
press in piston
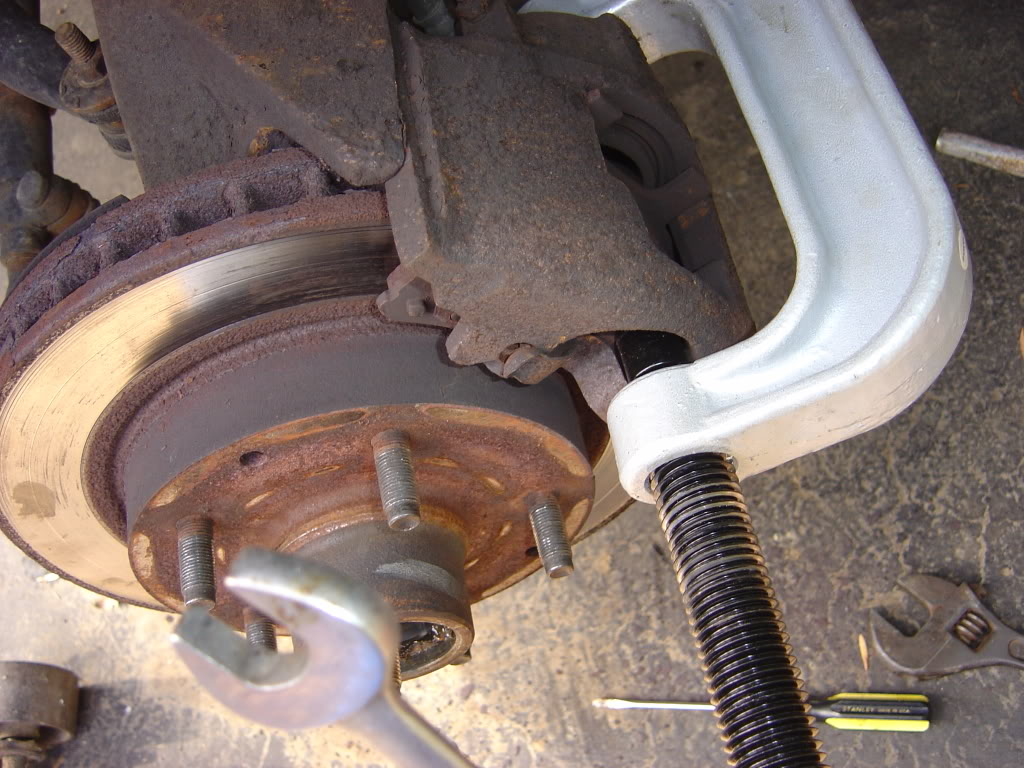
removing caliper 3/8in allen, then take it off (may need pry bar) sit caliper on top of control arm
take off cap
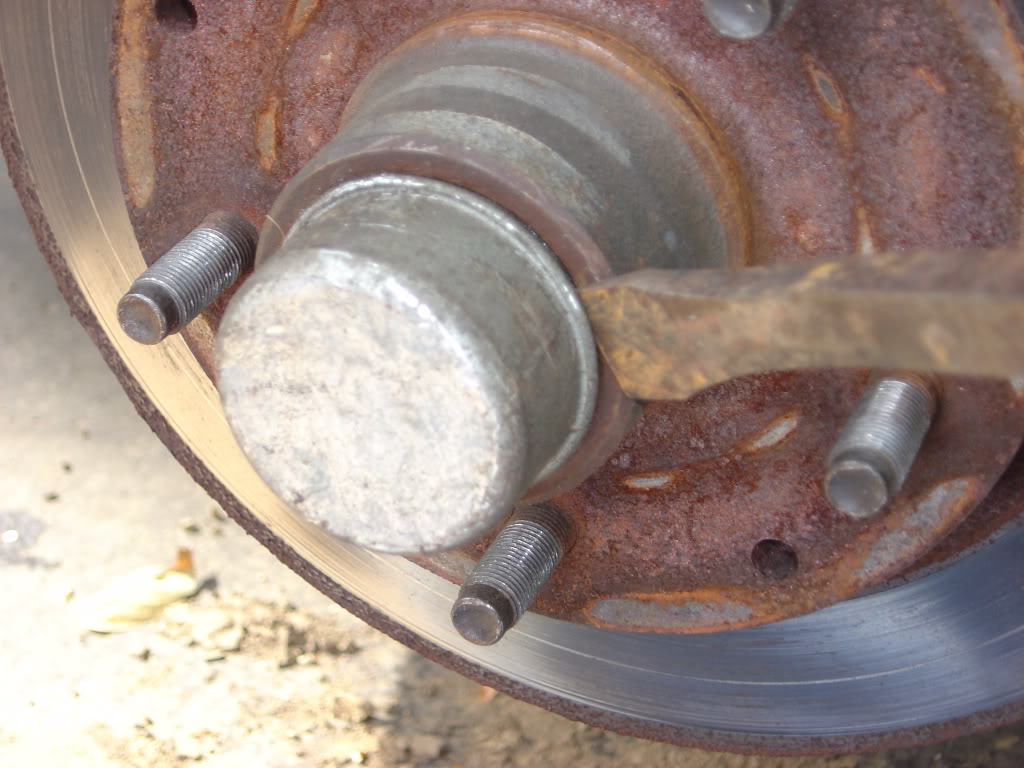
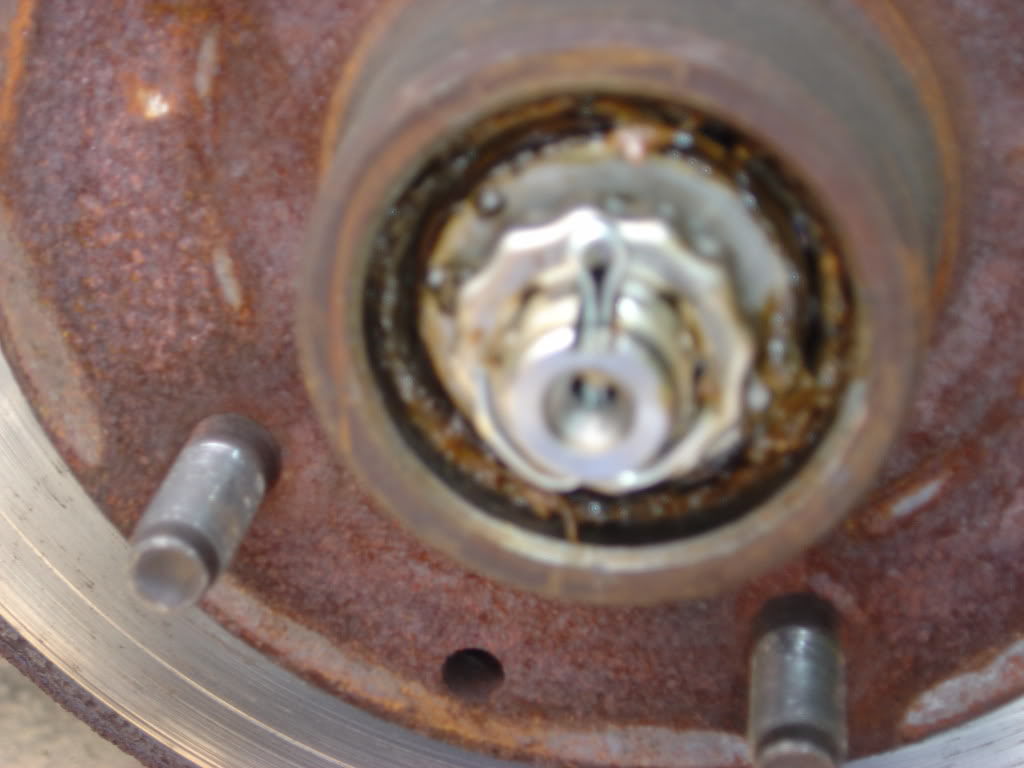
now take off this nut
side bearing out
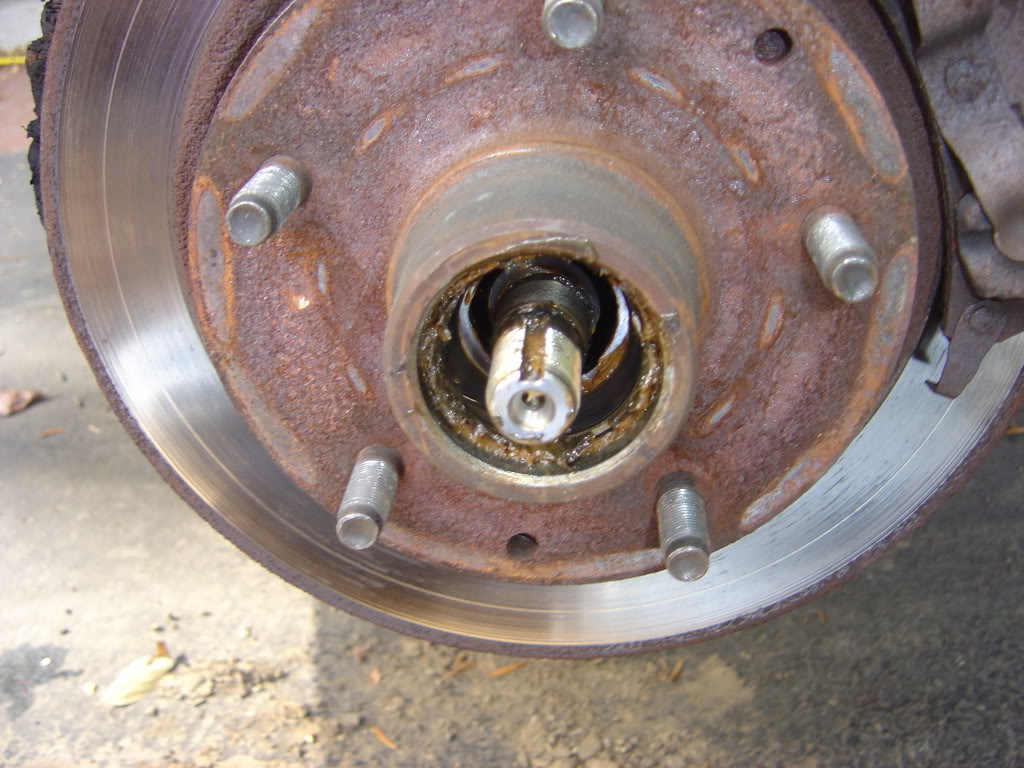
now you can slide the rotor off
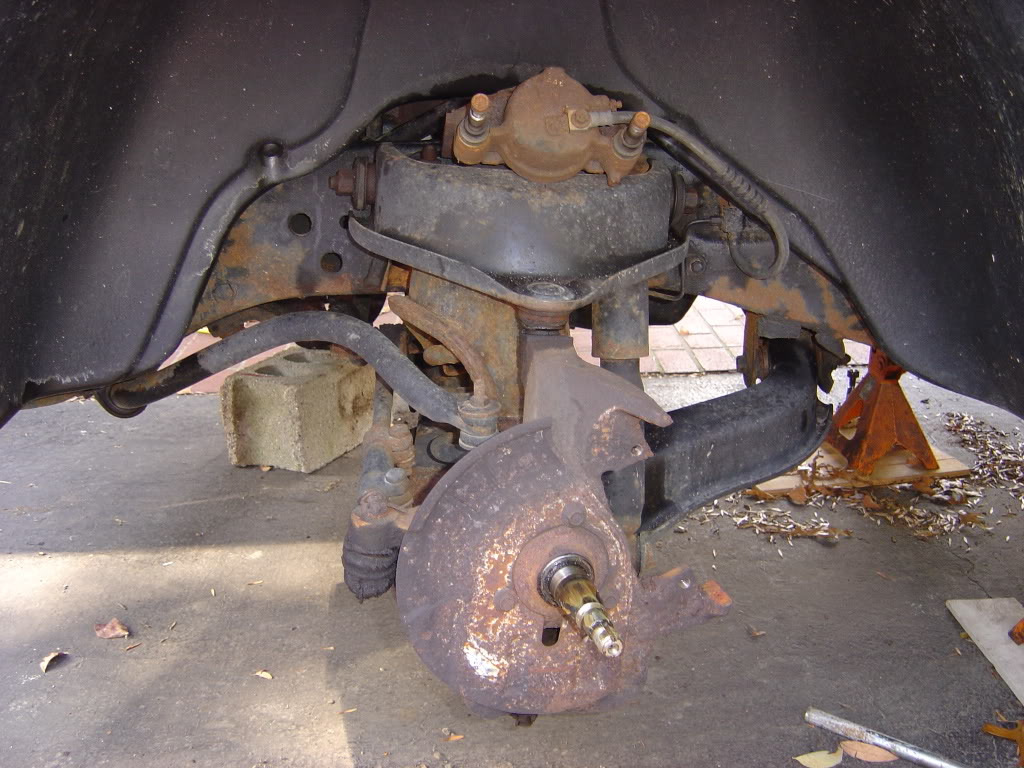
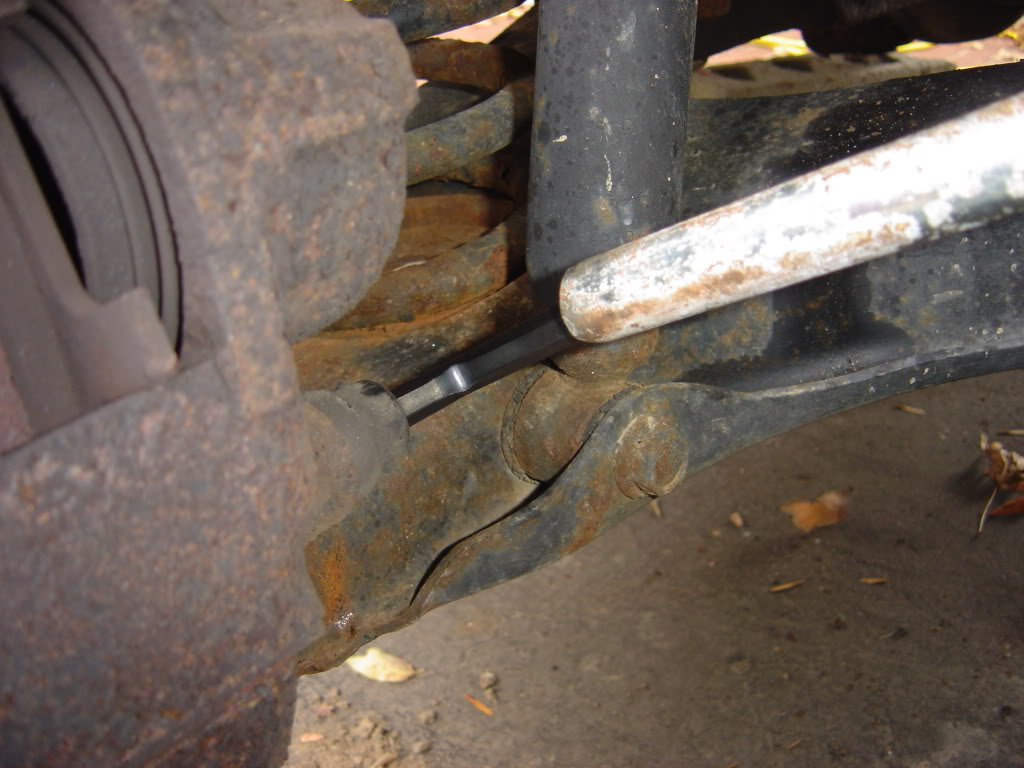
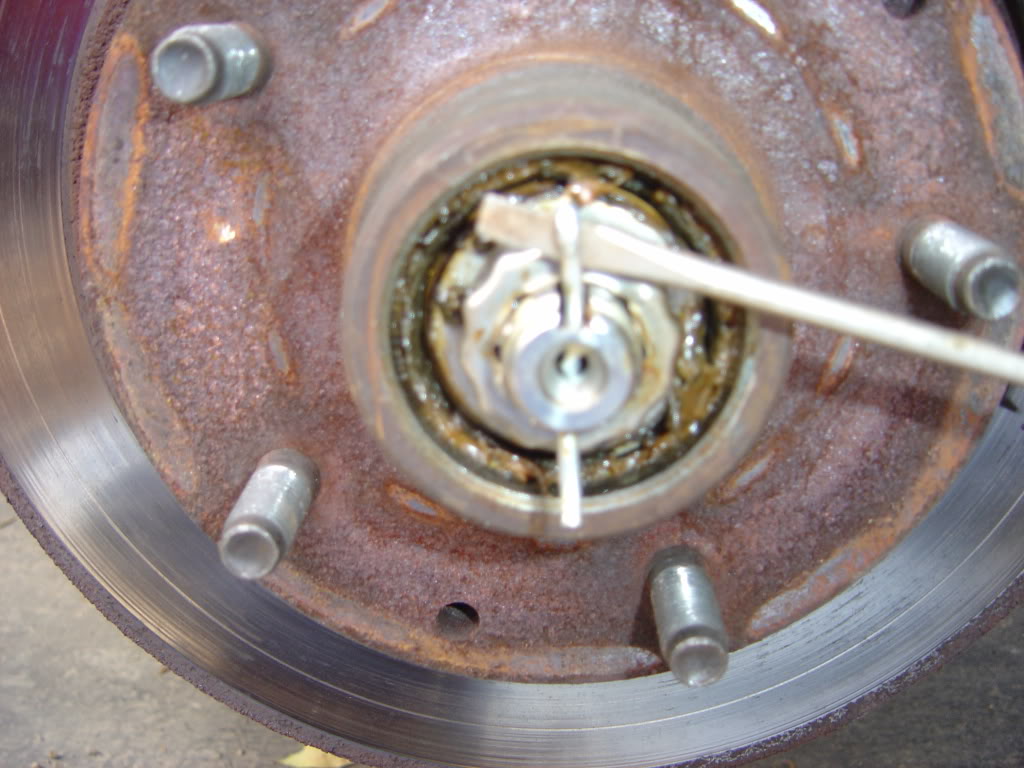
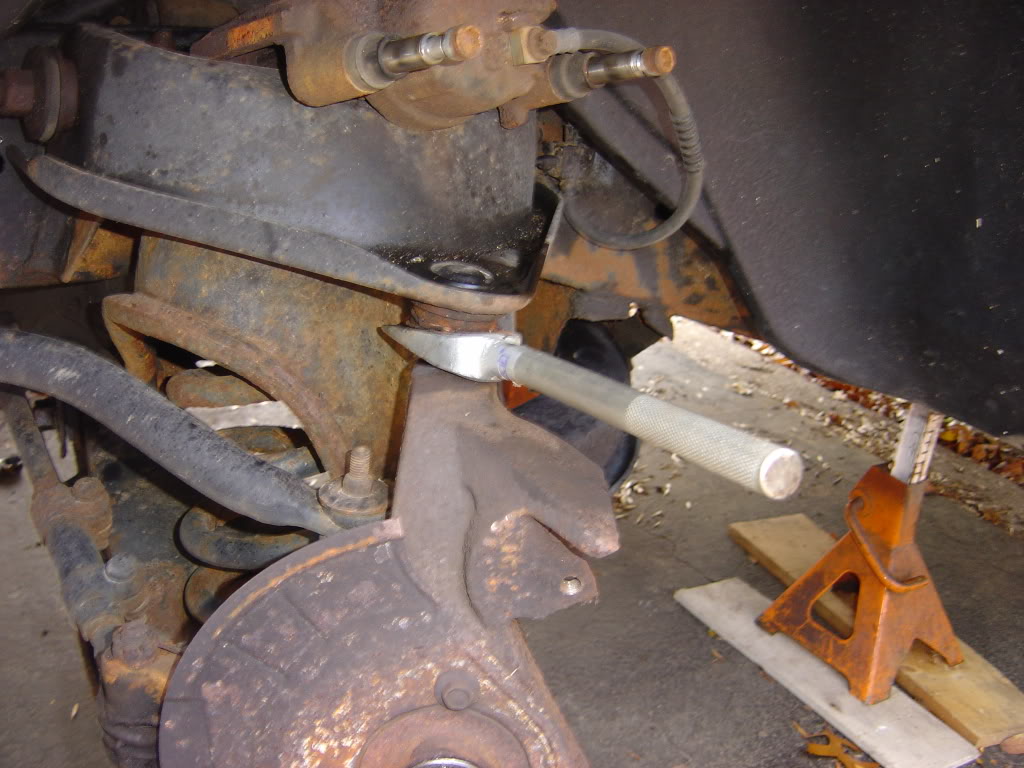
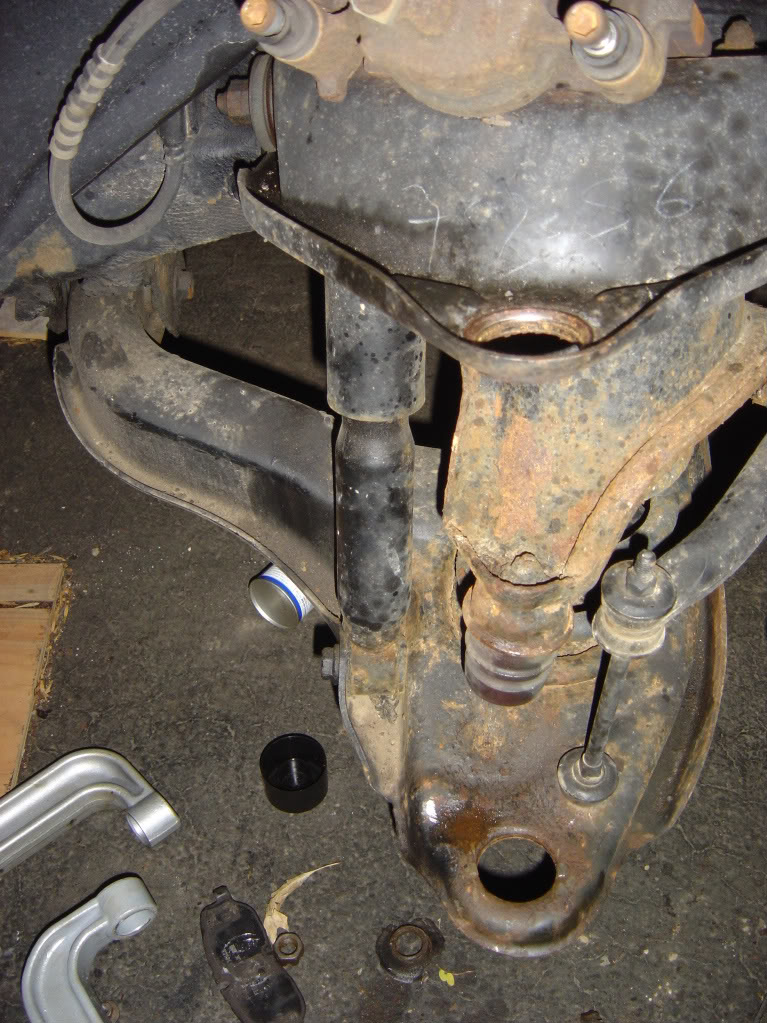
upper joint take out pin
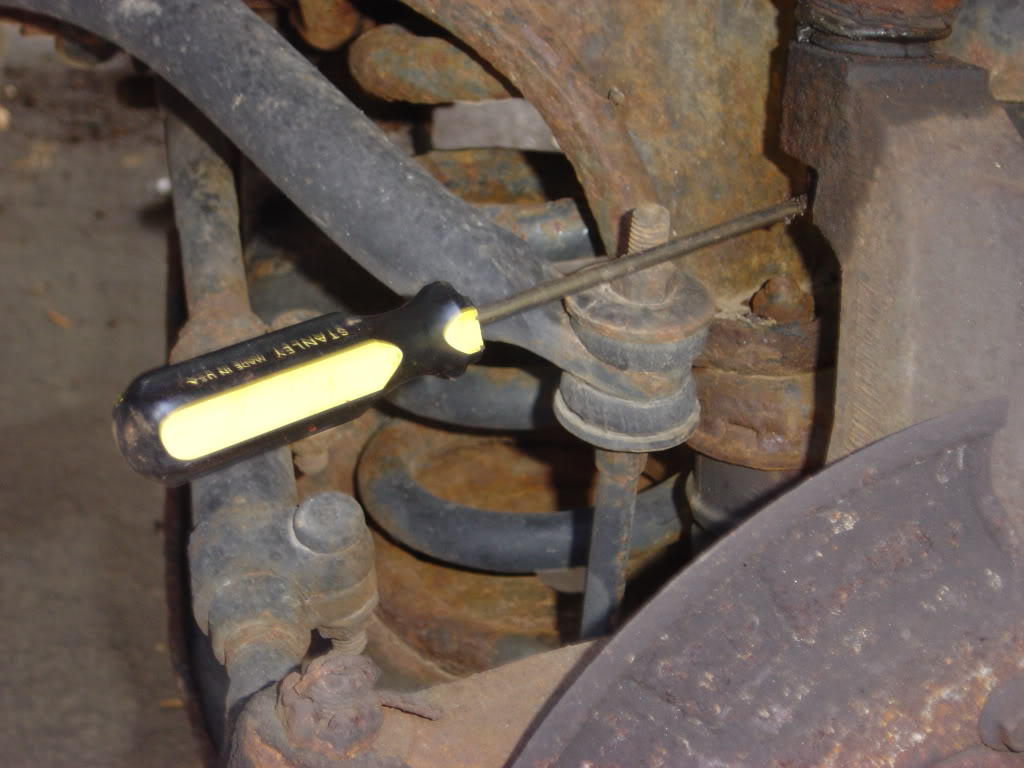
back off the nut on upper joint 13/16 wrench
support lower control arm with jack (it shouldn't no no were because of the shock but safe first)
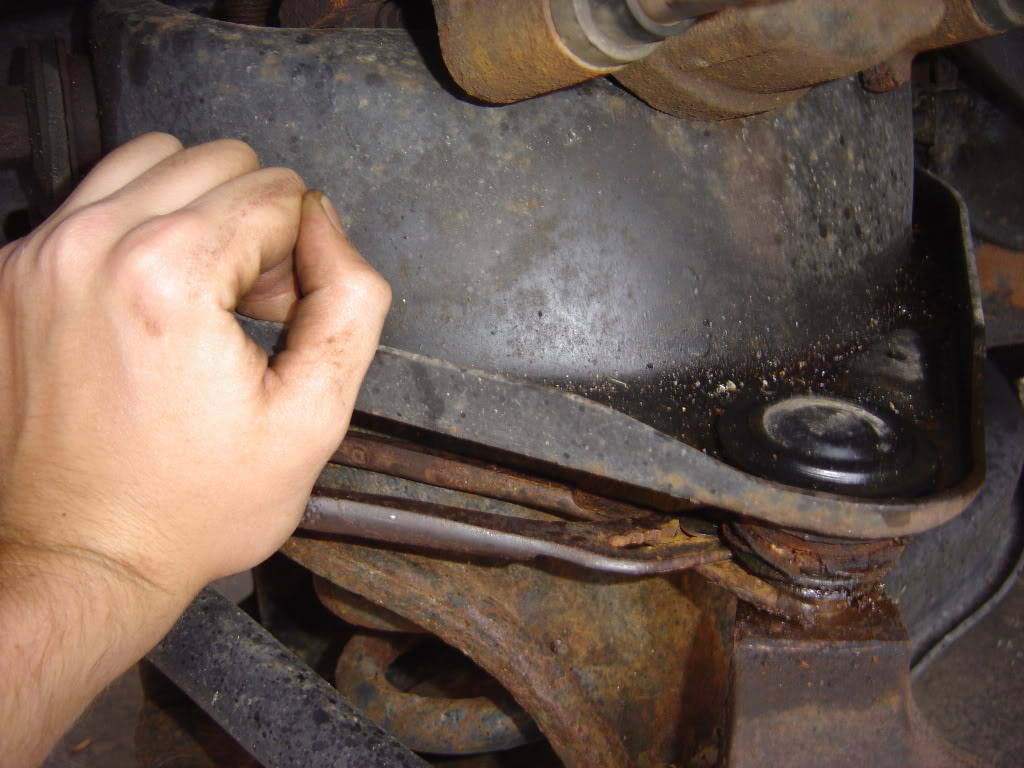
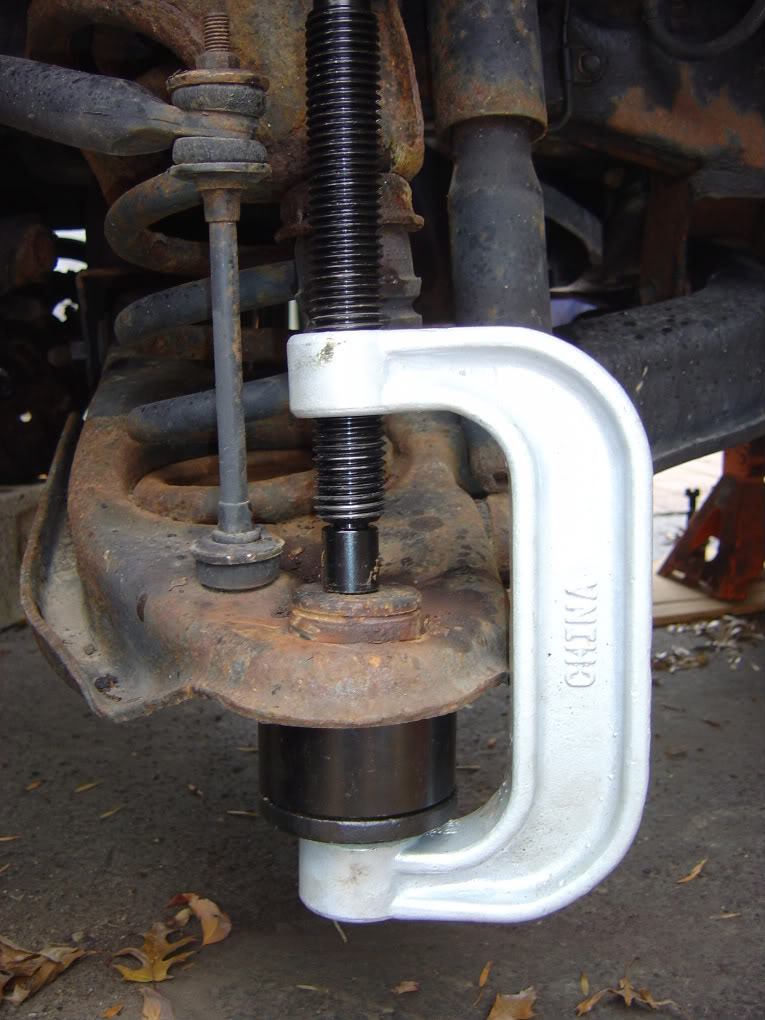
put in ball joint fork,and hit it
ball joint was so loose i had to use a channel lock
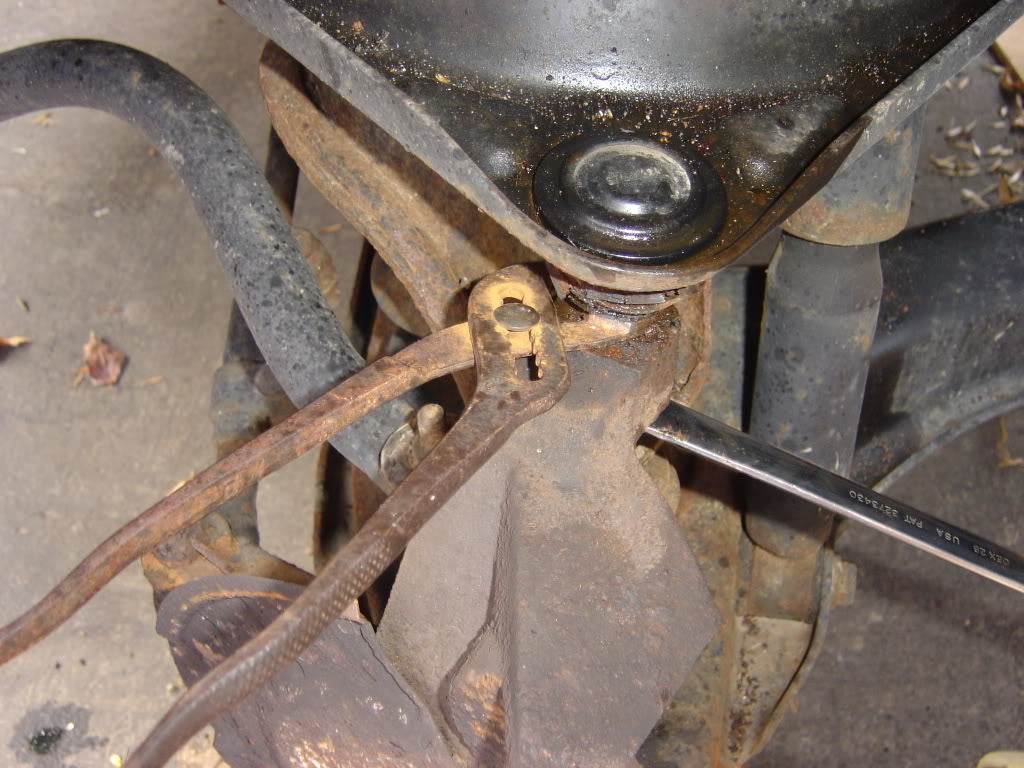
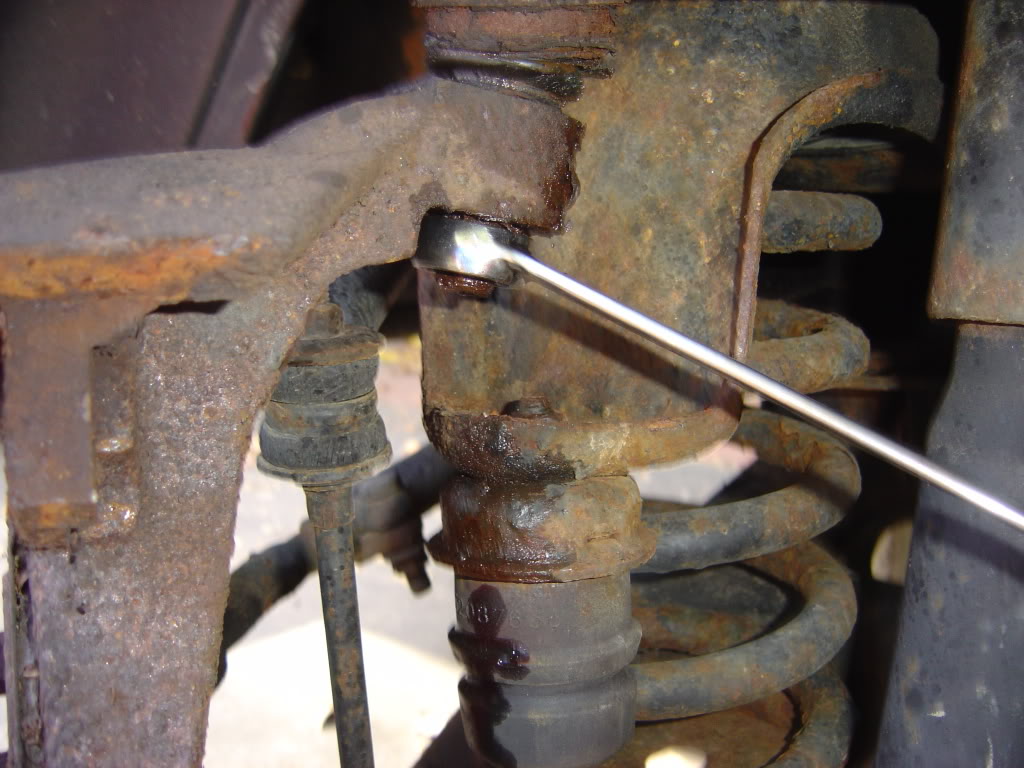
do the same with the bottom, pull pin out...ect
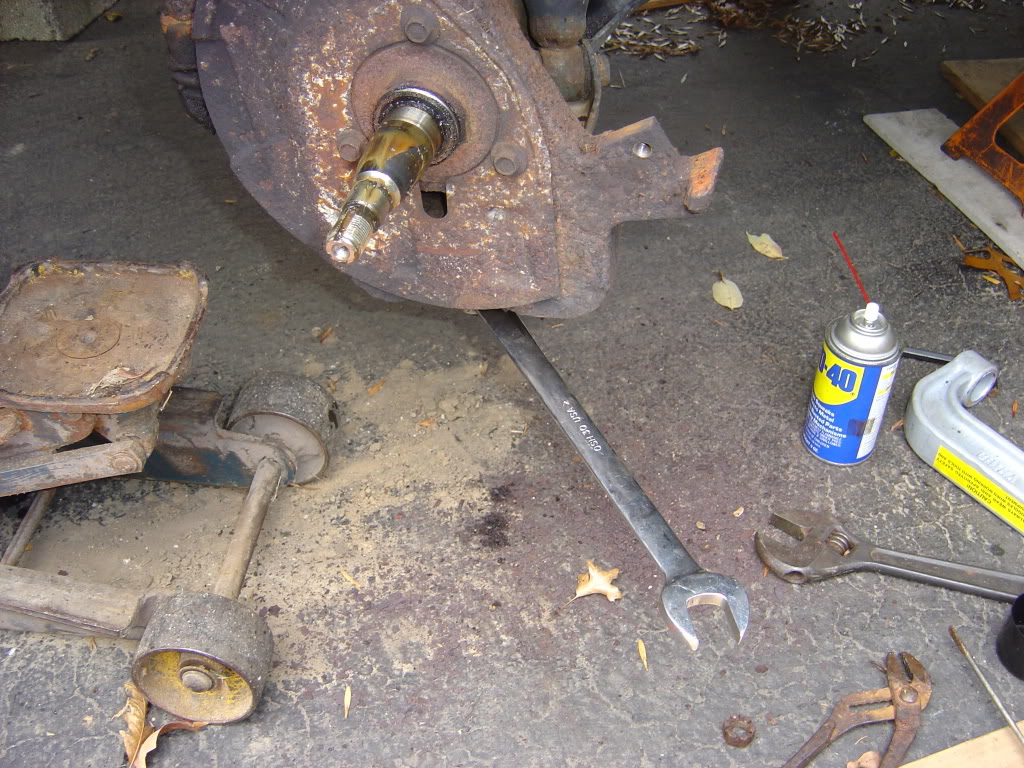
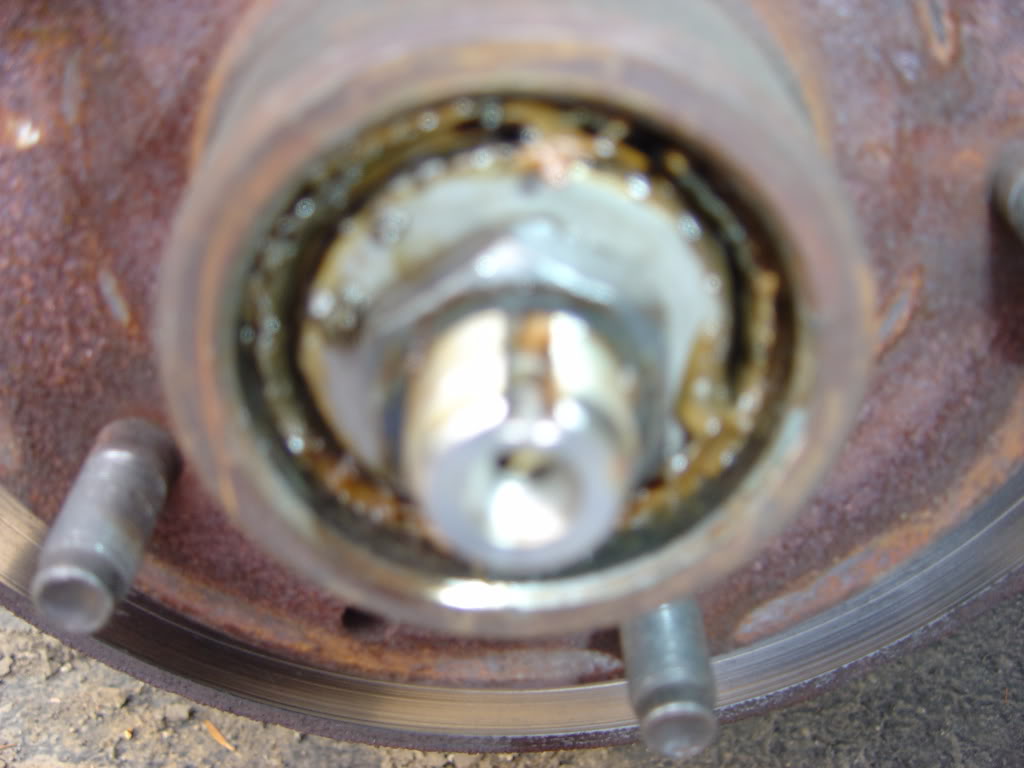
undo the nut sum and put the puller on
now take off the nut and then remove the spindle
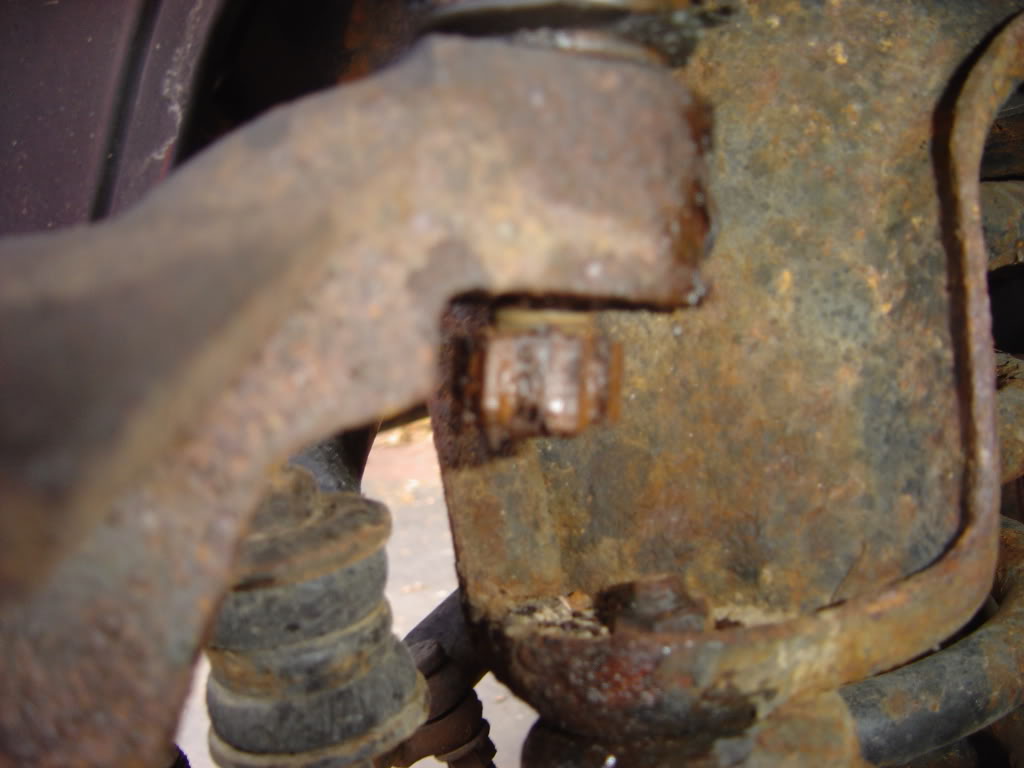
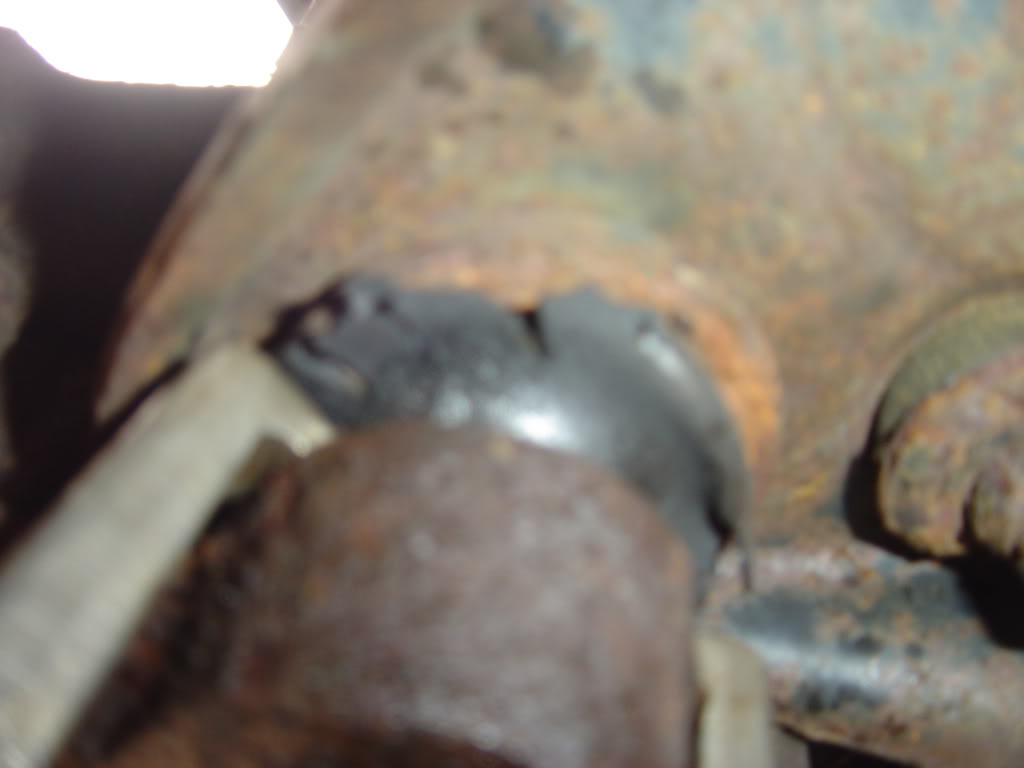
now on my 95 there are little tack welds
cut out tool can handle that
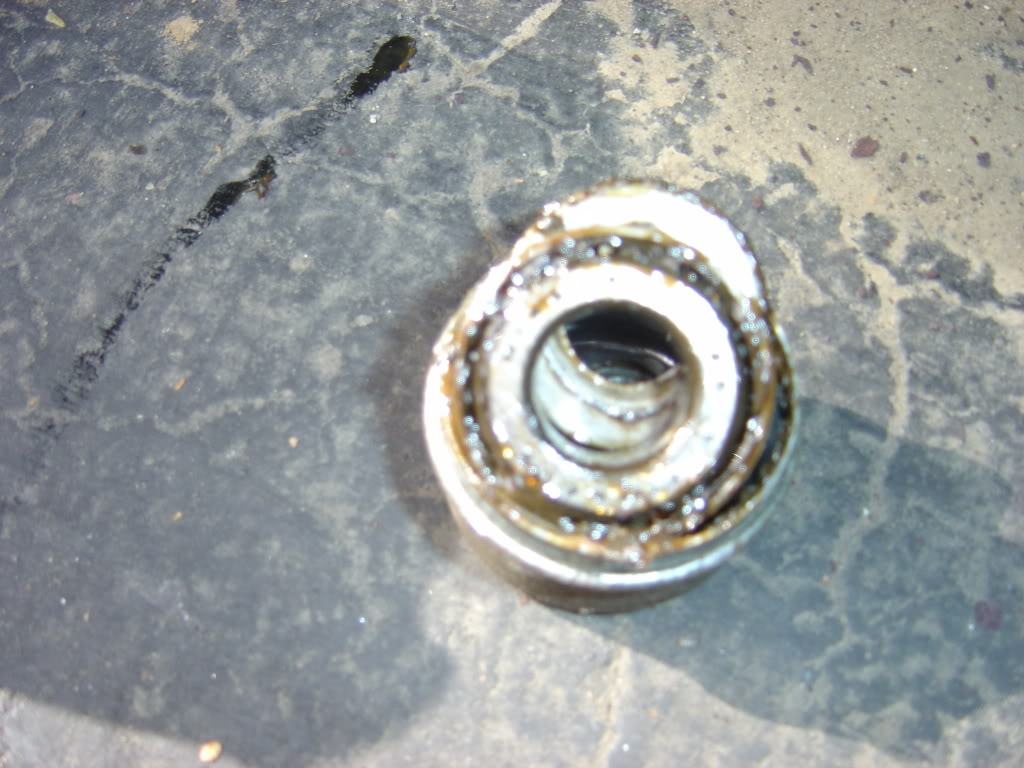
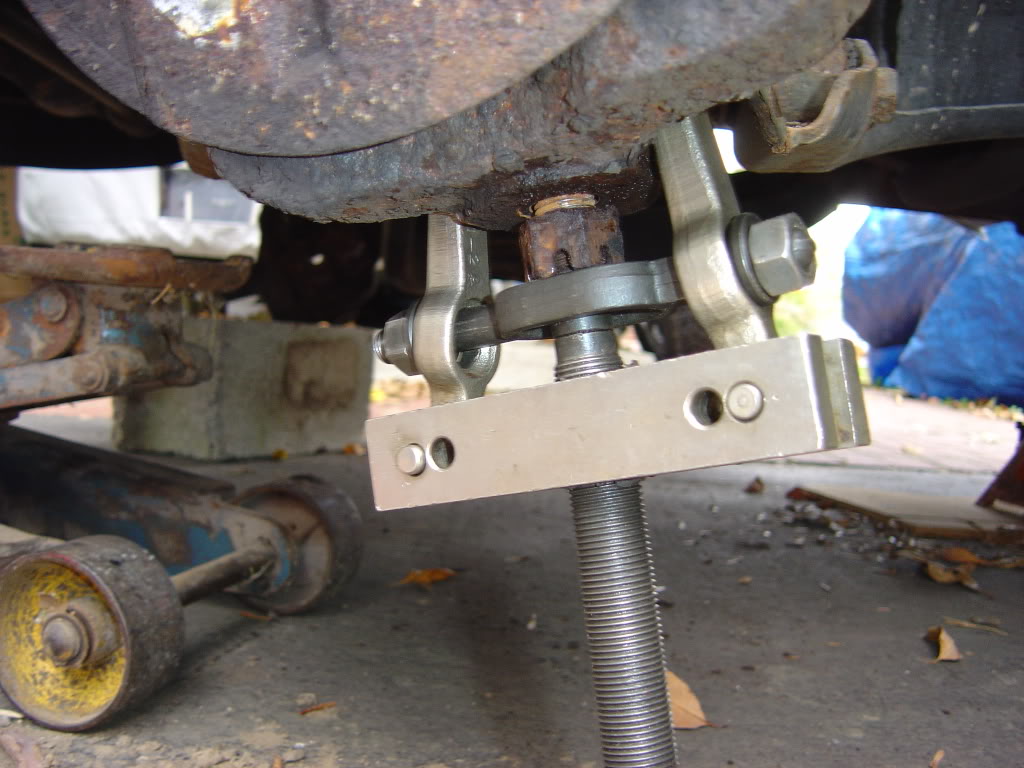
now press out the old new ball joint
the top joint is the same idea( sorry i forgot a pic)
both top and bottom out
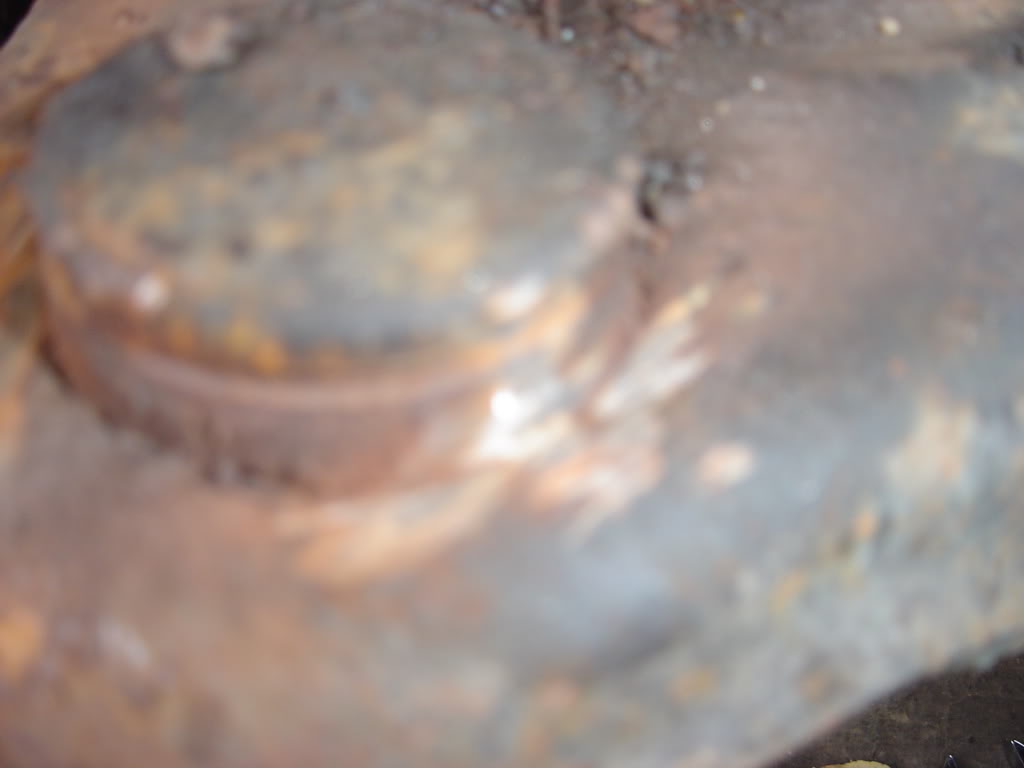
top new joint going in..... pressing down
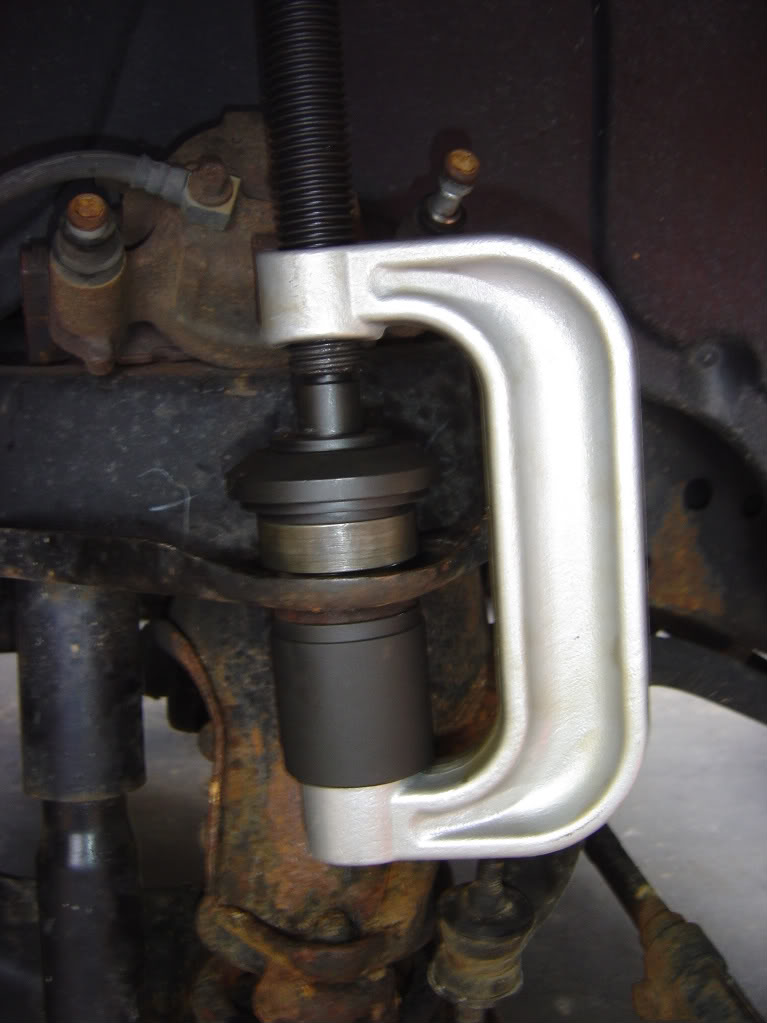
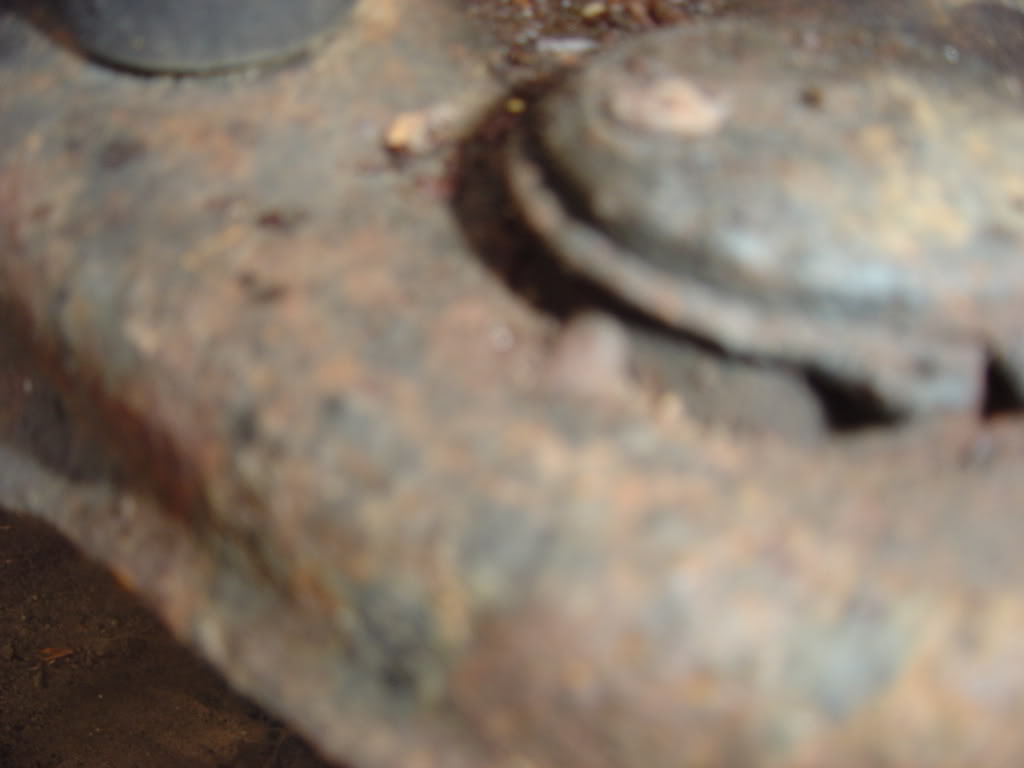
last pic is what i think to be the cup configuration to get the lower joint in... this joint is pressed up
after that you need to put the boots on, easyer to use of the cups to press the boot on the joint.
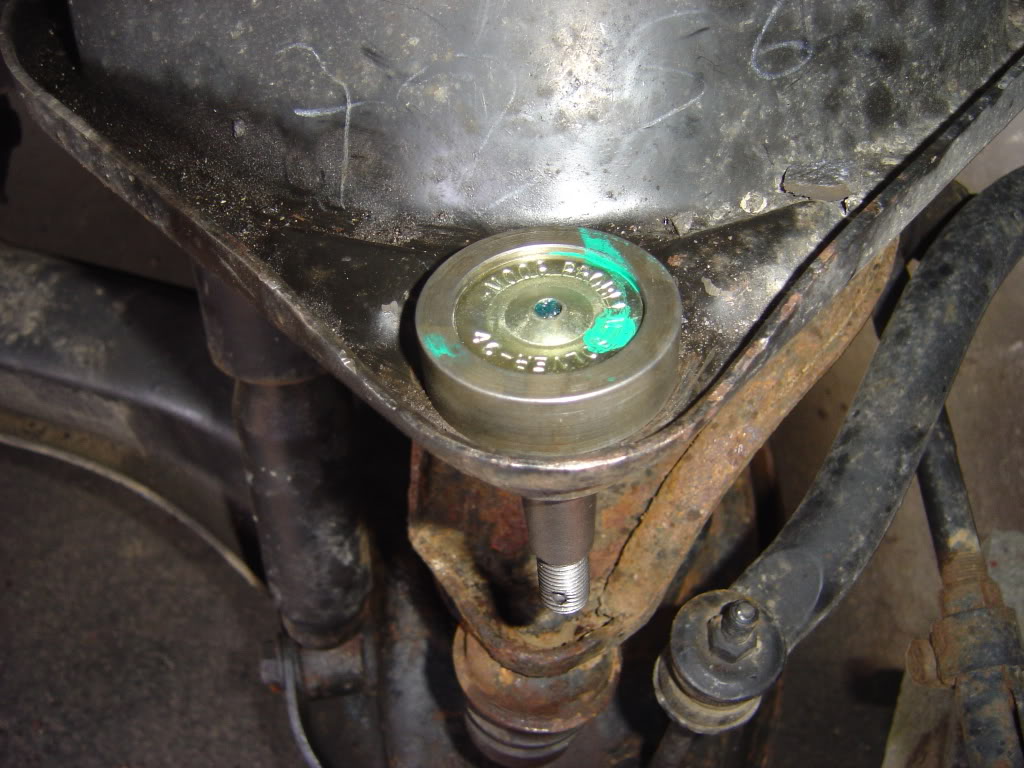
then put the grease nipples on
put the spindle back on, bolts on joint and castle pins
(option take off rotor part)
then rotor if you took it off( good time to repack wheel bearings)
then put caliper back on also cap on master
then wheel and lugs
hope this helps
tools "i" used
ball joint press, get the one from advance auto ( i bought one )
puller
hammer
standard screwdriver
pry bar
wrenches, 13/16 , 15/16
allen wrench, 3/8
air cut off tool, 4'' disc
channel lock, the biggest one you can get
plyers
crescent wrench
ball joint fork
( you don't need the spring compressors)
puller
wheel
wheel off
(option take off rotor< i was going to repack my wheel bearings>)
pop of master cap
press in piston
removing caliper 3/8in allen, then take it off (may need pry bar) sit caliper on top of control arm
take off cap
now take off this nut
side bearing out
now you can slide the rotor off
upper joint take out pin
back off the nut on upper joint 13/16 wrench
support lower control arm with jack (it shouldn't no no were because of the shock but safe first)
put in ball joint fork,and hit it
ball joint was so loose i had to use a channel lock
do the same with the bottom, pull pin out...ect
undo the nut sum and put the puller on
now take off the nut and then remove the spindle
now on my 95 there are little tack welds
cut out tool can handle that
now press out the old new ball joint
the top joint is the same idea( sorry i forgot a pic)
both top and bottom out
top new joint going in..... pressing down
last pic is what i think to be the cup configuration to get the lower joint in... this joint is pressed up
after that you need to put the boots on, easyer to use of the cups to press the boot on the joint.
then put the grease nipples on
put the spindle back on, bolts on joint and castle pins
(option take off rotor part)
then rotor if you took it off( good time to repack wheel bearings)
then put caliper back on also cap on master
then wheel and lugs
hope this helps
Last edited by dodgeram07; 05-12-2010 at 10:27 PM.
#2
11-05-2008, 10:02 PM

#4
11-06-2008, 09:58 AM
#5
04-02-2009, 11:08 AM

Registered User
Join Date: Mar 2009
Location: Ontario, Canada
Posts: 19
Likes: 0
Received 0 Likes
on
0 Posts

#7
04-03-2009, 12:18 AM
Captain
Join Date: Jul 2008
Location: Houston, TX
Posts: 678
Likes: 0
Received 0 Likes
on
0 Posts
Trending Topics
#8
06-16-2009, 12:44 AM
Professional
Join Date: Jun 2009
Location: High Ridge, MO
Posts: 152
Likes: 0
Received 0 Likes
on
0 Posts
#9
06-16-2009, 02:44 AM

Nice writeup.
Ball joints aren't all that bad ,,, If you have the proper tools.
If you try to improvise a press with c clamps and various hunks of pipe you might make it harder than it needs to be, unless you got the right size pipes laying around.
I went and rented out a nice press kit and fork kit from murrays, well worth it.
Those $7 forks aren't worth a crap, and usually warp well before the joint is separated.
Worth noting also that the top drops in and the bottom goes up, snapped a couple of wrenches pressing the wrong way before it finally dawned on me that they don't both drop in - The 2nd set is easier than the first, if you don't do these too often.
I think the 1st took me about 3 hours, but the second I had done in less than 2.
I had no tack weld or rivets to contend with.
I would recommend, after loosening the lug nuts, jacking the vehicle up and placing stands under both control arms, then letting it down until the arms have most of the weight.
I leave the jack under the cross member with a little bit of the weight still on it, and lay the tires under the front of the frame rails for good measure.
I had no need to take off the rotor or brakes, if you do it like that, make sure to have somewhere to set it set up in advance, keeping in mind the brake line will only let you go so far with it, and it gets heavy real quick.
Milk crate or spare tool box works fine - And make sure to leave one nut threaded in a bit, don't want it to pop off when you break the 2nd joint.
#10
06-25-2009, 02:47 PM
Registered User
Join Date: May 2008
Location: Florida
Posts: 3
Likes: 0
Received 0 Likes
on
0 Posts
Did you have to get the alignment done after working through this? I have a 2001 1500 and my left front is cutting into my tires (the control arm is cutting tire), so I definately need mine done. Doesn't look too bad. Of course these projects NEVER go smoothly for me...or fast.