
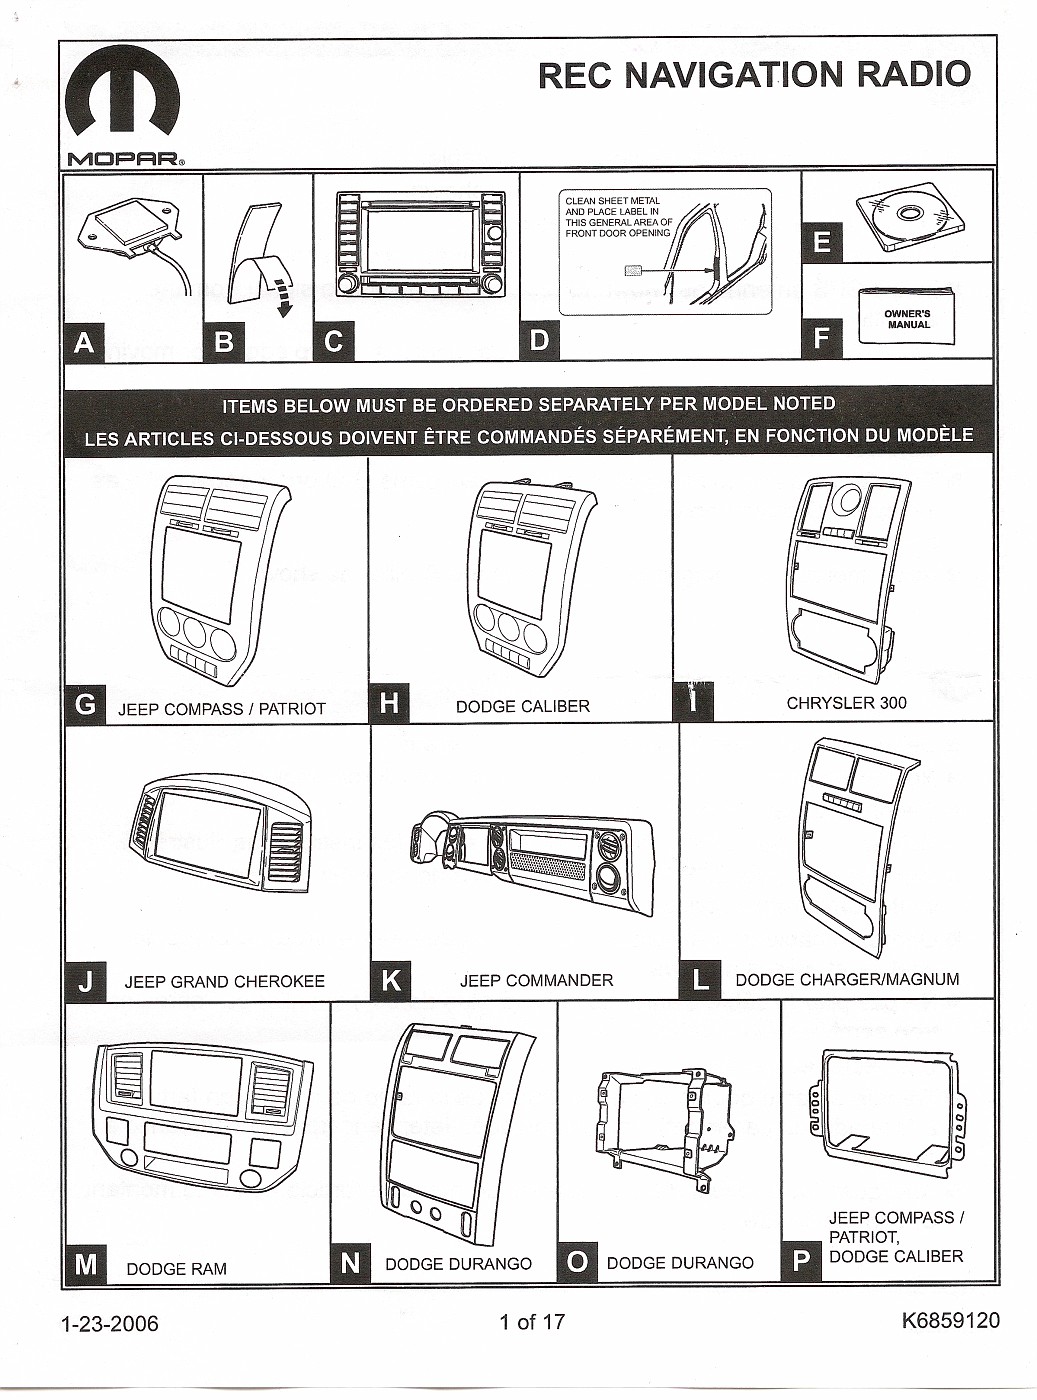
2007 Ram Navigation Radio (REC) installation (PIC'S)
#1
 07-31-2012, 01:09 AM


I knew when I bought this truck that since it did not have a Navigation radio that I would, at some point, install one.
Today was that "at some point" day.
The REC Navigation Radio was bought off E-Bay for $599.00, new in the box Chrysler kit.
I reviewed the instructions that came with the radio kit and it looked SOOOO easy!
Well...it isn't a hard install ...just a little involved.
A New radio/dash bezel was obtained off E-Bay for $87.00 and was also a Chrysler part. This does not come in the Radio Kit.
Enough talk...onto the pic's!
This is the truck.
2007 Ram 1500 Laramie, 4x4
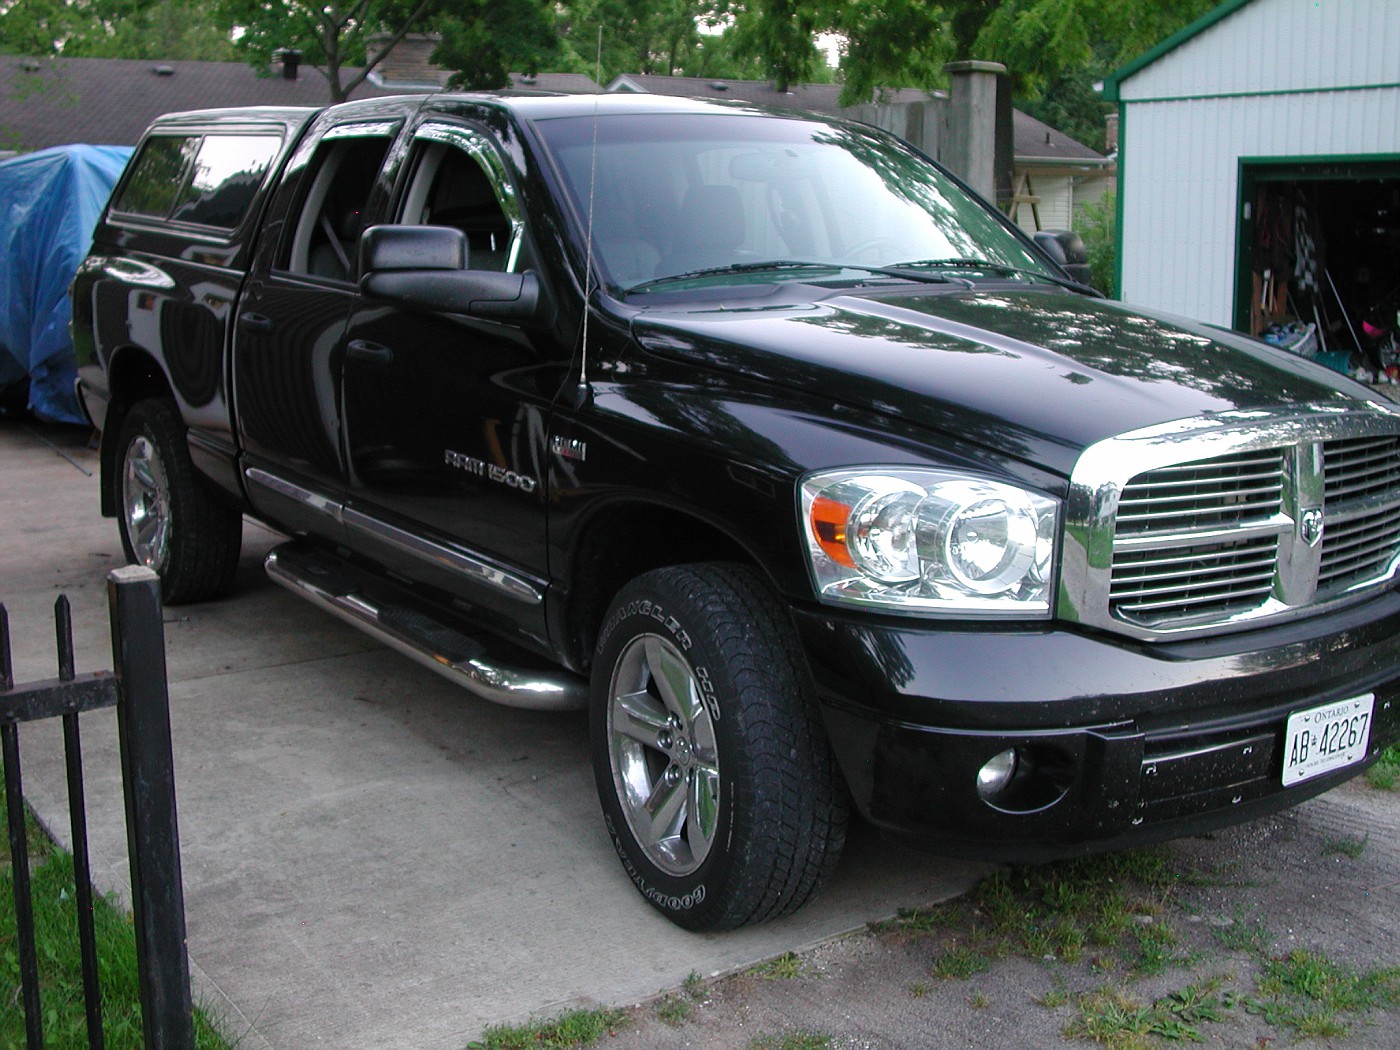
The Laramie edition trim level includes a full center console.
This complicates the radio install because it needs to come out.
There are 2 screws that secure the bottom edge of the bezel to the dash. You can't remove the radio/dash bezel without removing those 2 screws...well... you can....if you want to break stuff.
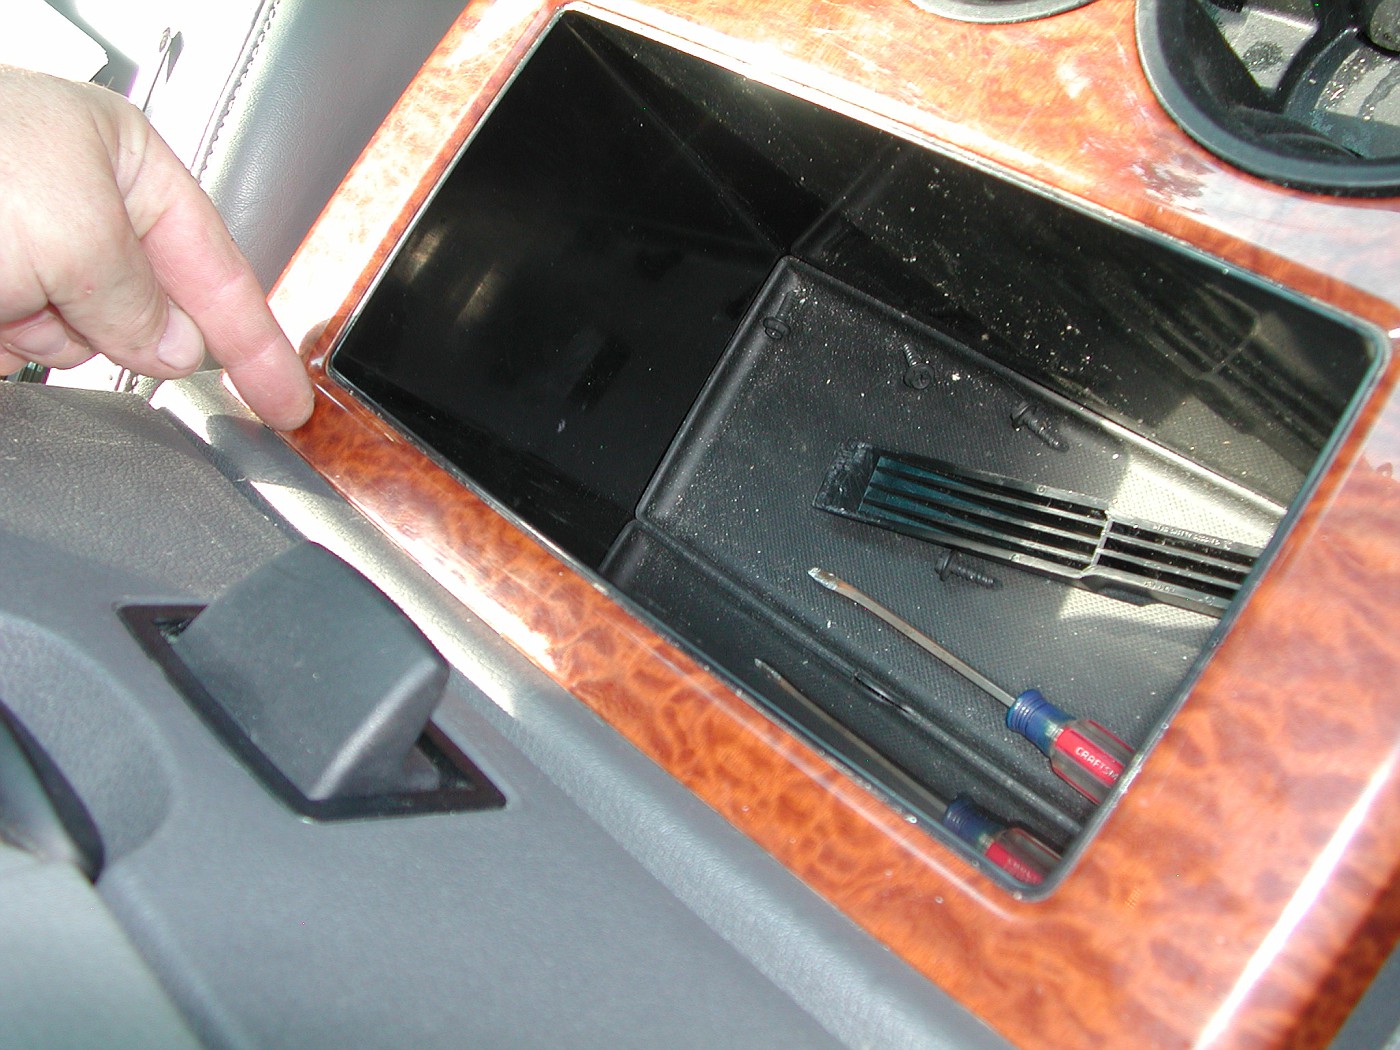
Remove center console upper trim pan by pulling up on the edges 1st.
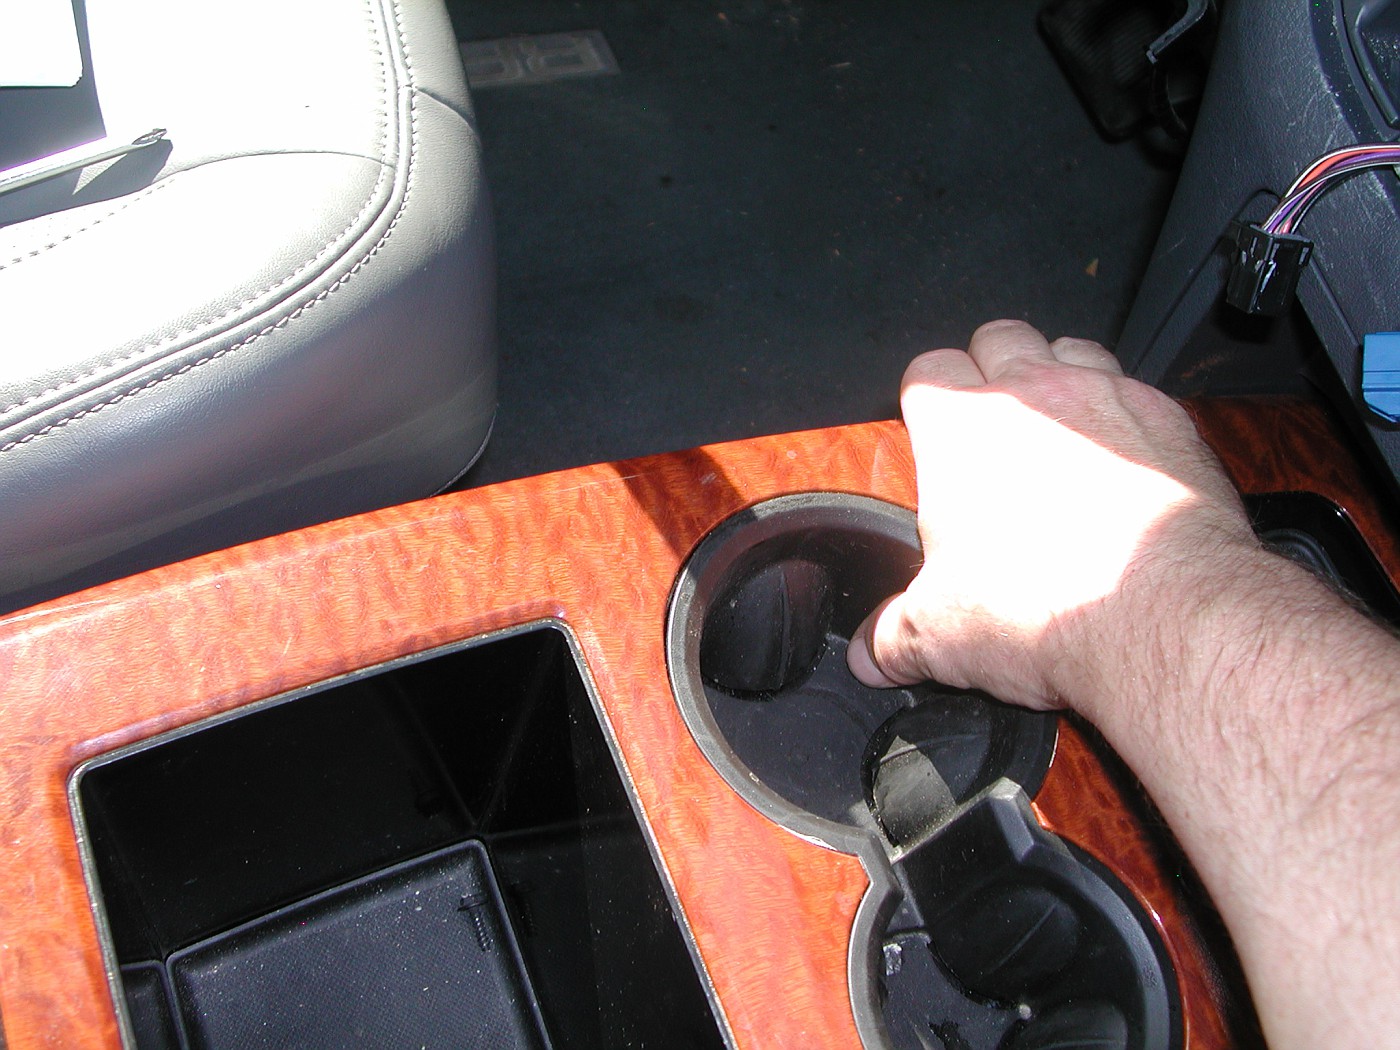
You will be able to pry the top panel up about 1/2" or so.
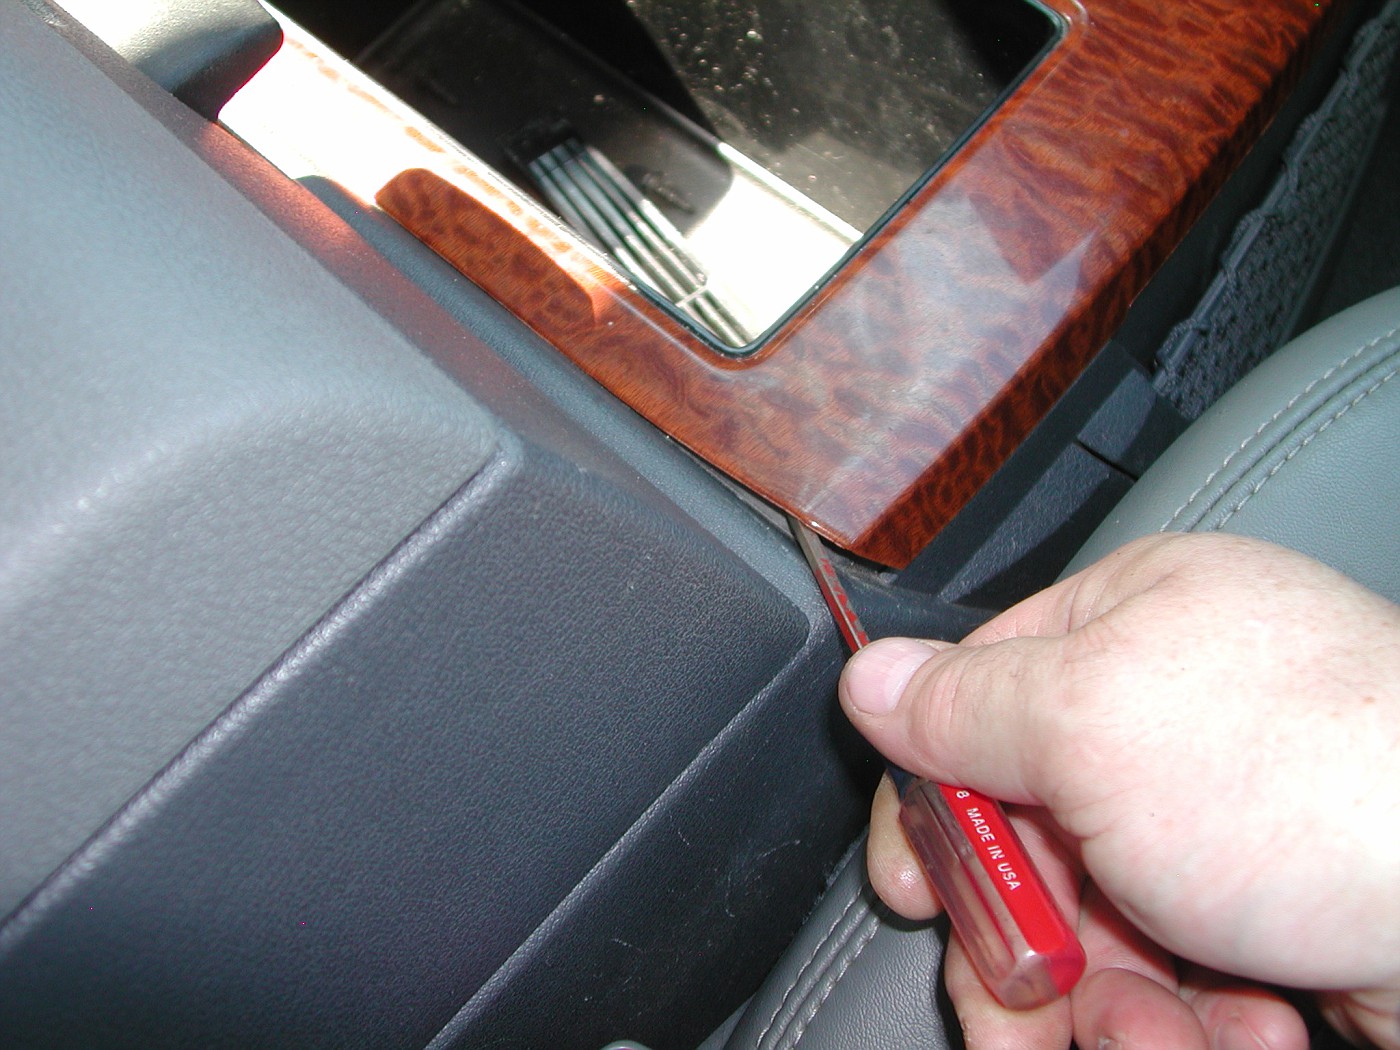
The 3 spring clips I'm pointing to are VERY hard to release. one here...
here...

And here.
I tried my non-marring tool but it wasn't stiff enough. Ended up using a small Flathead screwdriver to CAREFULLY pry the clips up out of the retaining slots.
It gives a loud POP when it breaks loose. You need to pry up on each of the 3 clips. The other clips don't release themselves once you get one done.
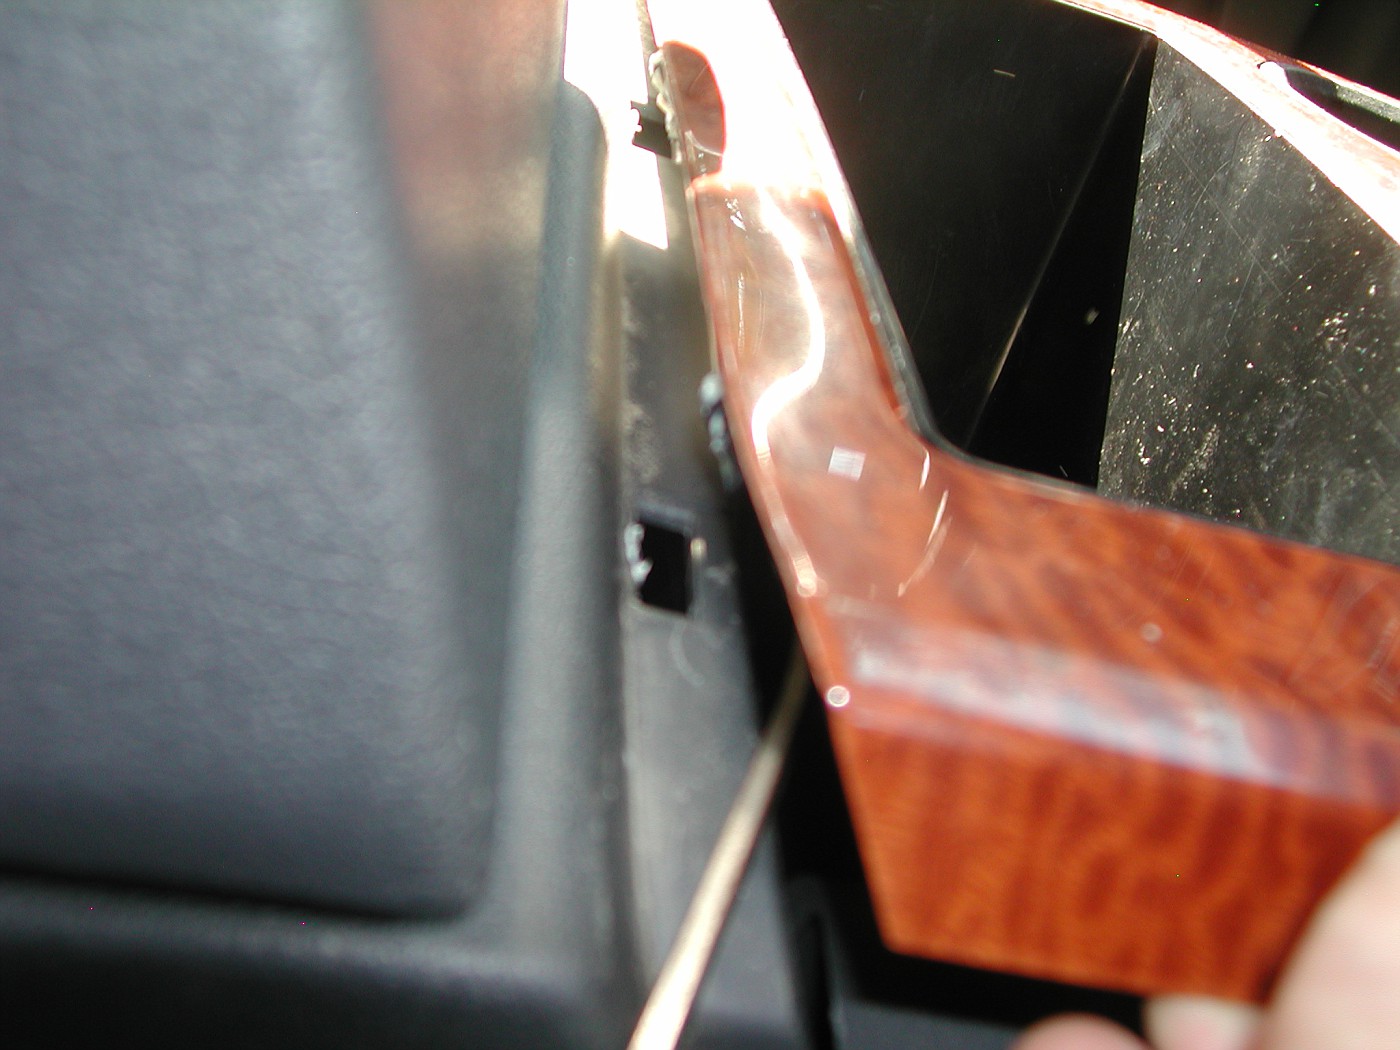
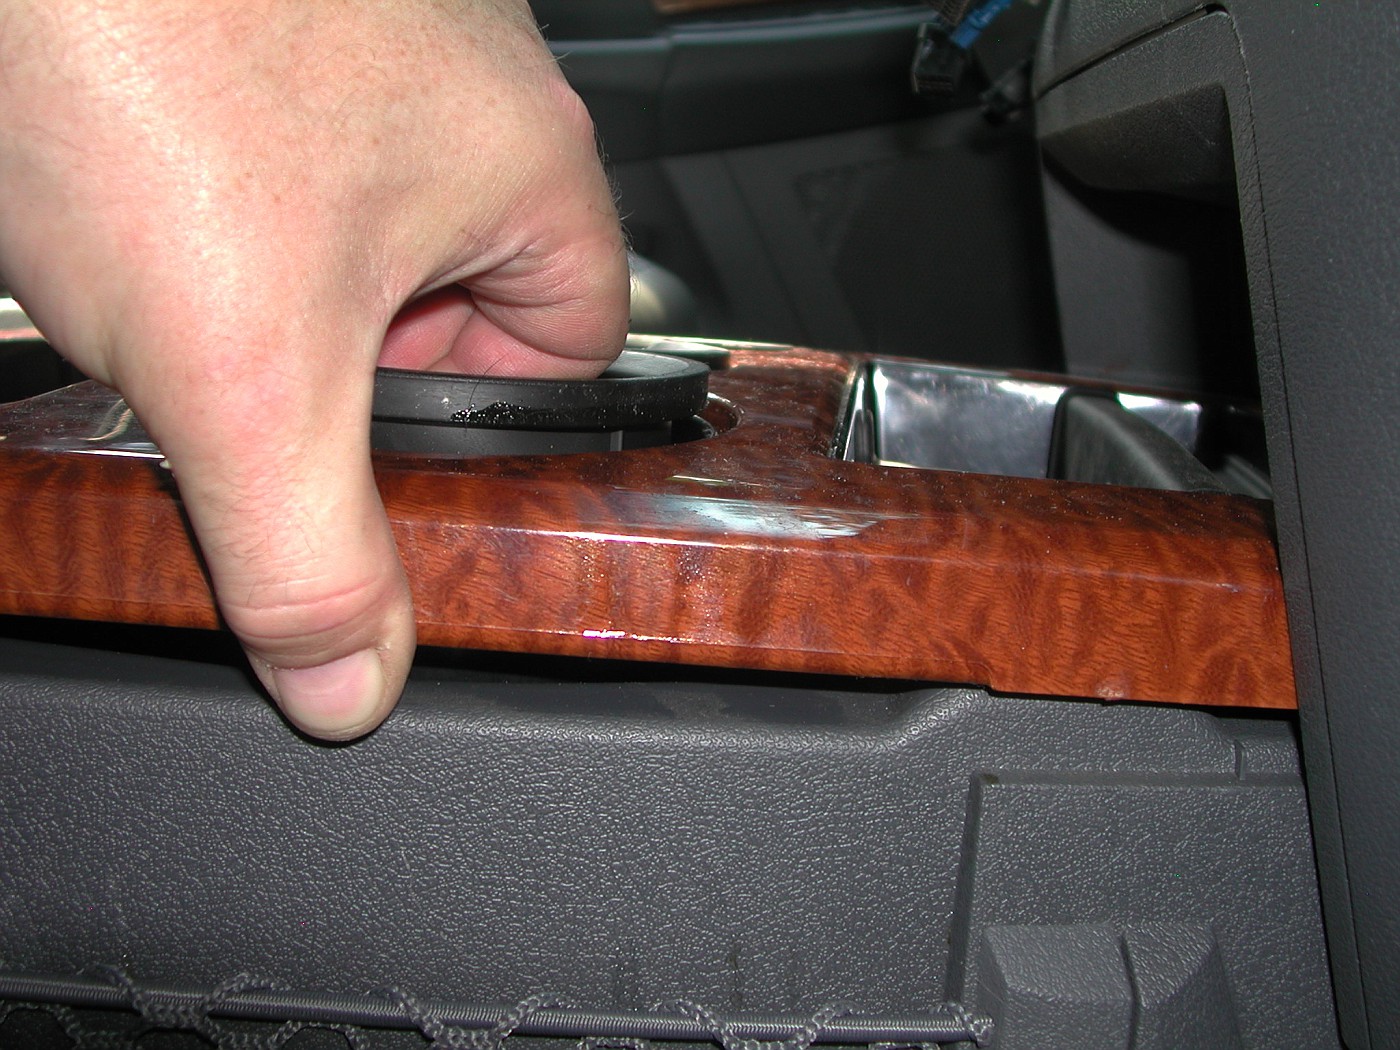
Then the upper tray/pan can be pulled up and out.
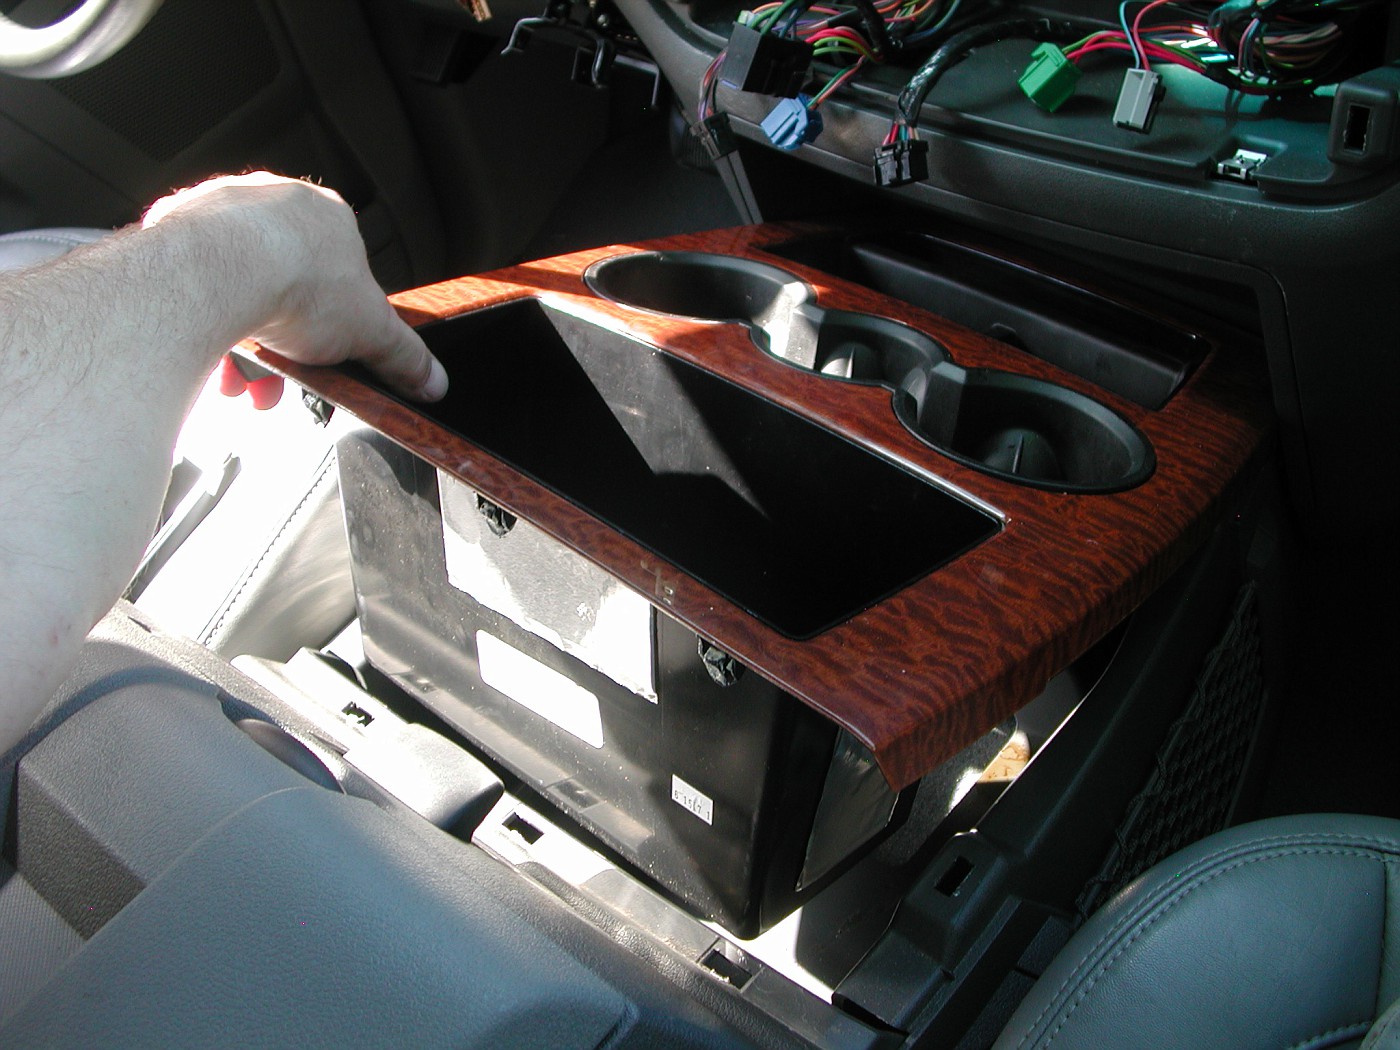
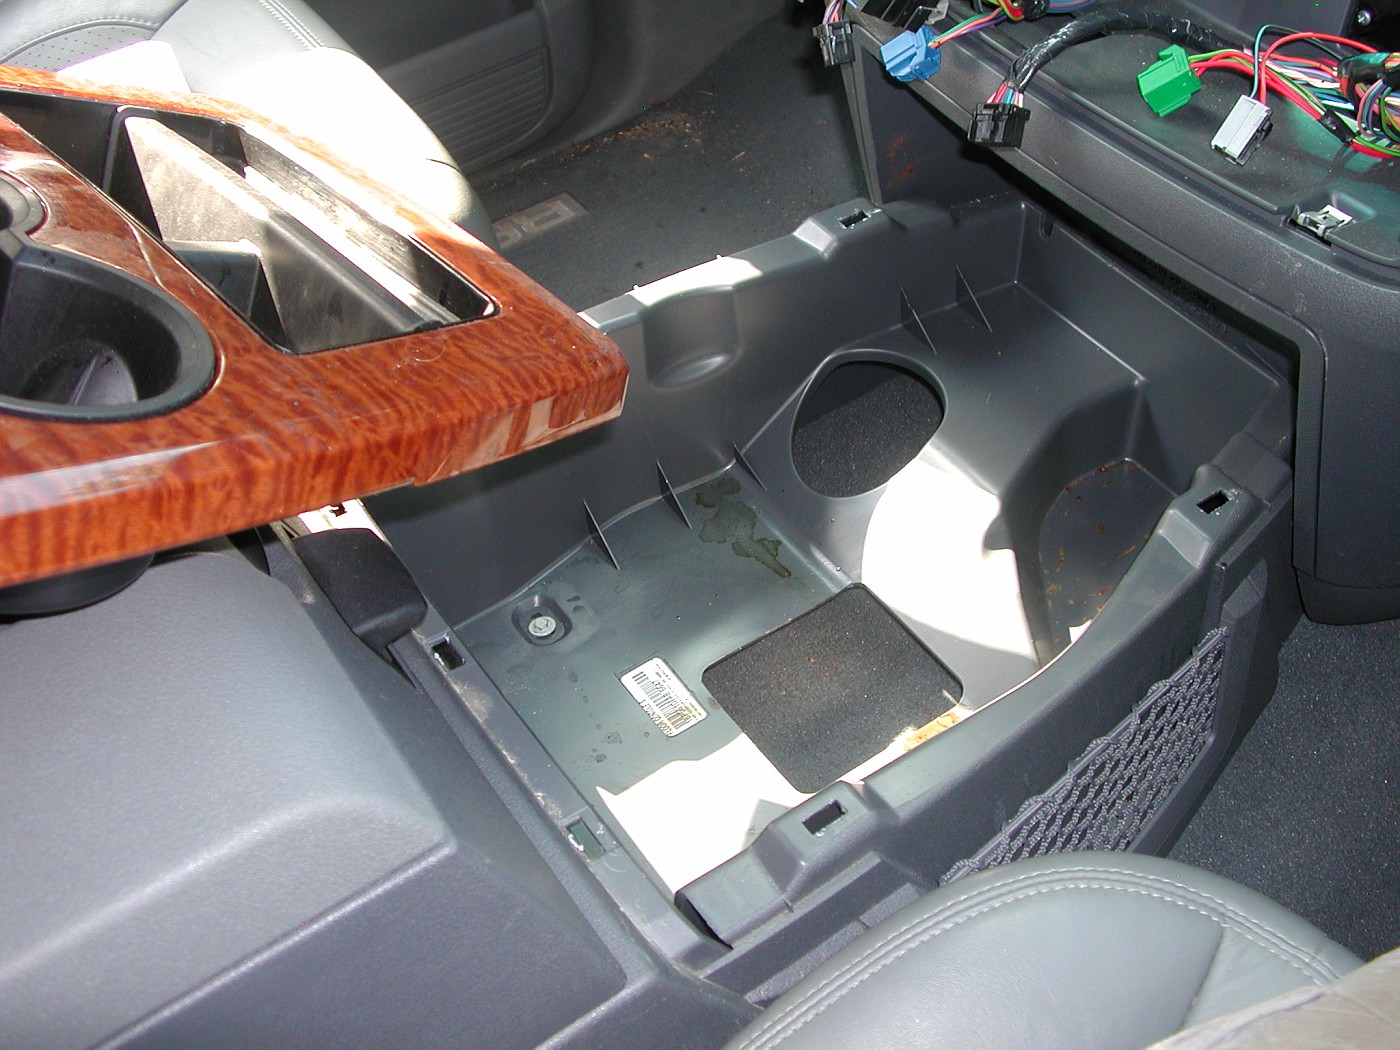
The the bottom tray/pan has to come out as well. You also get to see how much coffee and pop you have spilled.
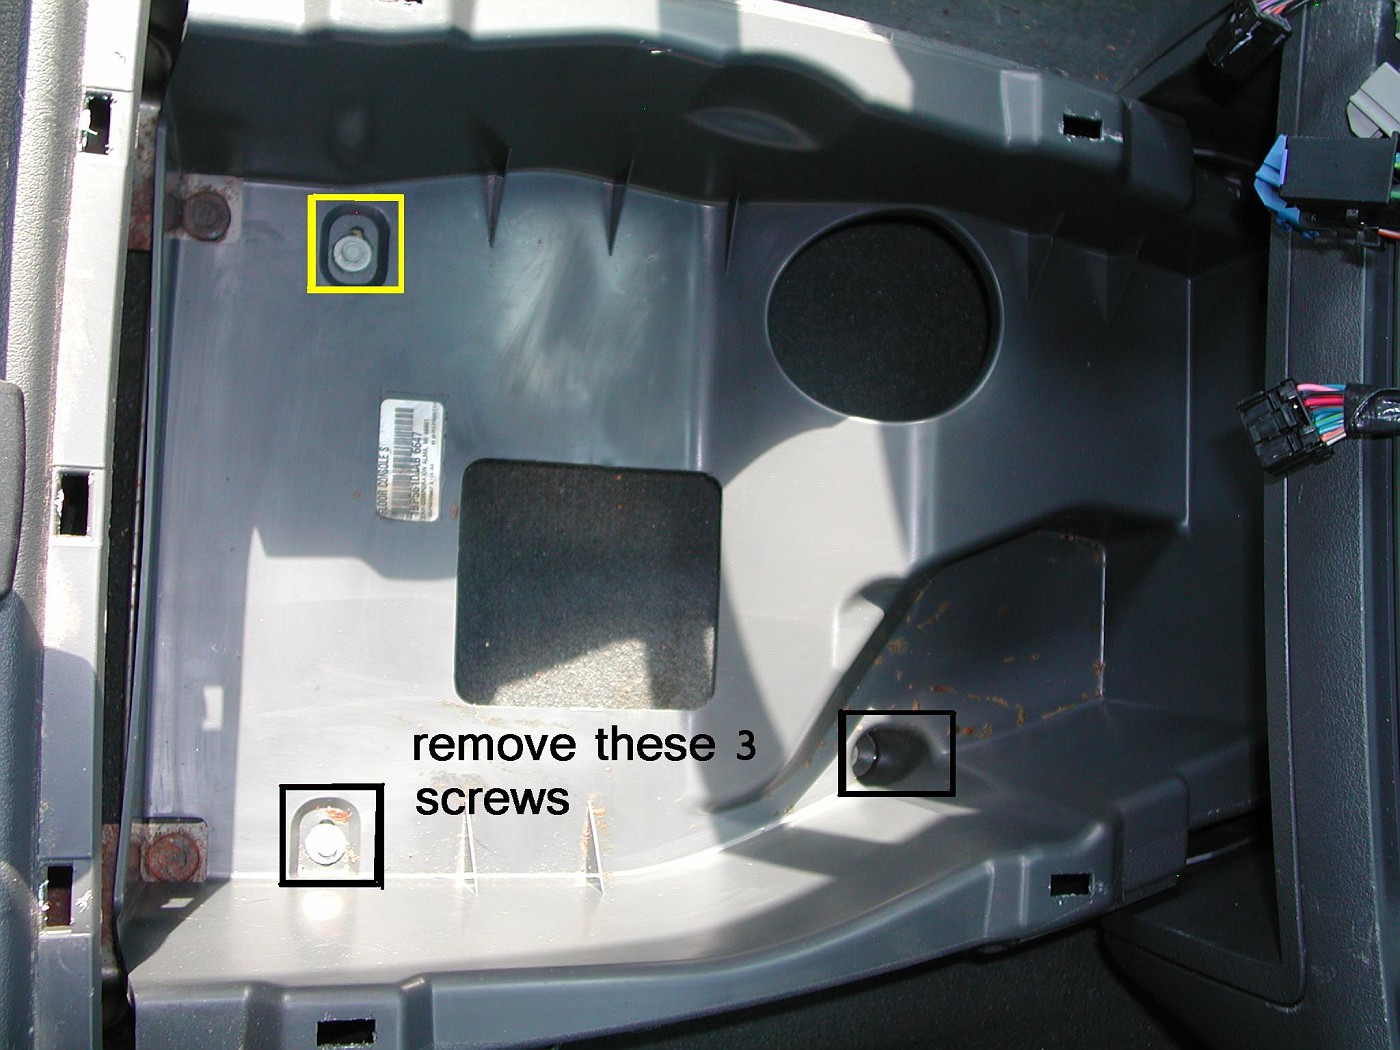
Only three 8mm screws need to be removed.
Then again, pull up to remove the bottom tray of the console.
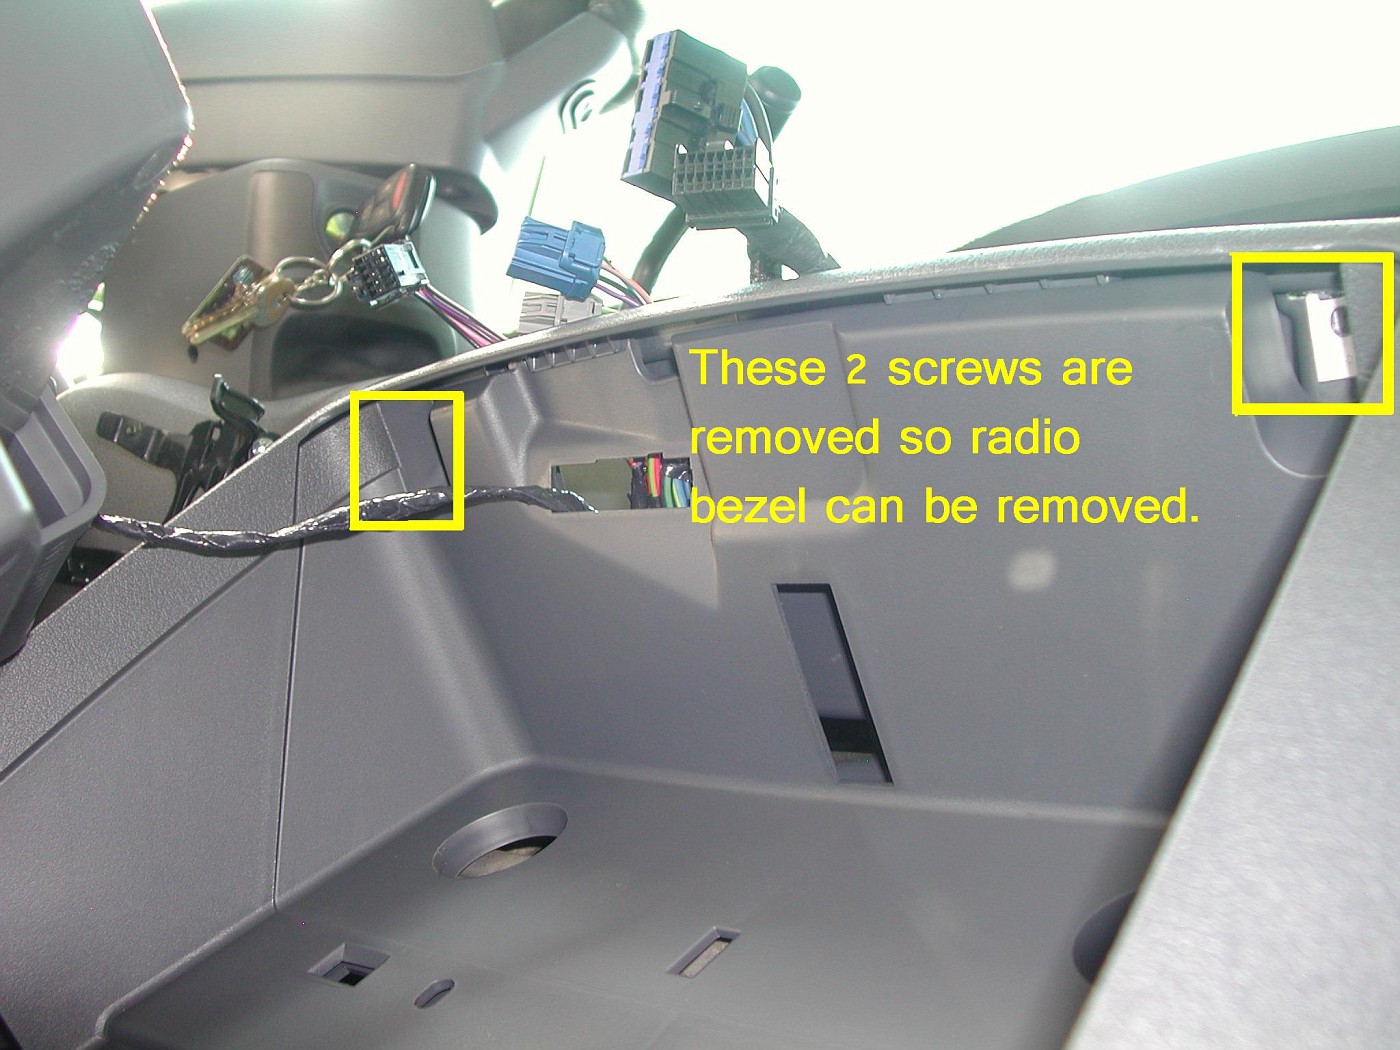
Next, these 2 screws are removed.
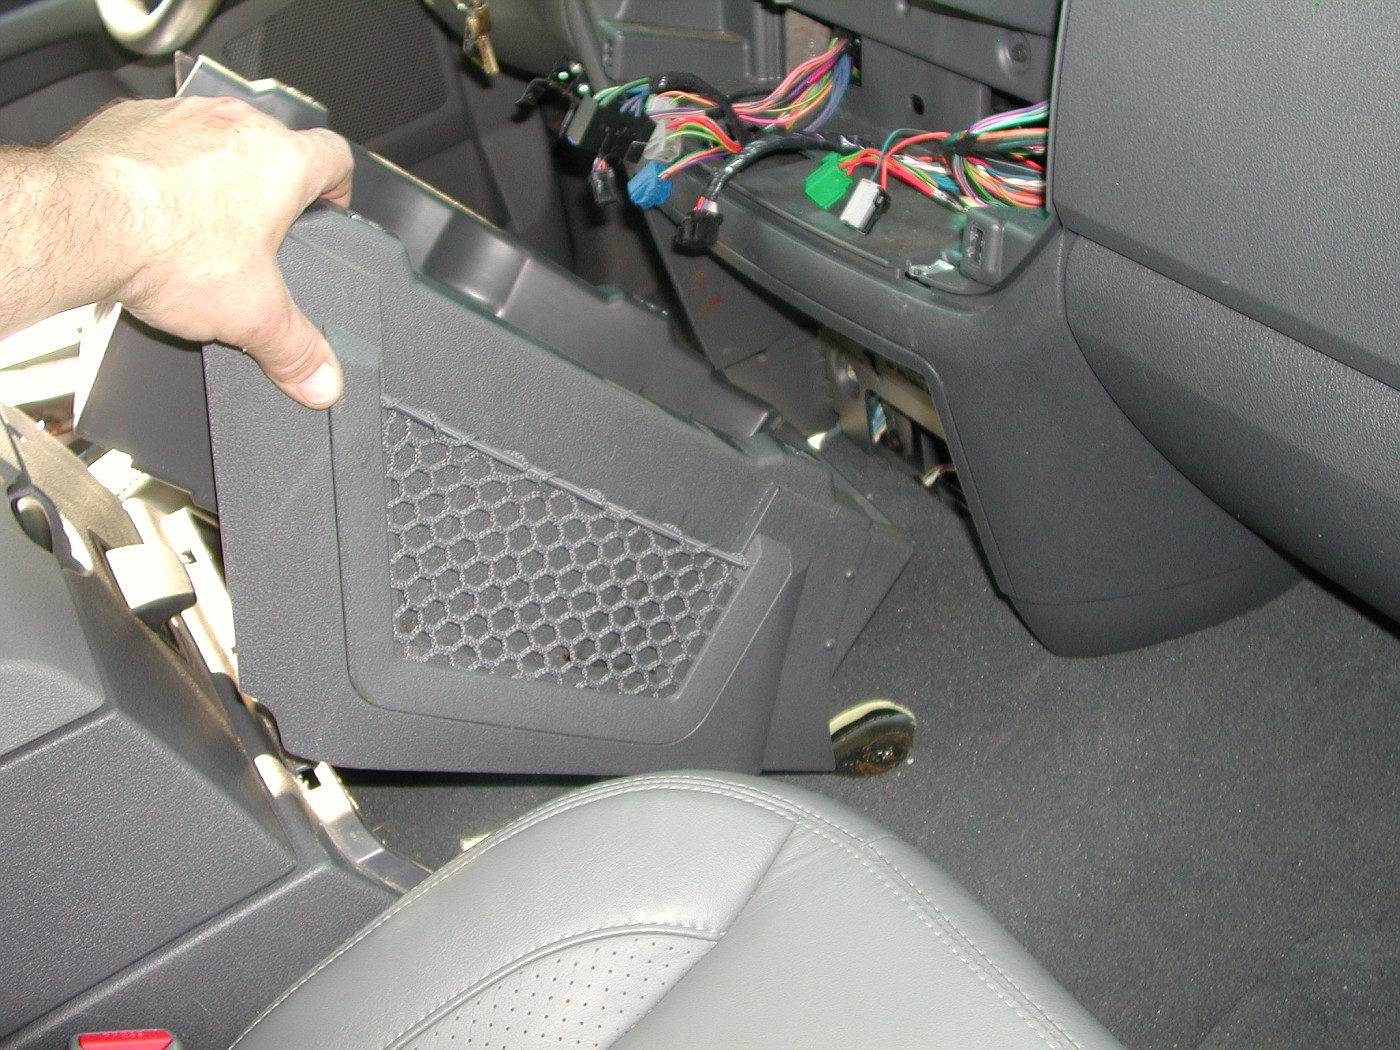
Then this panel is easily pulled away and removed.
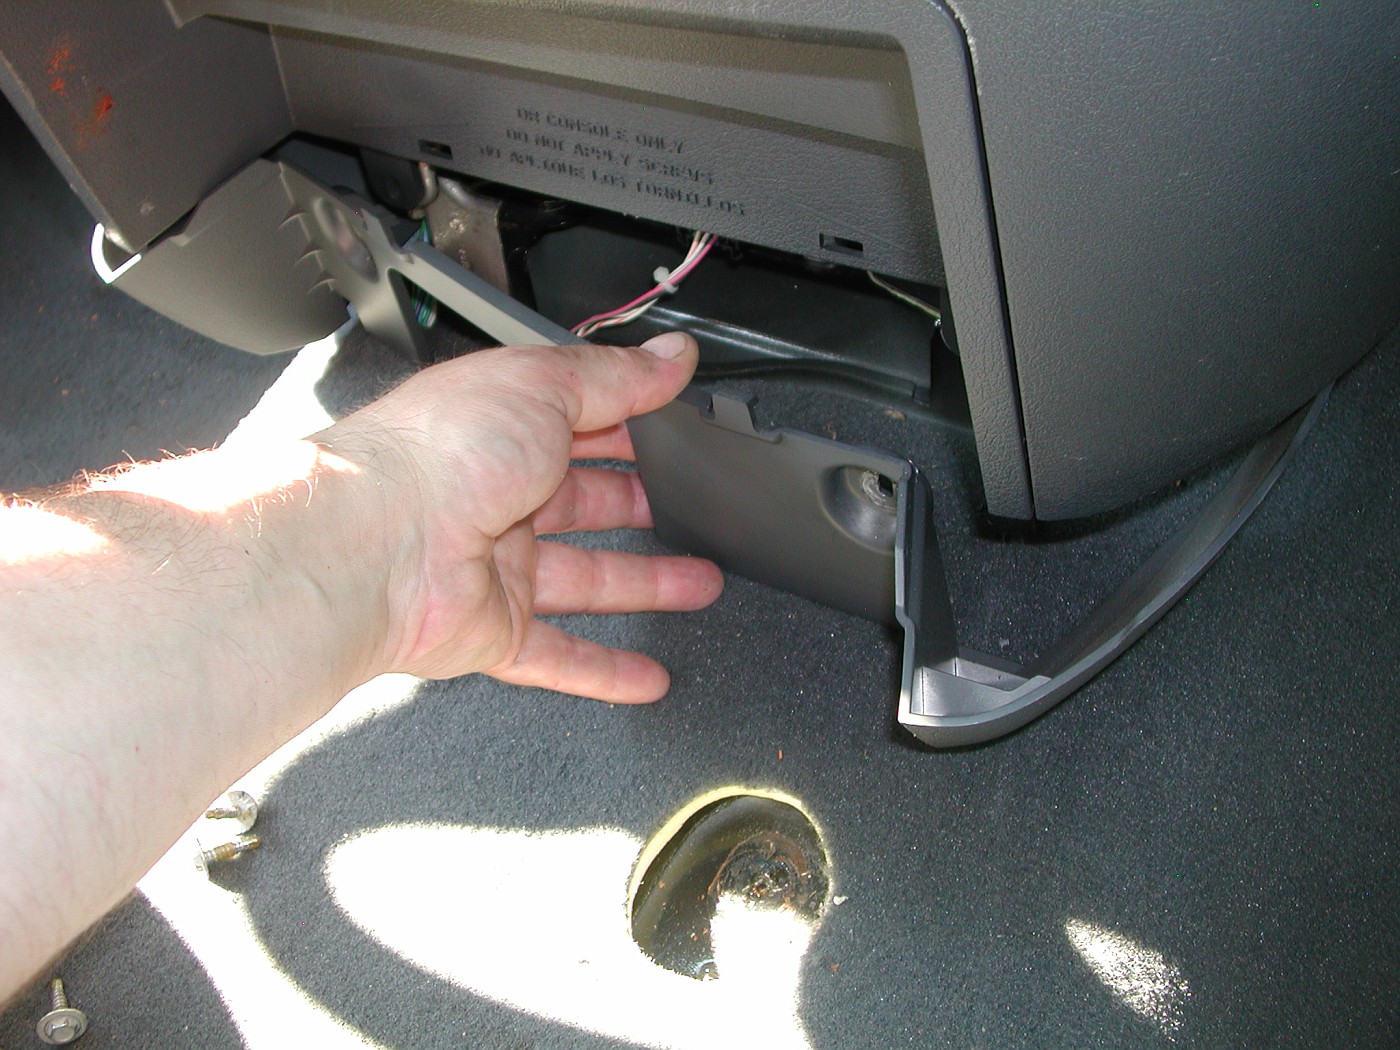
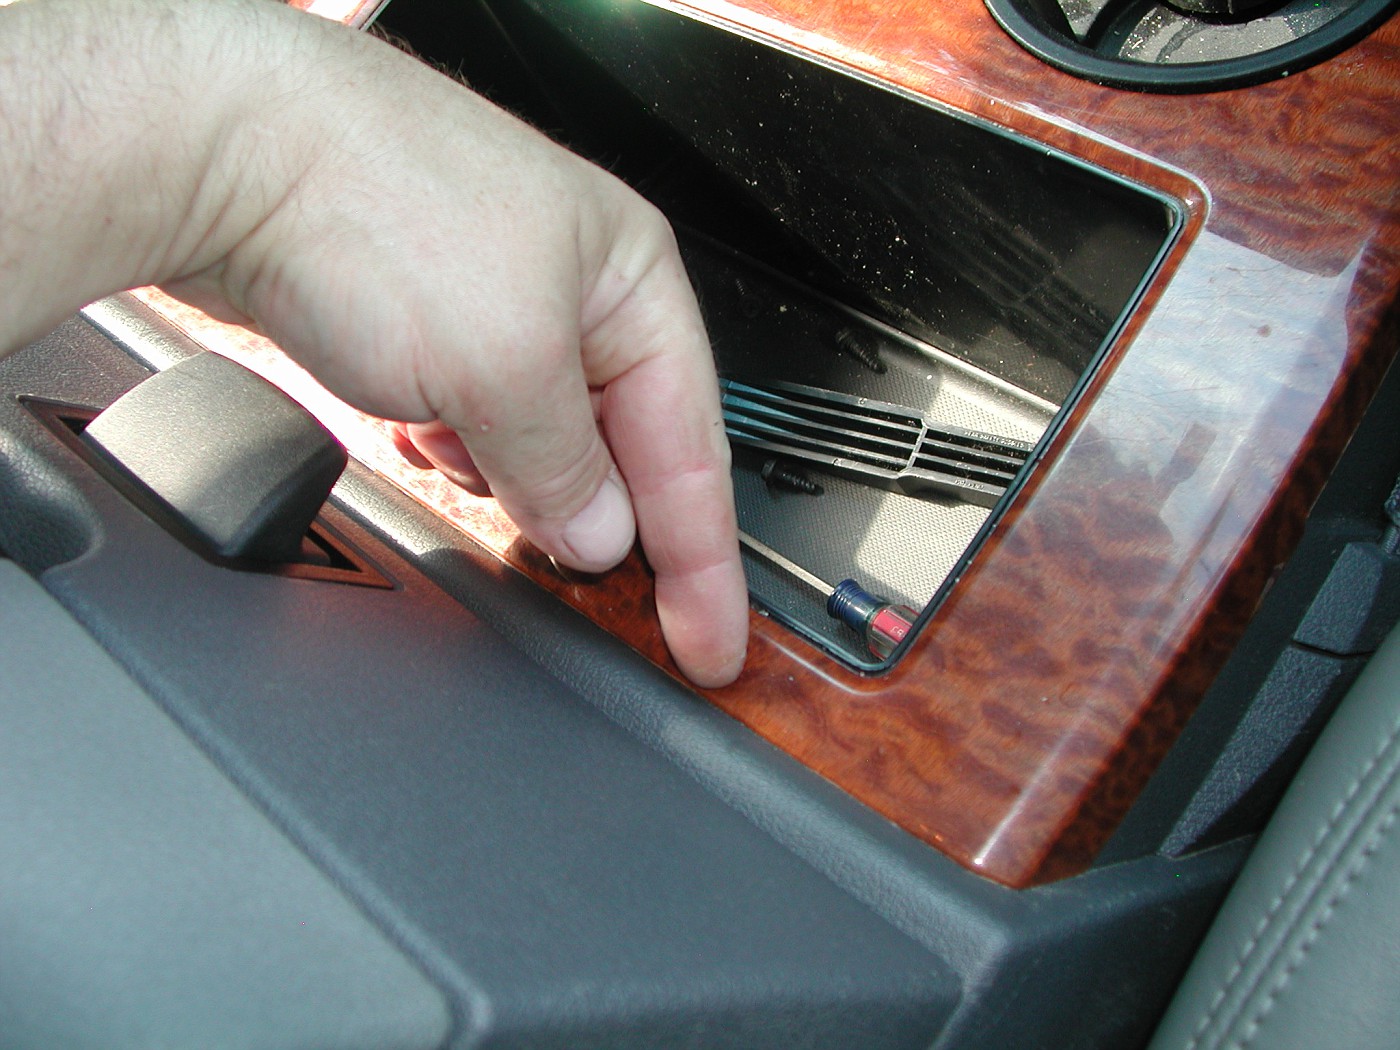
This next panel is what covers the 2 elusive screws. To remove you just pull the panel straight down. No need to remove the electrical connection, you can access the 2 screws with the panel laying on the floor.
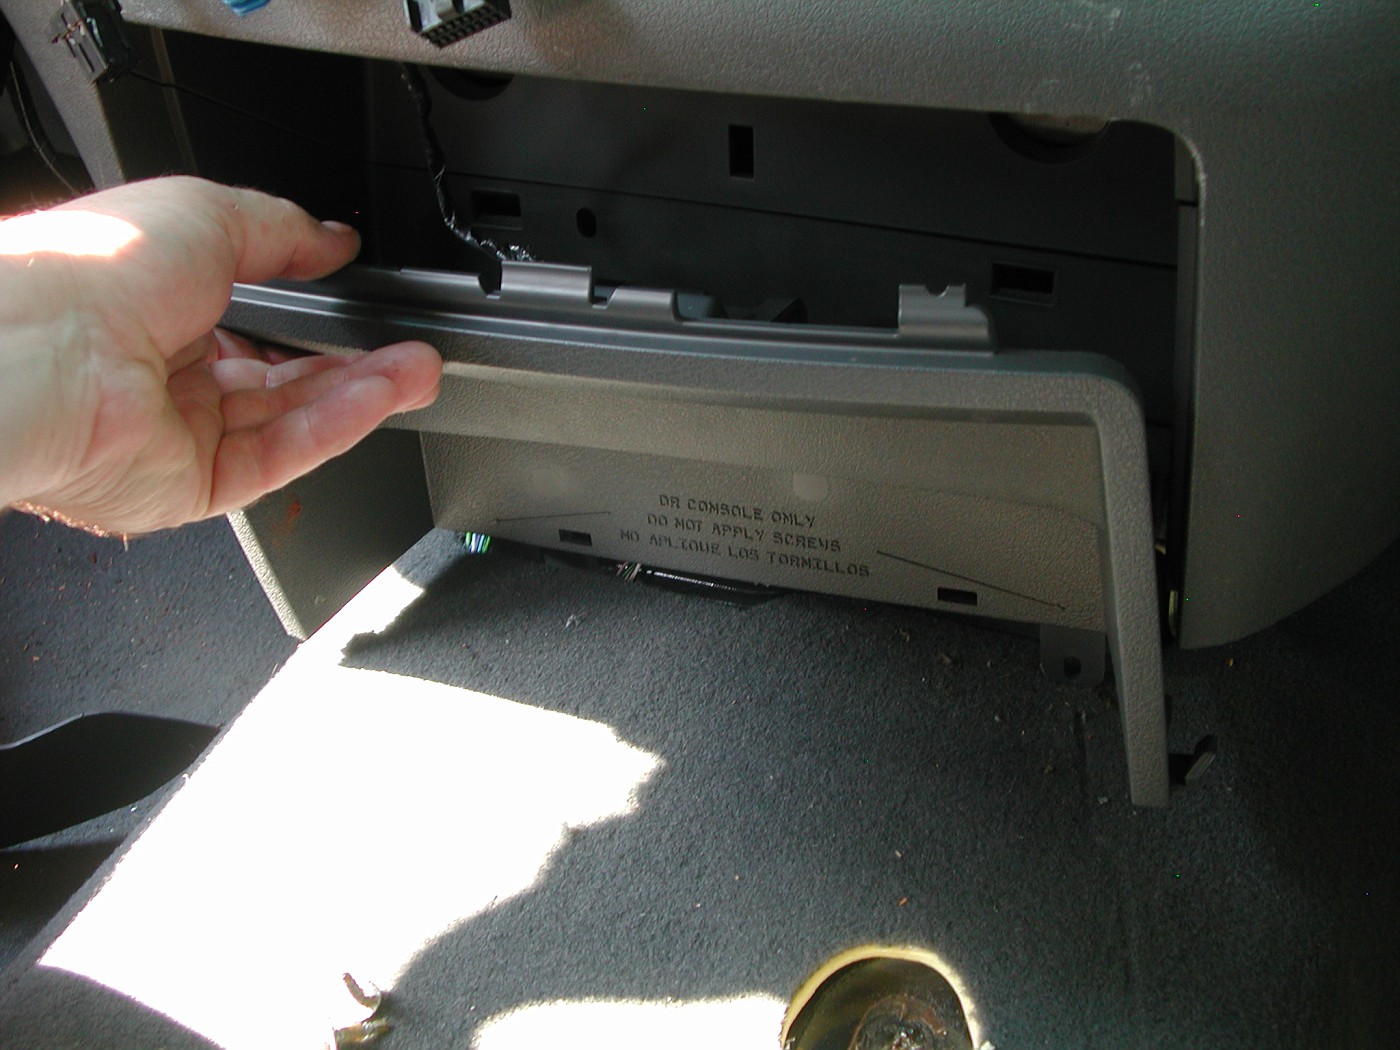
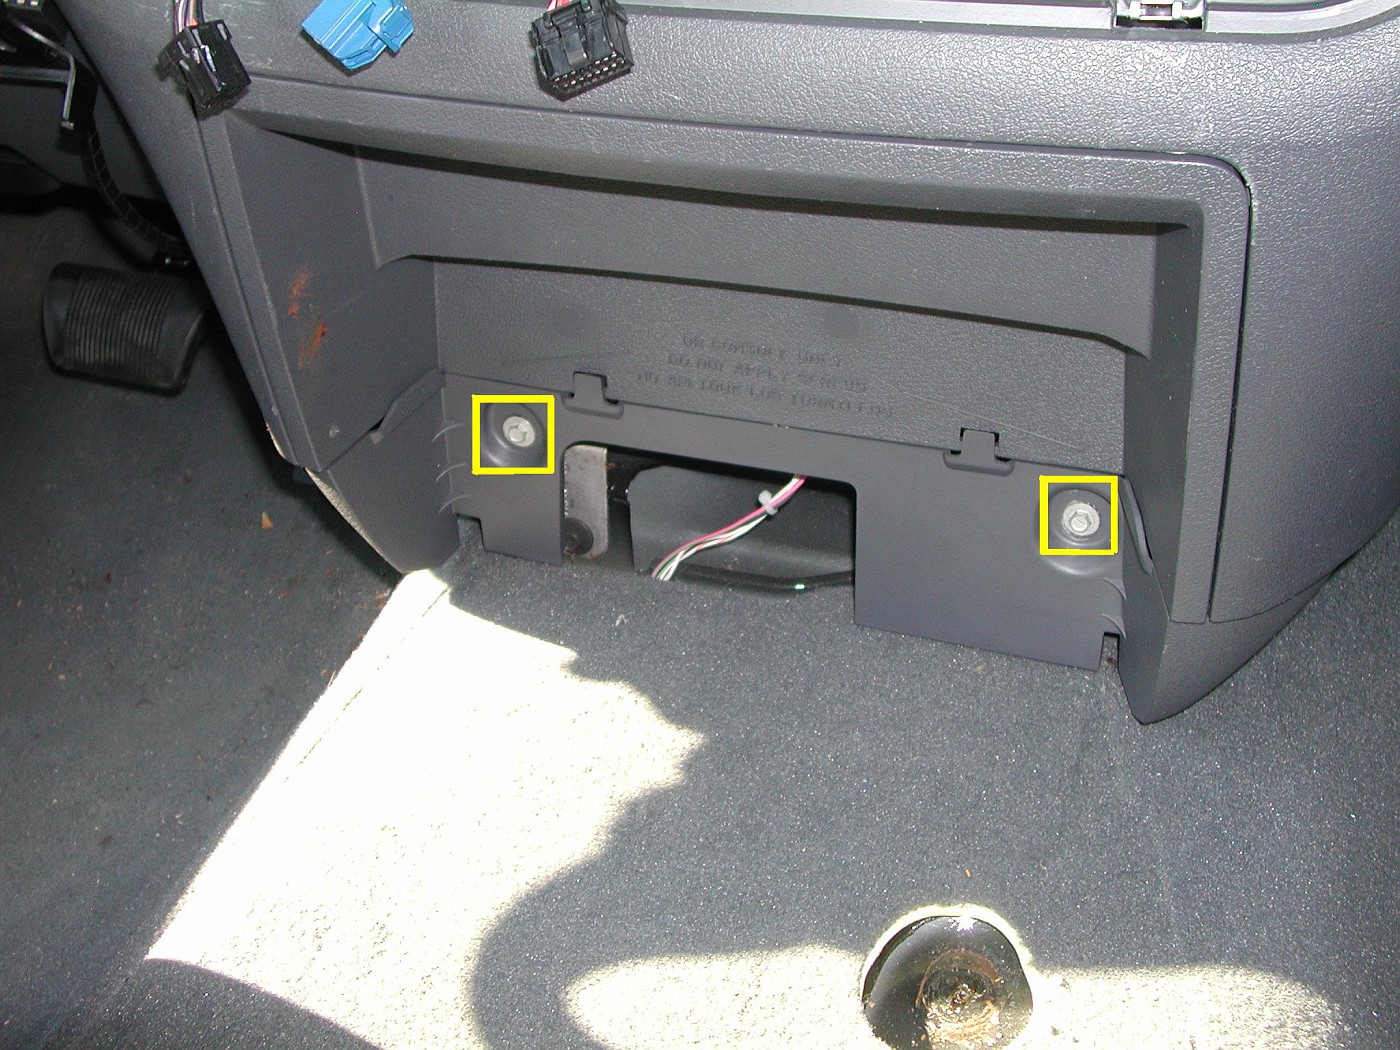
This pic was taken with the camera on the floor, looking up. The 2 screws highlighted need to be removed. Once the screws are removed you can then pry off the radio/dash panel.
SO.. we have the center console out and thos two pesky screws are removed.
We can now finally start on the actual radio instal.
Here is what I started with.
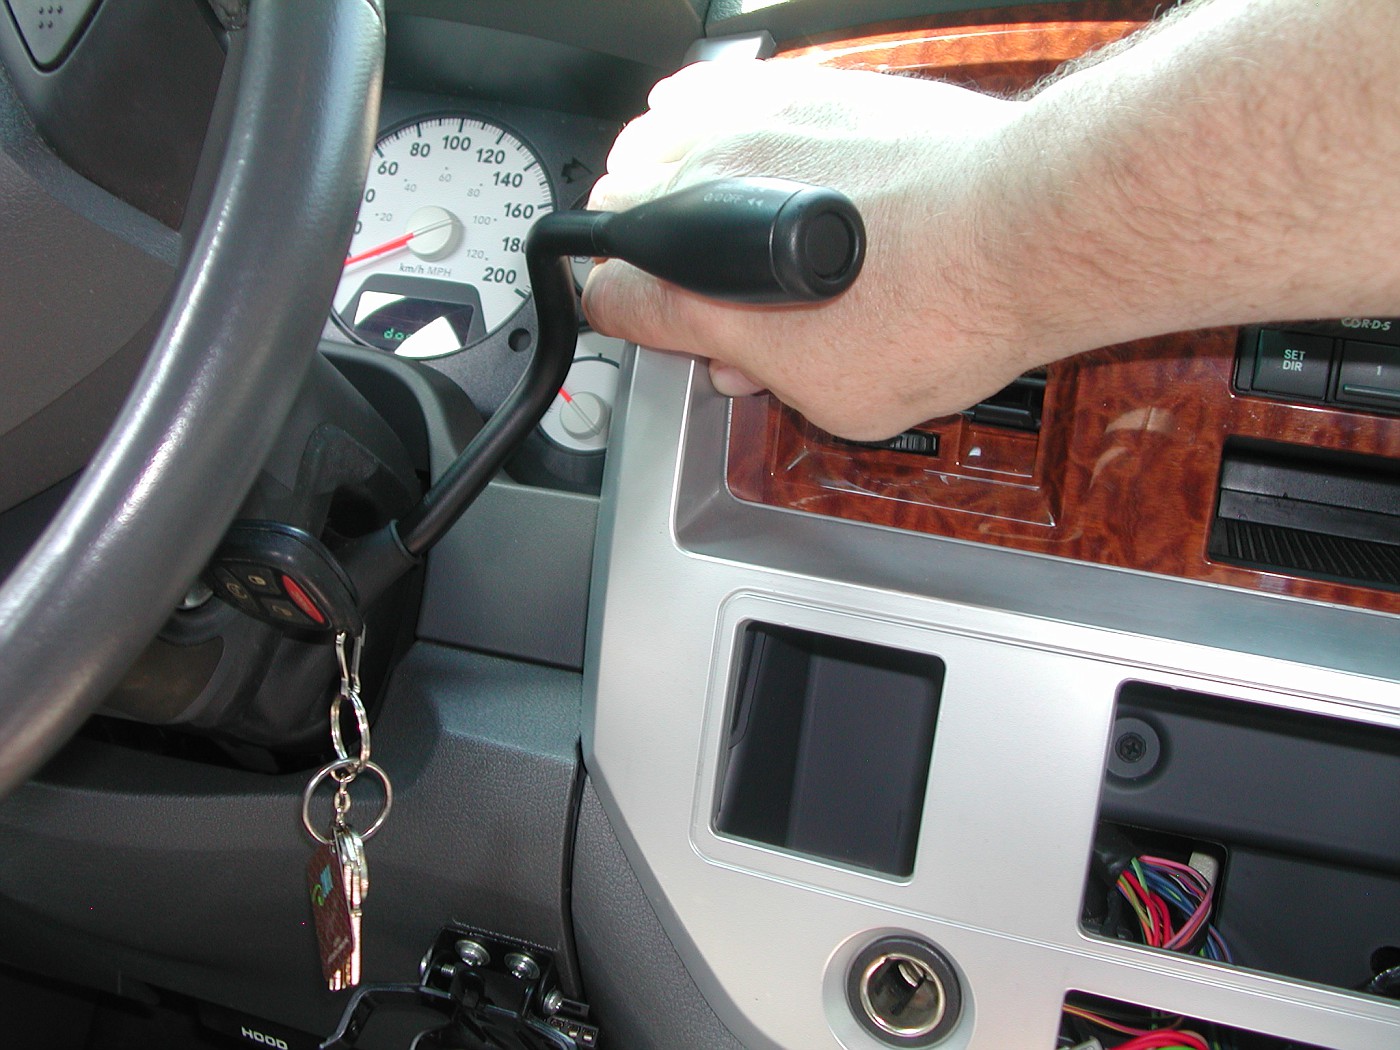
I found the easiest way to start to remove the panel was to pry (with 2 hands) on the steering wheel side of the panel. Once this corner releases you can then easily get the others.
Here is where the 2 screws come up and secure into the bezel and dash.
All the control connections release without too much trouble...except this one.I needed to use a small screw driver to help release the tab.
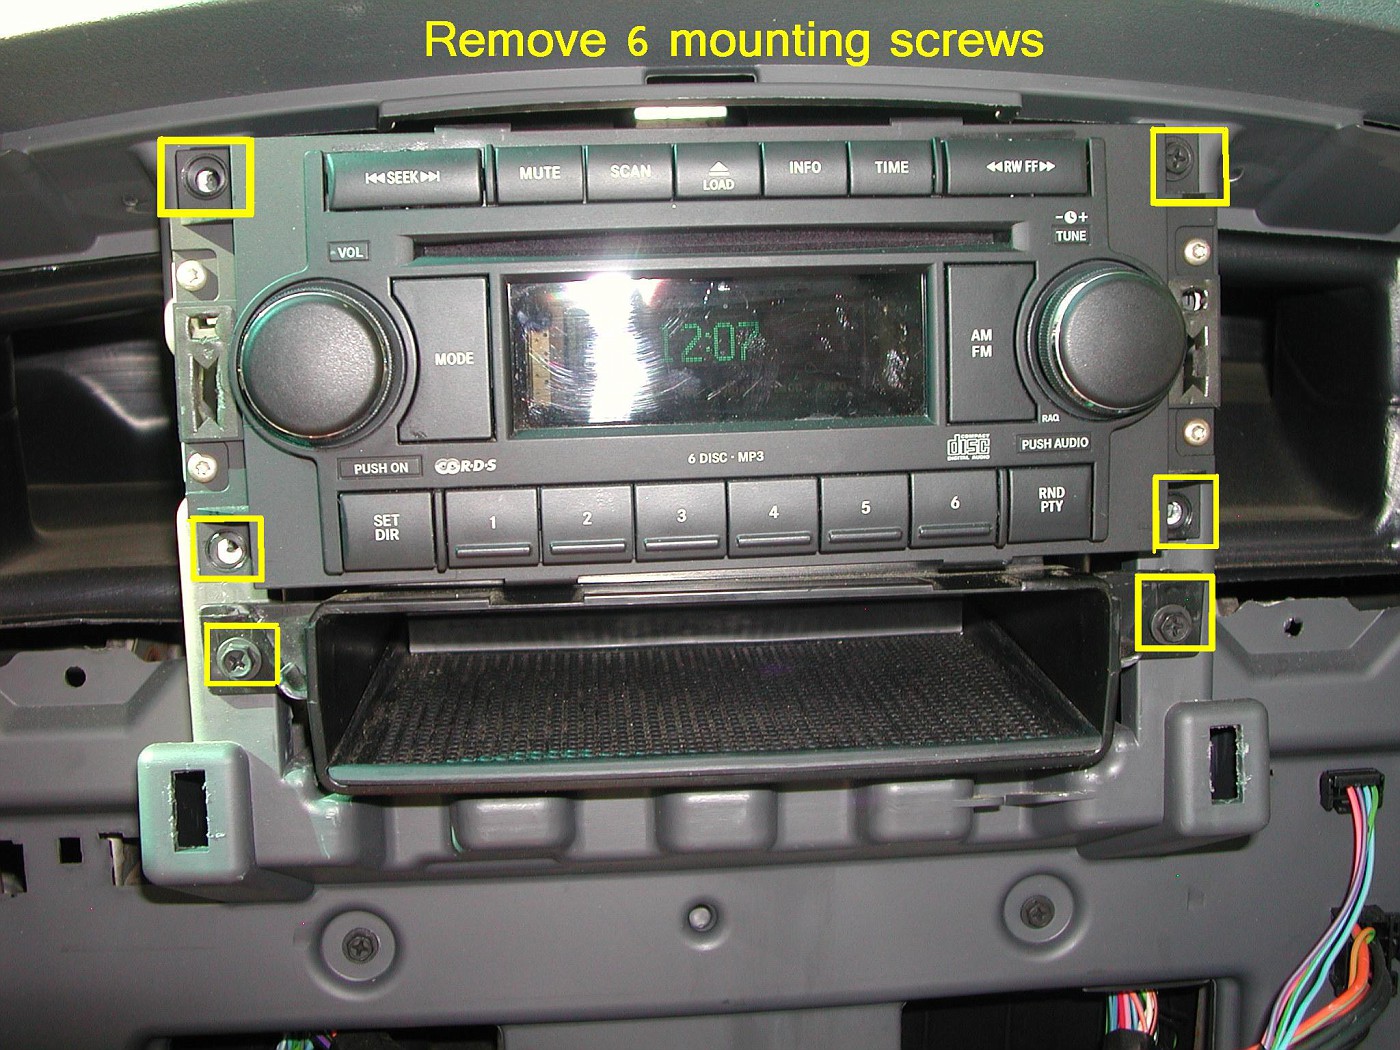
Remove these 6 screws and the old radio can come out.
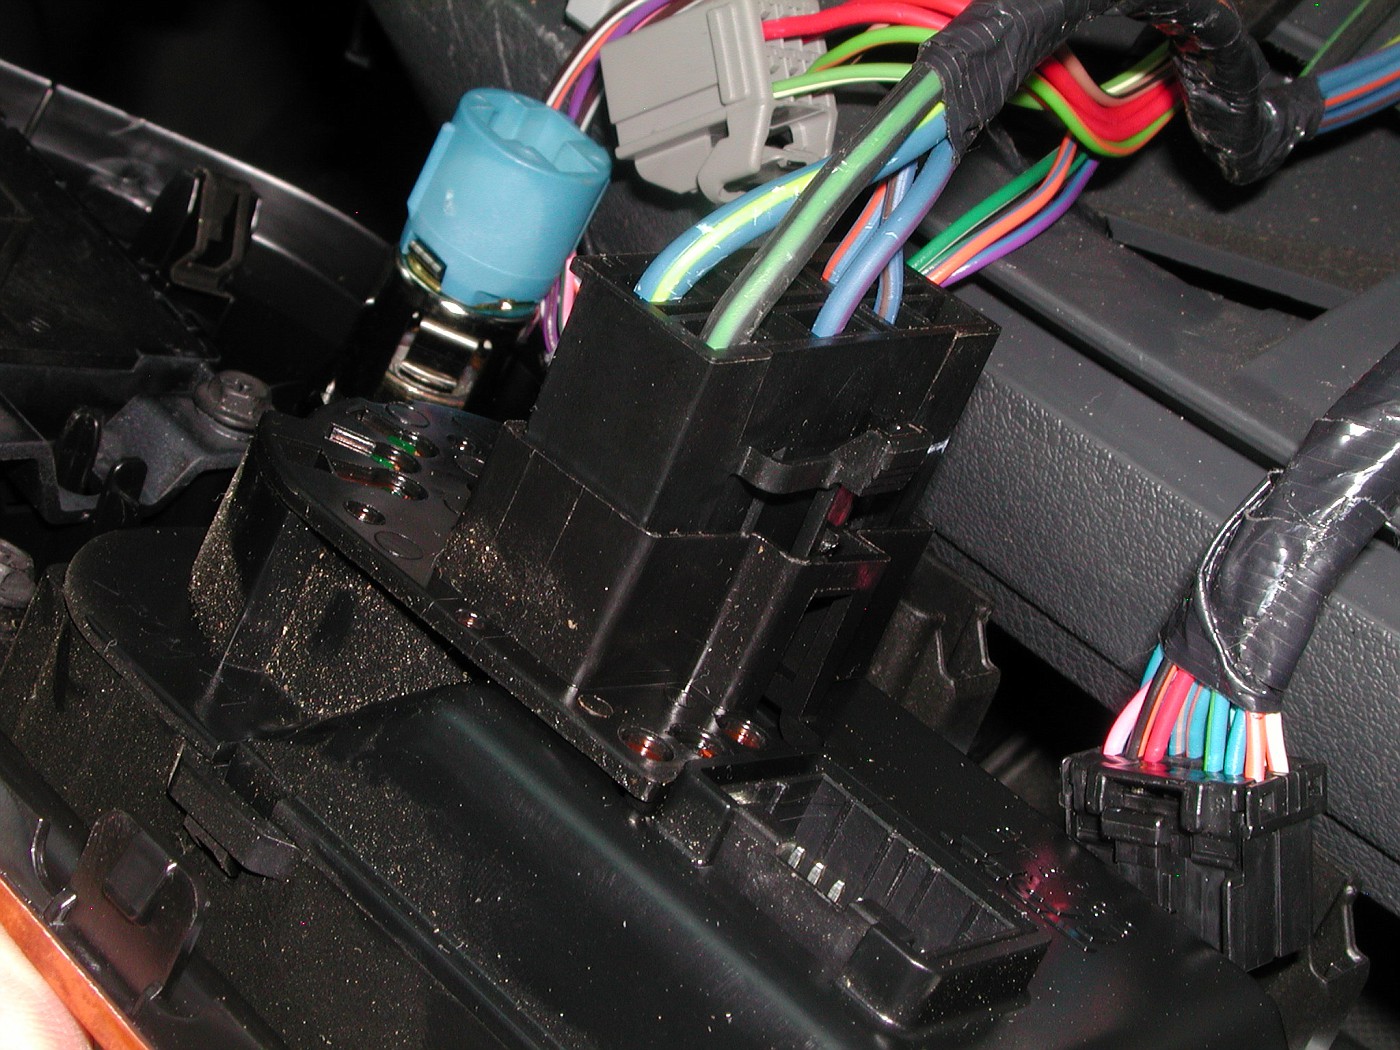
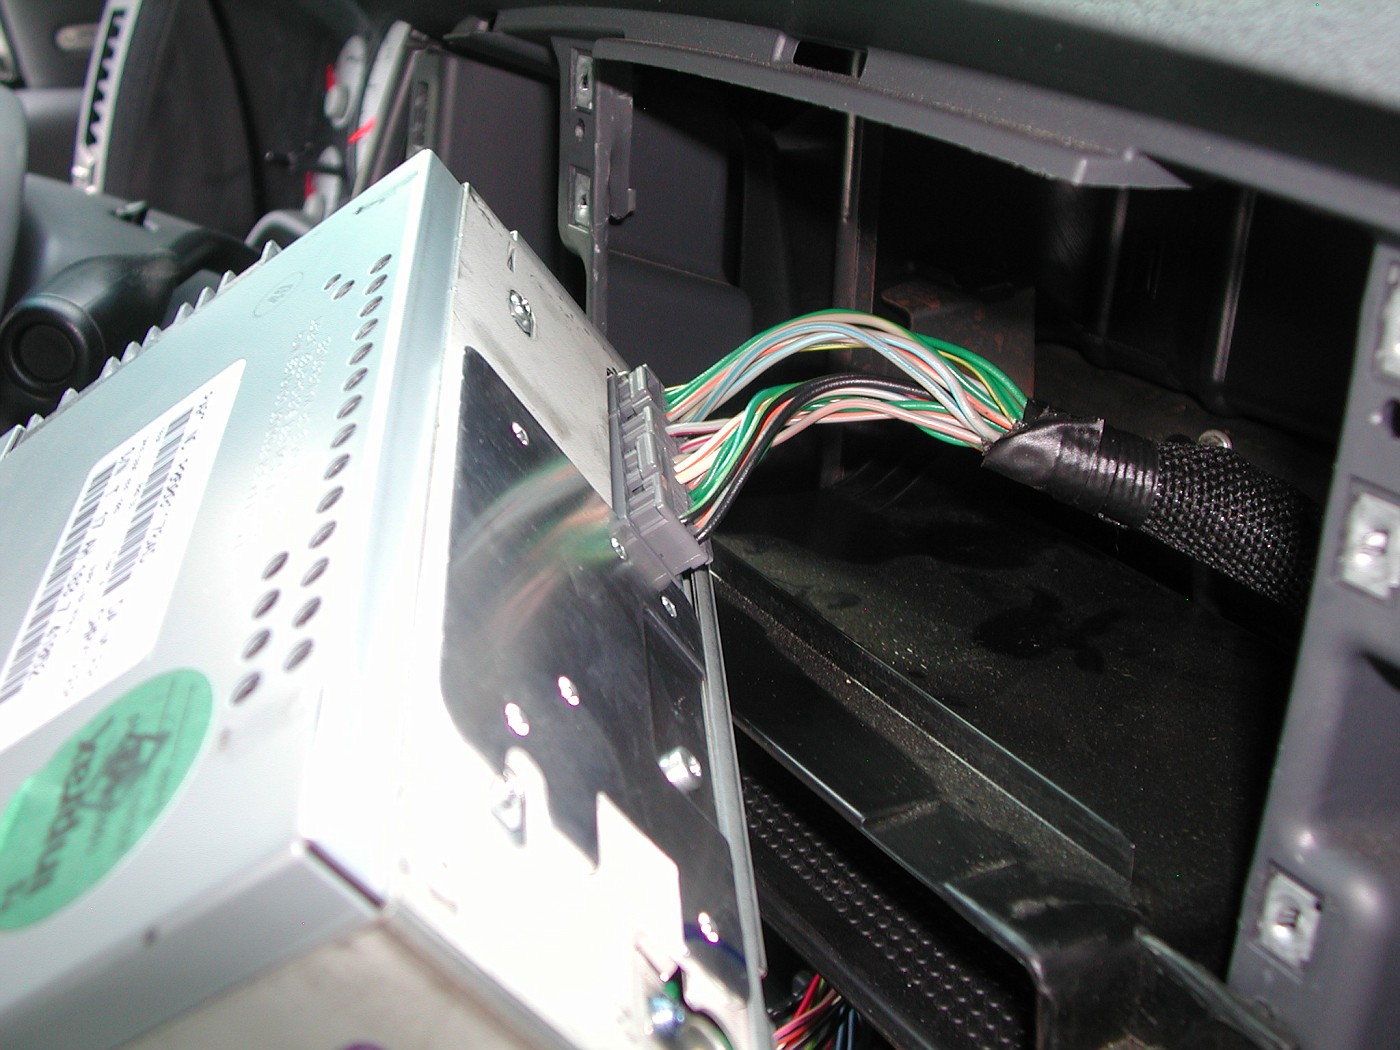
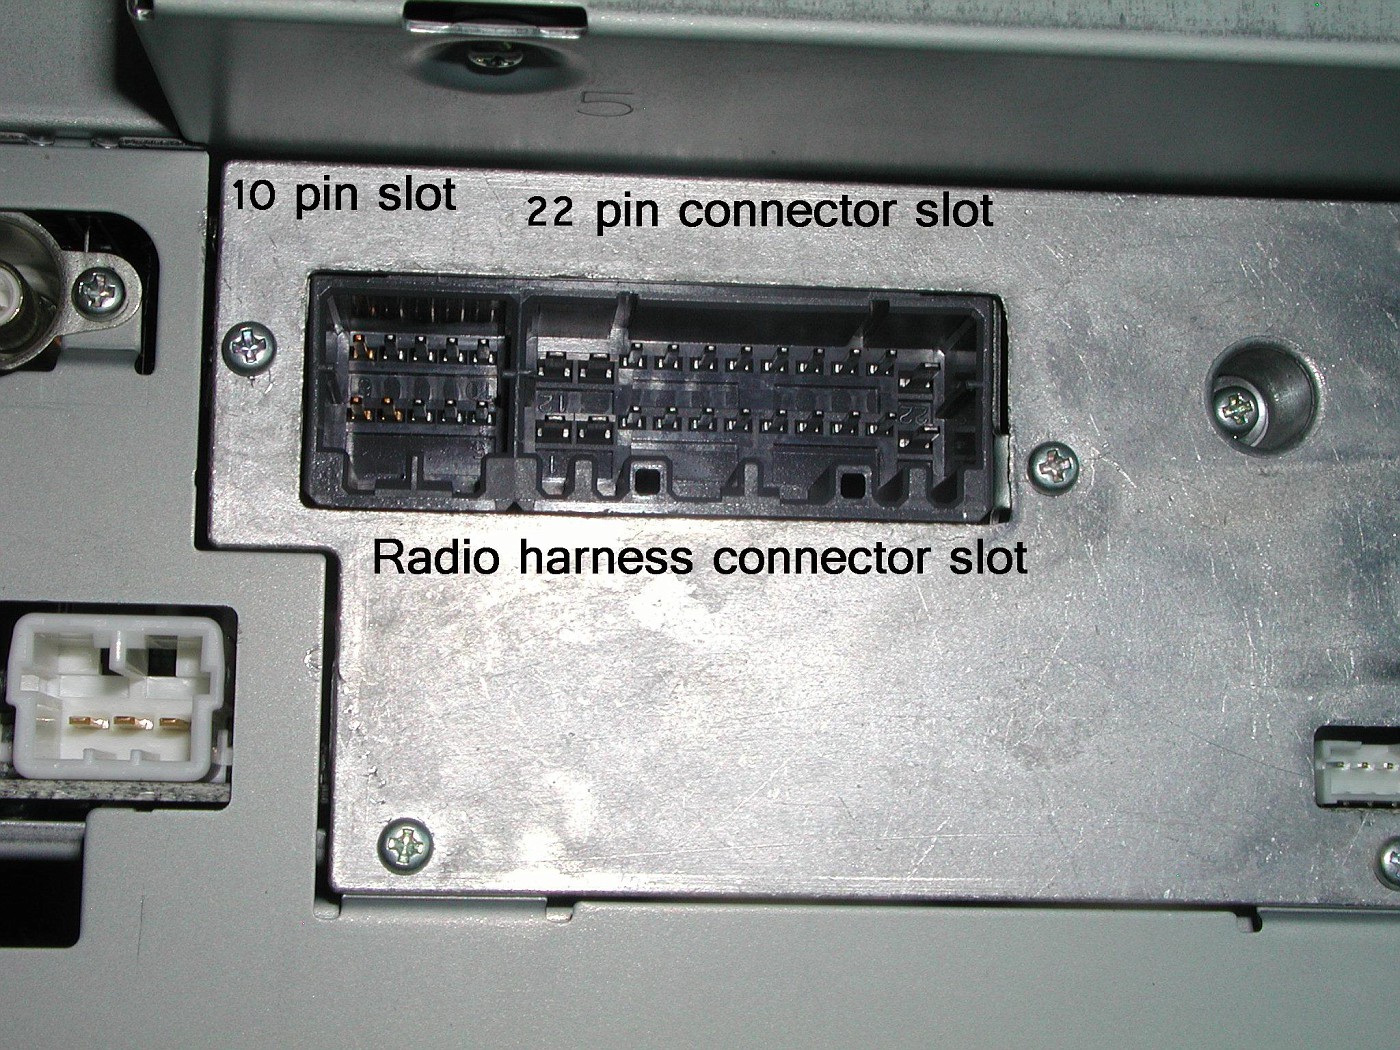
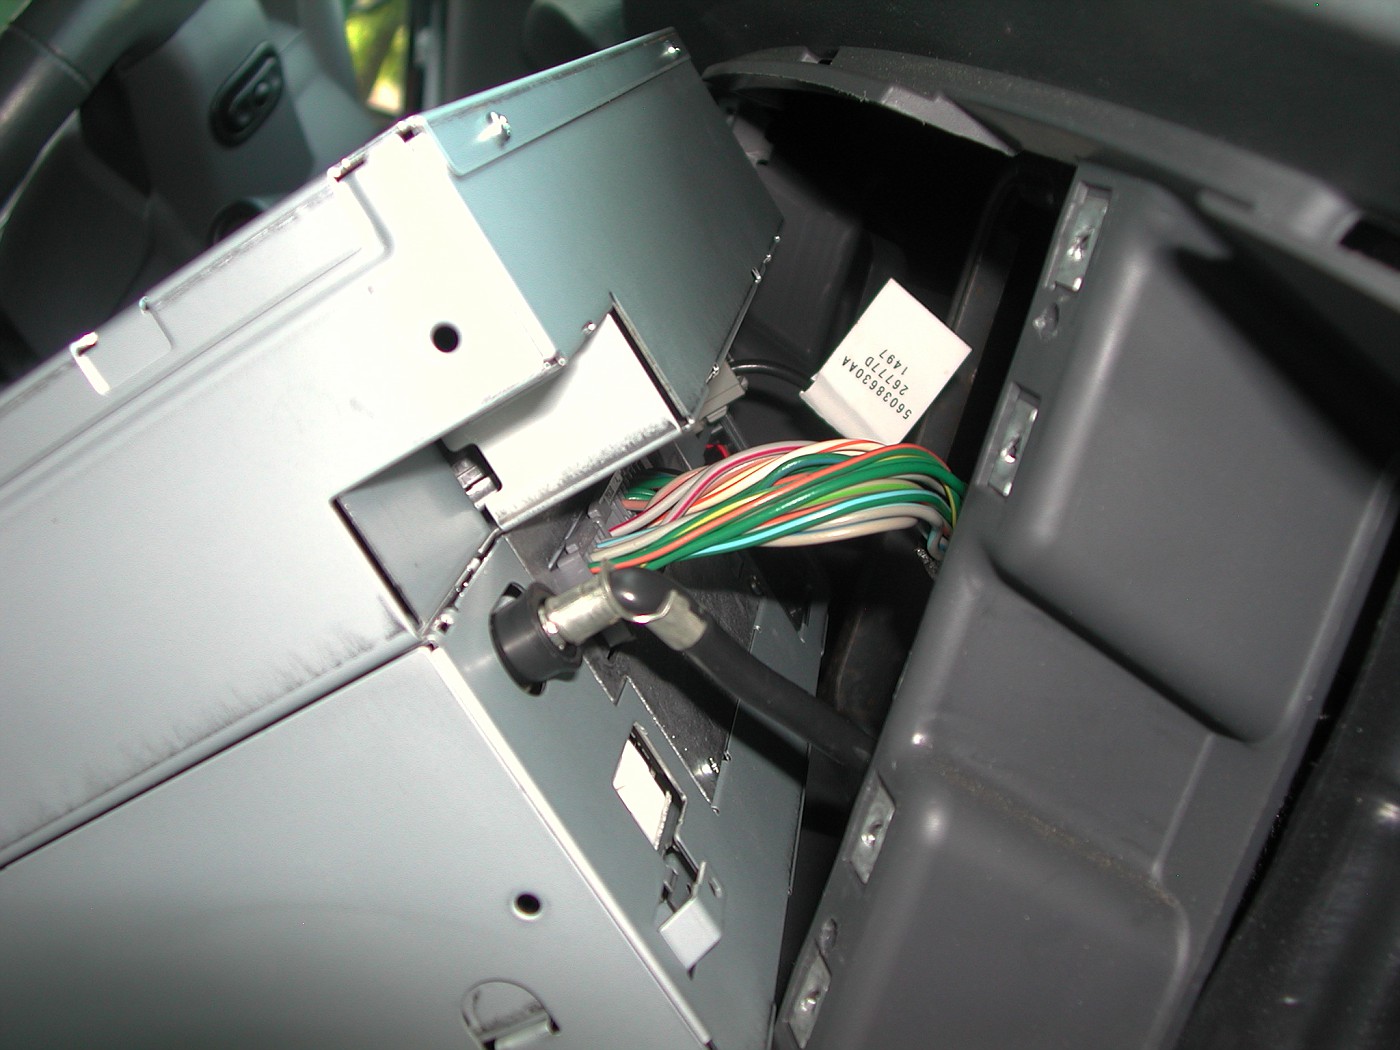
Release the 10 pin and 22 pin connectors as well as the antenna.The Antenna actually pulled itself loose when I pulled the radio out to access the wire harness.
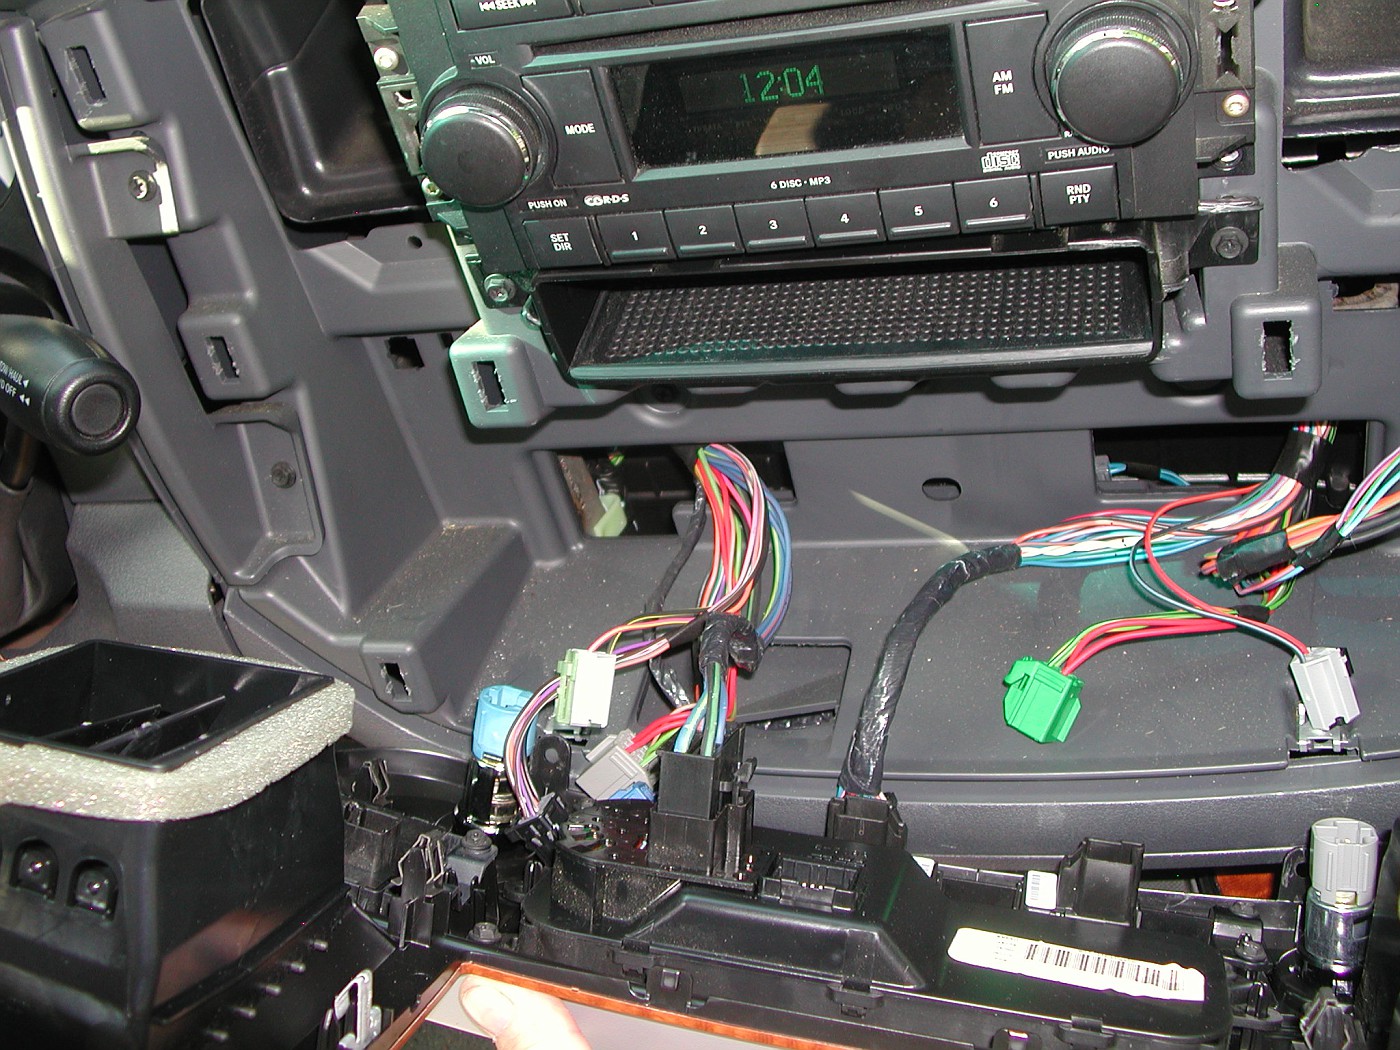
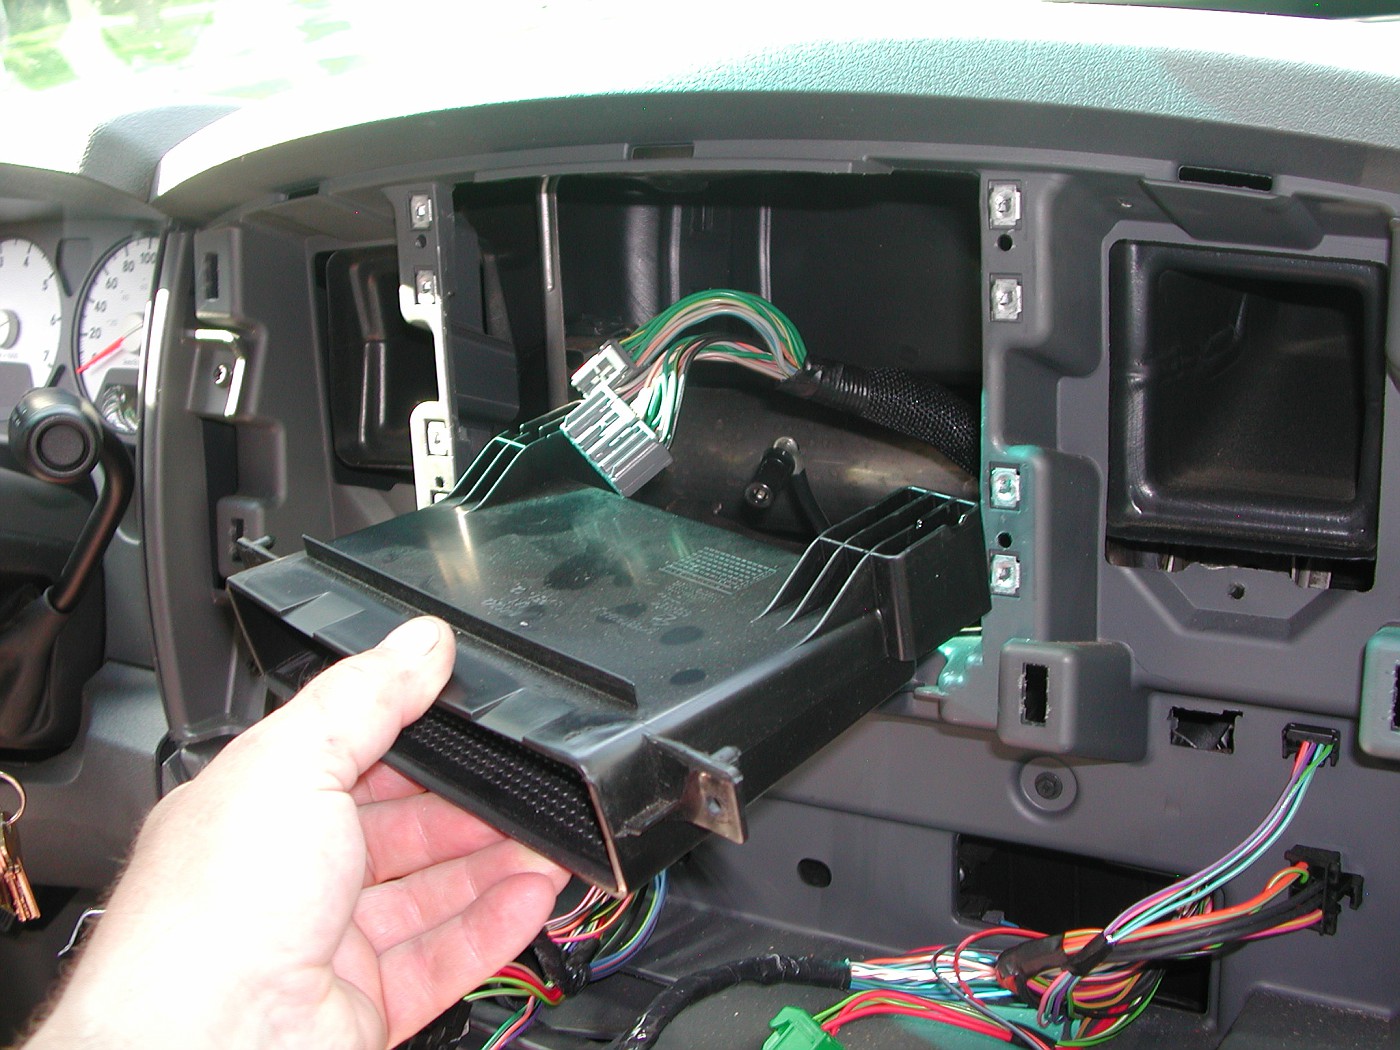
Then the tray/spacer comes out.
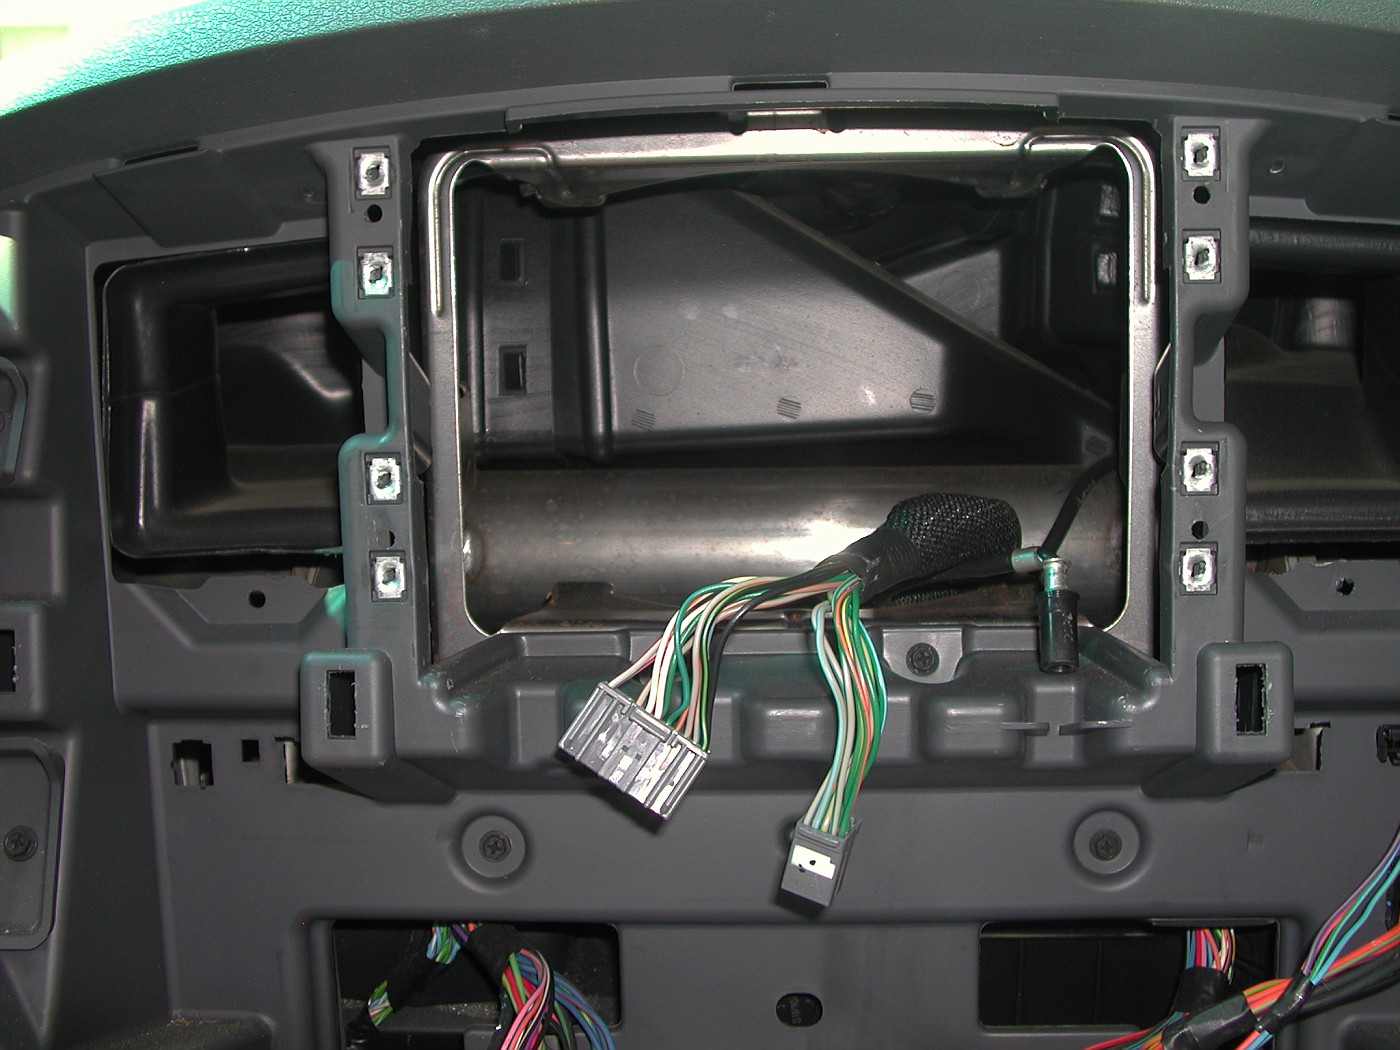
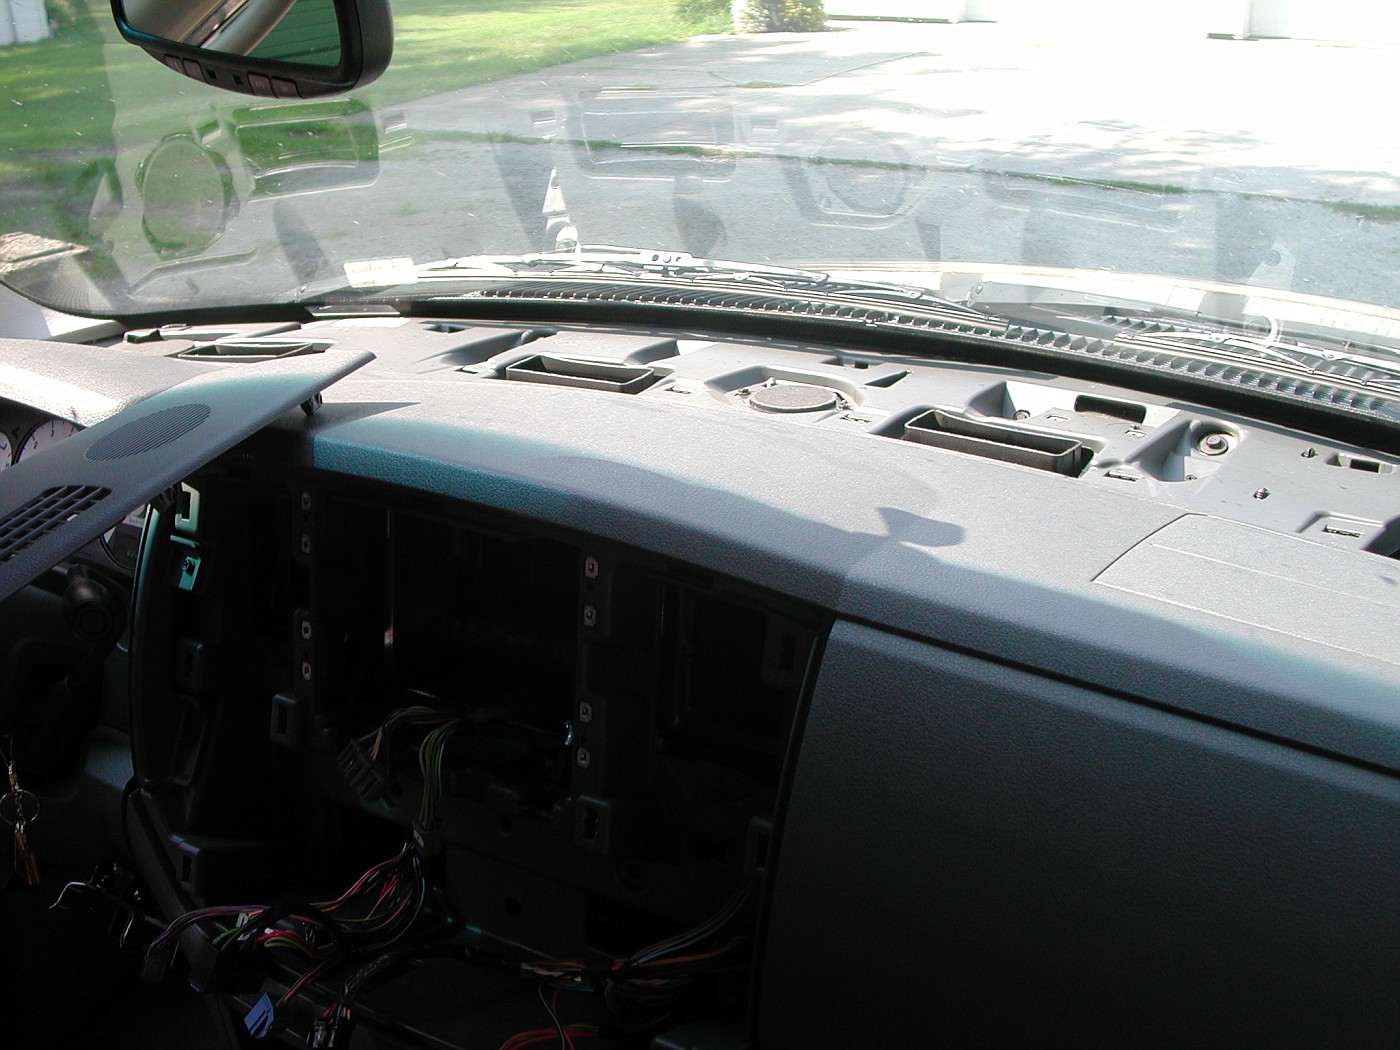
Left with a big empty space.
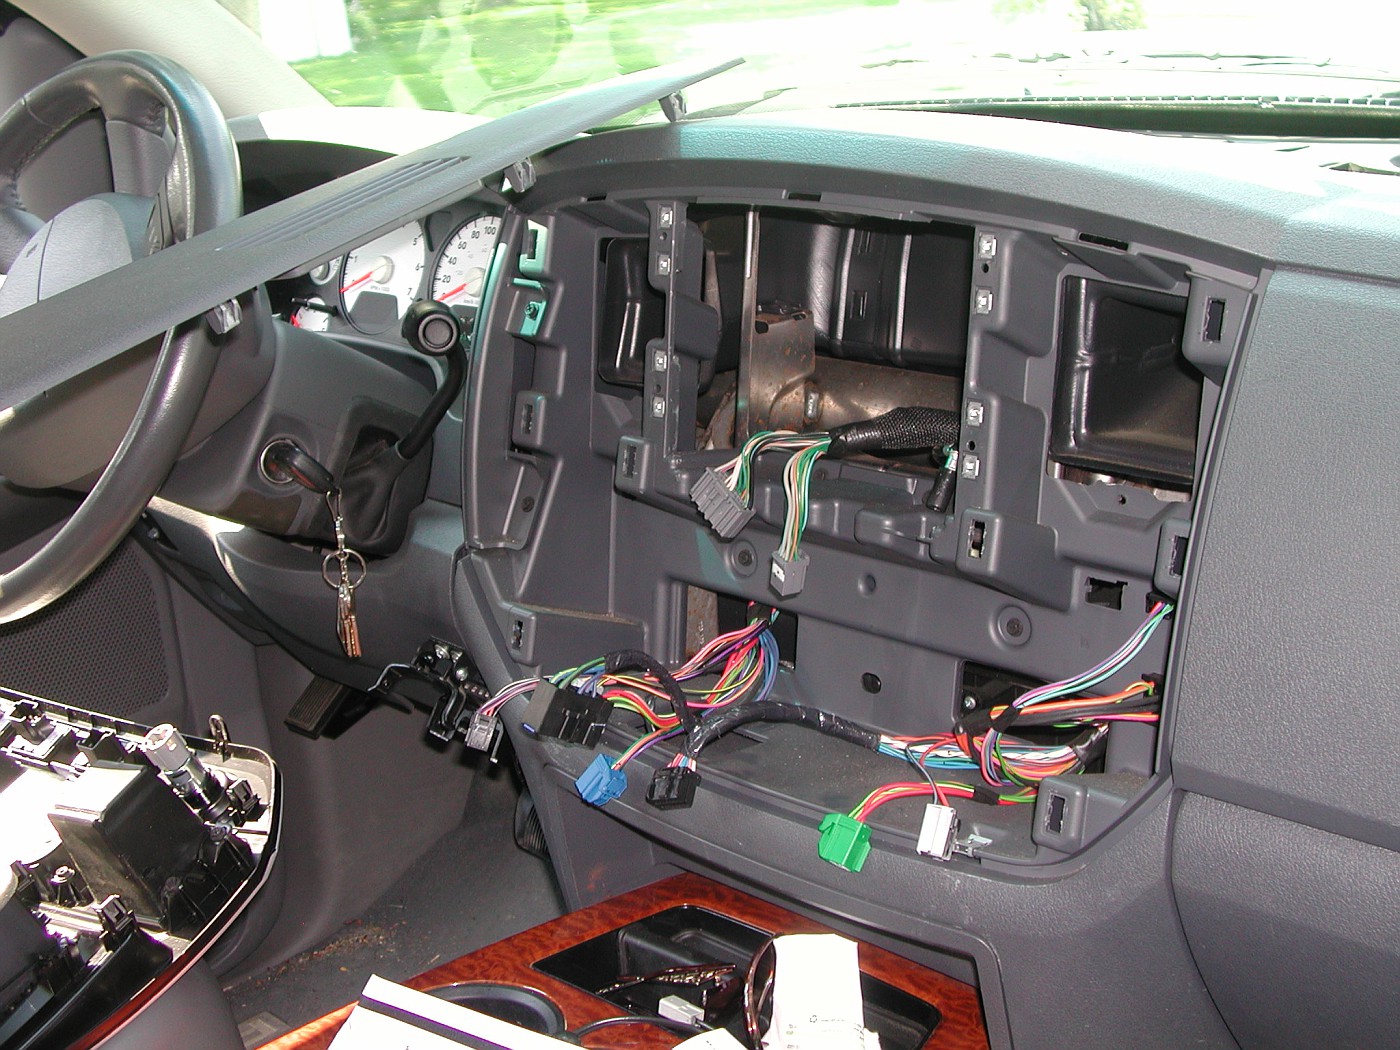
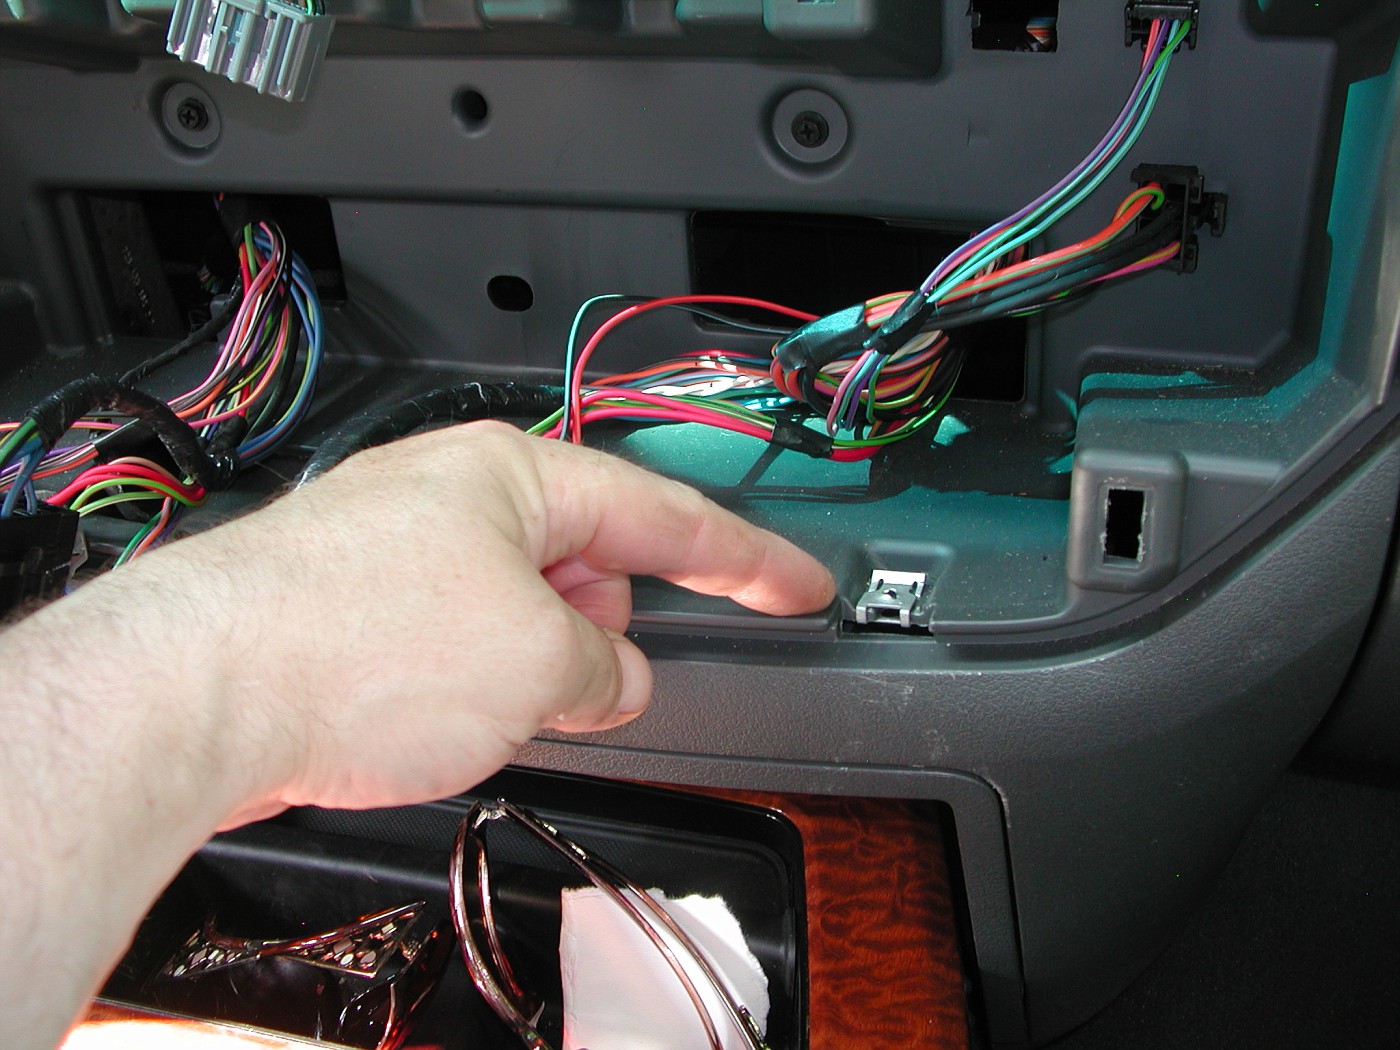
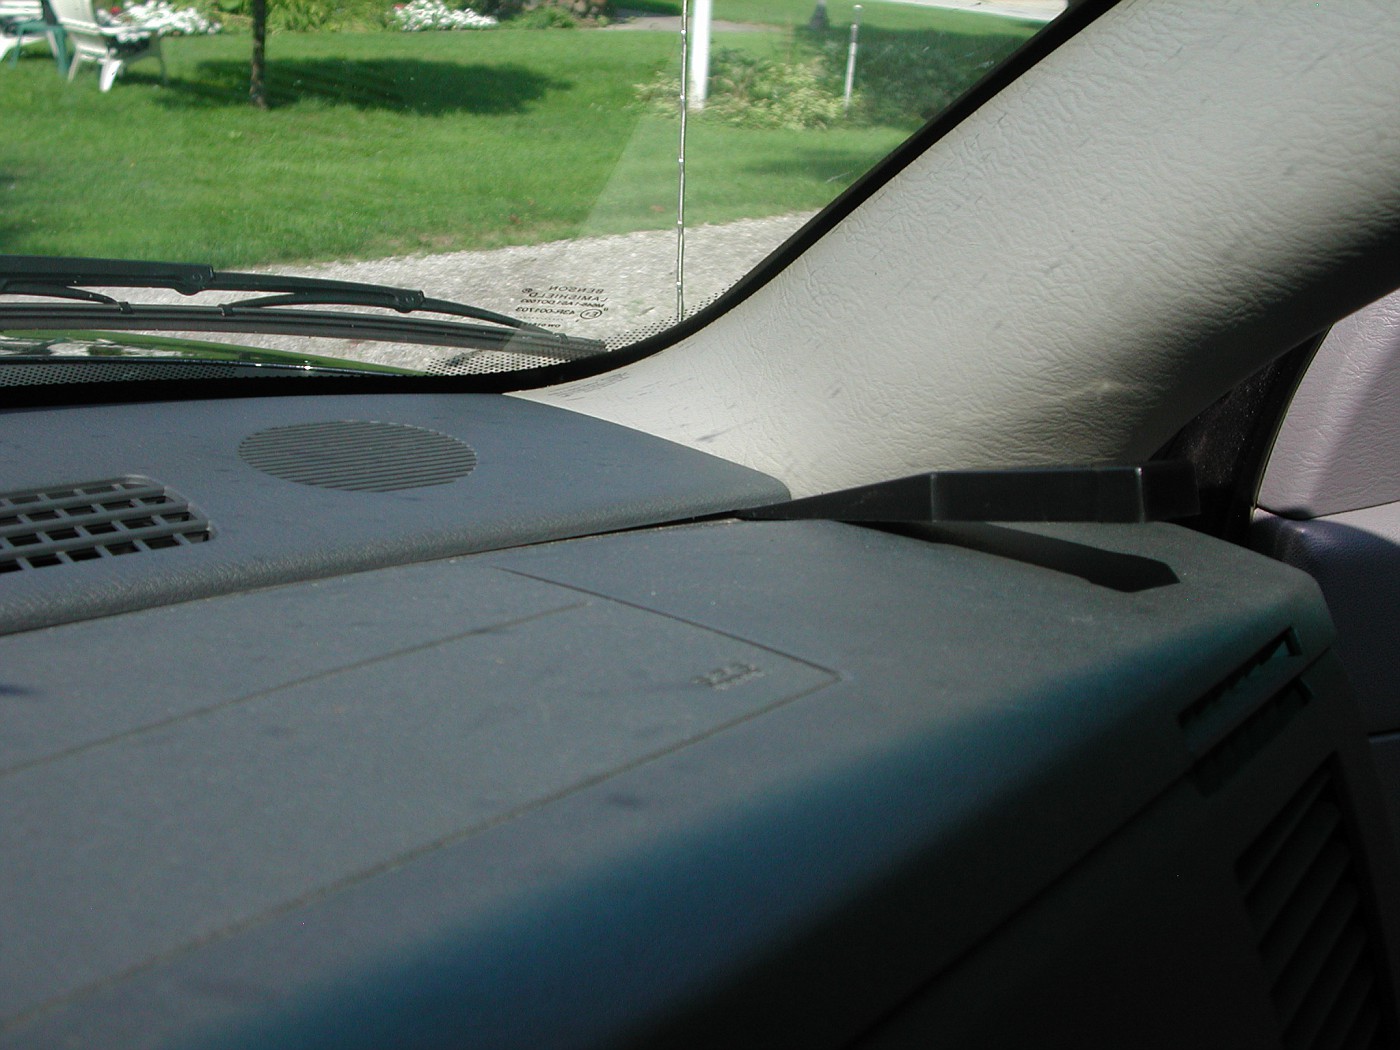
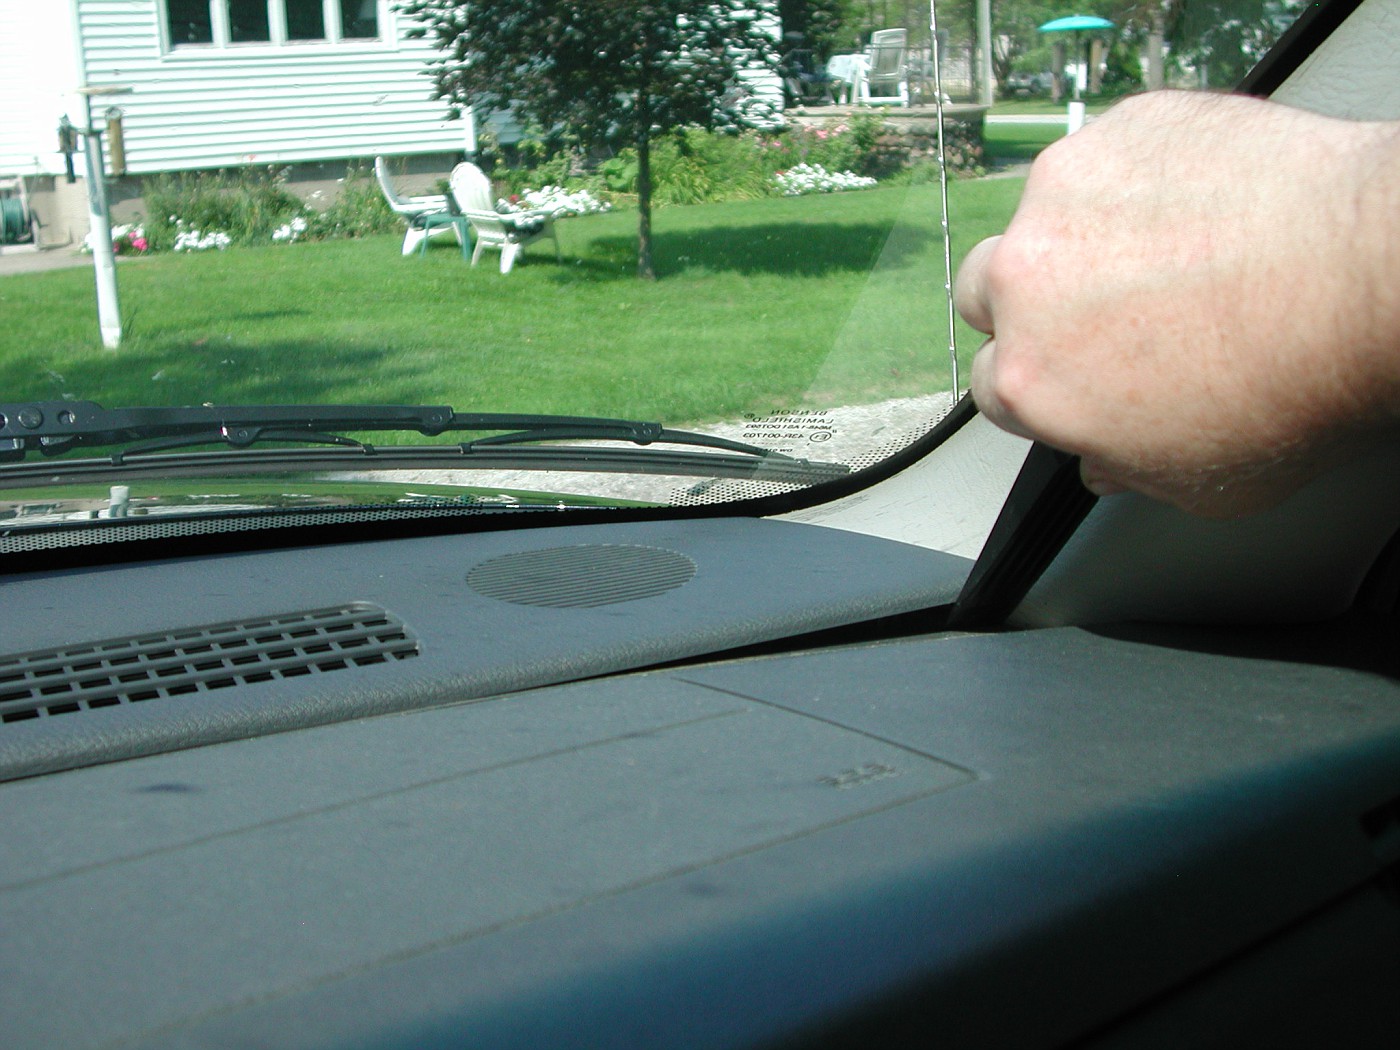
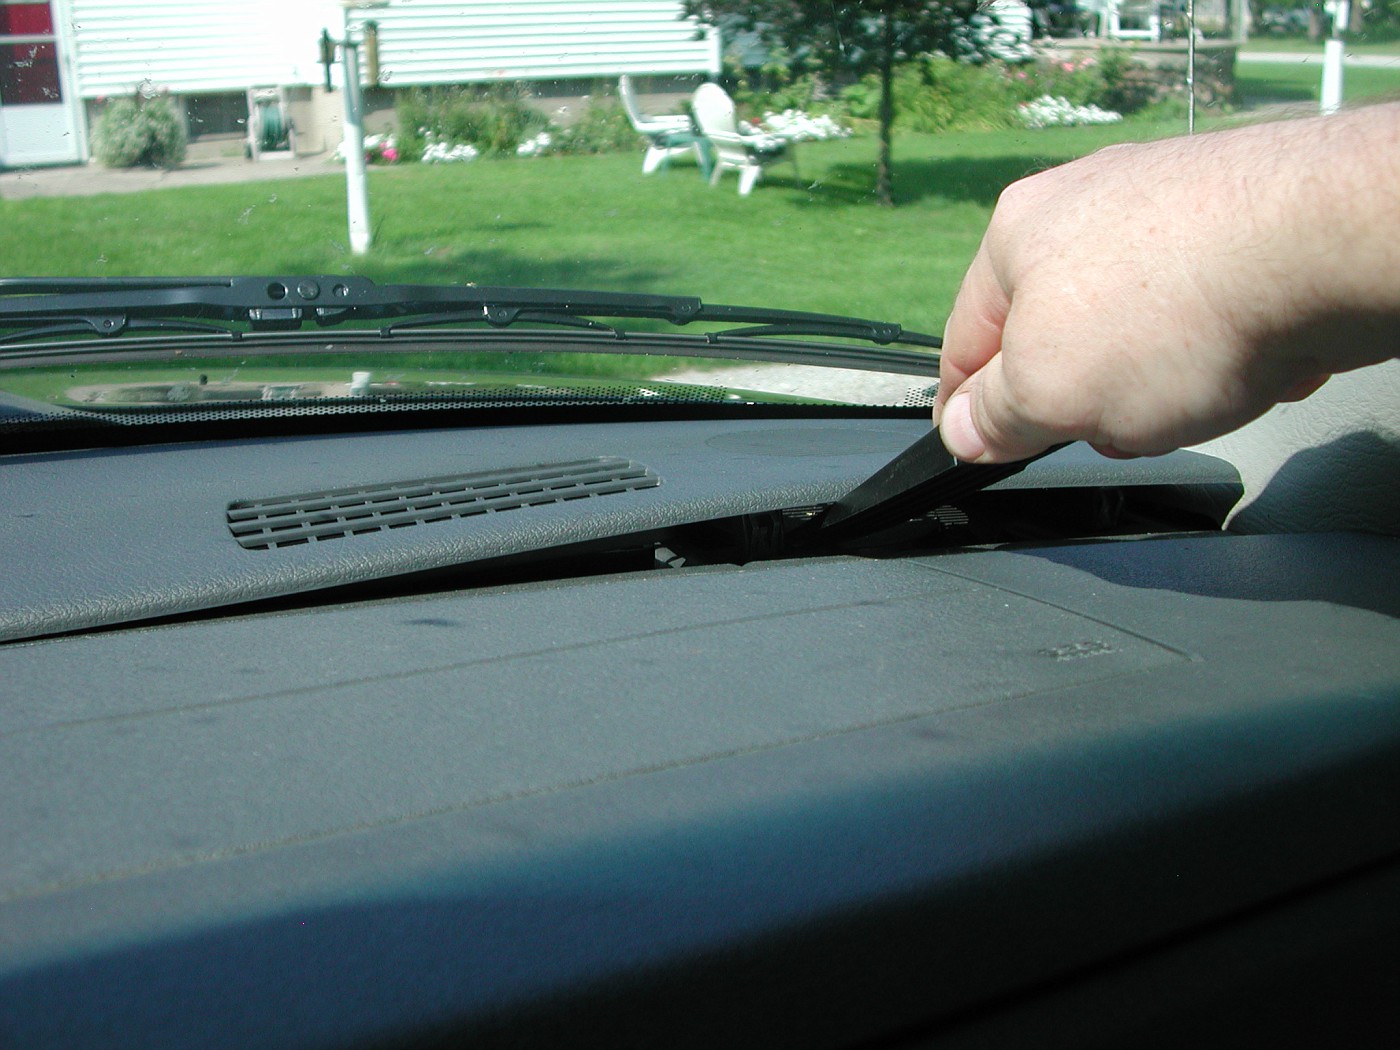
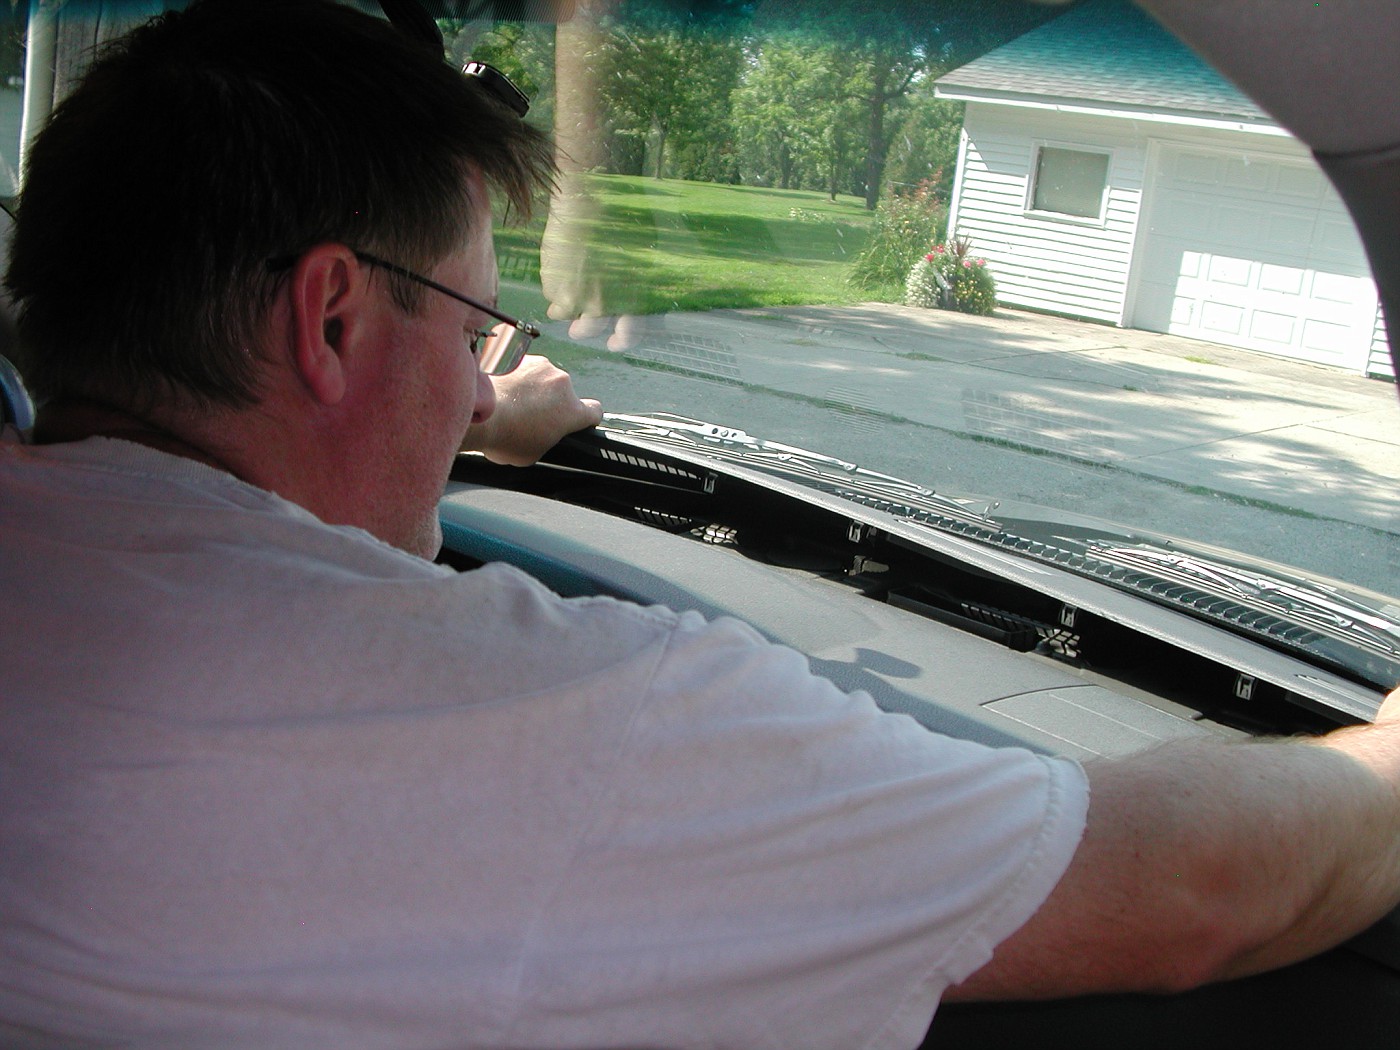
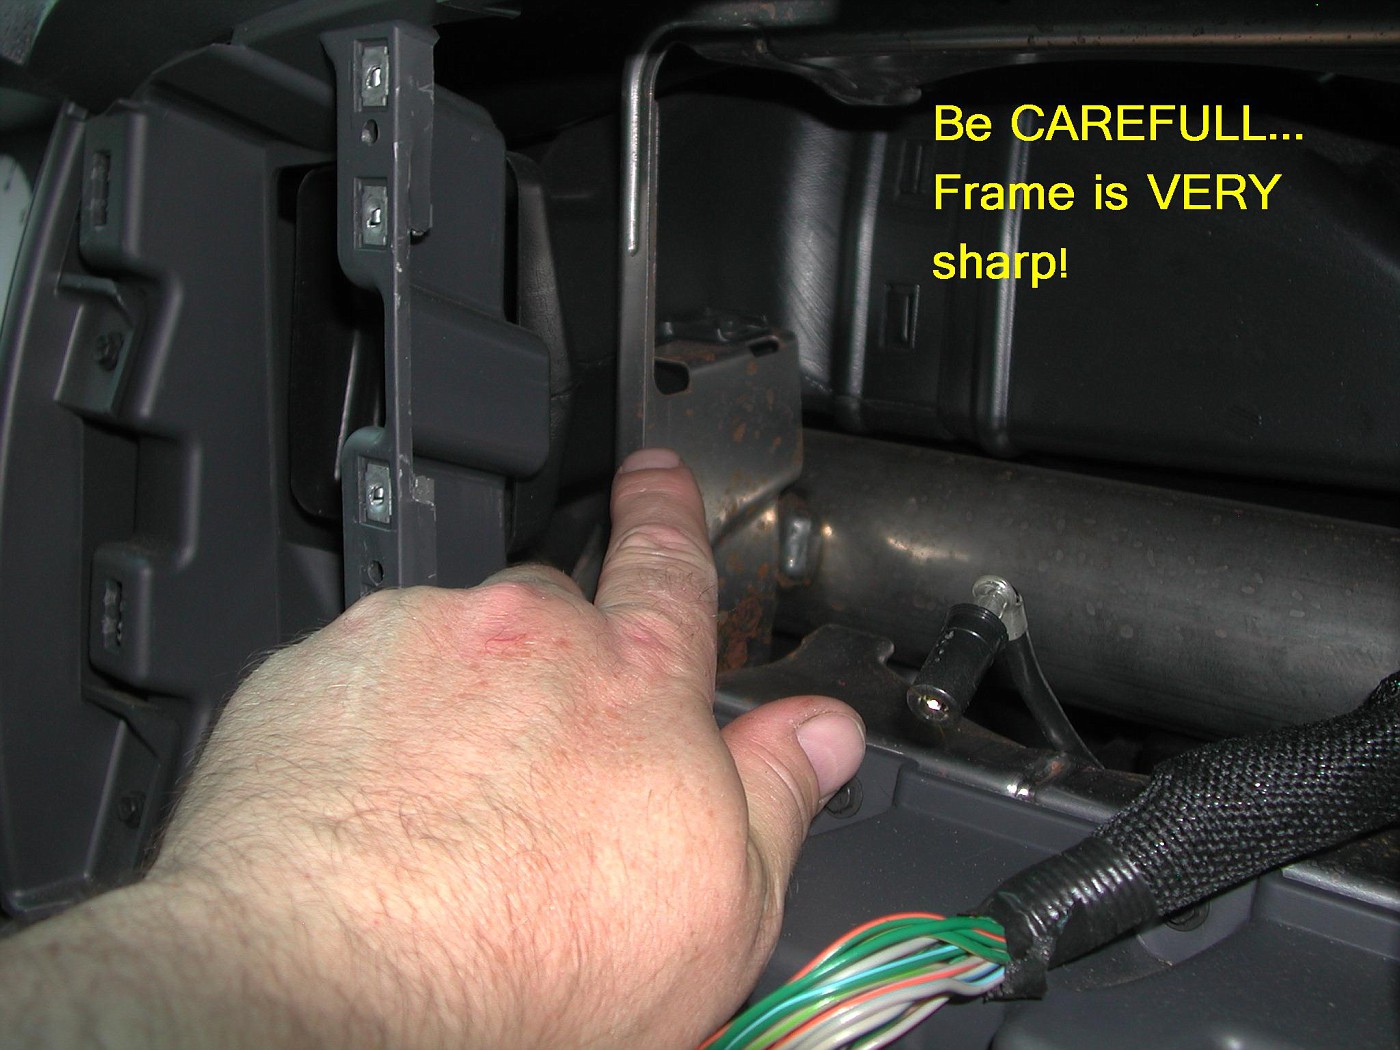
The dash needs to come out to gain access to where the GPS antenna will mount. Using the non-marring tool I lifted the very corner and inserted the tool...I pried up until the 1st retaining clip released.
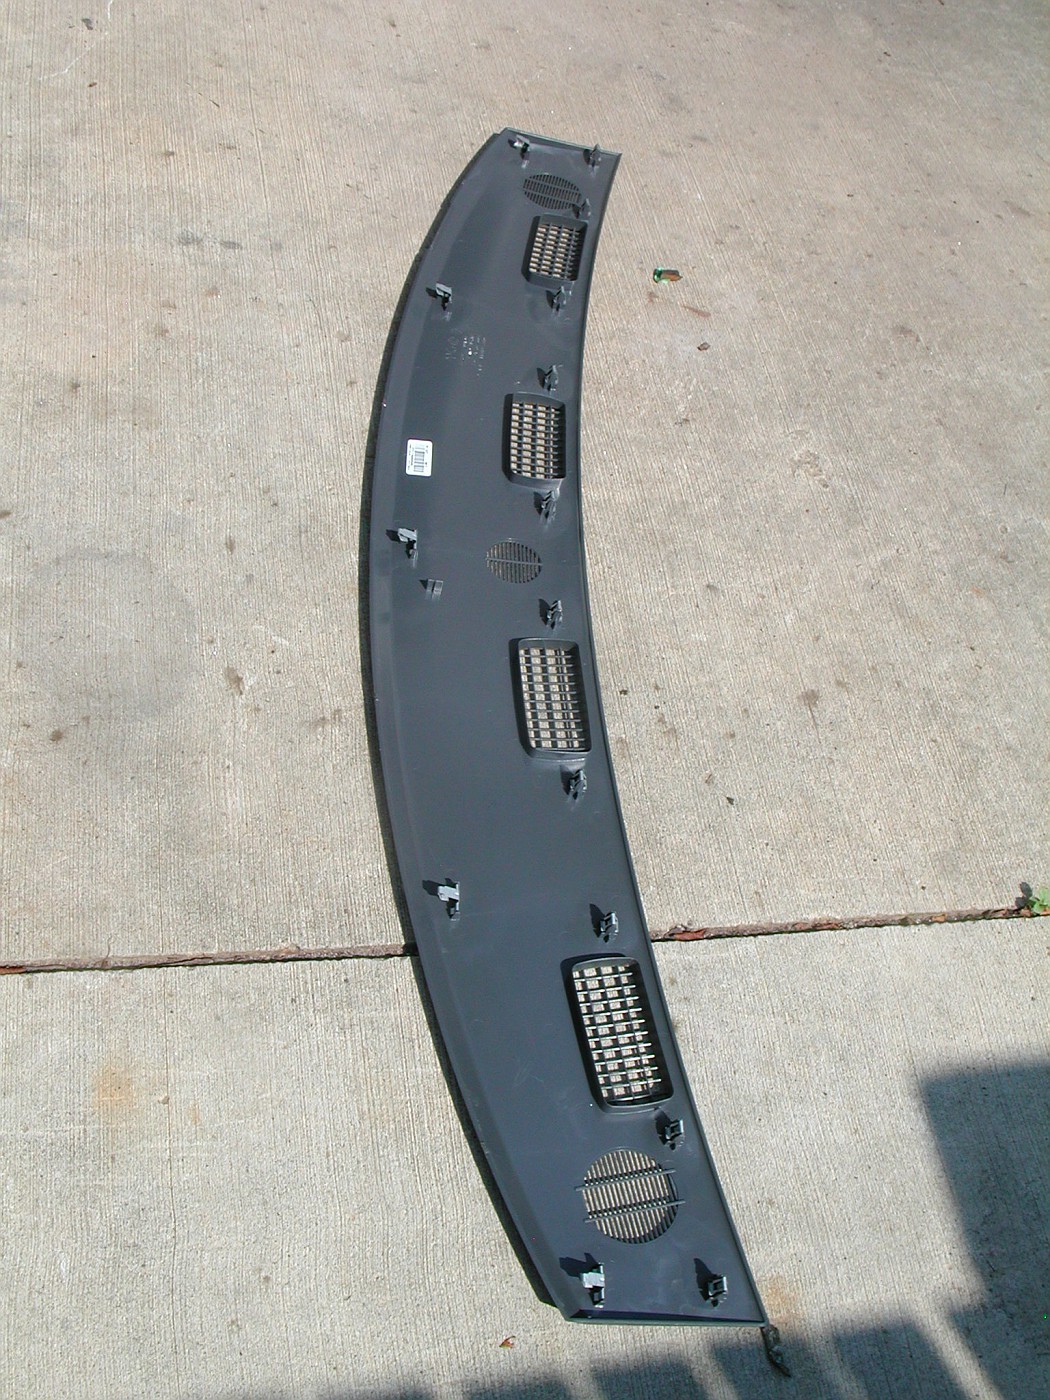
Then work your way across the dash. There are 10 clips along the front edge and 5 clips along the back edge to release.
Once all the front clips are released you can see the rear retaining clips.
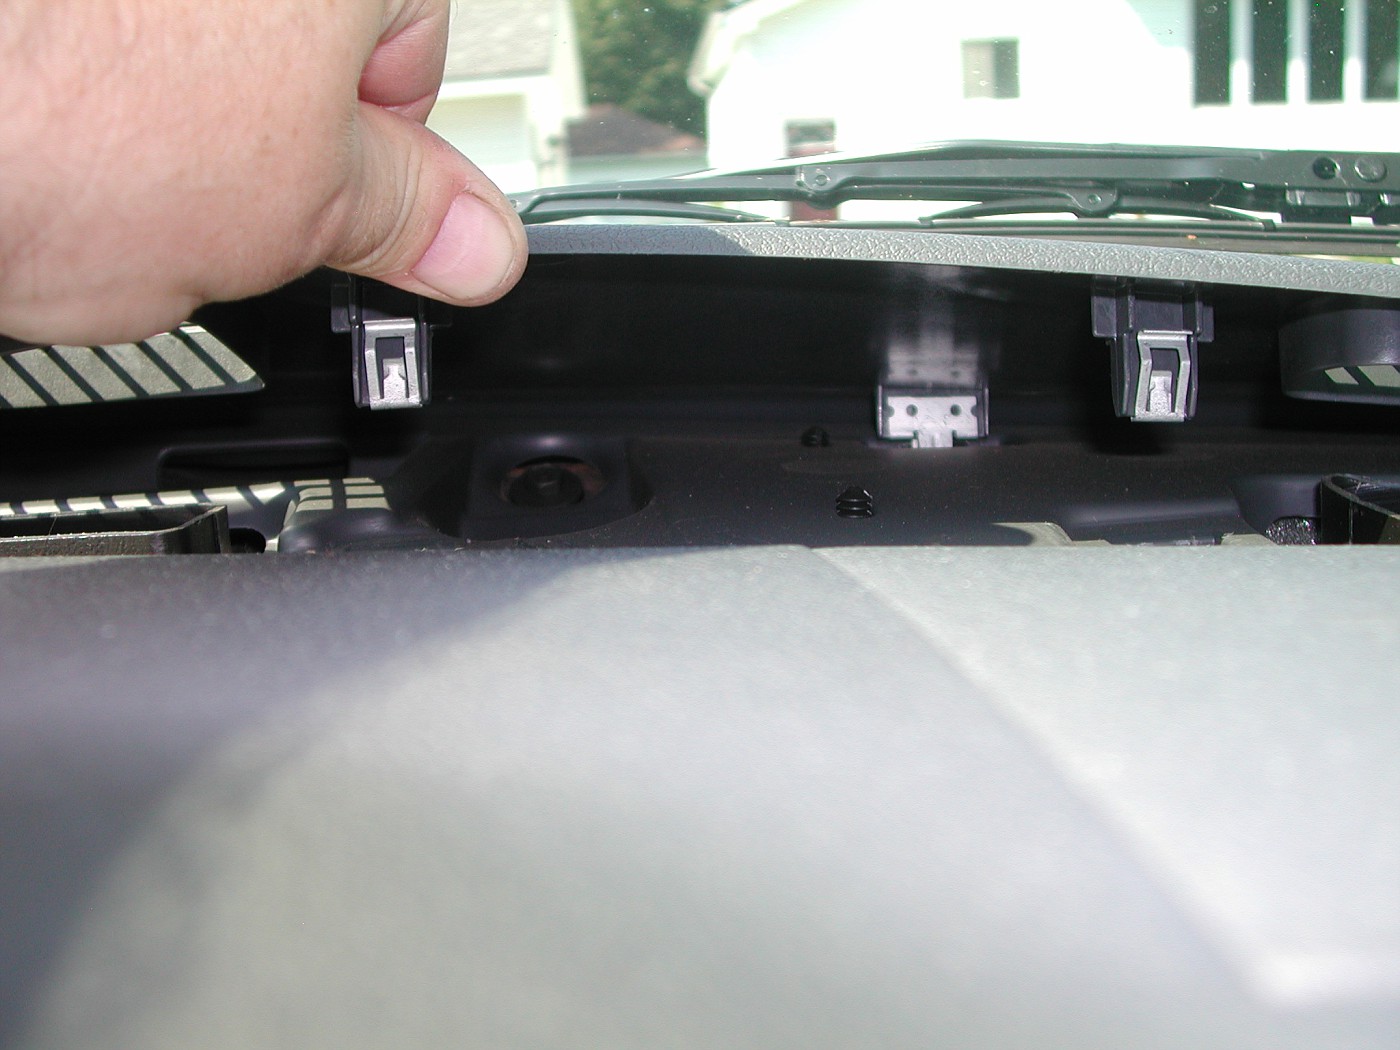
To release the rear clips hold the dash as shown and give it a pull towards yourself.
TO BE CONTINUED....
.
Today was that "at some point" day.
The REC Navigation Radio was bought off E-Bay for $599.00, new in the box Chrysler kit.
I reviewed the instructions that came with the radio kit and it looked SOOOO easy!
Well...it isn't a hard install ...just a little involved.
A New radio/dash bezel was obtained off E-Bay for $87.00 and was also a Chrysler part. This does not come in the Radio Kit.
Enough talk...onto the pic's!
This is the truck.
2007 Ram 1500 Laramie, 4x4
The Laramie edition trim level includes a full center console.
This complicates the radio install because it needs to come out.
There are 2 screws that secure the bottom edge of the bezel to the dash. You can't remove the radio/dash bezel without removing those 2 screws...well... you can....if you want to break stuff.
Remove center console upper trim pan by pulling up on the edges 1st.
You will be able to pry the top panel up about 1/2" or so.
The 3 spring clips I'm pointing to are VERY hard to release. one here...
here...
And here.
I tried my non-marring tool but it wasn't stiff enough. Ended up using a small Flathead screwdriver to CAREFULLY pry the clips up out of the retaining slots.
It gives a loud POP when it breaks loose. You need to pry up on each of the 3 clips. The other clips don't release themselves once you get one done.
Then the upper tray/pan can be pulled up and out.
The the bottom tray/pan has to come out as well. You also get to see how much coffee and pop you have spilled.
Only three 8mm screws need to be removed.
Then again, pull up to remove the bottom tray of the console.
Next, these 2 screws are removed.
Then this panel is easily pulled away and removed.
This next panel is what covers the 2 elusive screws. To remove you just pull the panel straight down. No need to remove the electrical connection, you can access the 2 screws with the panel laying on the floor.
This pic was taken with the camera on the floor, looking up. The 2 screws highlighted need to be removed. Once the screws are removed you can then pry off the radio/dash panel.
SO.. we have the center console out and thos two pesky screws are removed.
We can now finally start on the actual radio instal.
Here is what I started with.
I found the easiest way to start to remove the panel was to pry (with 2 hands) on the steering wheel side of the panel. Once this corner releases you can then easily get the others.
Here is where the 2 screws come up and secure into the bezel and dash.
All the control connections release without too much trouble...except this one.I needed to use a small screw driver to help release the tab.
Remove these 6 screws and the old radio can come out.
Release the 10 pin and 22 pin connectors as well as the antenna.The Antenna actually pulled itself loose when I pulled the radio out to access the wire harness.
Then the tray/spacer comes out.
Left with a big empty space.
The dash needs to come out to gain access to where the GPS antenna will mount. Using the non-marring tool I lifted the very corner and inserted the tool...I pried up until the 1st retaining clip released.
Then work your way across the dash. There are 10 clips along the front edge and 5 clips along the back edge to release.
Once all the front clips are released you can see the rear retaining clips.
To release the rear clips hold the dash as shown and give it a pull towards yourself.
TO BE CONTINUED....
.
#2
07-31-2012, 01:45 AM
CONTINUED.
Here is a scan of the installation instructions that came with the Radio kit.
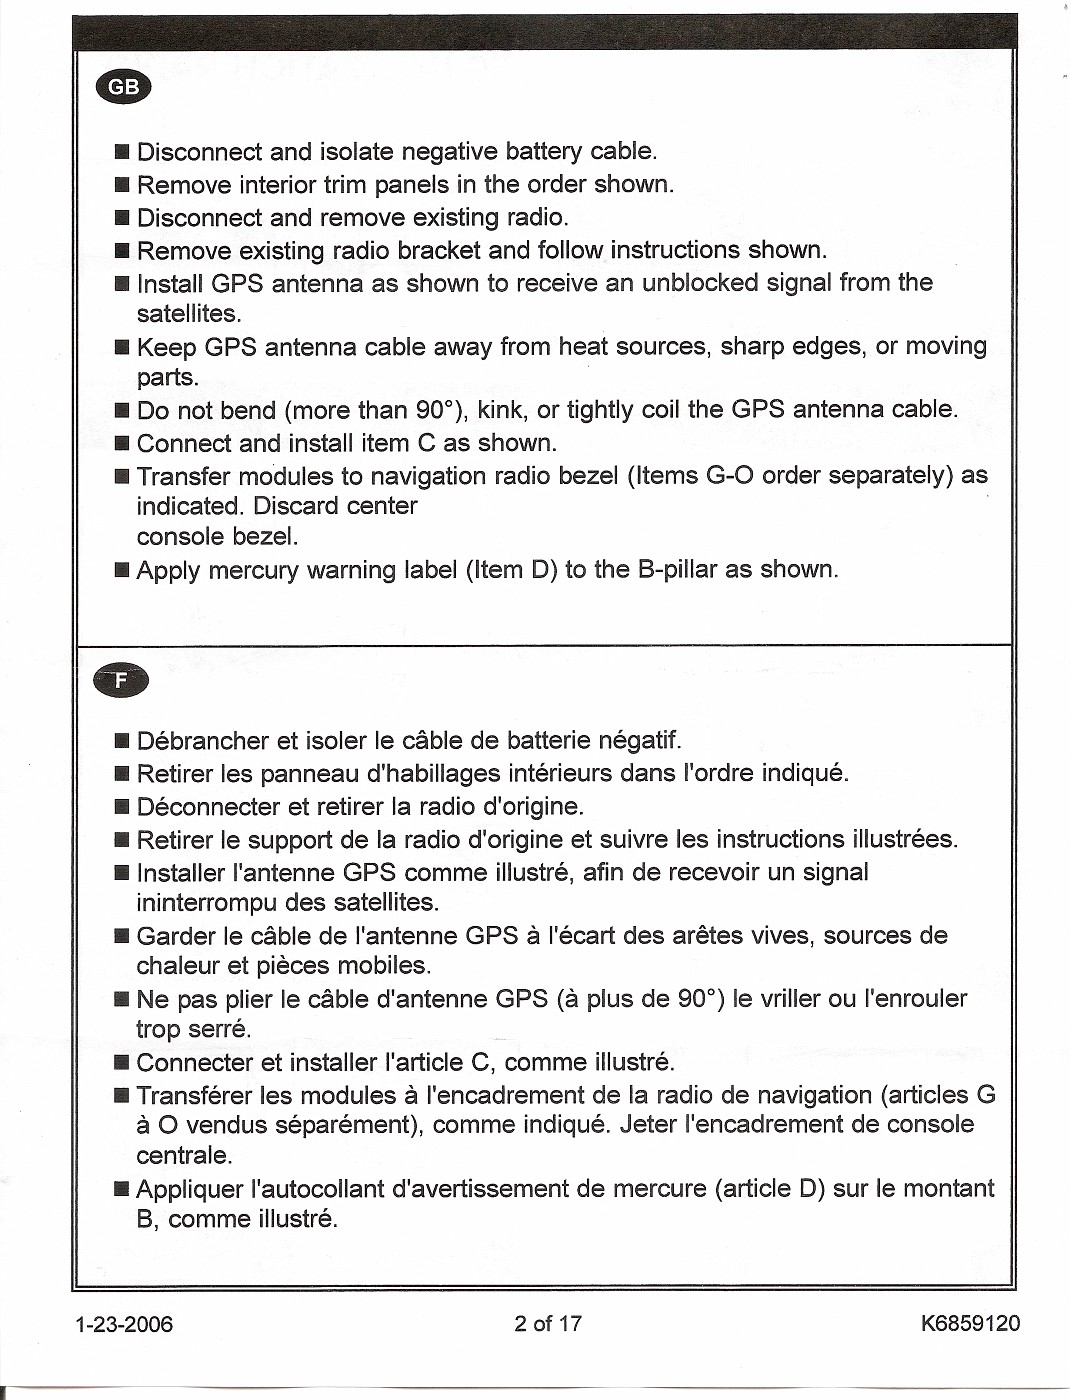
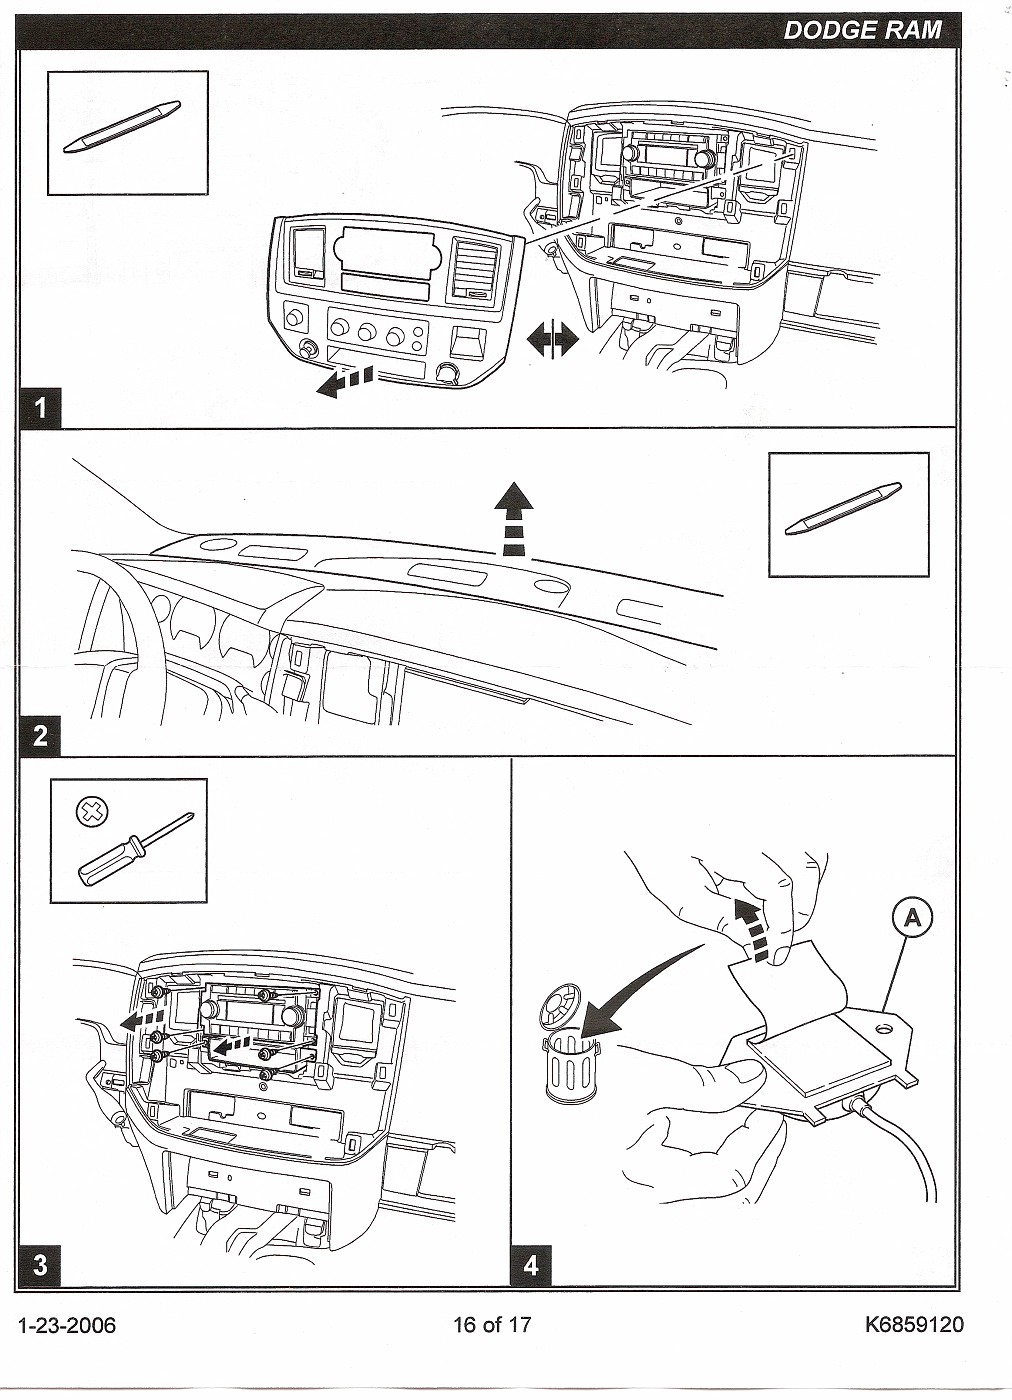
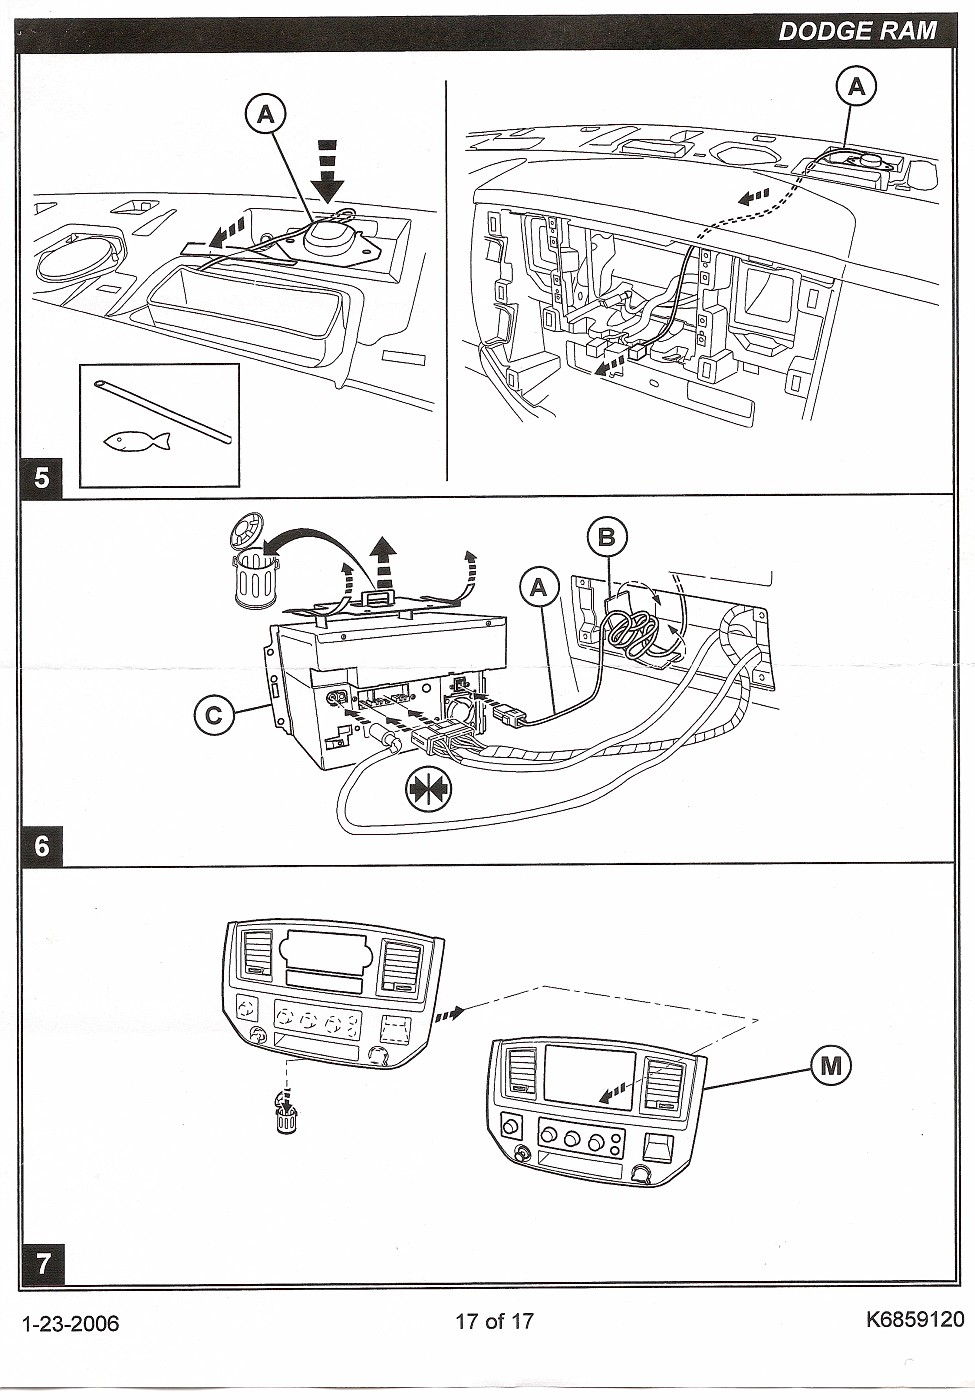
Seems simple doesn't it!
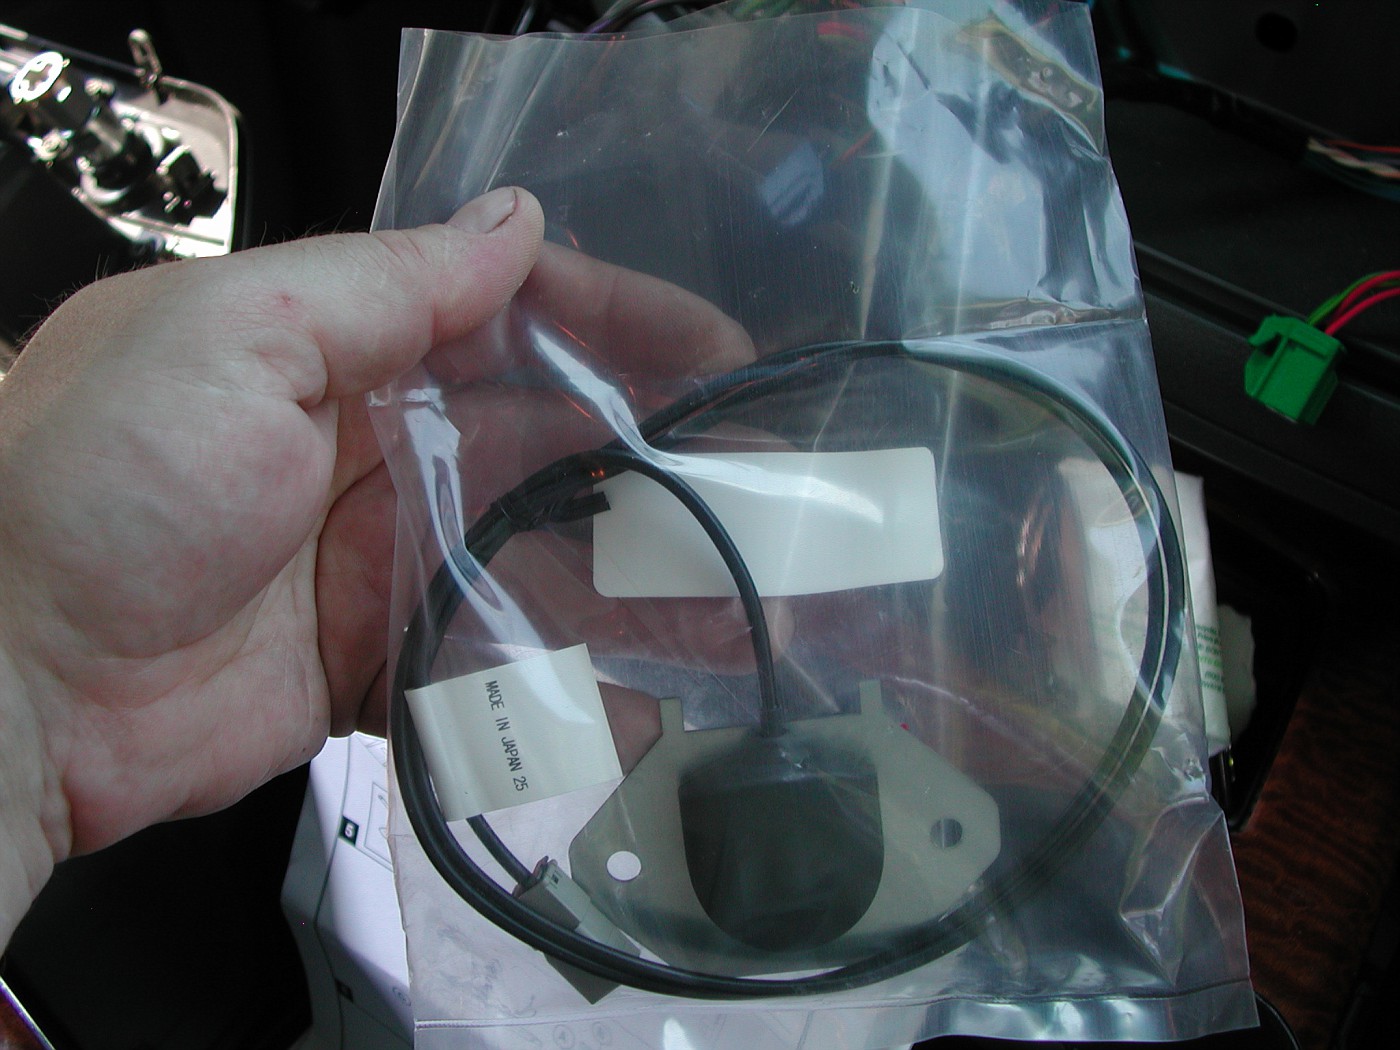
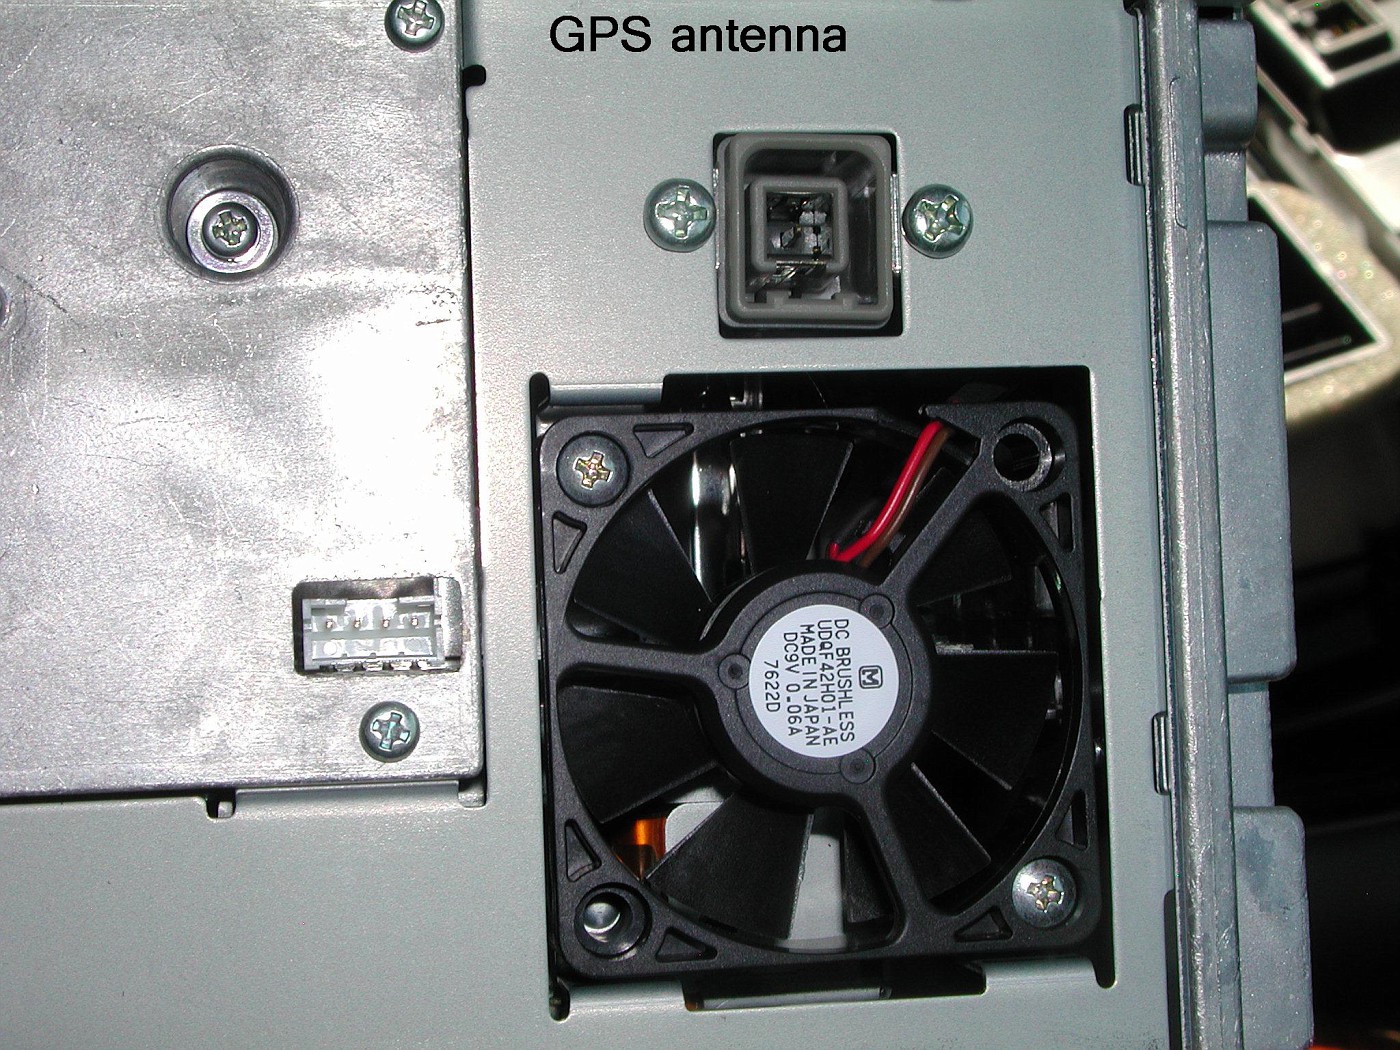
New GPS Antenna
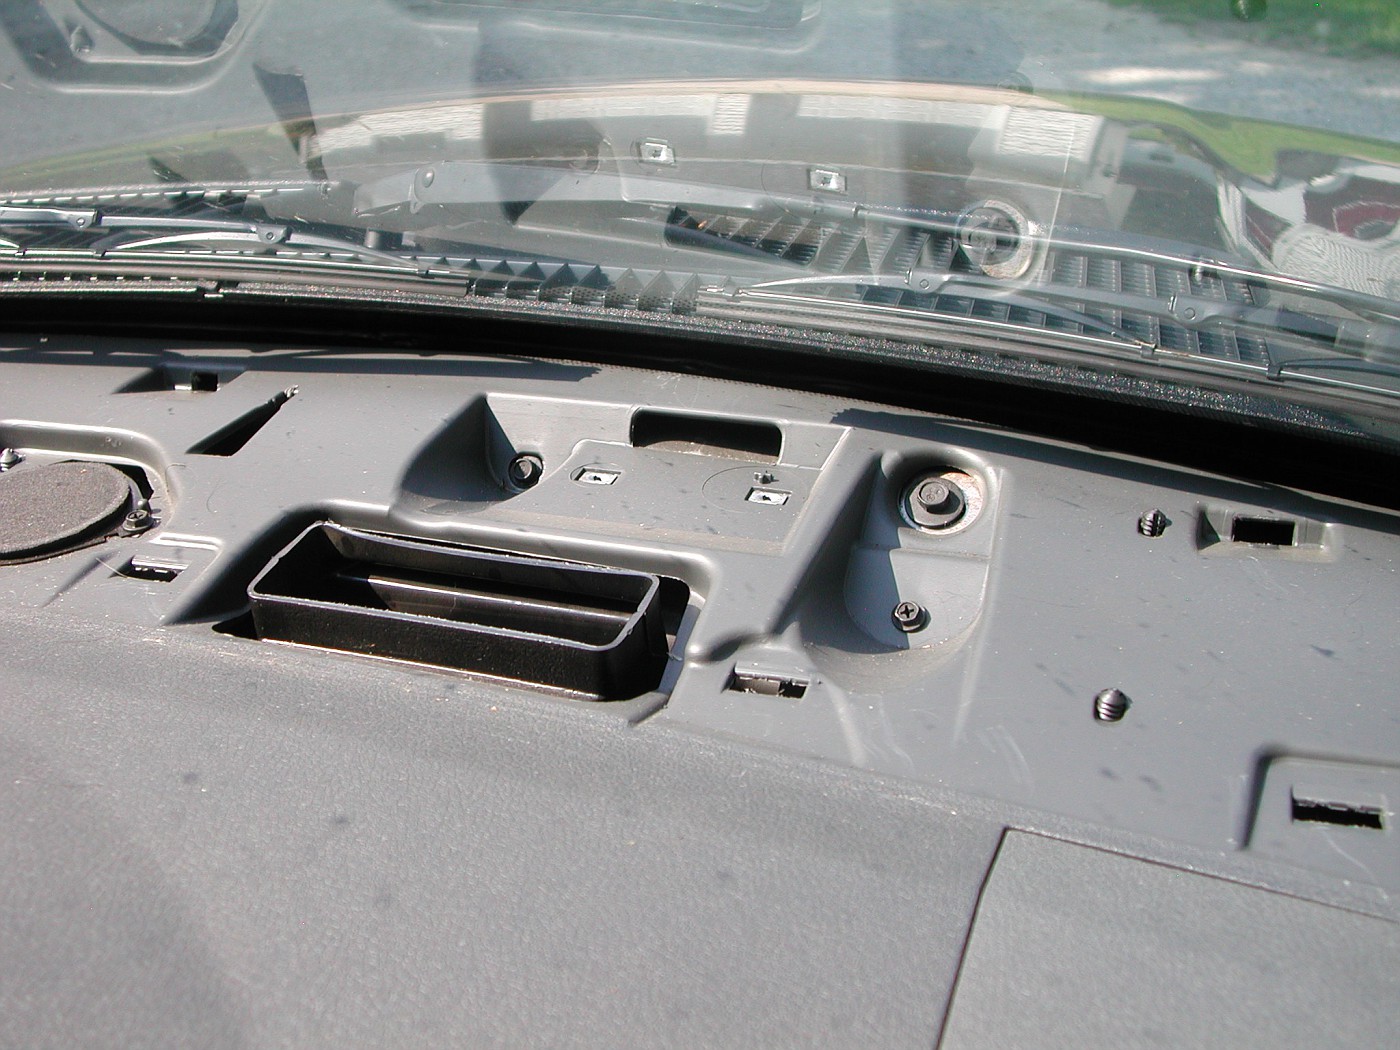
This is the spot on the dash where the GPS Antenna mounts.
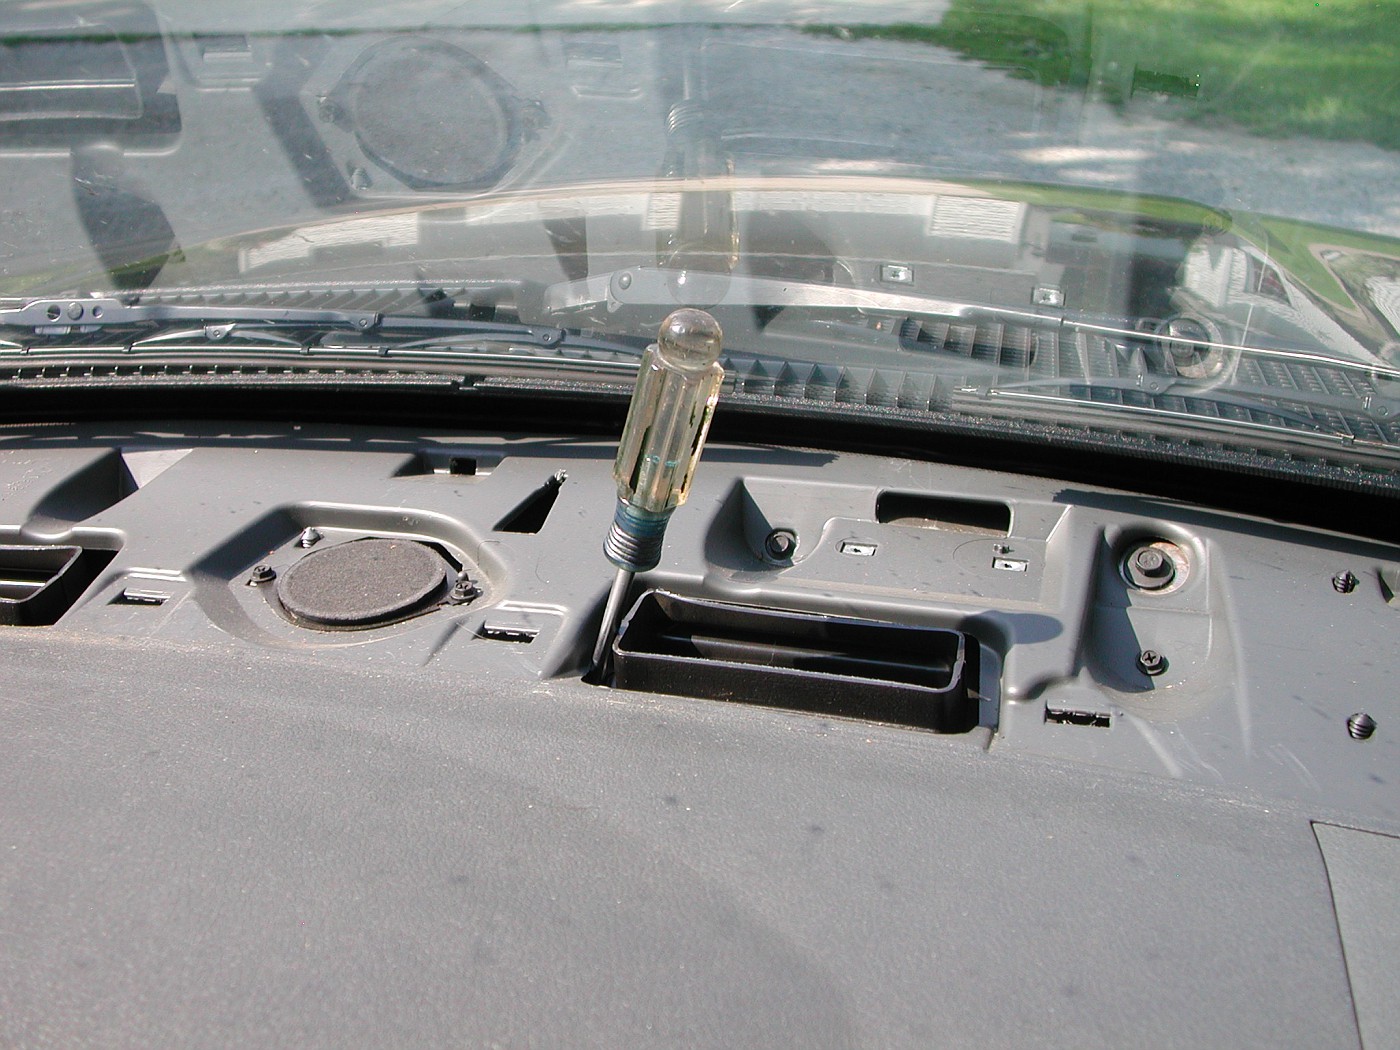
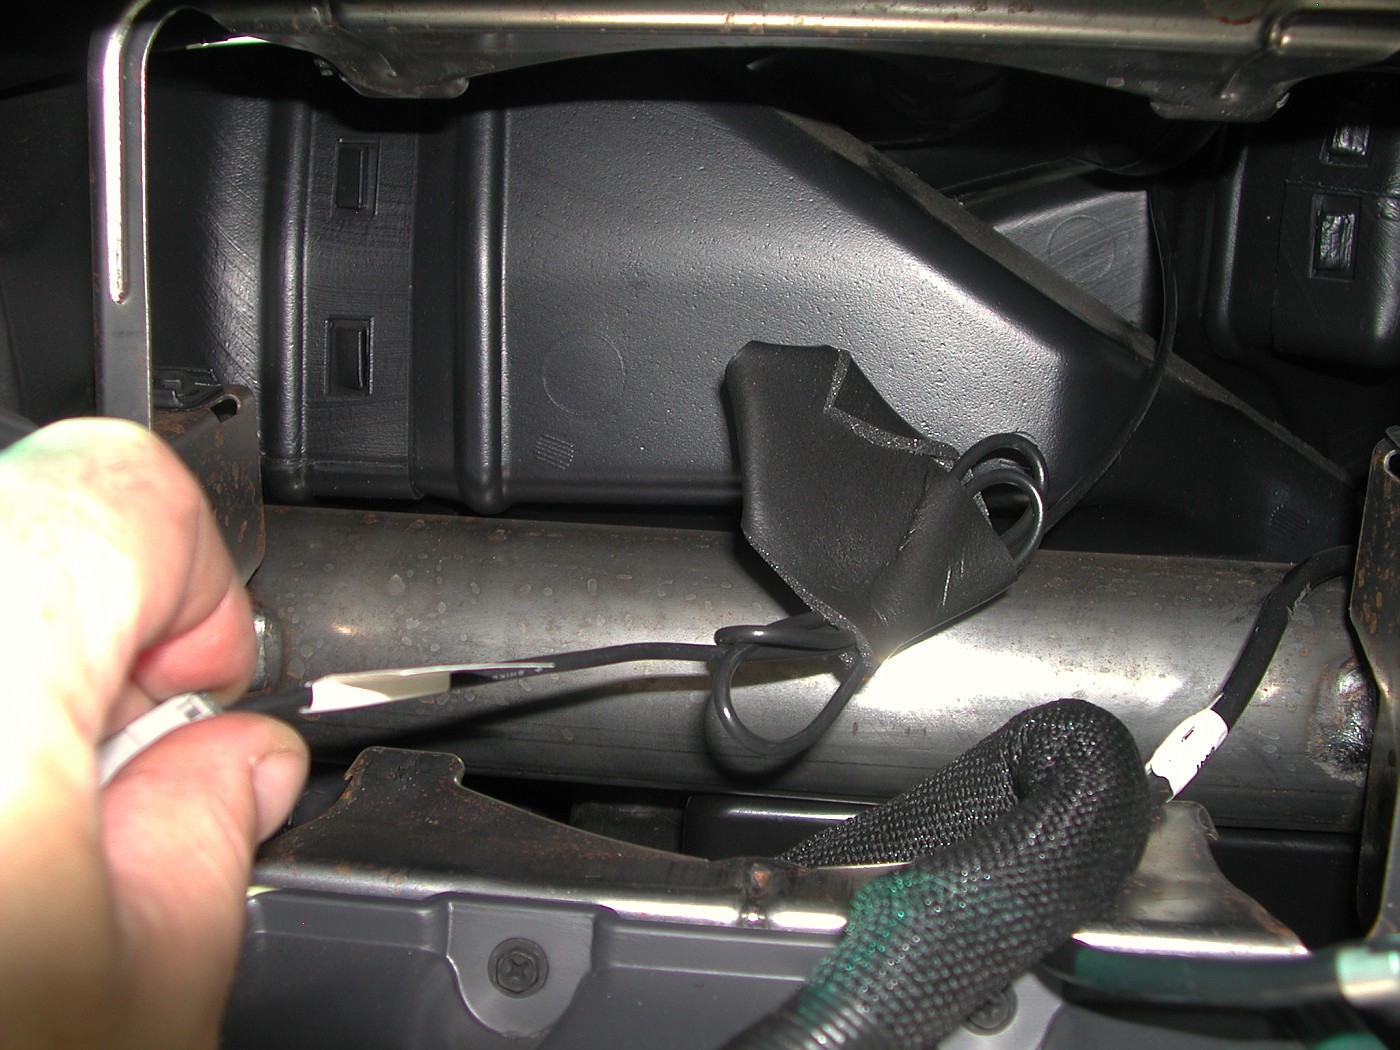
You fish the GPS Antenna wire through this area of the dash. I used a screwdriver to show where.
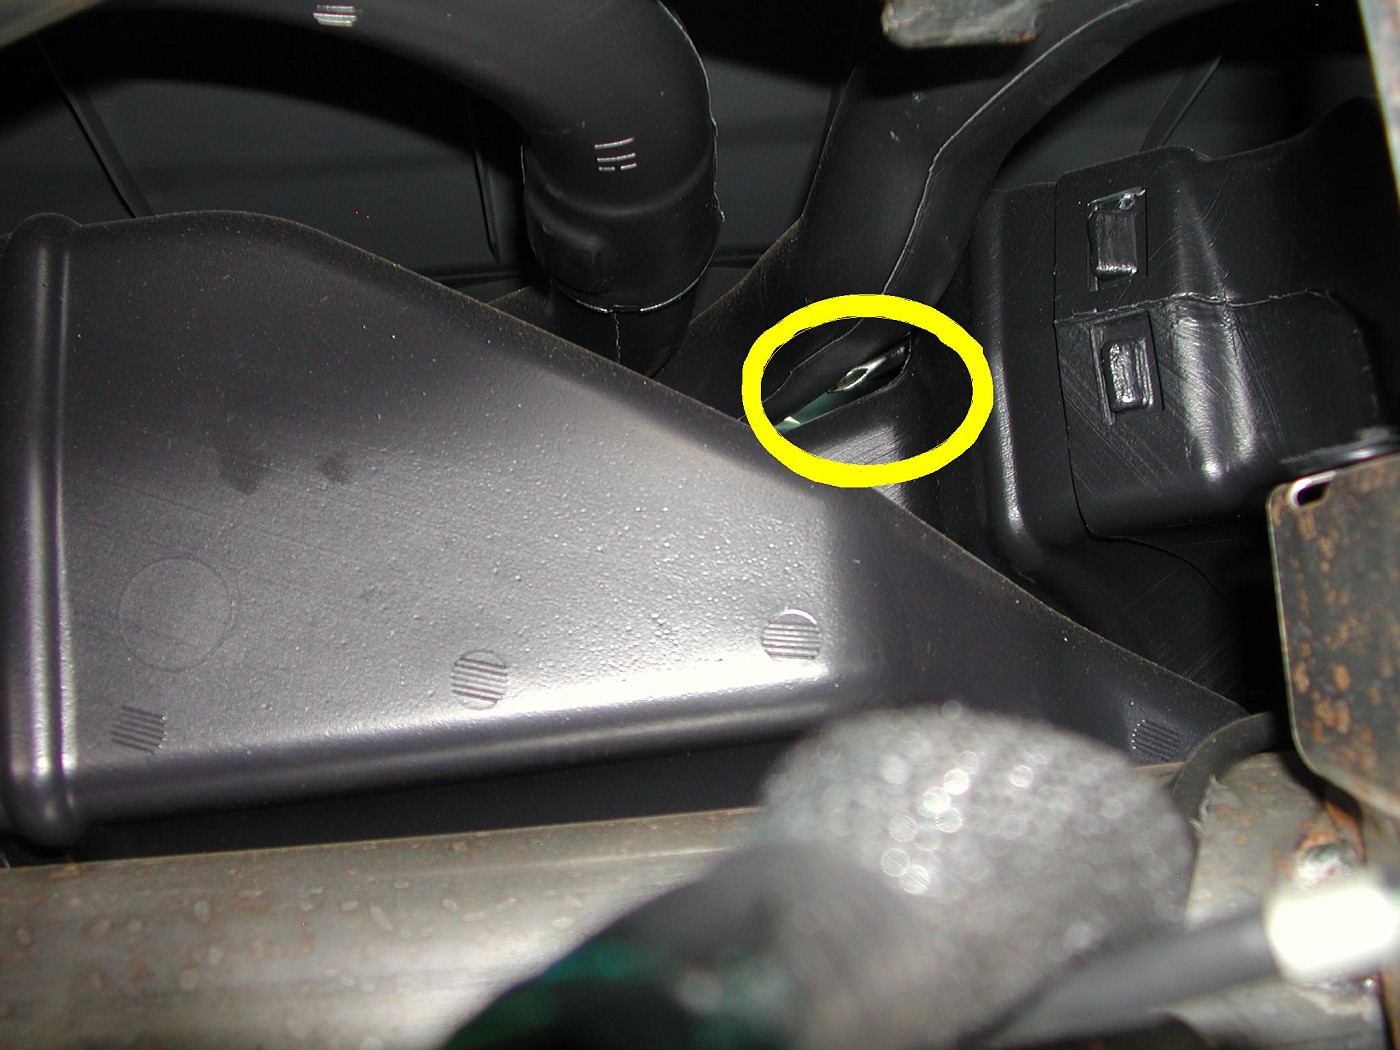
The screwdriver tip as seen from the radio mounting hole.
The GPS Antenna mount area of the dash has 2 areas for screws but because the windshield is in the way you have no room to screw the Antenna down. The 3M adhesive tape that is already on the antenna is used to secure the GPS antenna to the dash.
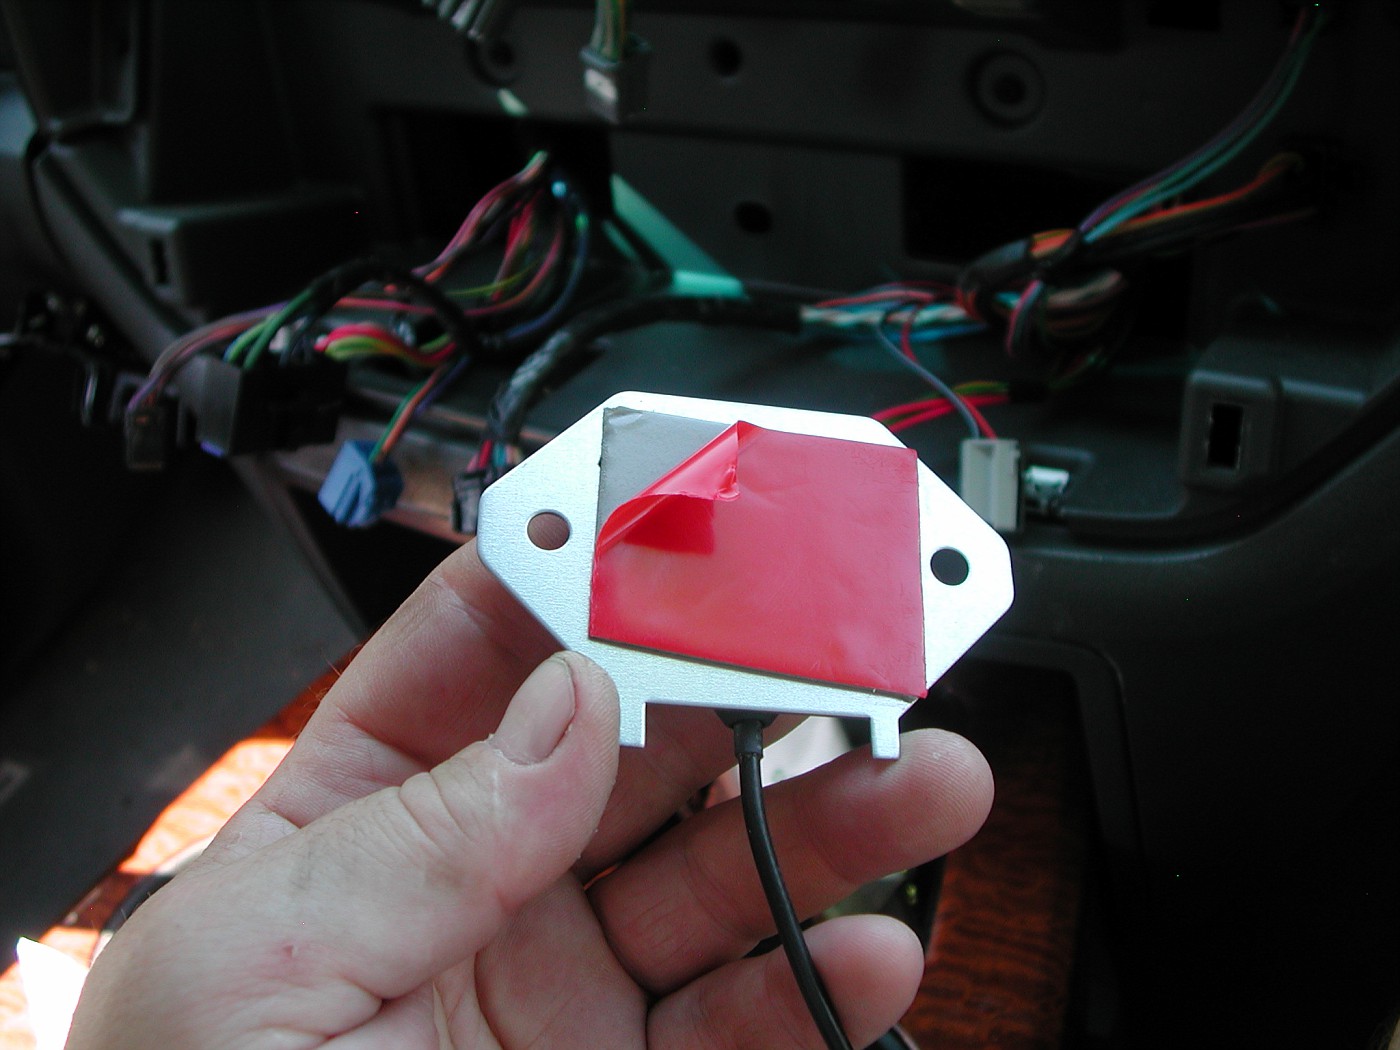
Clean the mounting area of dust 1st then peel the red backing tape off the Antenna and stick the GPS Antenna to the dash.

I learned the hard way. Just brushed up against the edge of the radio opening. The stamped steel edge is razor sharp and WILL cut you if your not careful.
Once the GPS wire was fished through the dash I used the supplied foam tape to secure the extra length of wire.
As shown in the instructions...it calls for more foam tape "here" to secure the GPS wire to the dash.

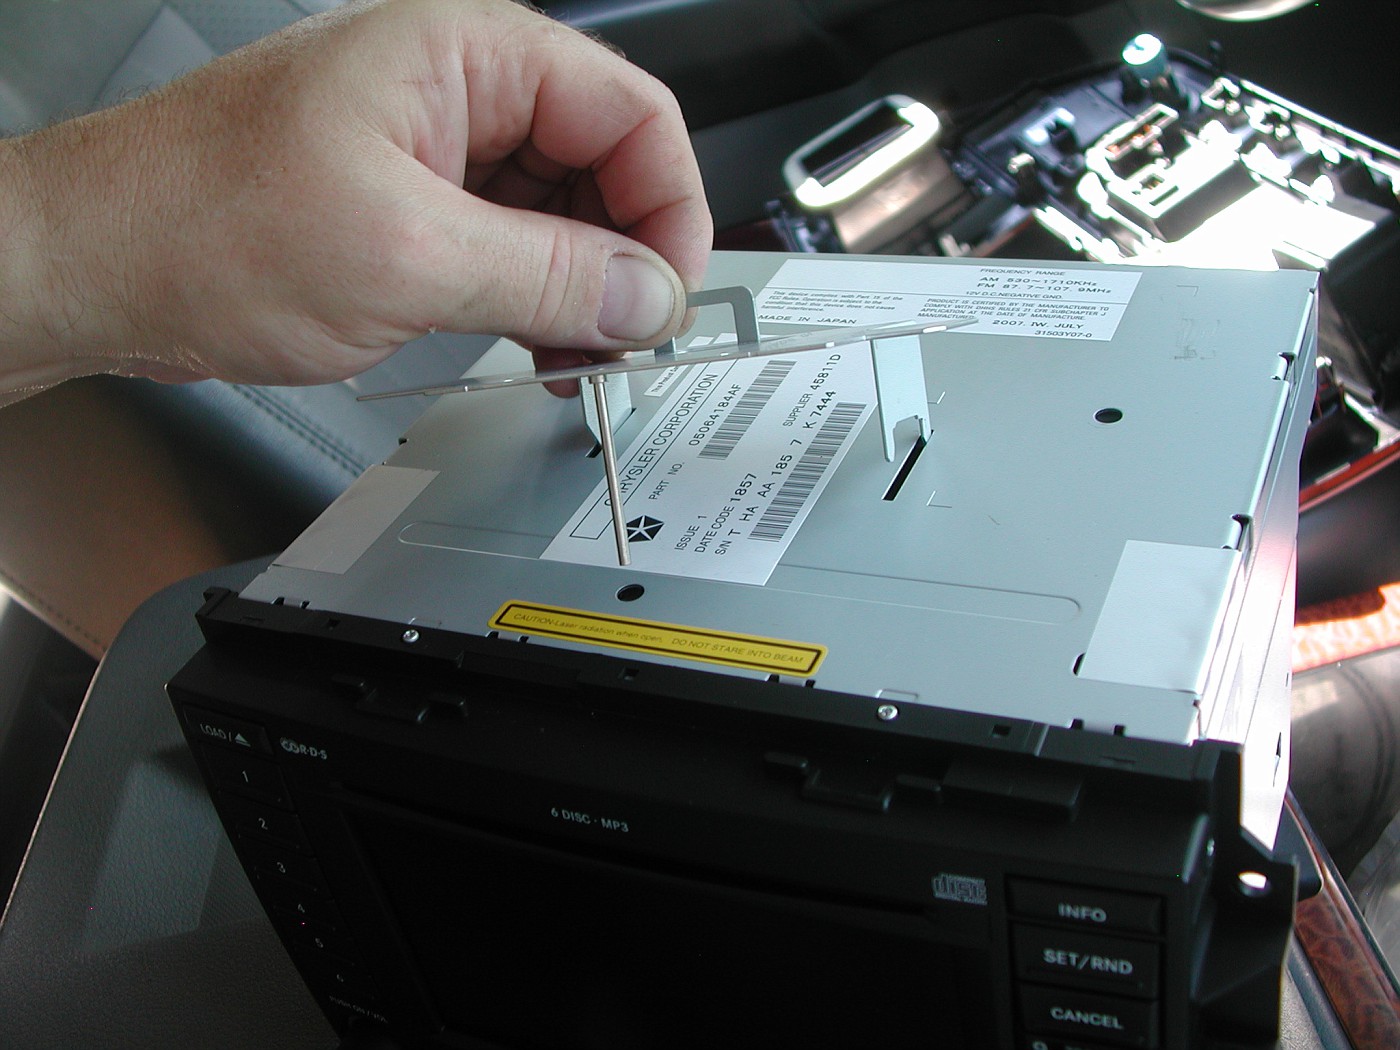
This pin/plate is to be removed before REC installation. It prevents Cd's from being inserted into the radio before installation.
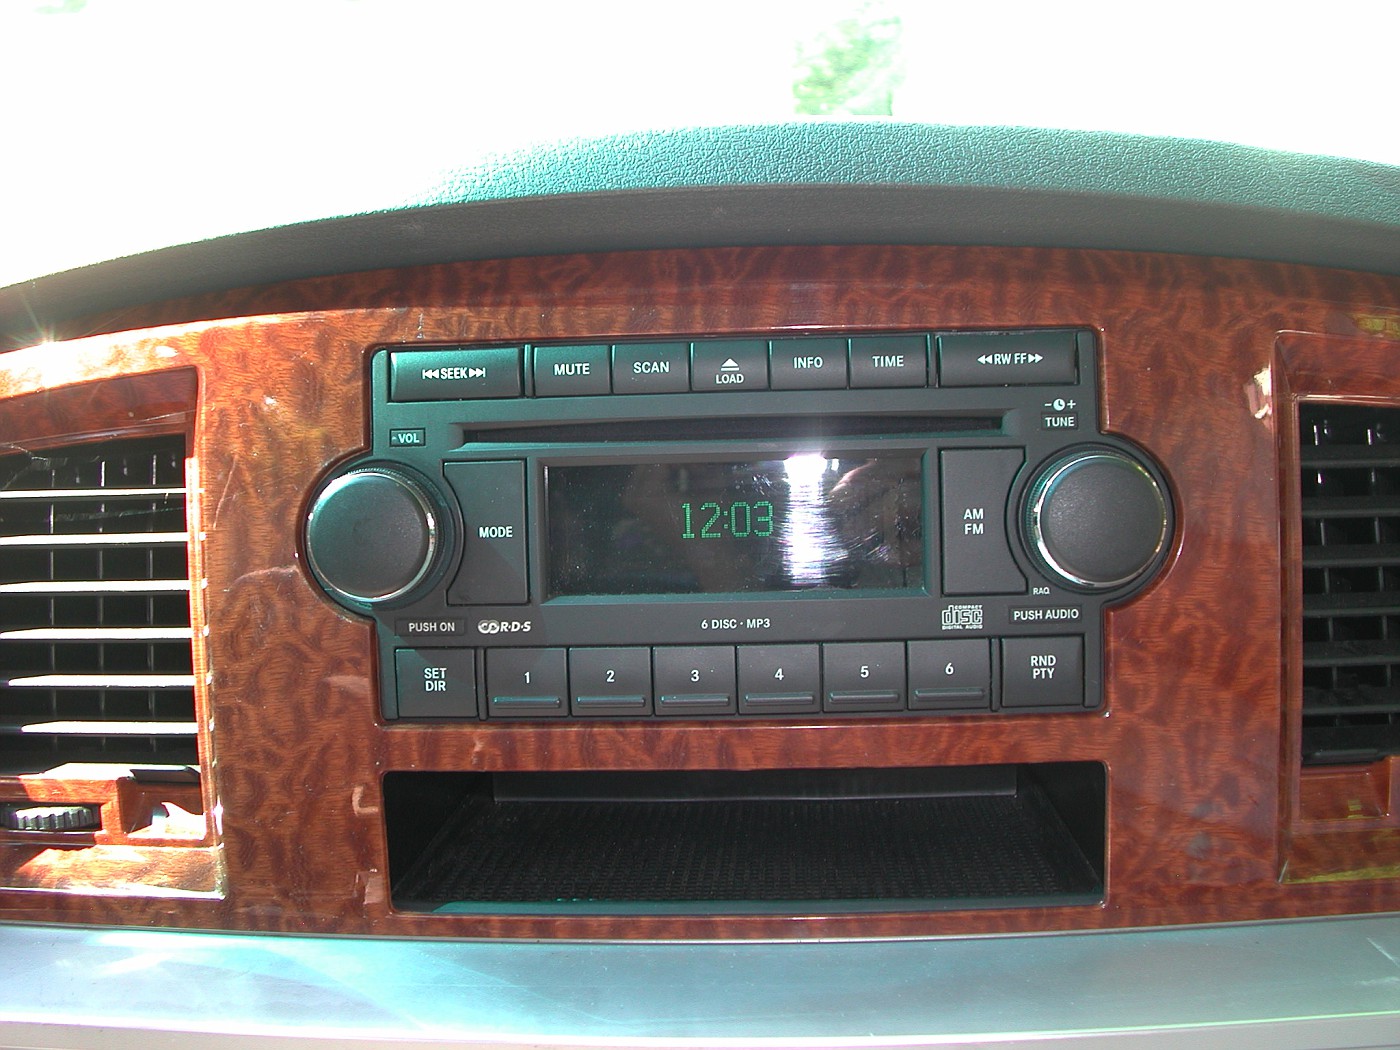
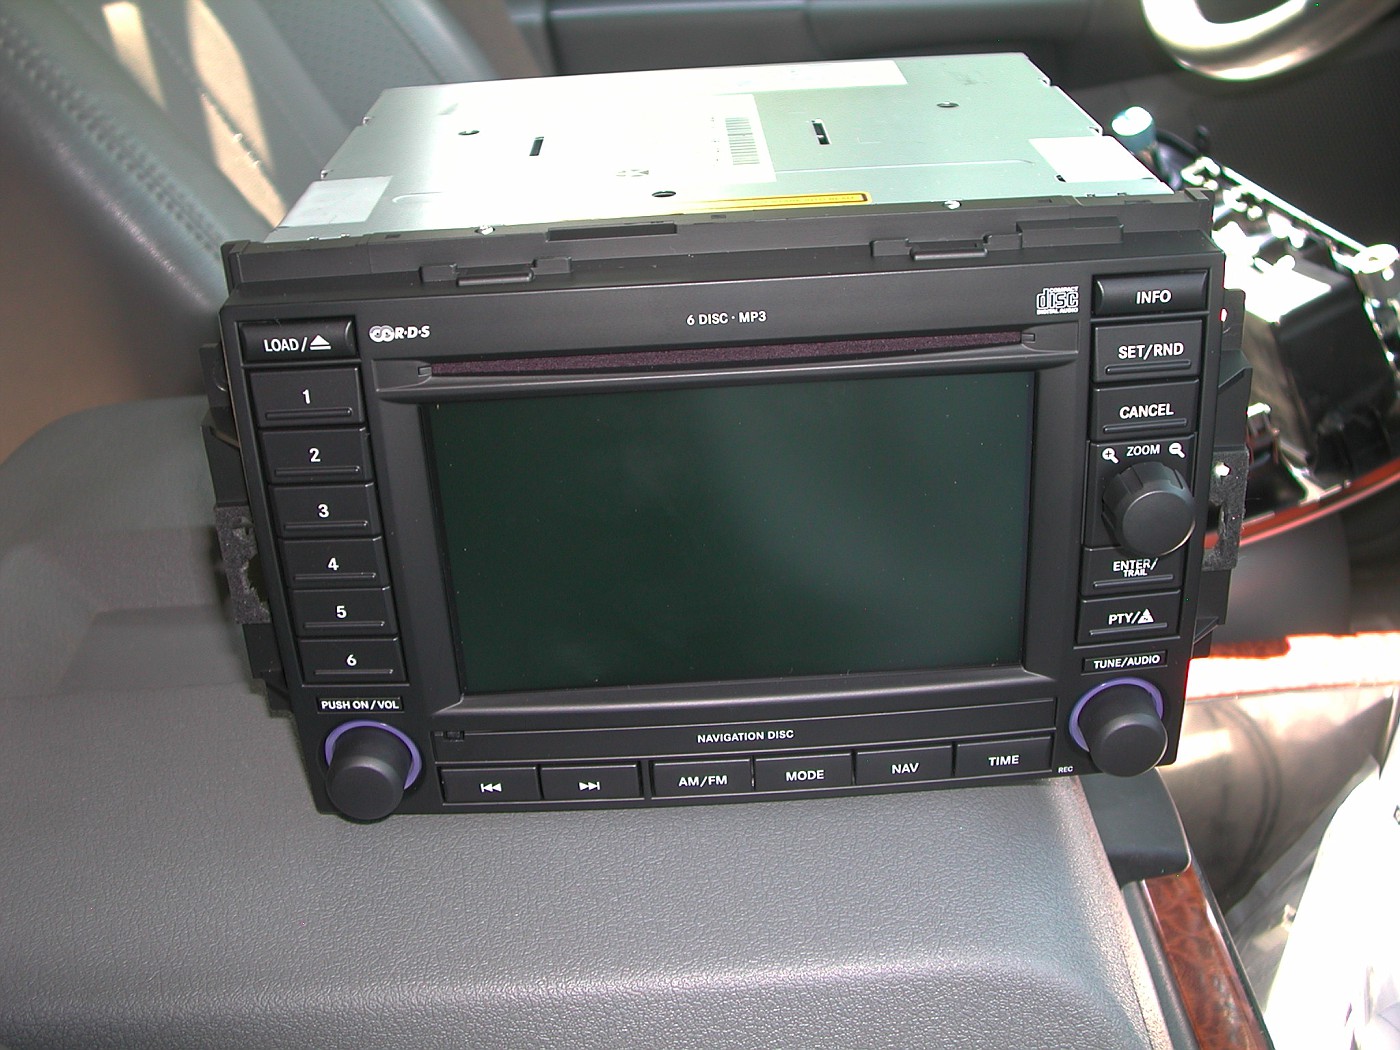
The new REC Navigation radio.
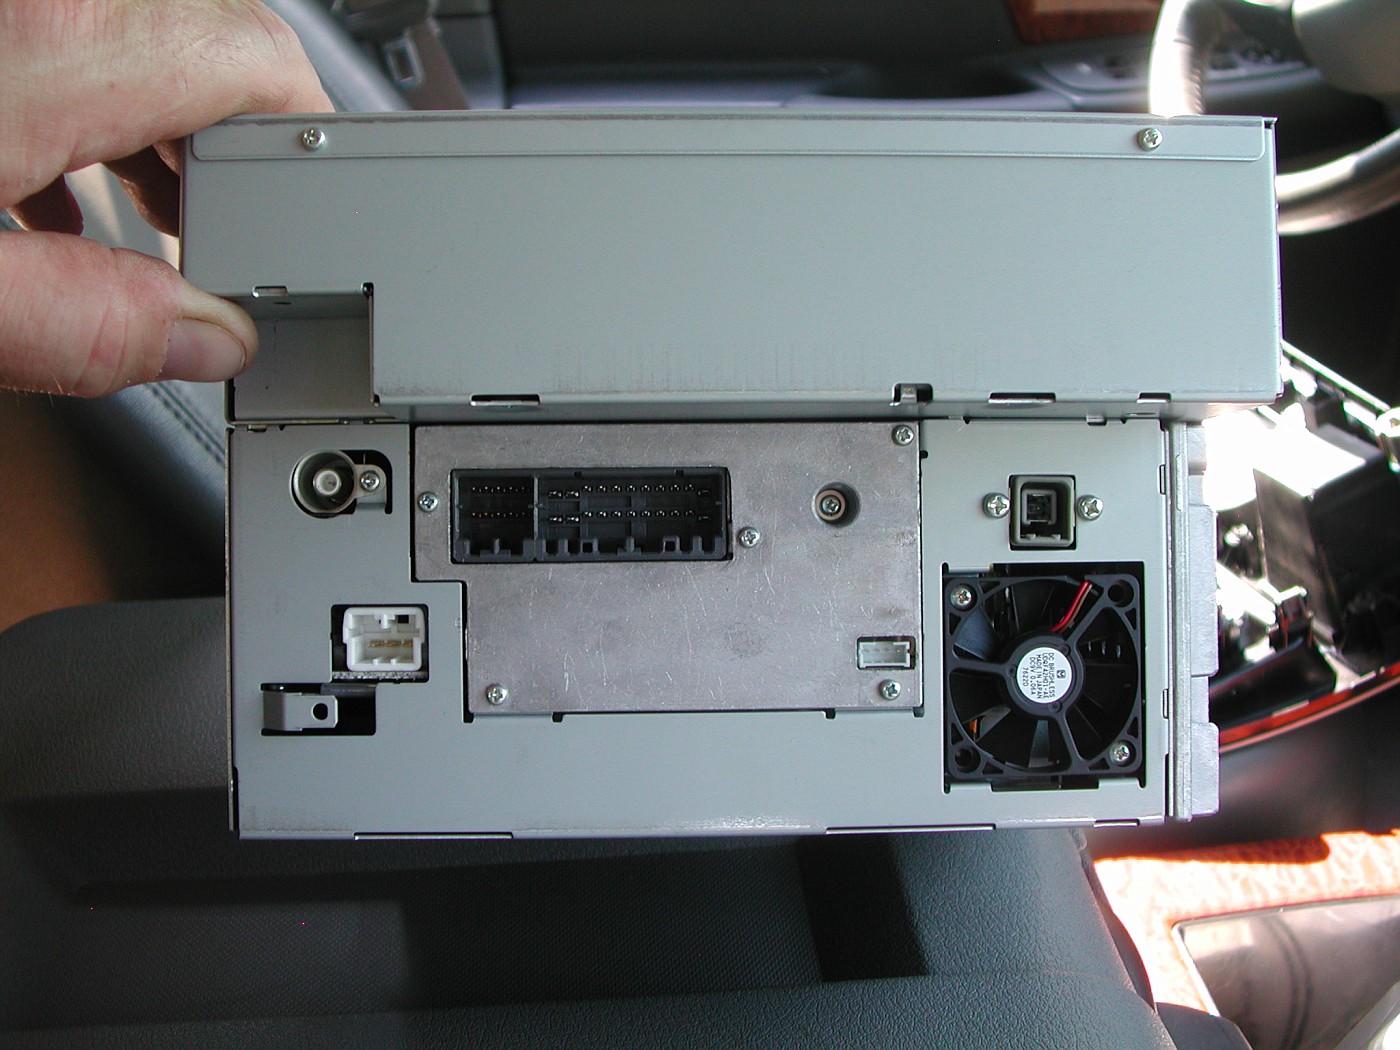
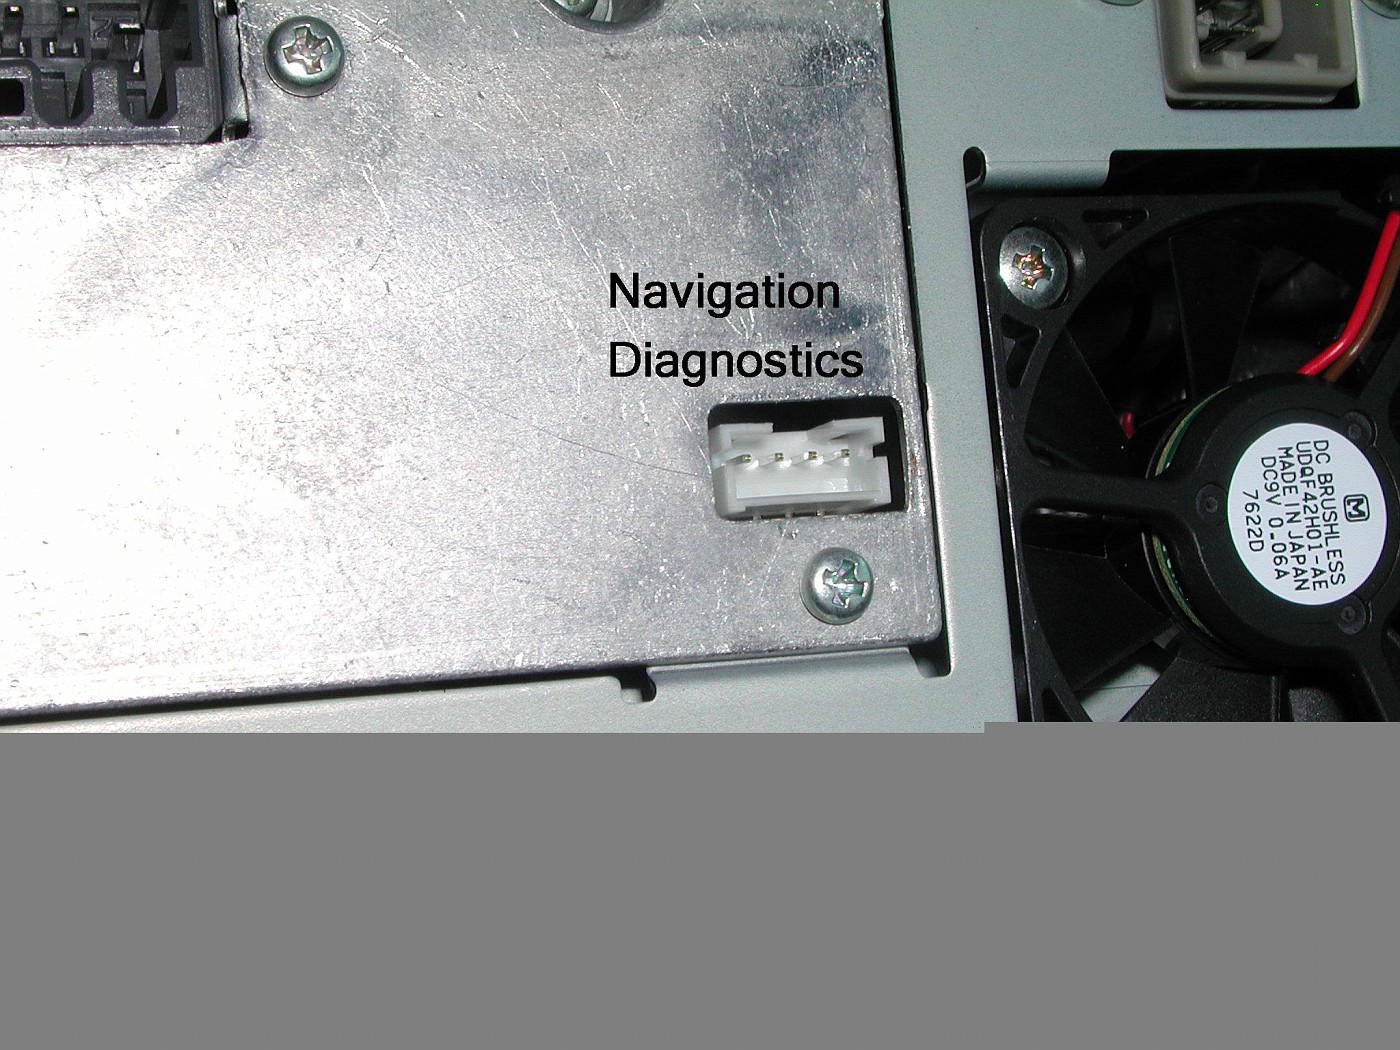
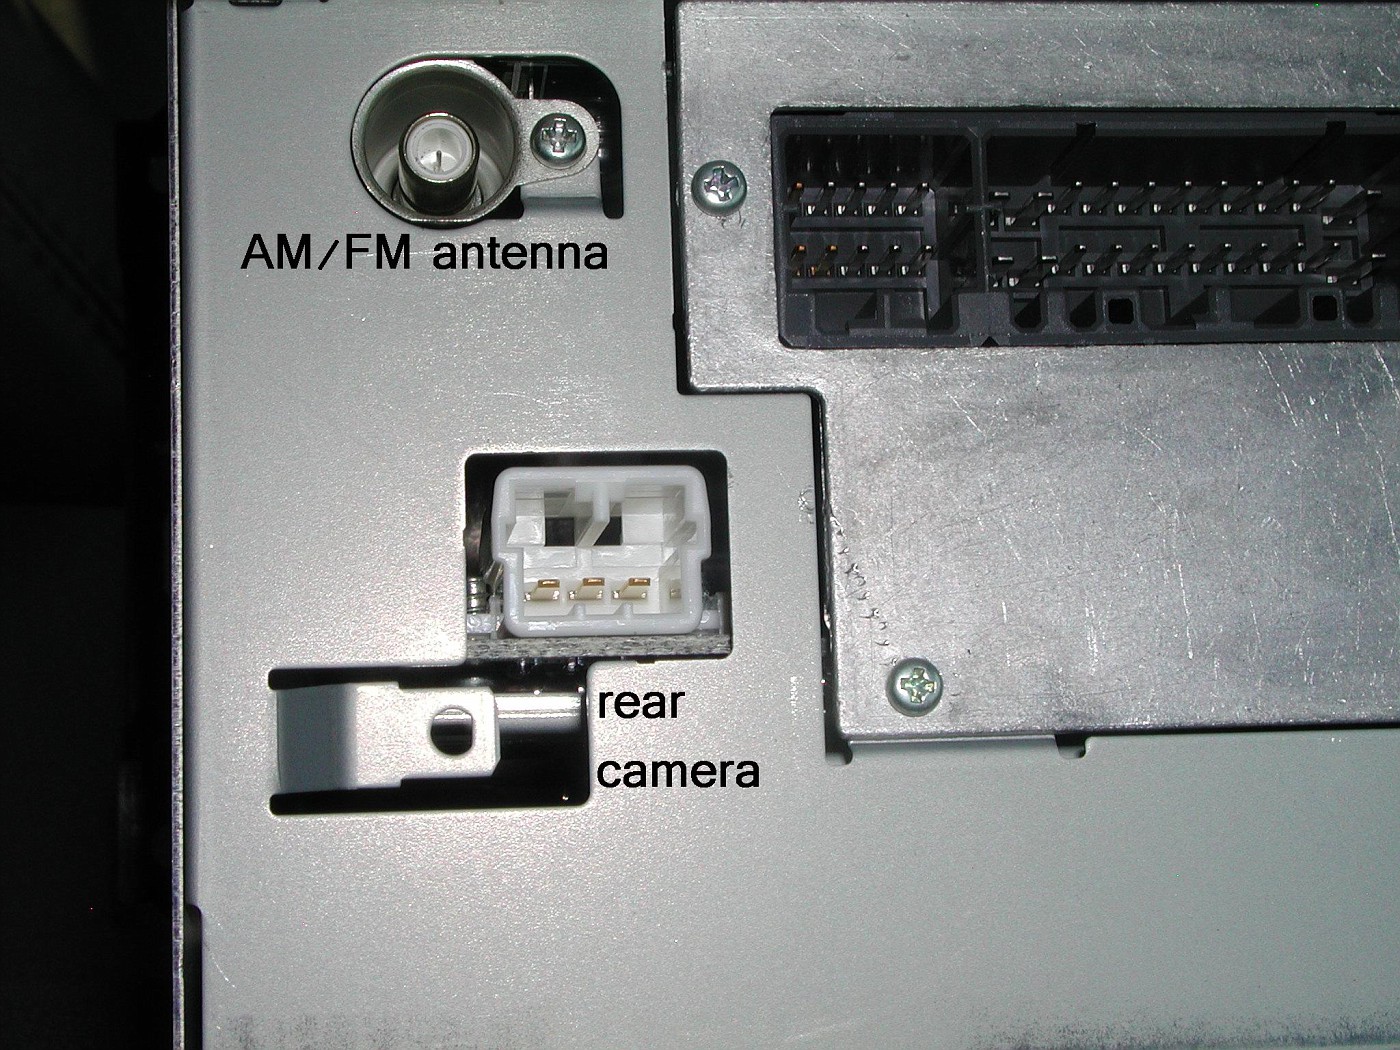
Back side
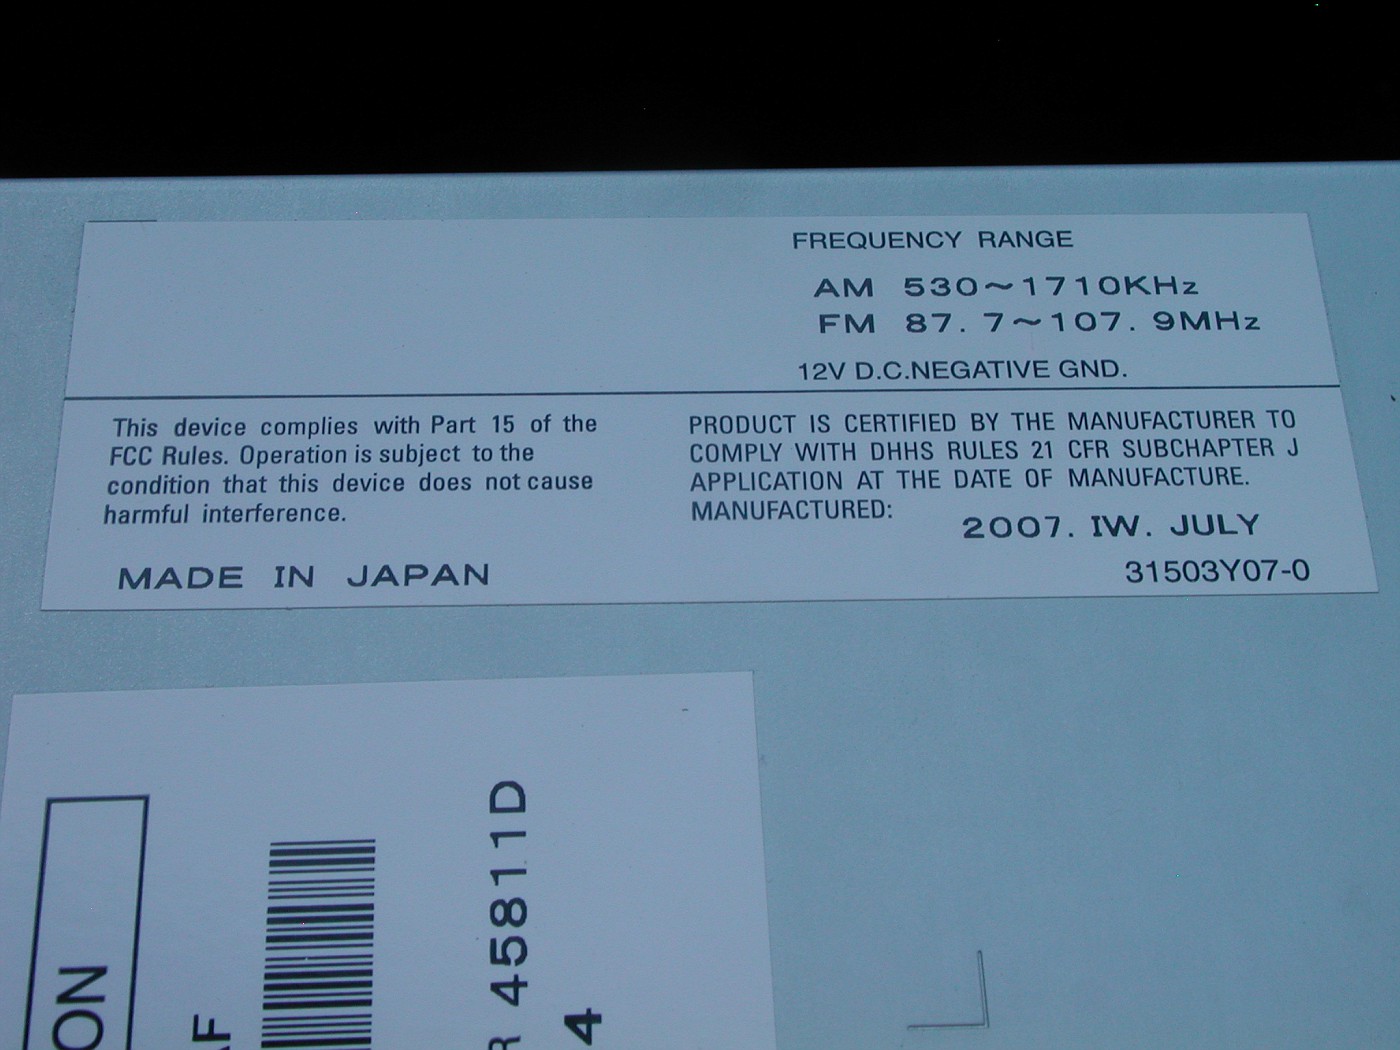
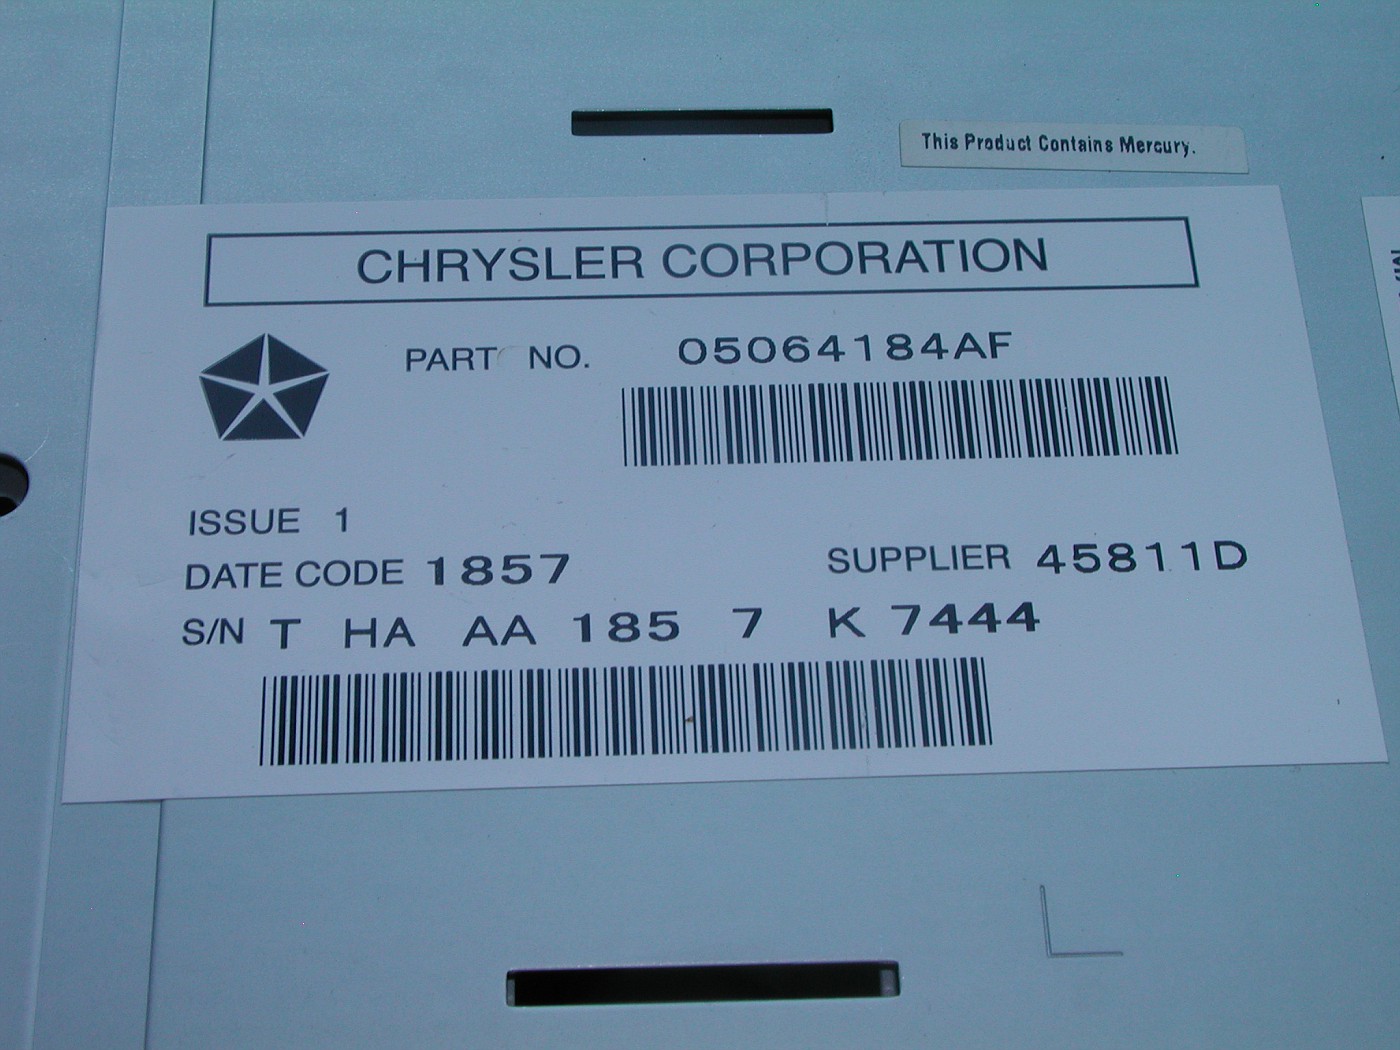
Labels on top of REC unit.
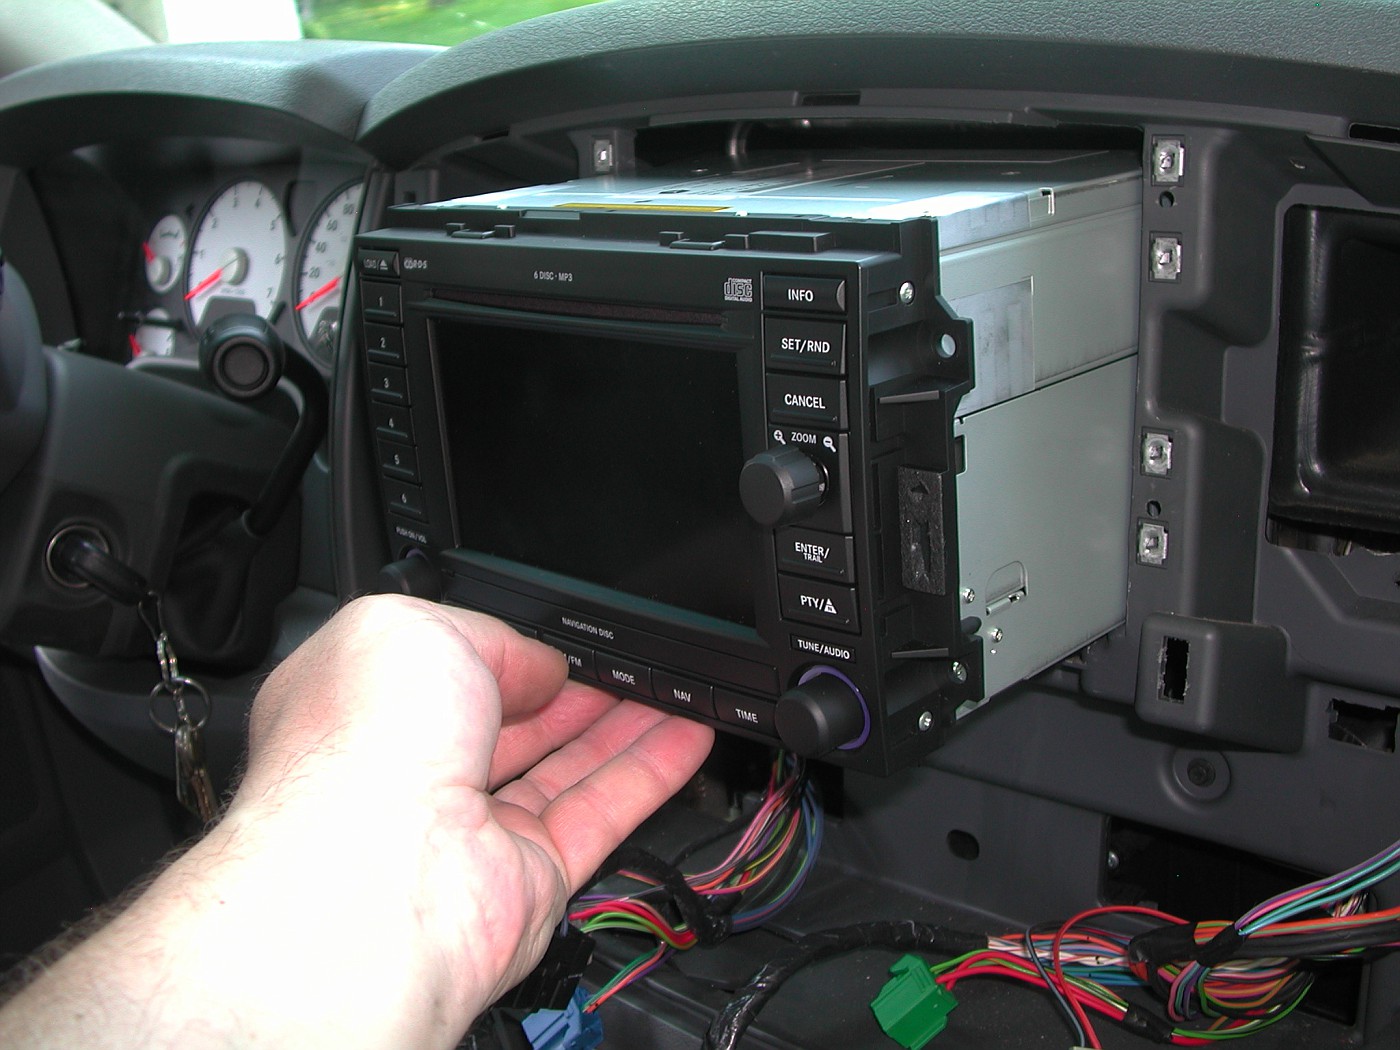
I connected the GPS wire 1st, the main wire harness 2nd and then the AM/FM antenna 3rd.
Then just slide the new Nav. Radio into the dash.
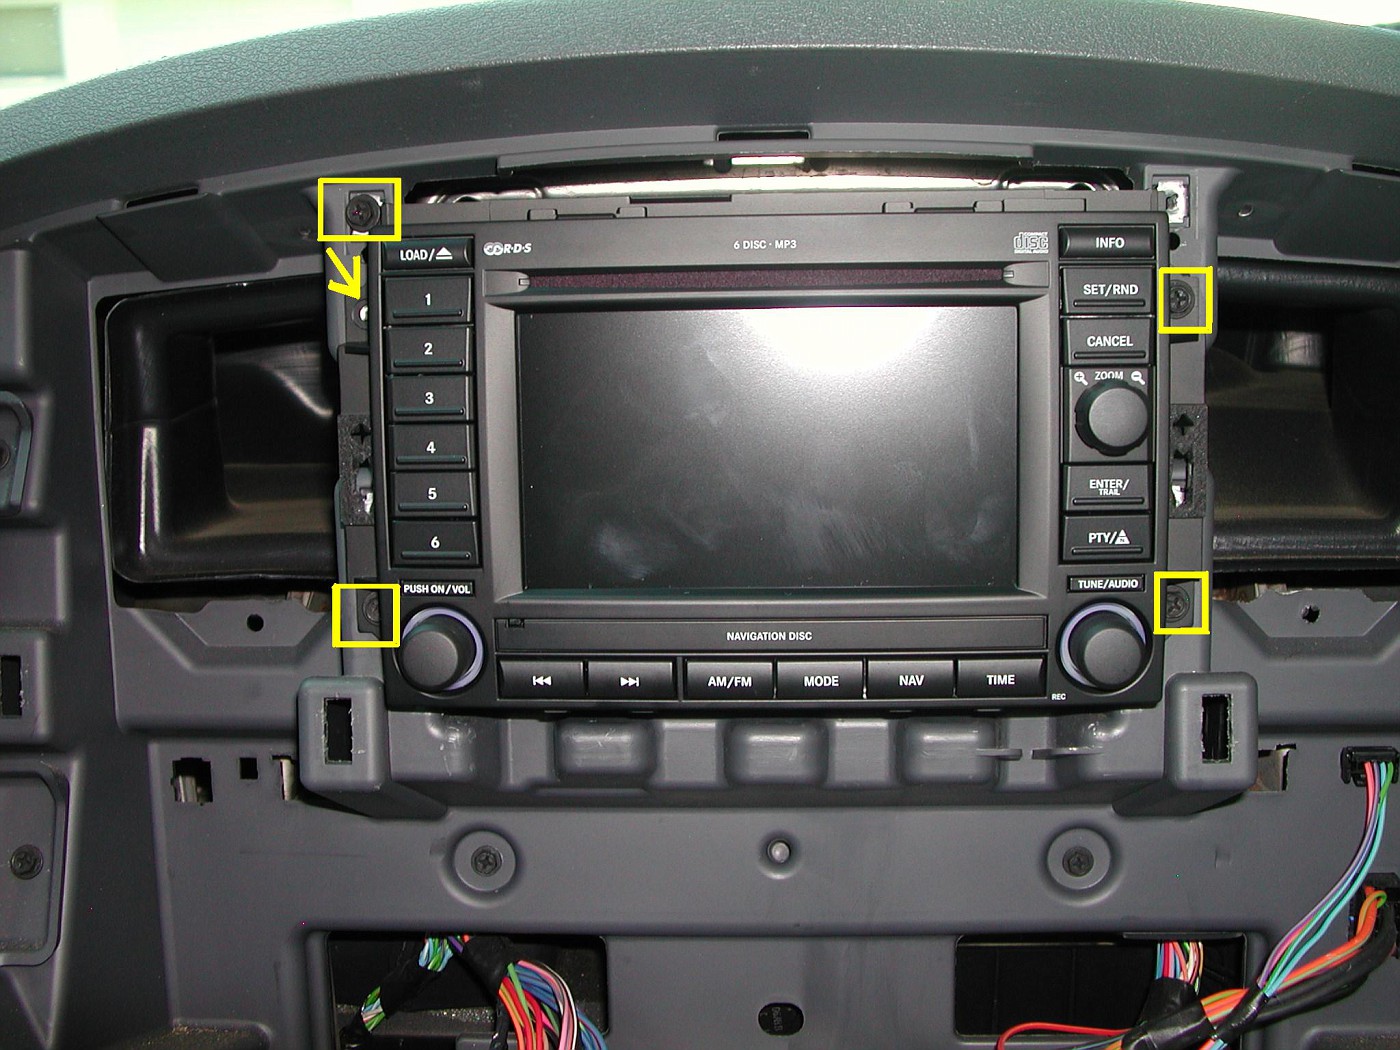
Only 4 screws secure the REC to the dash.
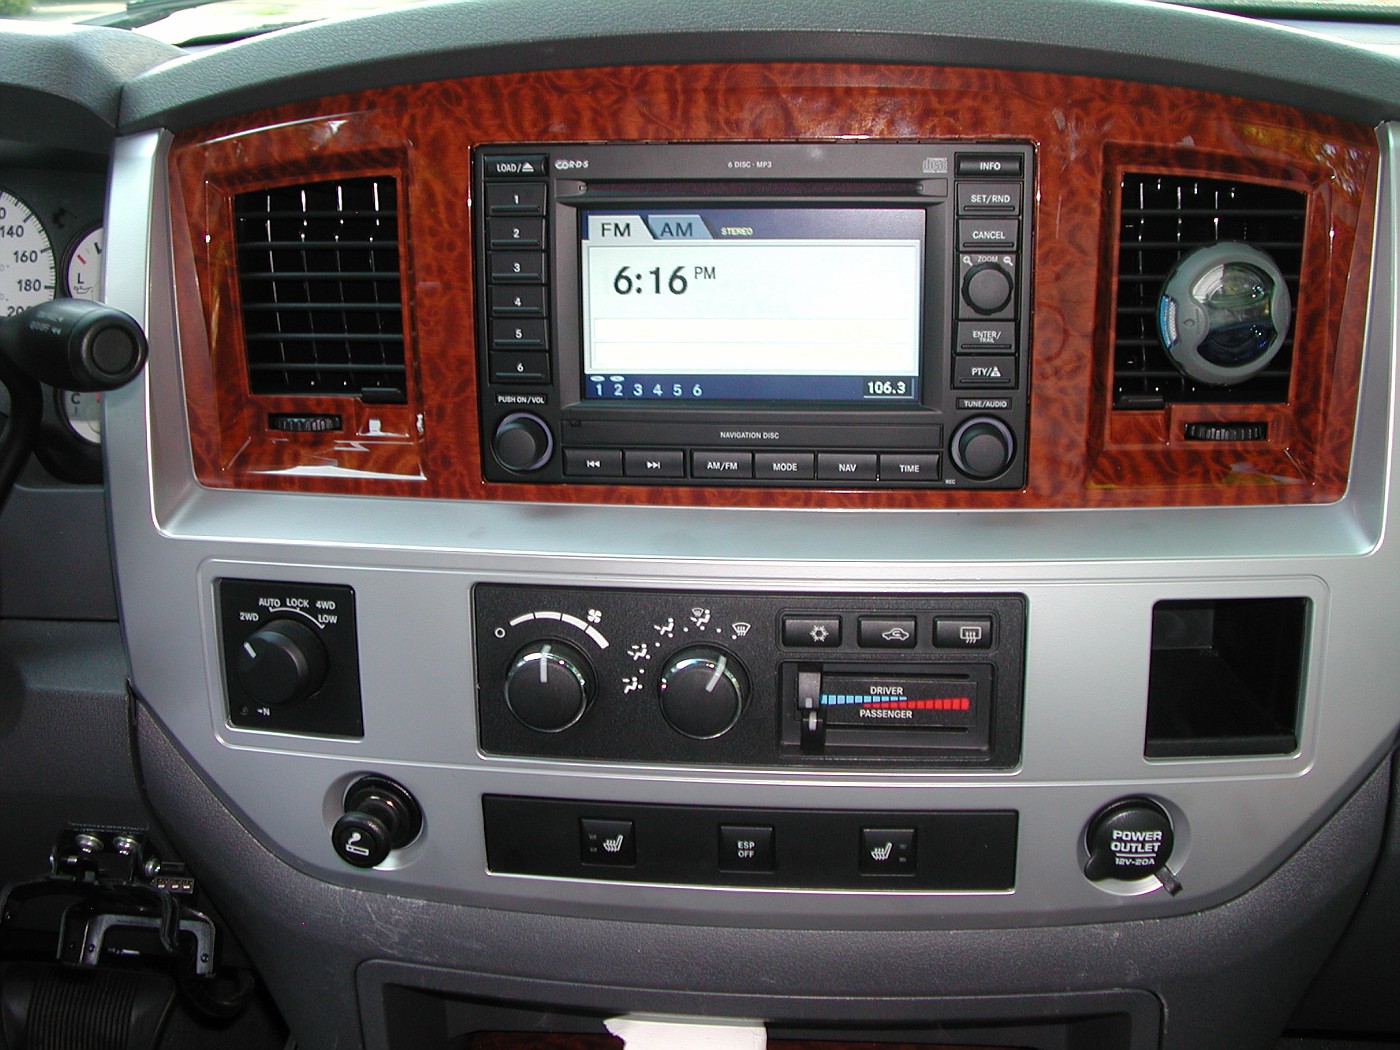
Then reconnect all your dash control wires and push the new radio/dash bezel into place.
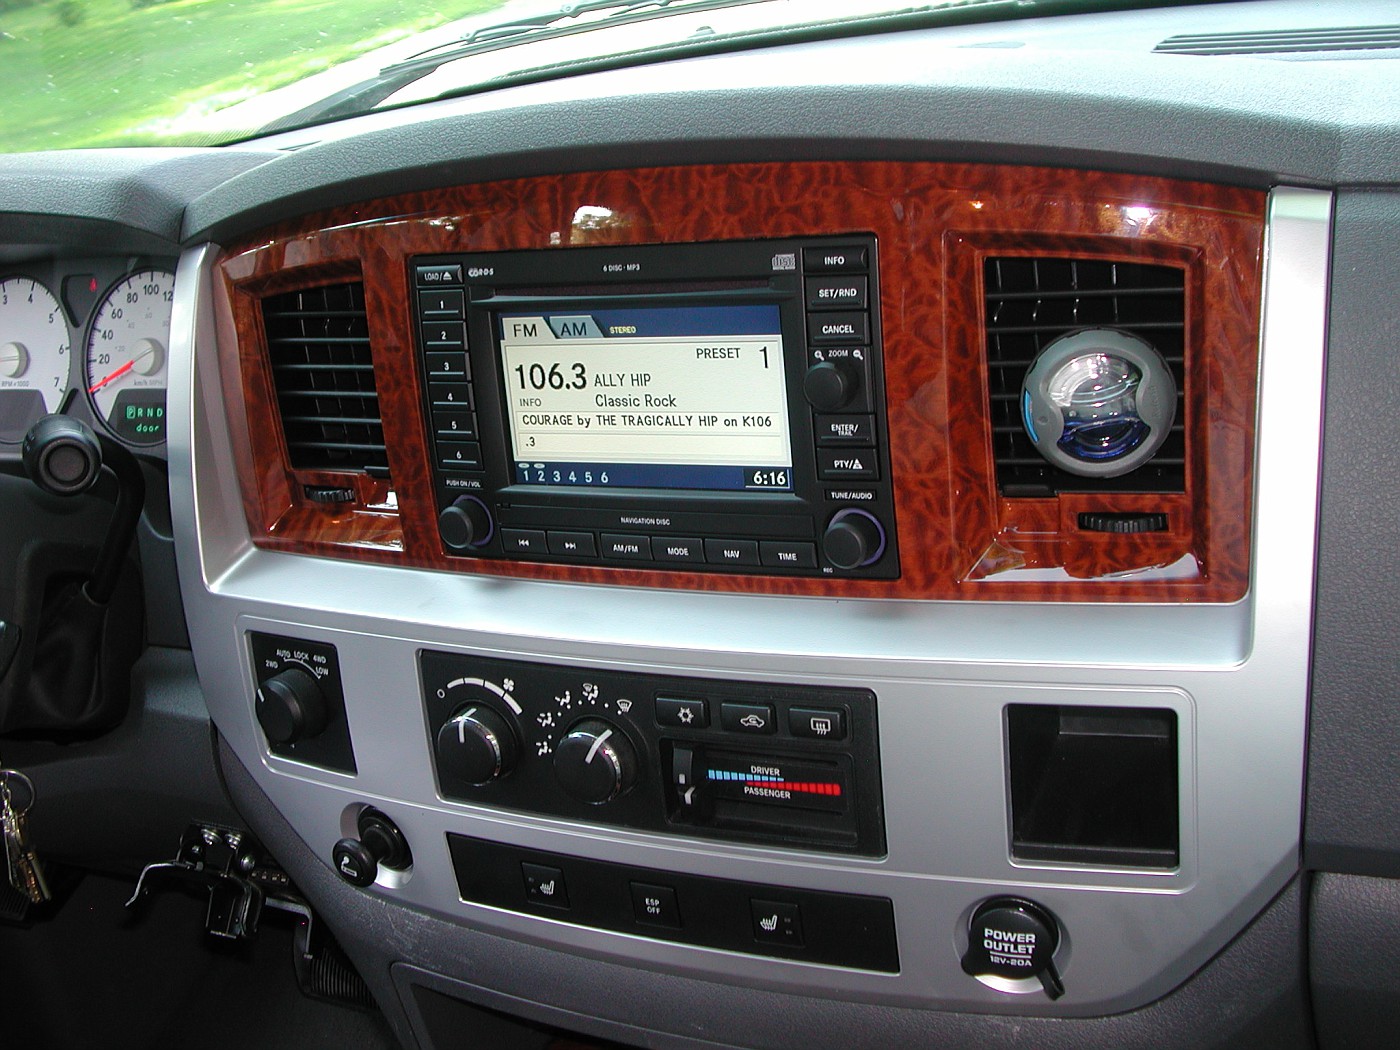
Radio Mode
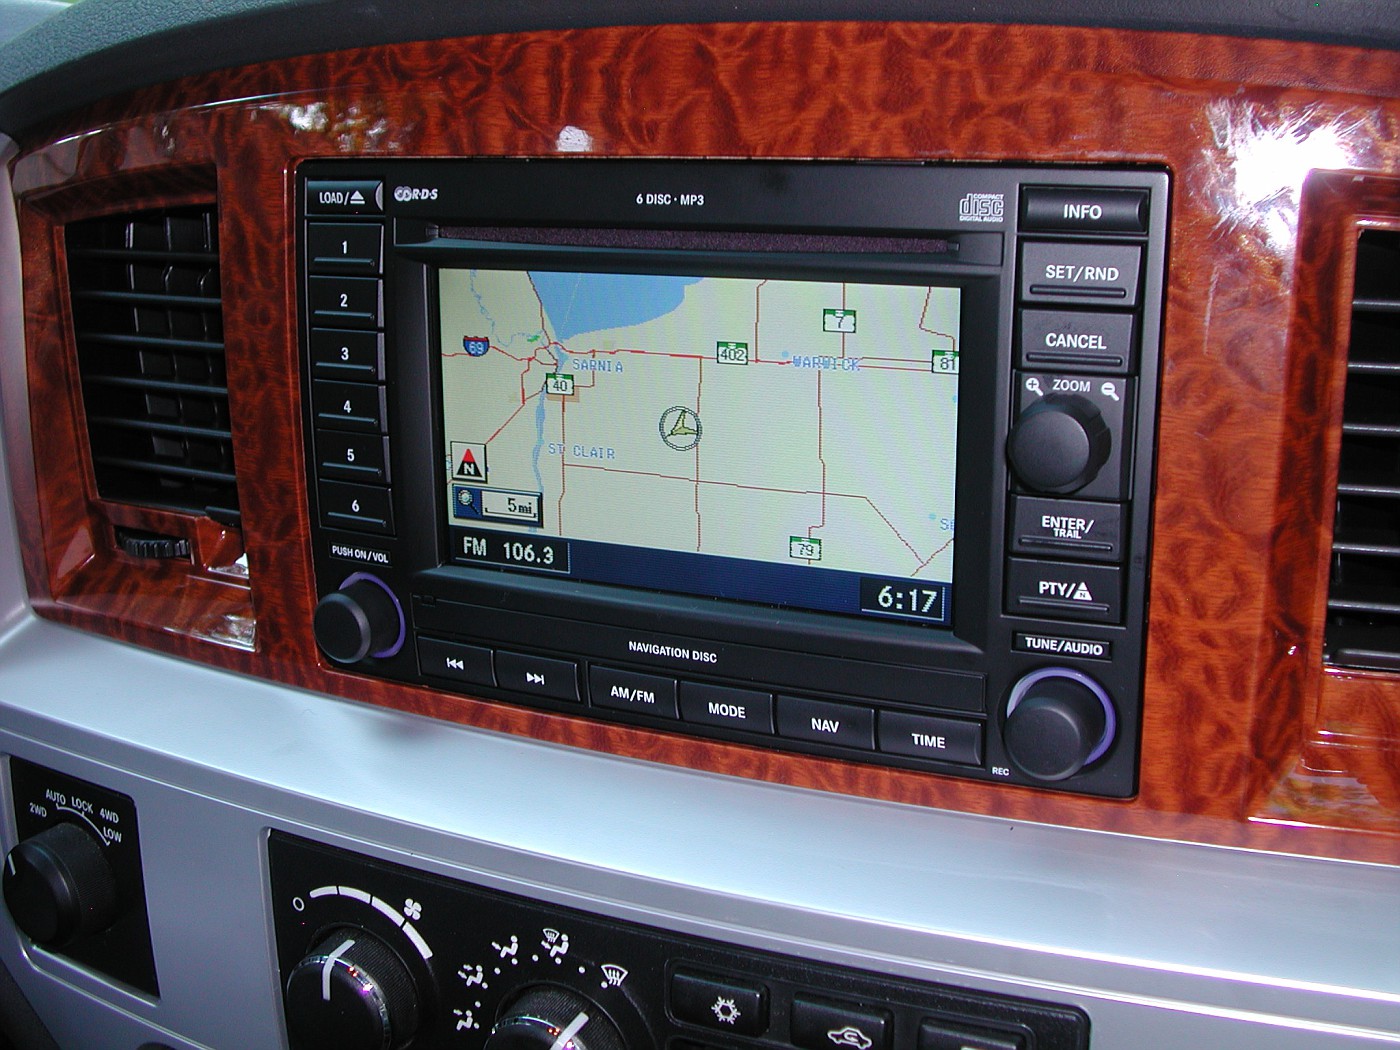
Navigation mode.
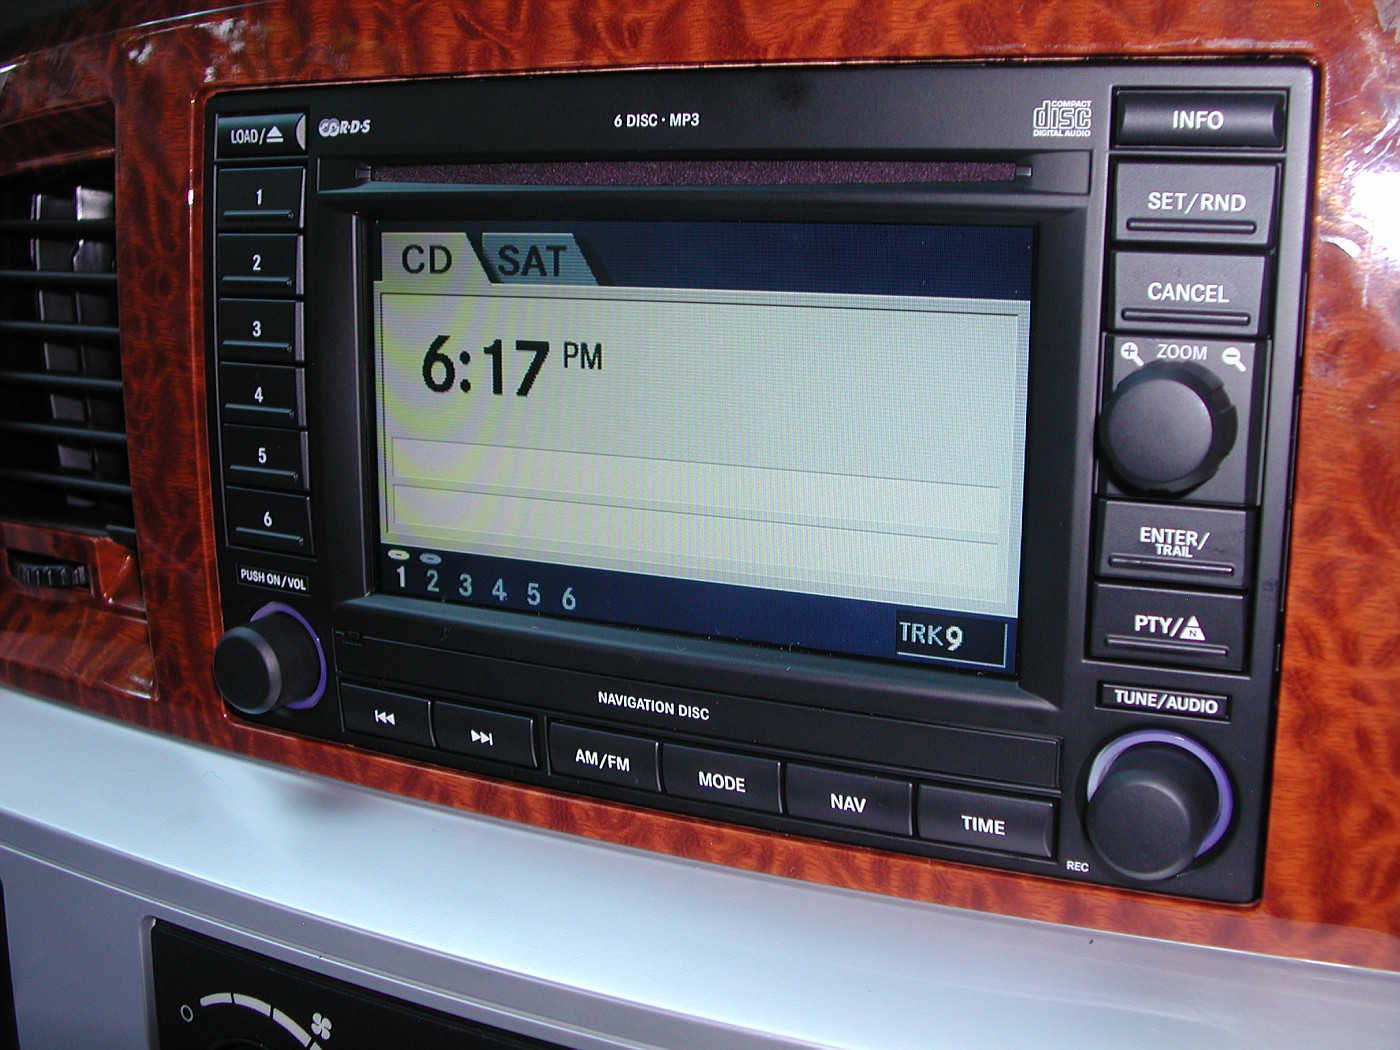
CD mode.
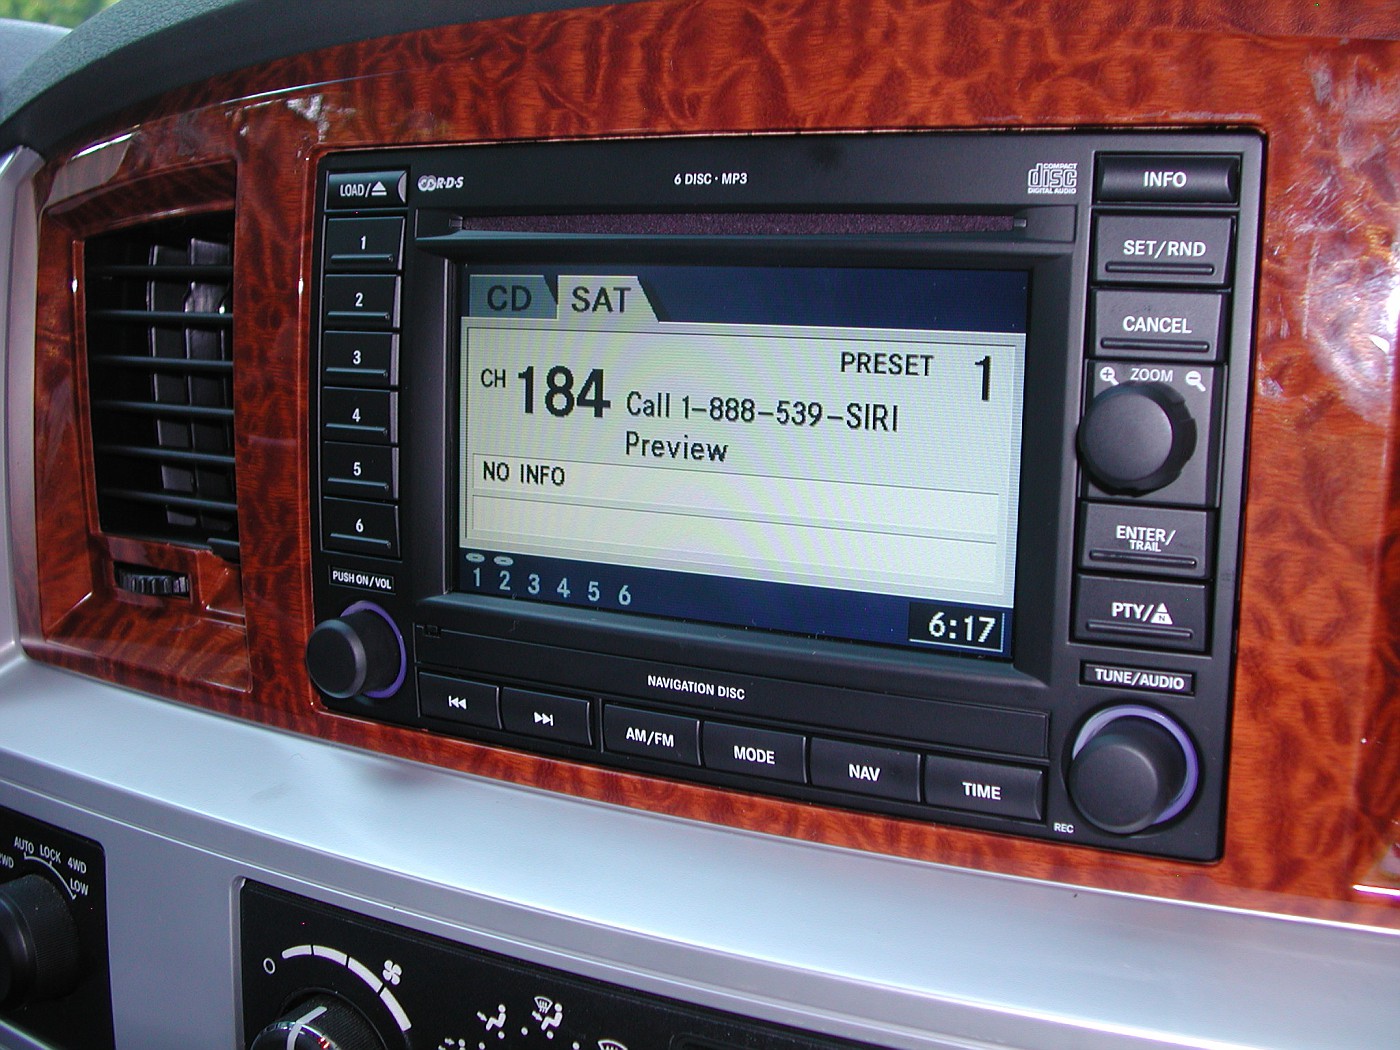
Satellite radio mode (I don't subscribe).
So there you have it.
It took me about 4hrs to install but I was also messing around with the camera.It could prob. be done in 1/2 that time or less.Depends on your experience I guess.
Now I just have to read the manual and learn how to work this thing and get familiar with all the bells and whistles.
Hope this helps anyone who may be thinking about this swap.
.
Here is a scan of the installation instructions that came with the Radio kit.
Seems simple doesn't it!
New GPS Antenna
This is the spot on the dash where the GPS Antenna mounts.
You fish the GPS Antenna wire through this area of the dash. I used a screwdriver to show where.
The screwdriver tip as seen from the radio mounting hole.
The GPS Antenna mount area of the dash has 2 areas for screws but because the windshield is in the way you have no room to screw the Antenna down. The 3M adhesive tape that is already on the antenna is used to secure the GPS antenna to the dash.
Clean the mounting area of dust 1st then peel the red backing tape off the Antenna and stick the GPS Antenna to the dash.
I learned the hard way. Just brushed up against the edge of the radio opening. The stamped steel edge is razor sharp and WILL cut you if your not careful.
Once the GPS wire was fished through the dash I used the supplied foam tape to secure the extra length of wire.
As shown in the instructions...it calls for more foam tape "here" to secure the GPS wire to the dash.
This pin/plate is to be removed before REC installation. It prevents Cd's from being inserted into the radio before installation.
The new REC Navigation radio.
Back side
Labels on top of REC unit.
I connected the GPS wire 1st, the main wire harness 2nd and then the AM/FM antenna 3rd.
Then just slide the new Nav. Radio into the dash.
Only 4 screws secure the REC to the dash.
Then reconnect all your dash control wires and push the new radio/dash bezel into place.
Radio Mode
Navigation mode.
CD mode.
Satellite radio mode (I don't subscribe).
So there you have it.
It took me about 4hrs to install but I was also messing around with the camera.It could prob. be done in 1/2 that time or less.Depends on your experience I guess.
Now I just have to read the manual and learn how to work this thing and get familiar with all the bells and whistles.
Hope this helps anyone who may be thinking about this swap.
.