

Spindle Lift DIY/Shackle Install
#1
 04-15-2011, 06:06 PM


Join Date: May 2008
Location: Shreveport, LA
Posts: 4,210
Likes: 0
Received 0 Likes
on
0 Posts
Okay well I promised that I would do a spindle lift DIY and the shackles also. 06-08 Ram 2wd but will be close to 02-05 as well. It took about a day, and if not for a few setbacks it would have taken even less time. I had an accident during it that postponed install and will get an alignment tomorrow. You will see from the last pic that an alignment is critical.
First is tools. You will need:
good set of METRIC sockets (large 1/2")
two to three jacks/jack stands
1/2" drive and breaker bar (huge help)
Prybar
I rented a coil spring compressor AND ball joint kit. You will see.
Torx bit OR vice grips
Bunjee cord
Air tools help!
Okay well here we go. Rear first:
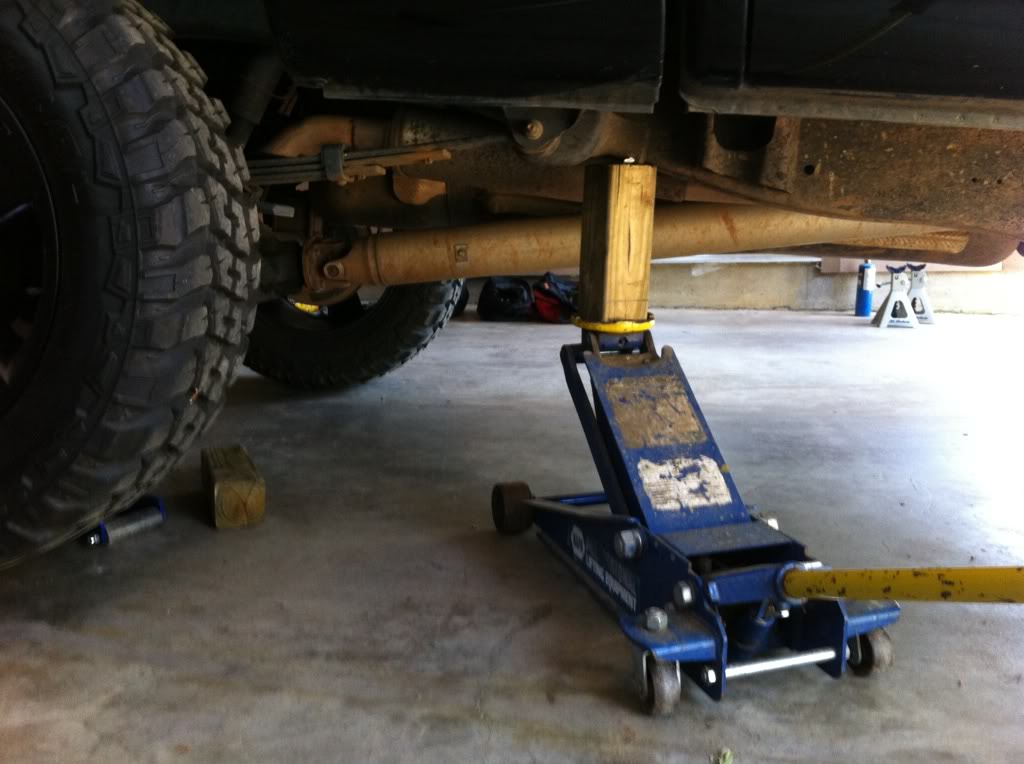
Jack up truck right behind where the front of the springs sit as high as you can go. The higher the better (in a safe way, not with wooden blocks as I did it). Then jack up the axle to where the tire is off the ground.

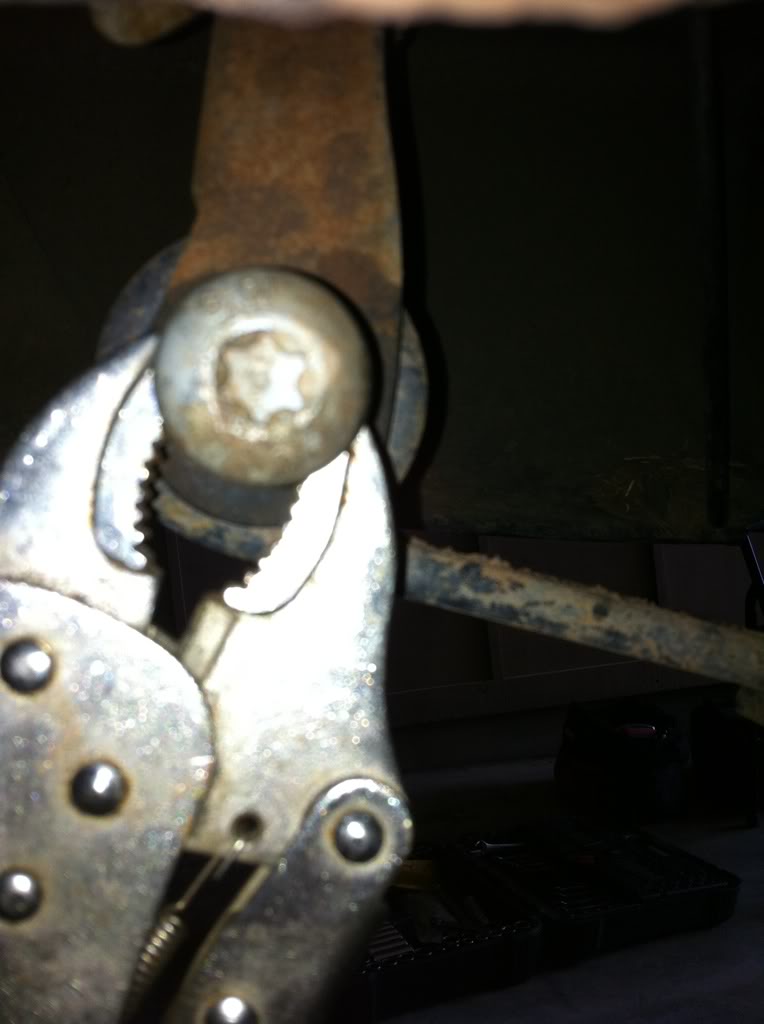
I got greaseable shackles off ebay for $35 shipped. They are lowering shackles for a 2nd gen Ram but I wish I would have gotten 3" instead of 2". Anyway, once you get everything jacked up you can start removing the bolts for the rear spring. Loosen the top first and then undo the bottom. It takes a t55 I think, but vice grips will work. Im not sure of the socket size other than its metric. Go ahead and get the bolt out and the spring will pop UP. Make sure your hand is out of the way.
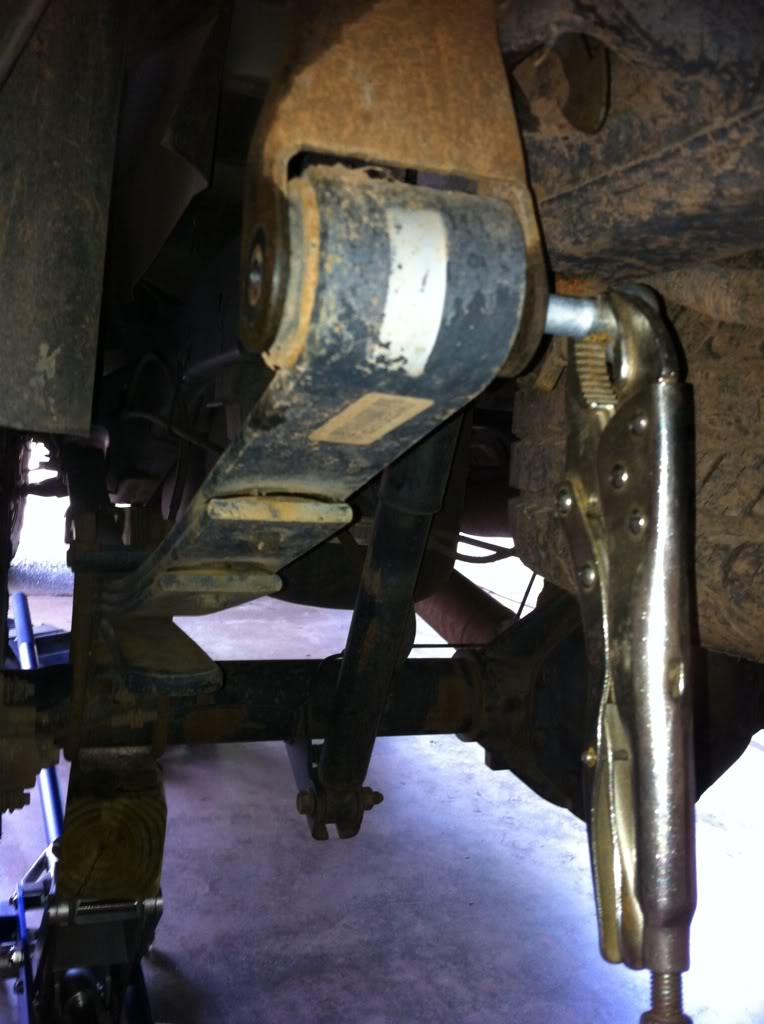
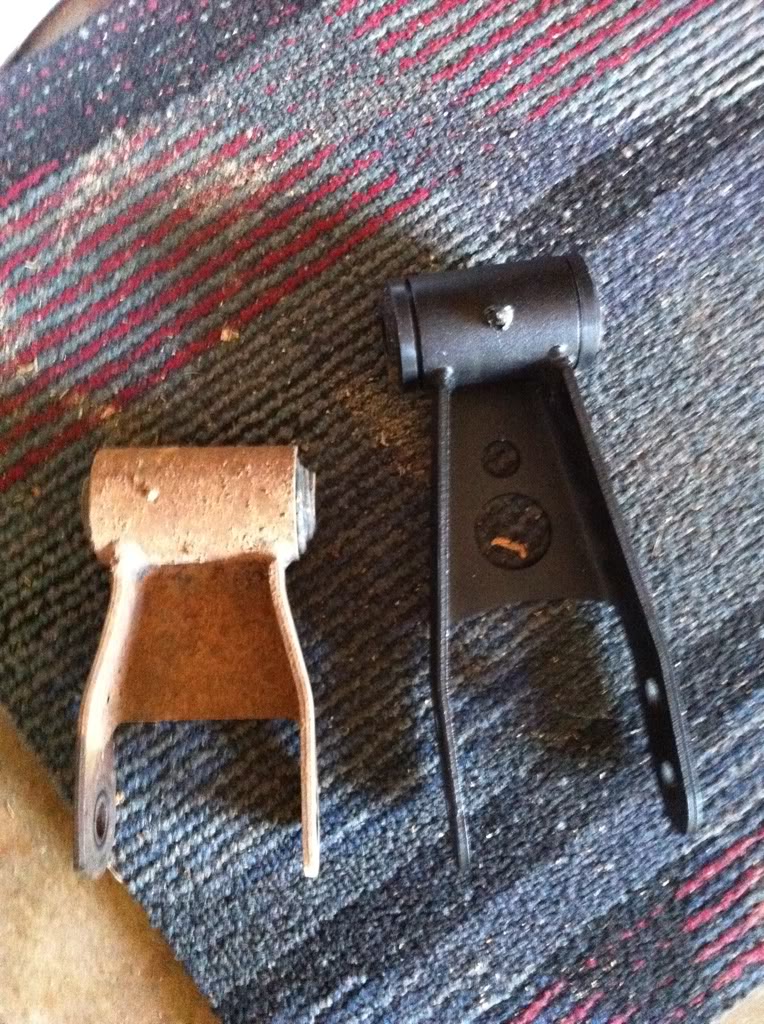
Loosen the top bolt and pull the stock shackle out. Pay attention to what side sits up. Now comes the fun part of getting the new and LONGER one in. Pry down on the frame while someone else pulls the spring down and get the bolt in the lower side of the shackle. The spring side works better than frame side.
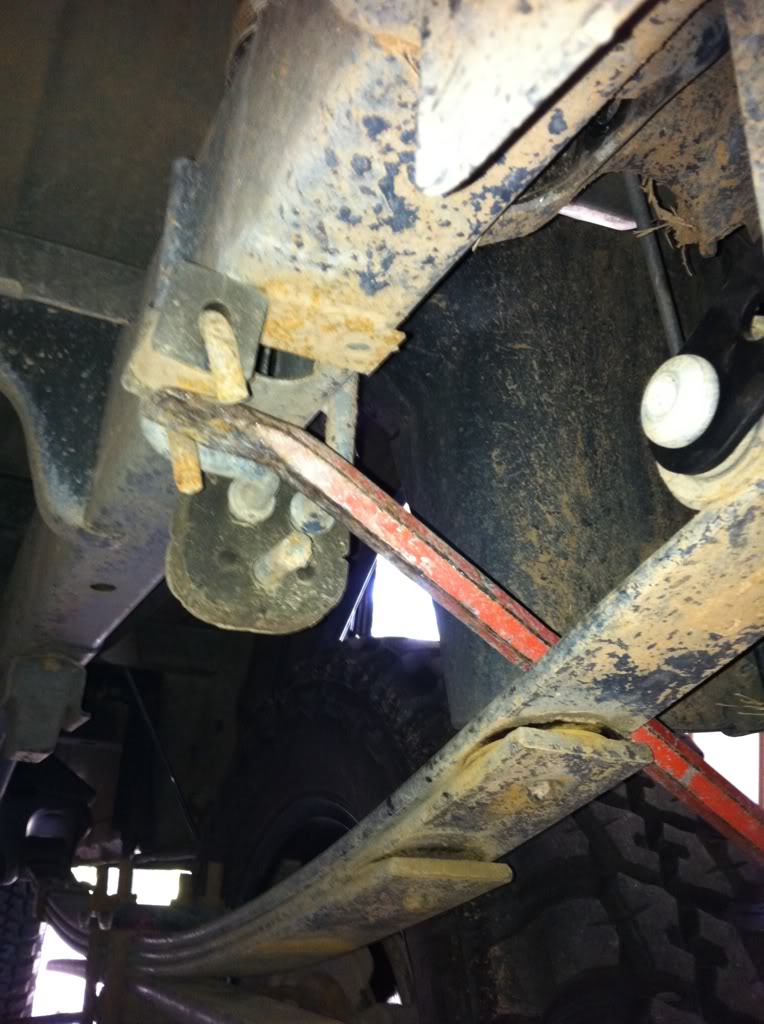
Tighten her all up (but not too tight, will cause squeaking) and you are done. Super easy and took 30min max.
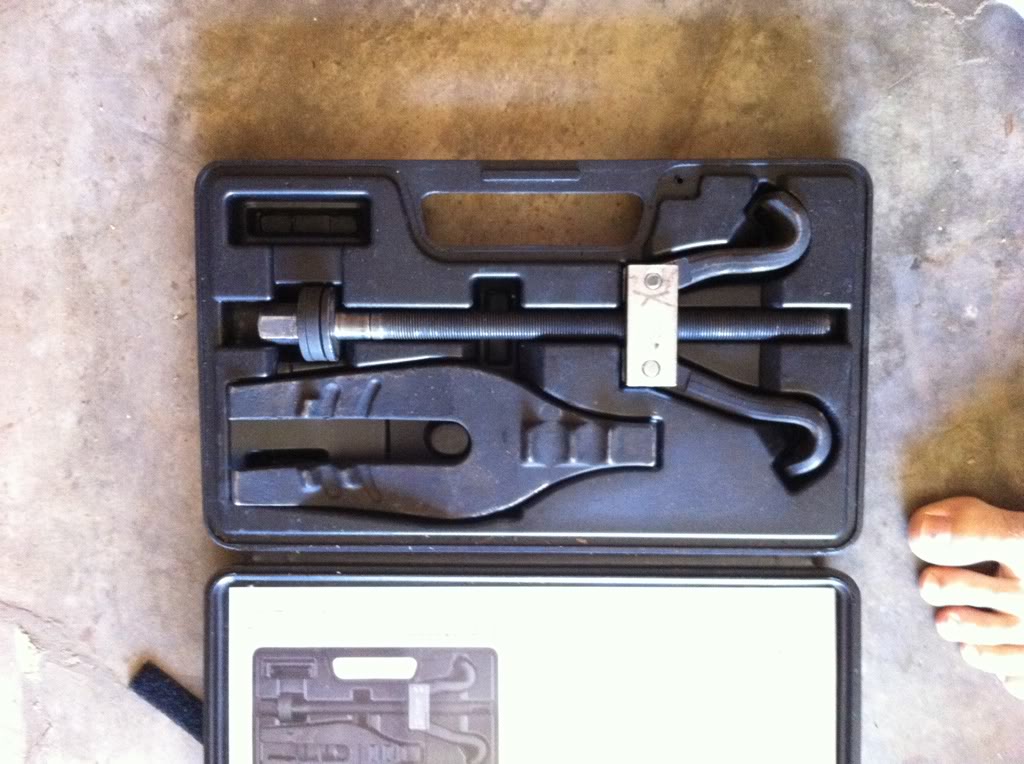
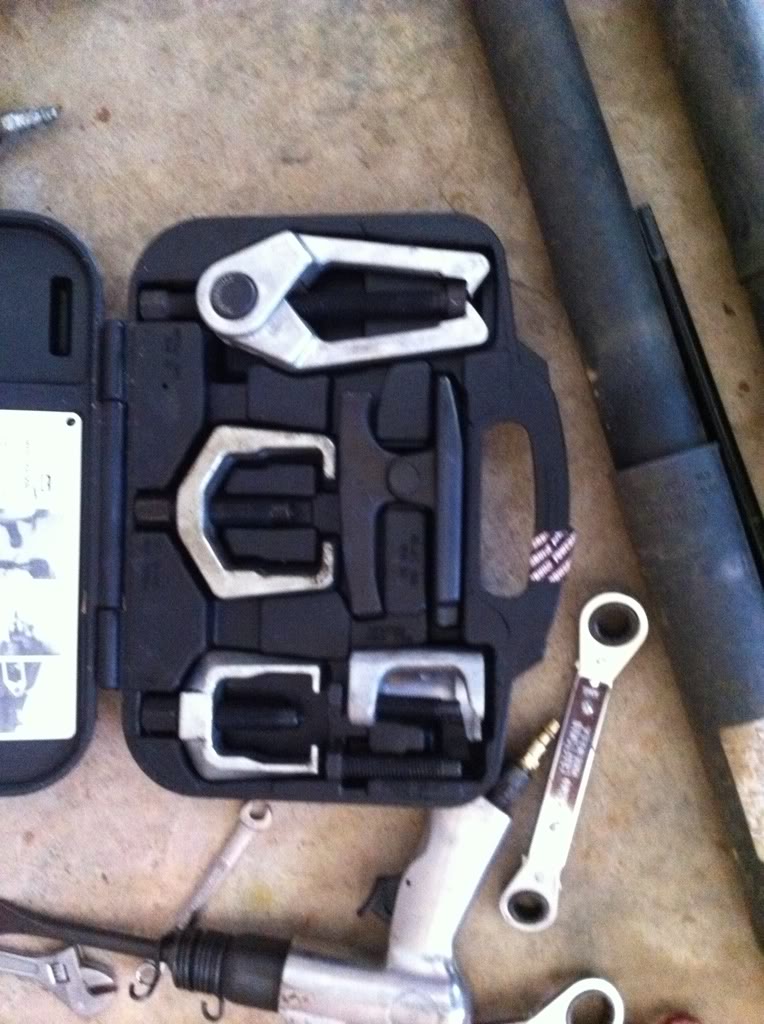
Next comes the spindle. This did not take too long other than the side that I took the coil out. That made everything about 2 hours longer! My cousin busted the boot out of the lower ball joint, which costs $65 and the Oriellys ball joint press did not do it. I took it to a shop to get pressed out. DO NOT USE A PICKLE FORK!!! The tool on the top of that box pictured is the one that worked for me. The others wouldnt work.
Get your tools. I highly recommend renting (for free) the kits listed above.
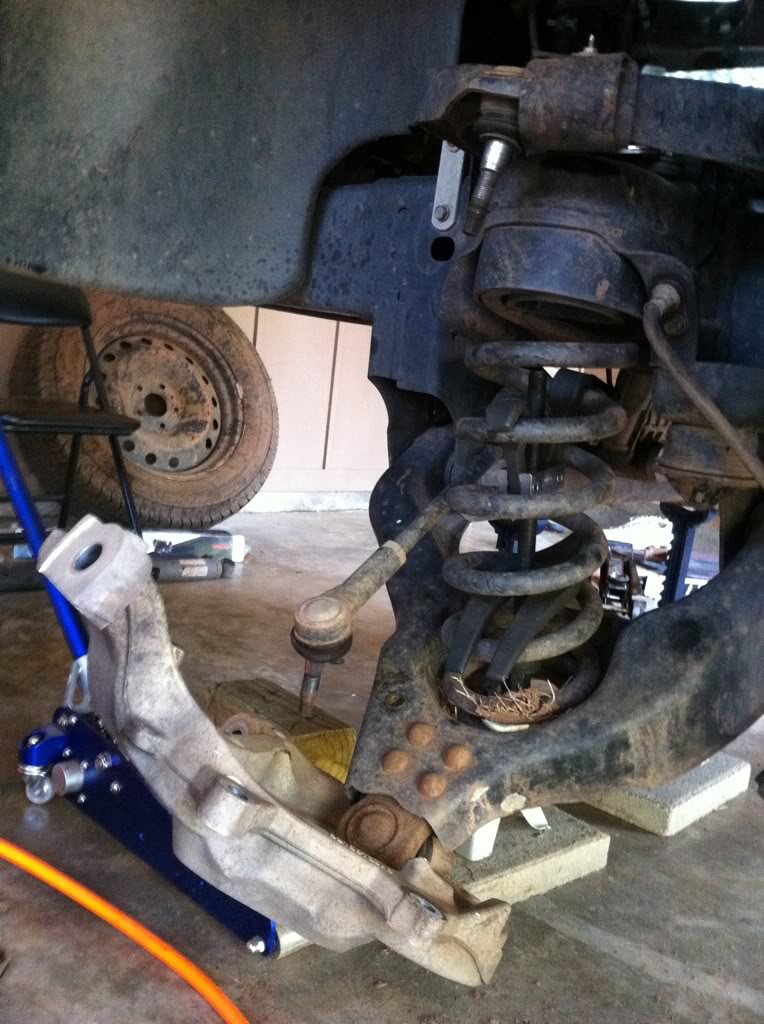
Jack your truck up. I used jack stands as well. Leave the opposite tire on so you can use that as a balance point. Loosen the lugs and take the tire off. Put another jack under the control arm. VERY IMPORTANT. Will discuss this at the end. Anyway, take your shock off.
Then take your brake caliper off with the two black bolts on the back. Make sure to hand this to prevent strain on your brake line. I switched the two sides last week. 06-08 will need to do this (just switch right to left) but earlier ones wont.
Now take your brake rotor off. Three bolts on the back of the spindle. Super easy to remove. Its super heavy so dont drop it. Im talking like 30lbs. The edge of the bearing was super dirty on mine. I cleaned it up with some steel wool.
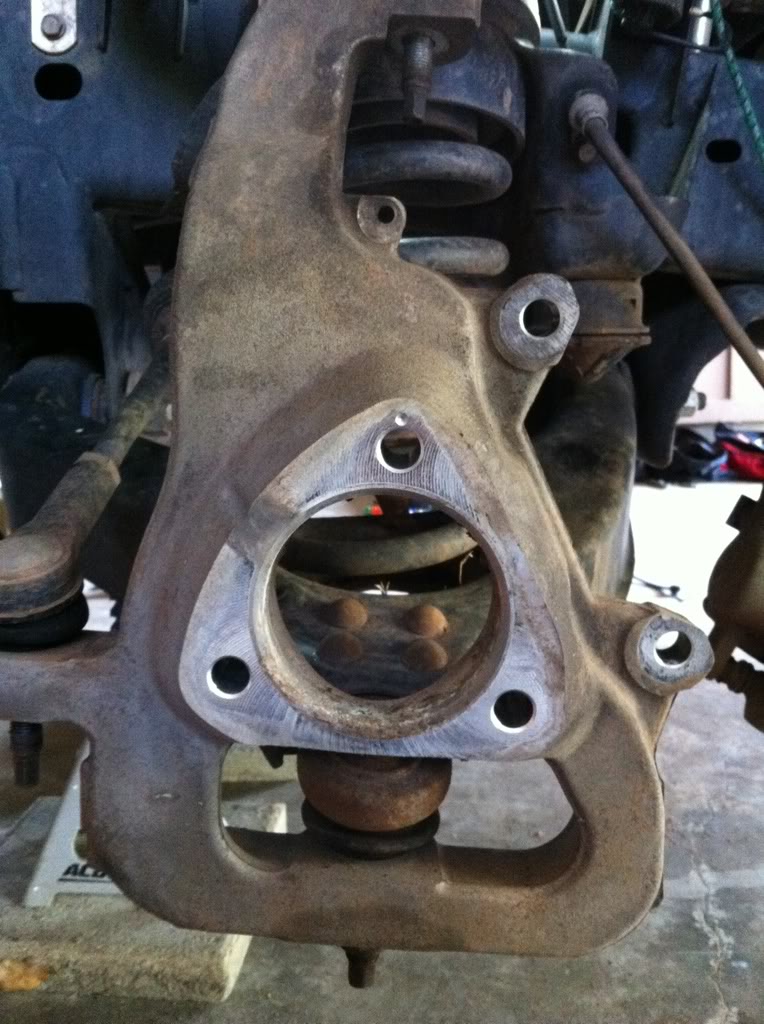
Now comes the fun and dangerous part. Make sure there is a jack under the lower control arm and put some ratchet straps on the spring if you are more weary. Using the tool described and rented above, pop the tie rod arm off. Then get the upper ball joint. Its under immense pressure and could cause harm. Will discuss later. Anyway, get the upper, lower, and tie rod off and throw the old spindle to the side.
The next part is easy. Bolt the new spindle right in. I compressed the spring with the tool pictured above. Then jacked up the very edge of the control arm. This allows you to raise the spindle to the Upper Ball Joint. You screw the nuts on to regain the taper rather than press it up all the way. Its pretty self explanatory so no pics in progress.
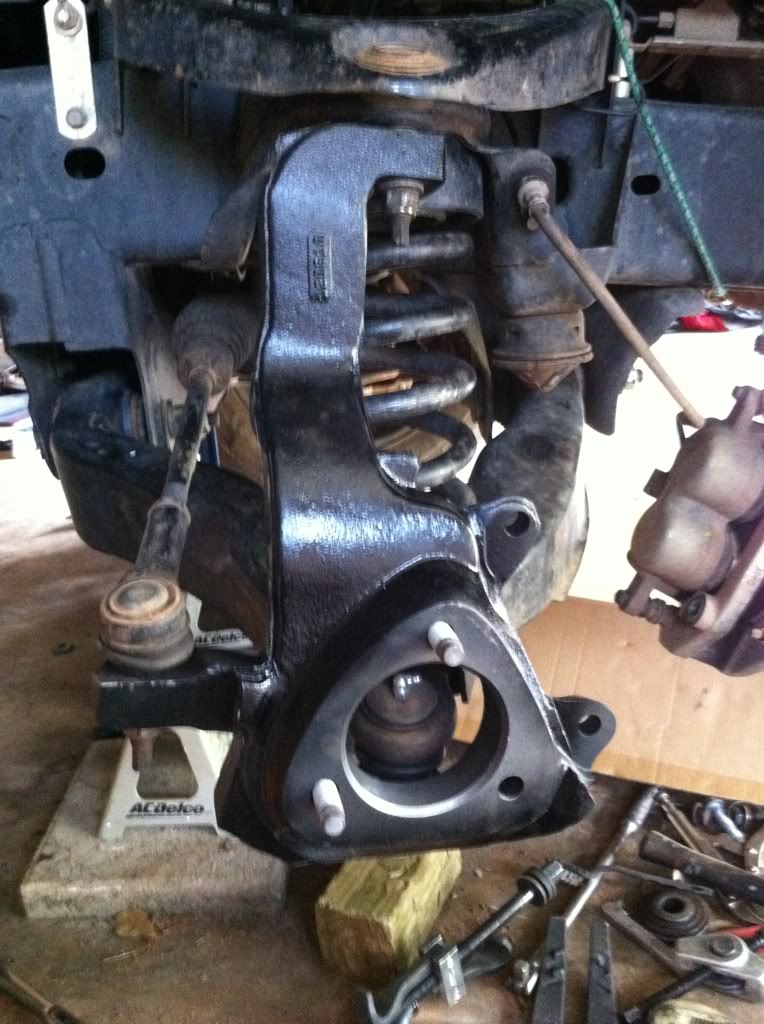
Now you have to get the rotor on. You might have to turn the wheel to access all three bolts. Two are close to the control arm and have to be at the right angle to have room to be pressed in. Dont forget to put the heat/dust shield with the gap where the caliper is. Use a C Clamp to press the pistons in and get the pad on the rotor and then tighten up the way you took it off. You are done.
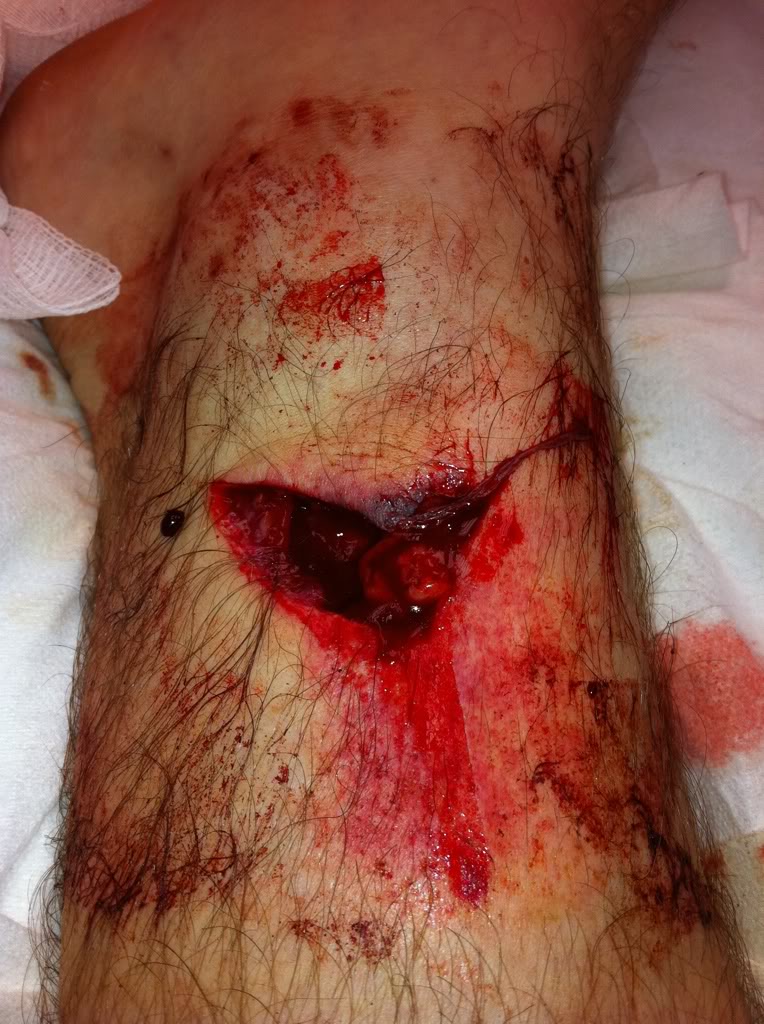
Now for the bad news. I was working with someone else who isnt as safety oriented as me. I wasnt paying attention and he popped the upper ball joint without having a jack underneath. Needless to say let, and a short trip (and a liter of blood) later I have a whole bunch of stitches and cant walk. I should be alright though. Just to show you that even someone who THINKS they know everything can still get hurt. Im a nurse so youde figure I would be smarter than this?
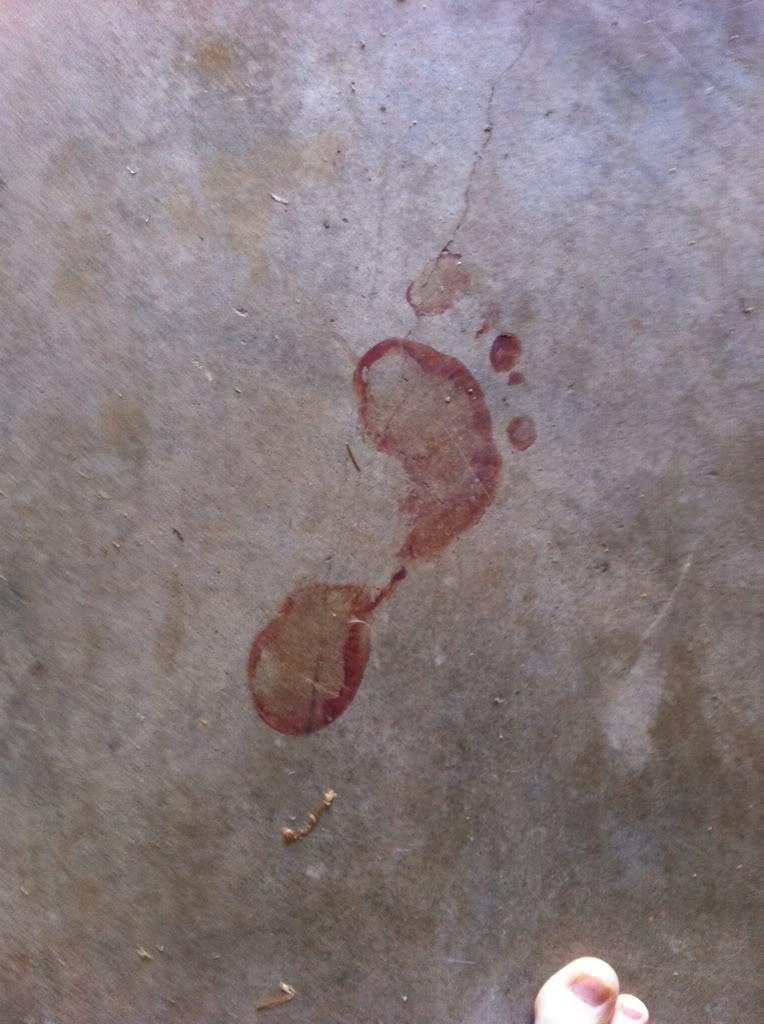
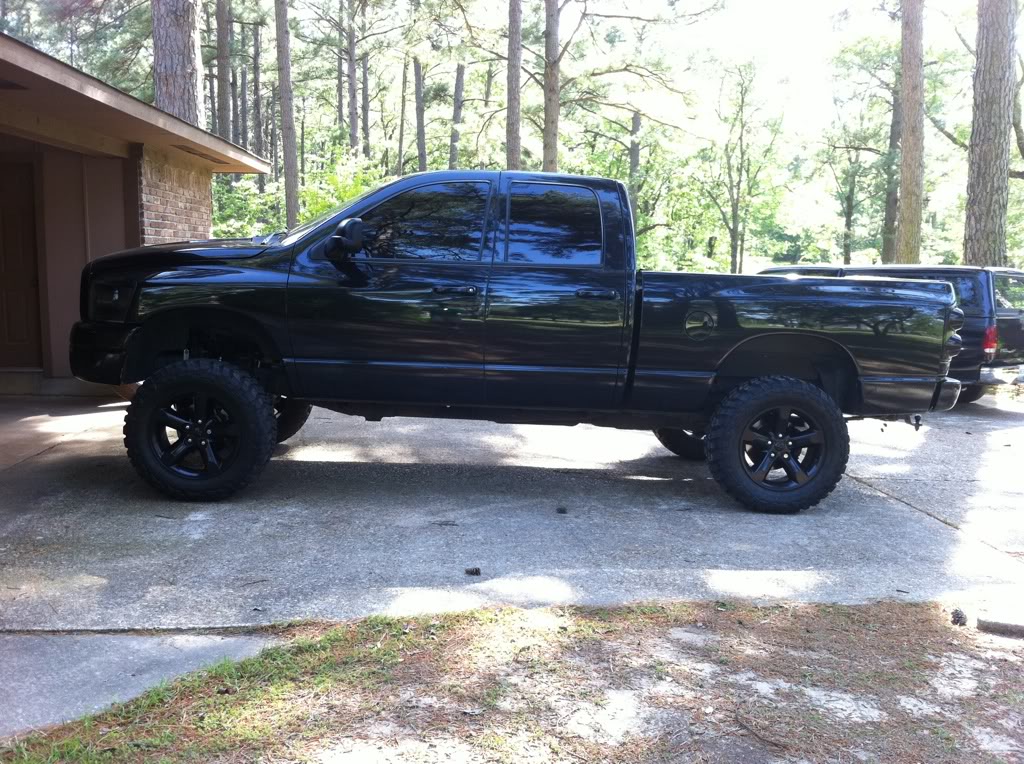
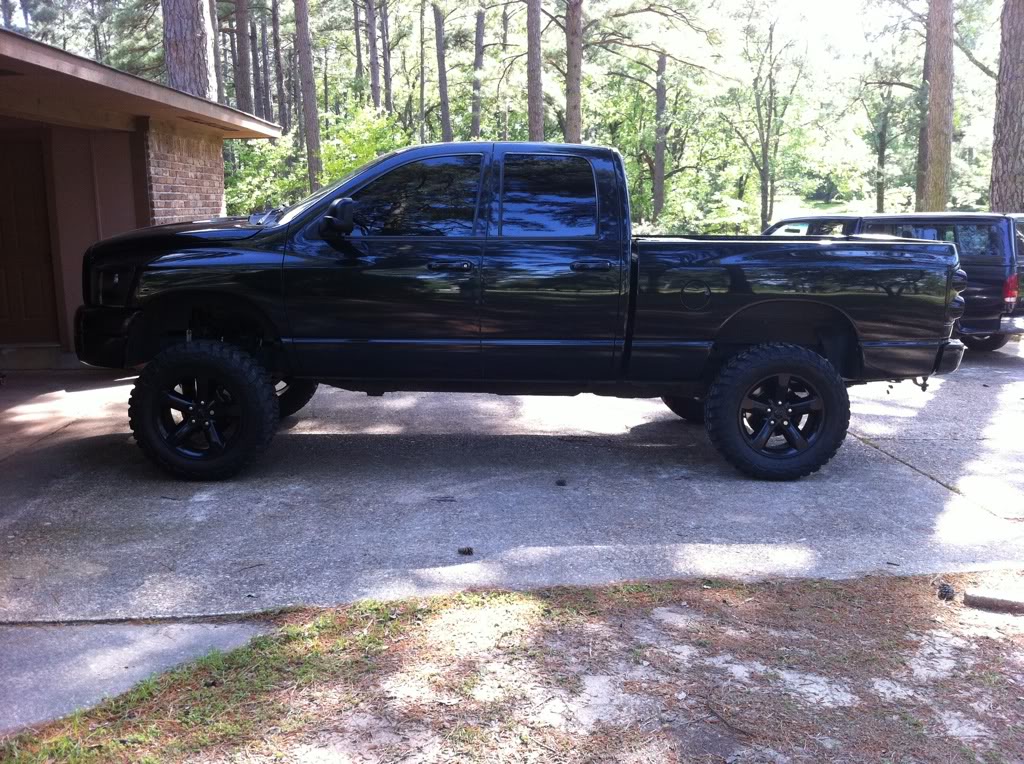
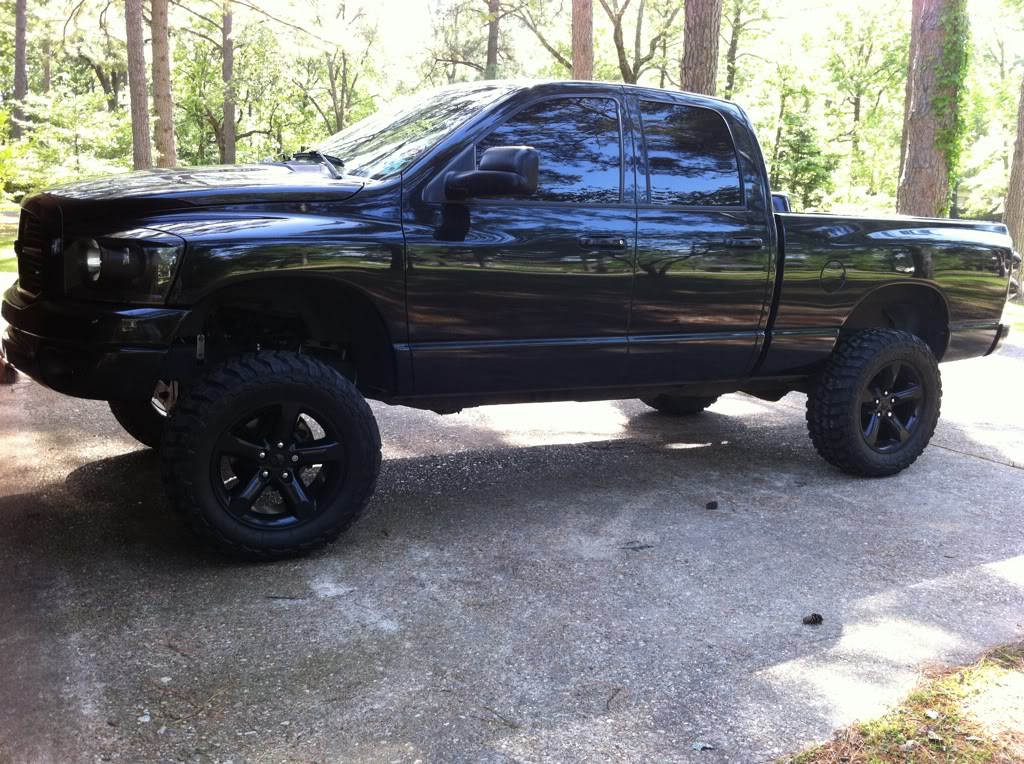
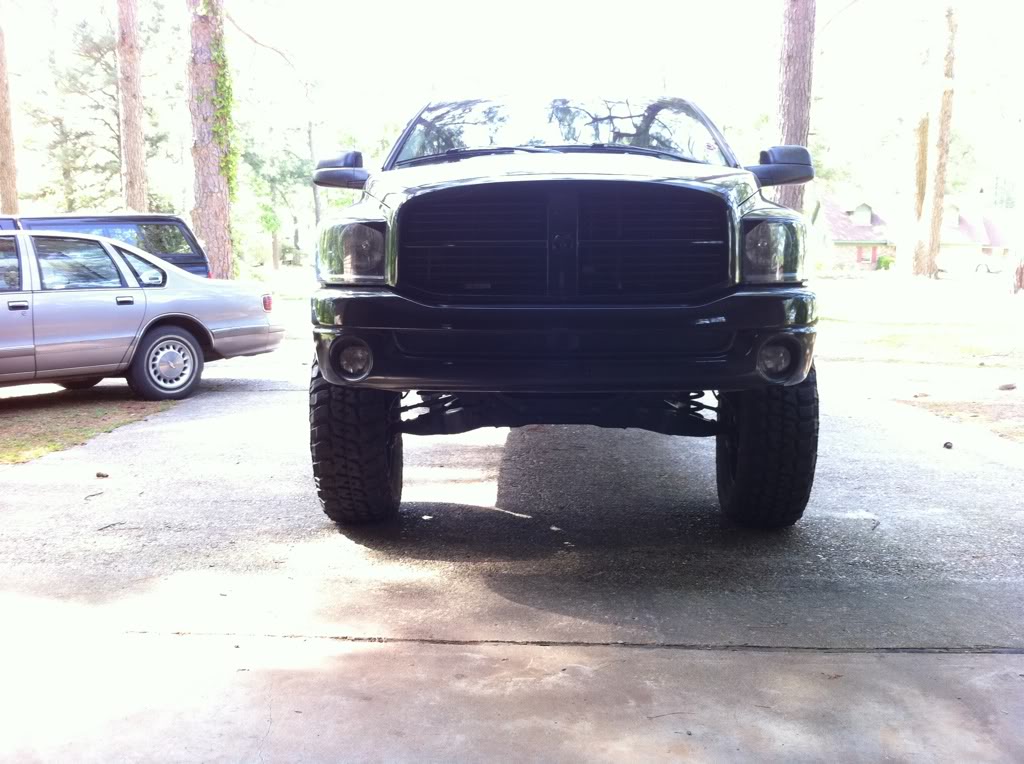
And heres the pics. Havent gotten an alignment yet. You will see that I need one bad. Its super high and rides normal. Looks great IMO.
First is tools. You will need:
good set of METRIC sockets (large 1/2")
two to three jacks/jack stands
1/2" drive and breaker bar (huge help)
Prybar
I rented a coil spring compressor AND ball joint kit. You will see.
Torx bit OR vice grips
Bunjee cord
Air tools help!
Okay well here we go. Rear first:
Jack up truck right behind where the front of the springs sit as high as you can go. The higher the better (in a safe way, not with wooden blocks as I did it). Then jack up the axle to where the tire is off the ground.
I got greaseable shackles off ebay for $35 shipped. They are lowering shackles for a 2nd gen Ram but I wish I would have gotten 3" instead of 2". Anyway, once you get everything jacked up you can start removing the bolts for the rear spring. Loosen the top first and then undo the bottom. It takes a t55 I think, but vice grips will work. Im not sure of the socket size other than its metric. Go ahead and get the bolt out and the spring will pop UP. Make sure your hand is out of the way.
Loosen the top bolt and pull the stock shackle out. Pay attention to what side sits up. Now comes the fun part of getting the new and LONGER one in. Pry down on the frame while someone else pulls the spring down and get the bolt in the lower side of the shackle. The spring side works better than frame side.
Tighten her all up (but not too tight, will cause squeaking) and you are done. Super easy and took 30min max.
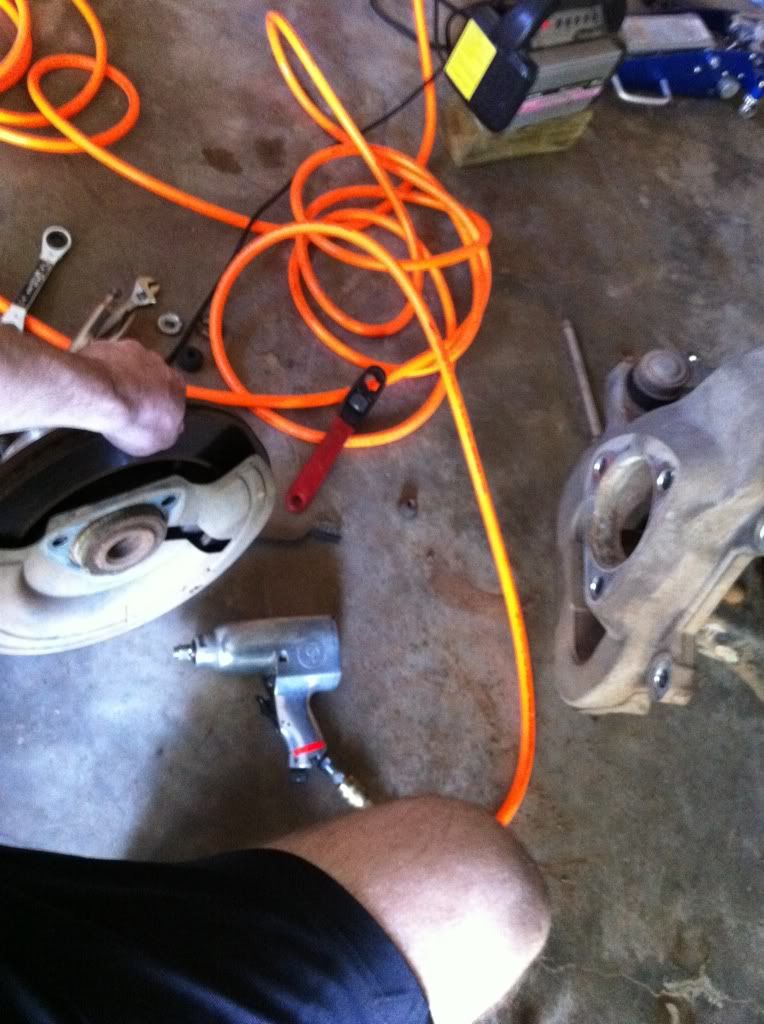
Next comes the spindle. This did not take too long other than the side that I took the coil out. That made everything about 2 hours longer! My cousin busted the boot out of the lower ball joint, which costs $65 and the Oriellys ball joint press did not do it. I took it to a shop to get pressed out. DO NOT USE A PICKLE FORK!!! The tool on the top of that box pictured is the one that worked for me. The others wouldnt work.
Get your tools. I highly recommend renting (for free) the kits listed above.
Jack your truck up. I used jack stands as well. Leave the opposite tire on so you can use that as a balance point. Loosen the lugs and take the tire off. Put another jack under the control arm. VERY IMPORTANT. Will discuss this at the end. Anyway, take your shock off.
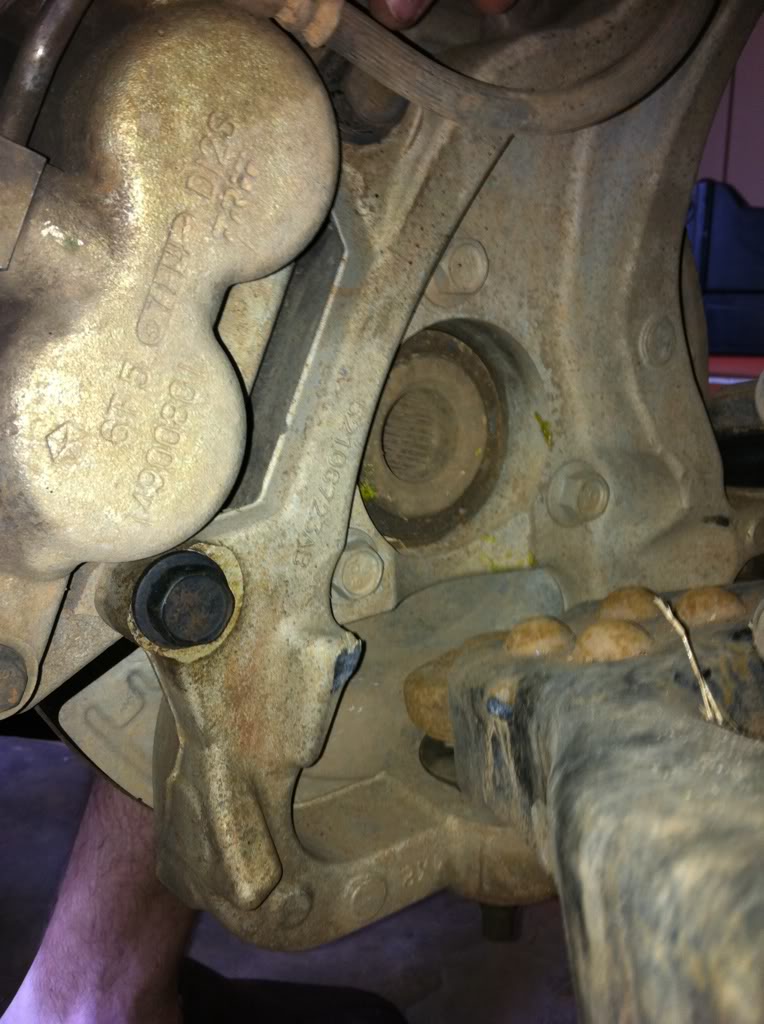
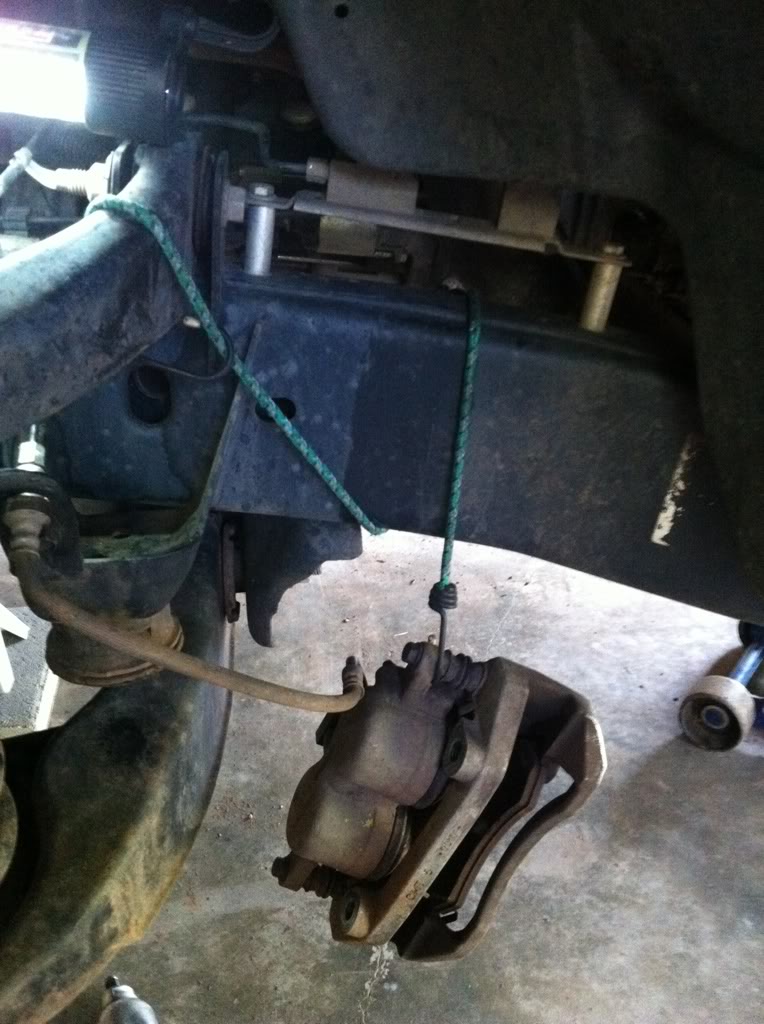
Then take your brake caliper off with the two black bolts on the back. Make sure to hand this to prevent strain on your brake line. I switched the two sides last week. 06-08 will need to do this (just switch right to left) but earlier ones wont.
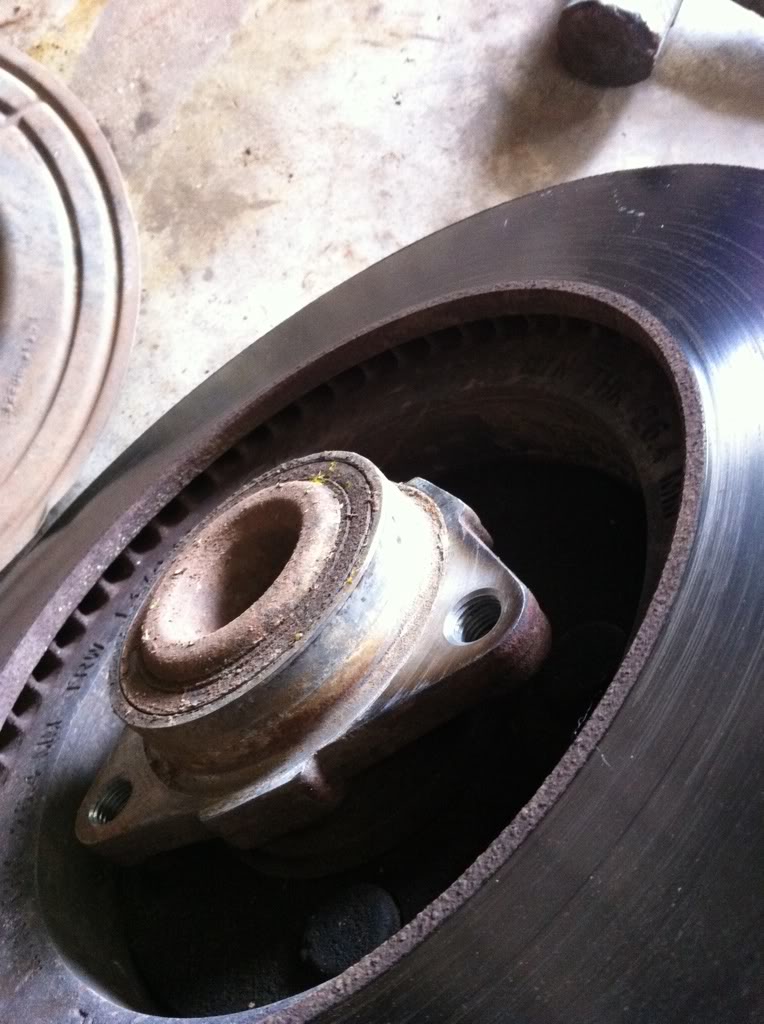
Now take your brake rotor off. Three bolts on the back of the spindle. Super easy to remove. Its super heavy so dont drop it. Im talking like 30lbs. The edge of the bearing was super dirty on mine. I cleaned it up with some steel wool.
Now comes the fun and dangerous part. Make sure there is a jack under the lower control arm and put some ratchet straps on the spring if you are more weary. Using the tool described and rented above, pop the tie rod arm off. Then get the upper ball joint. Its under immense pressure and could cause harm. Will discuss later. Anyway, get the upper, lower, and tie rod off and throw the old spindle to the side.
The next part is easy. Bolt the new spindle right in. I compressed the spring with the tool pictured above. Then jacked up the very edge of the control arm. This allows you to raise the spindle to the Upper Ball Joint. You screw the nuts on to regain the taper rather than press it up all the way. Its pretty self explanatory so no pics in progress.
Now you have to get the rotor on. You might have to turn the wheel to access all three bolts. Two are close to the control arm and have to be at the right angle to have room to be pressed in. Dont forget to put the heat/dust shield with the gap where the caliper is. Use a C Clamp to press the pistons in and get the pad on the rotor and then tighten up the way you took it off. You are done.
Now for the bad news. I was working with someone else who isnt as safety oriented as me. I wasnt paying attention and he popped the upper ball joint without having a jack underneath. Needless to say let, and a short trip (and a liter of blood) later I have a whole bunch of stitches and cant walk. I should be alright though. Just to show you that even someone who THINKS they know everything can still get hurt. Im a nurse so youde figure I would be smarter than this?
And heres the pics. Havent gotten an alignment yet. You will see that I need one bad. Its super high and rides normal. Looks great IMO.
Last edited by Matt99; 04-15-2011 at 06:09 PM.
#2
04-15-2011, 06:50 PM

#3
04-15-2011, 07:43 PM
Veteran
Join Date: Mar 2010
Location: Dawsonville, GA
Posts: 326
Likes: 0
Received 0 Likes
on
0 Posts
#6
04-16-2011, 01:38 AM
Rookie
Join Date: Jul 2010
Location: Nellis AFB NV
Posts: 92
Likes: 0
Received 0 Likes
on
0 Posts
#7
04-16-2011, 02:23 AM
gnarly battle scar soon to come. one thing i did that allowed me to not have to support the lower control arm or take off the shocks was i placed the jackstand directly under the shock and began to remove everything as you did took bout two to three hours total and was very easy as far as what needed to be done but stubborn ball joints took a little while to tighten back up that was about it.
Trending Topics
#8
04-16-2011, 06:39 AM
Nice write-up Matt. Looks like you got just a wee bit of toe-in there. I'm gonna copy the post to the FAQ section (minus the injury photo). That is just nasty looking!!!
Heal up so you can get to work on the next mod. Cause I know if you're like me, there is ALWAYS a next mod, LOL...
Heal up so you can get to work on the next mod. Cause I know if you're like me, there is ALWAYS a next mod, LOL...
Last edited by HammerZ71; 04-16-2011 at 06:46 AM.
#9
04-16-2011, 08:21 AM
Join Date: May 2008
Location: Shreveport, LA
Posts: 4,210
Likes: 0
Received 0 Likes
on
0 Posts
yea it is kinda nasty. Ill be alright though. Luckily I just got a VA job which is the freaking **** in my field. 140 applicants for 2 jobs and somehow I got one. Anyway, put in my two weeks and took a week off and it started today! So ill have a week to heal.
Bad news is that My insurance stopped the day I gave my resignation. Which was the day before I got hurt. I will be paying 1500-2000 for the doctor bill which was obviously way more than I could have paid a shop to do it
Bad news is that My insurance stopped the day I gave my resignation. Which was the day before I got hurt. I will be paying 1500-2000 for the doctor bill which was obviously way more than I could have paid a shop to do it
#10
04-16-2011, 08:22 AM
Join Date: May 2008
Location: Shreveport, LA
Posts: 4,210
Likes: 0
Received 0 Likes
on
0 Posts
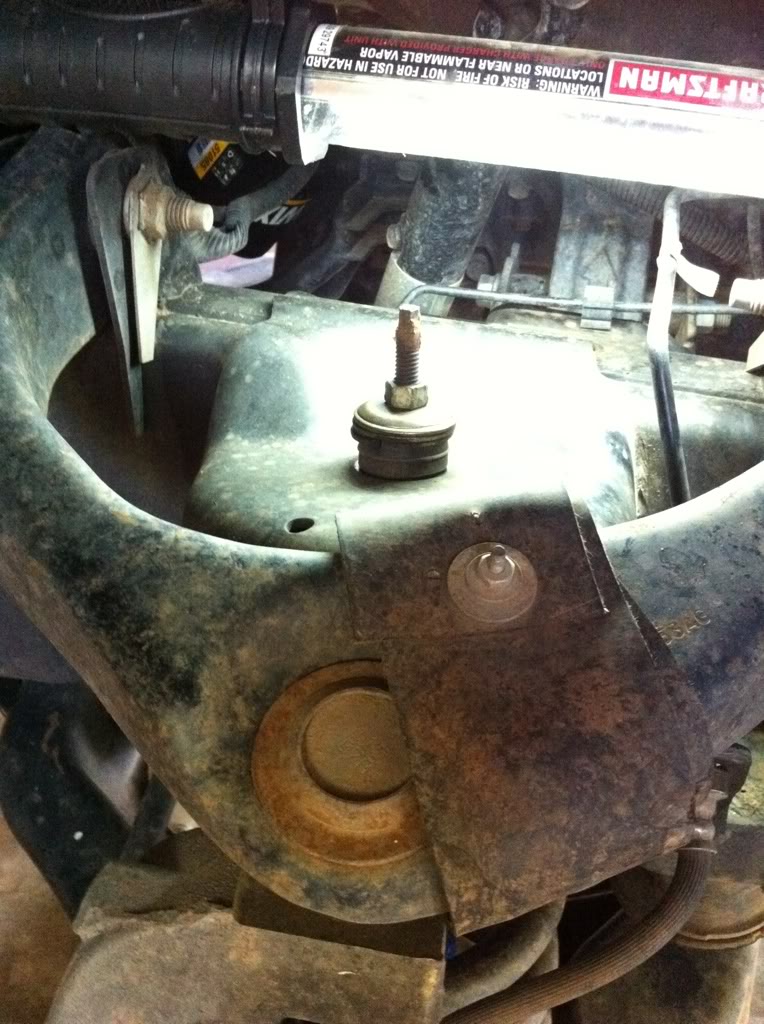
Ocho, no washers or anything. All the hub bolts tightened down all the way. The upper control arm does look kind of close
My dang alignment is so bad that I cant drive it. It like hops around. The place isnt open till monday so we will see how it goes after that. I love how it site now though. Its actually higher in the front and my shackles are maxed out so I guess Ill have the socal look until the front settles
My dang alignment is so bad that I cant drive it. It like hops around. The place isnt open till monday so we will see how it goes after that. I love how it site now though. Its actually higher in the front and my shackles are maxed out so I guess Ill have the socal look until the front settles