
How to SoundDeaden your Ram
#1
 03-01-2007, 04:54 AM

Join Date: Nov 2005
Location: Peoria/Elmwood Ill
Posts: 2,048
Likes: 0
Received 0 Likes
on
0 Posts
In this tutorial I will show you how to deaden your vehicle. Deadening not only stops rattles and cuts down on road noise, but will create an enclosure per say for your door speakers and will help mid-bass response and jst make them sound better overall. I used RAAMaudio RAAMmatt BXT and ensolite. The BXT is a butyl based deadener.very easy to work with and stuck great. The ensolite is a closed cell foam that cuts down on noise and cuts down on sound waves bounding around. I did my install in my 98 Ram. Your vehicle may come apart differently, but the techniques and how to deaden are the same for all vehicles.
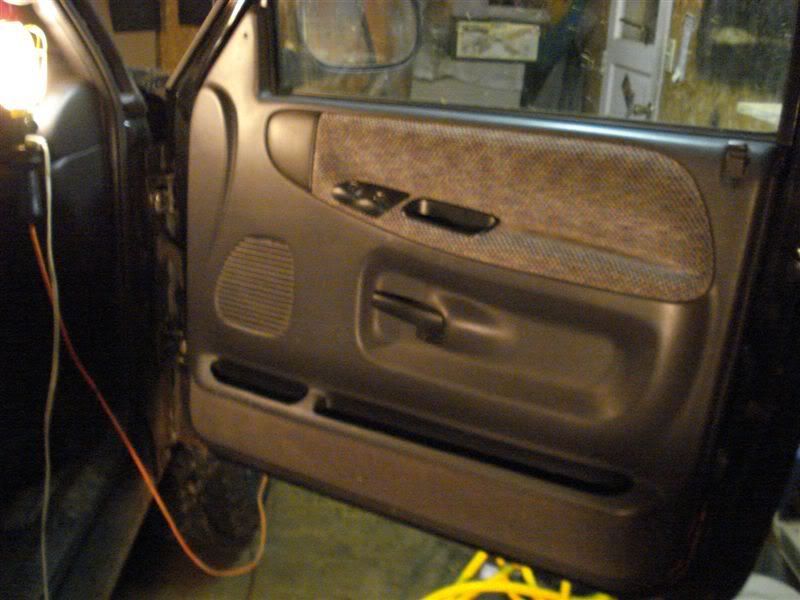
First we have to take the door panels off..............
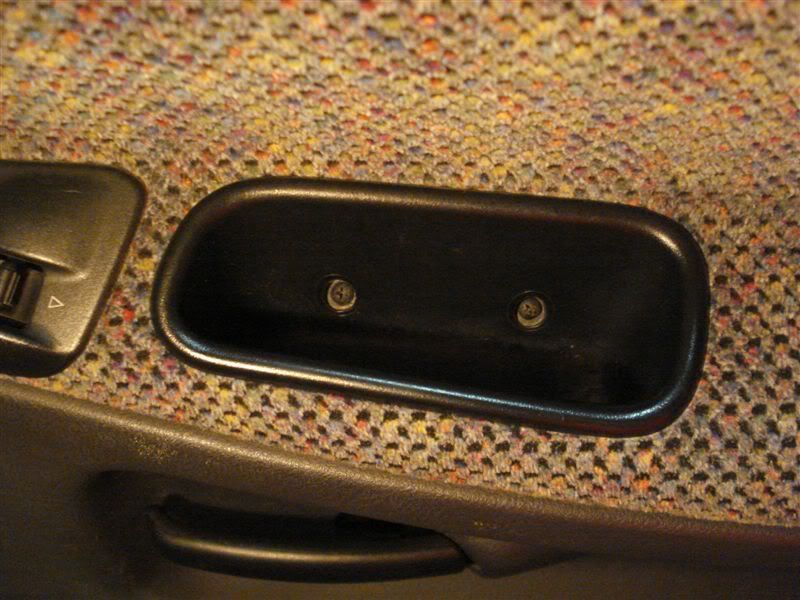
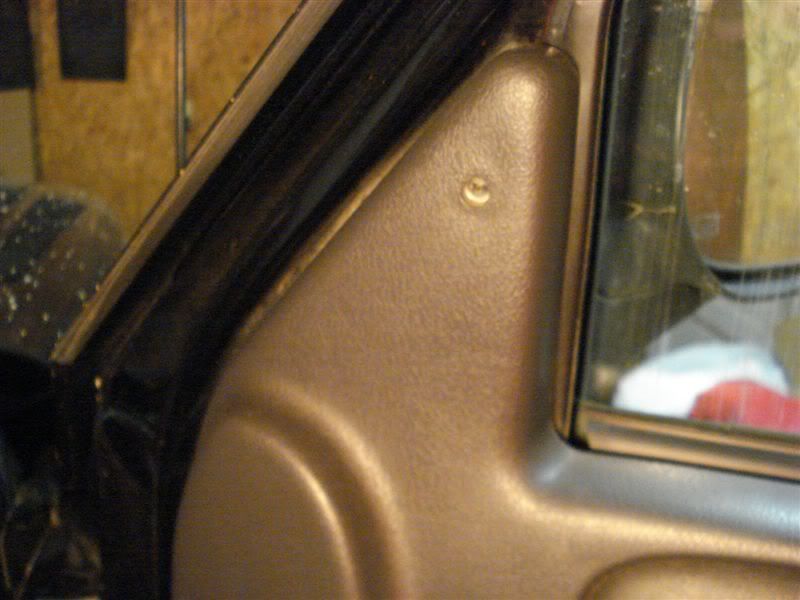
1- Remove 2 phillips screws from door handle cup and 1 up top by the side mirror.
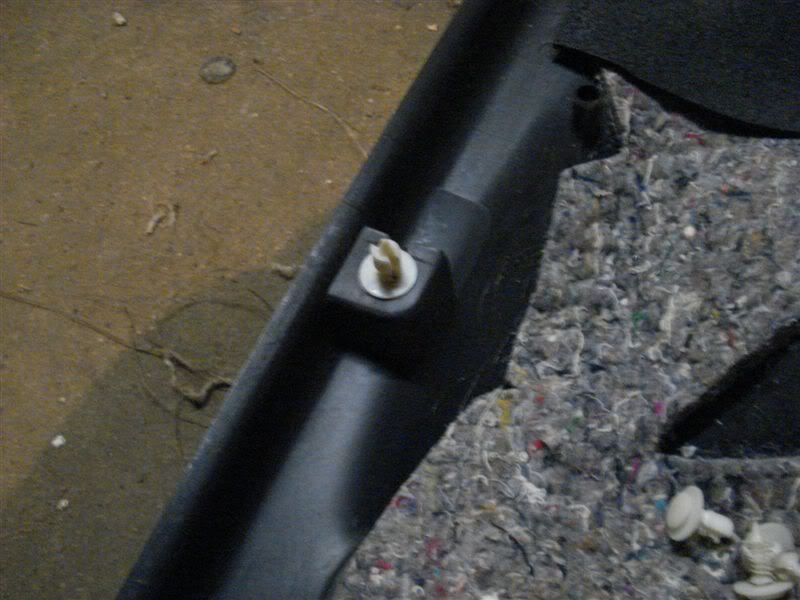
2- Get a panel removal tool to get a couple of the plastic clips out. Once you have a few out you can then grab under the door panel and pop the rest out. There are 11 total. Don't be afraid to really yank on the panel to get it off. Once you have all them out pull up on the panel and get the door handle threw the hole. Disconnect the harnesses and your done. Now in the Ram..well at least my 98, there is a harness behind the panel by the door latch that can be unhooked to help get some of the wire out of the way to deaden easier.
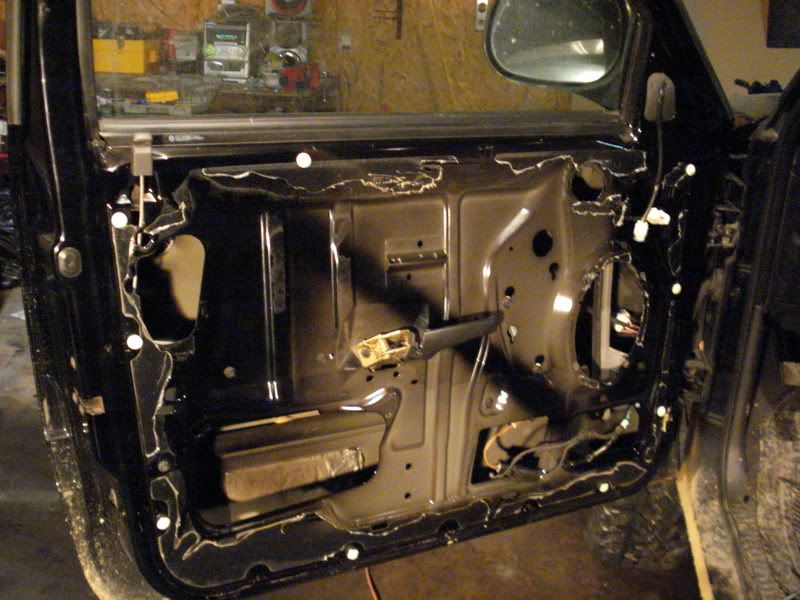
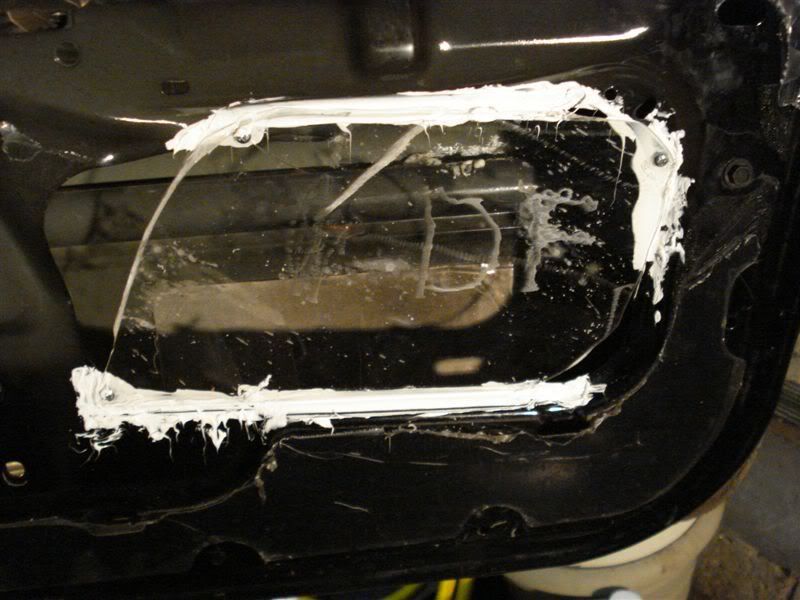
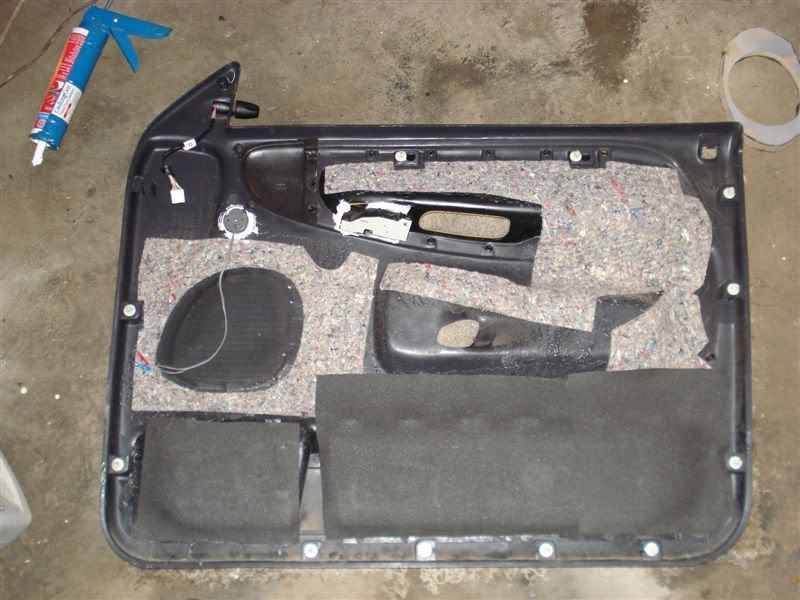
3- Pull off as best as you can the plastic weather barrier. It is nearly impossible to get the plastic off where it was glued to the door at, so jst get all off you can. I had some crappy sound deadener over that, so don't get confused if you don't have any black lookin stuff on your door, more than likely yours will jst be the clear plastic.
4- Now you need to clean off the door, so the deadener will adheres good. Jst use something that doesn't leave any residue and will get ay grease and dirt off. Rubbing alcohal is is a good cleaner to use.
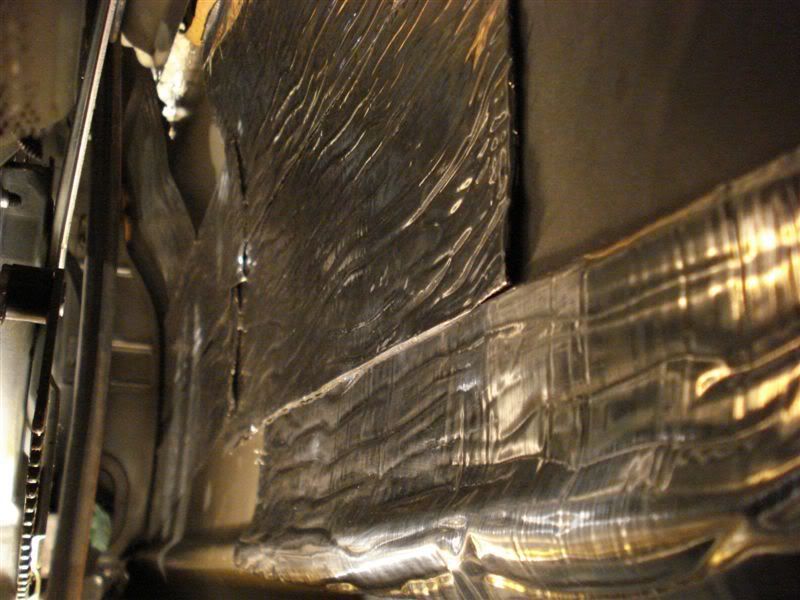
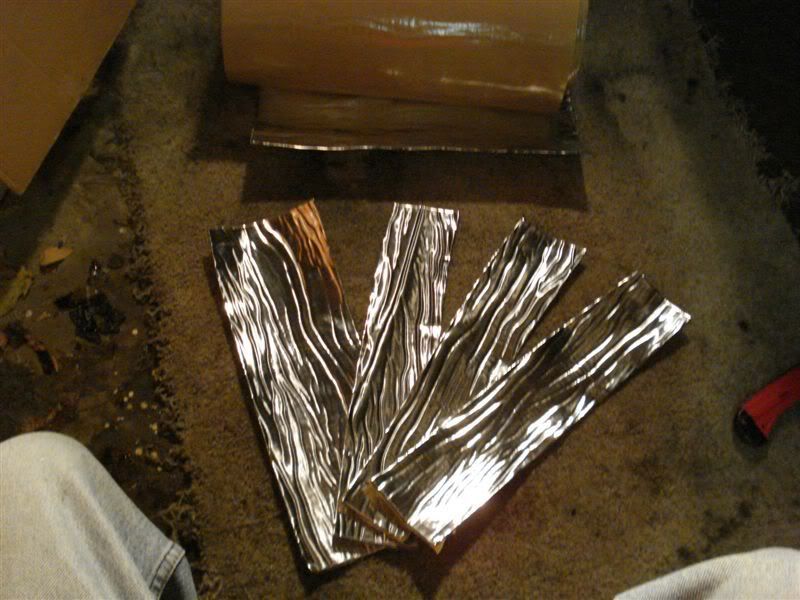
5- Now time to deaden the inside of the door(backside of the outside of the doors). Cut the deadener into small enough strips or piece to get through the holes in the door panel. Overlap each piece. You don't have to get crazy and double or triple layer this area, jst get most of it covered. It is a good idea if you got some closed cell foam to put some over the deadener also....atleast a bit directly behind the speaker.
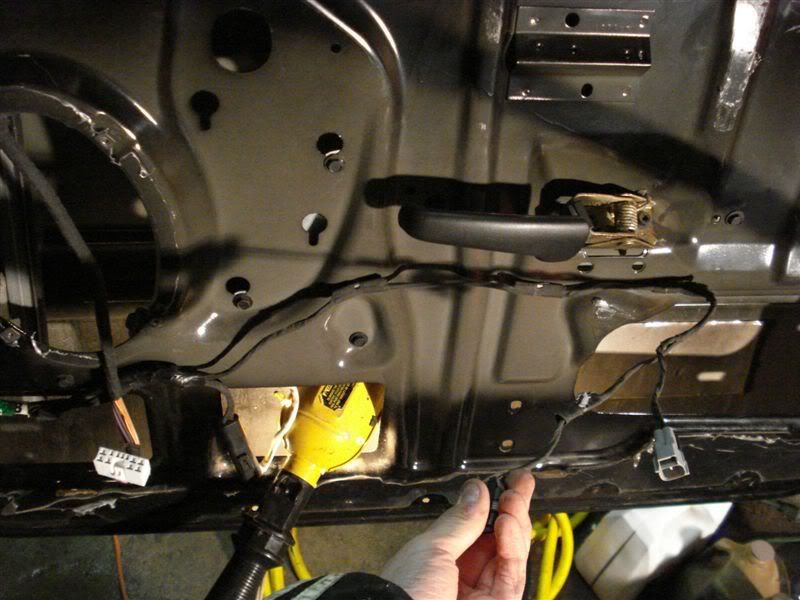
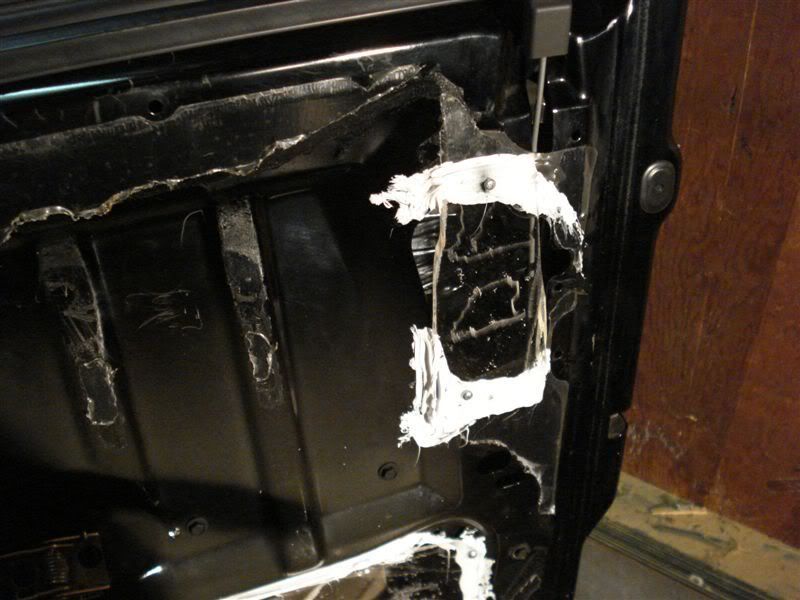
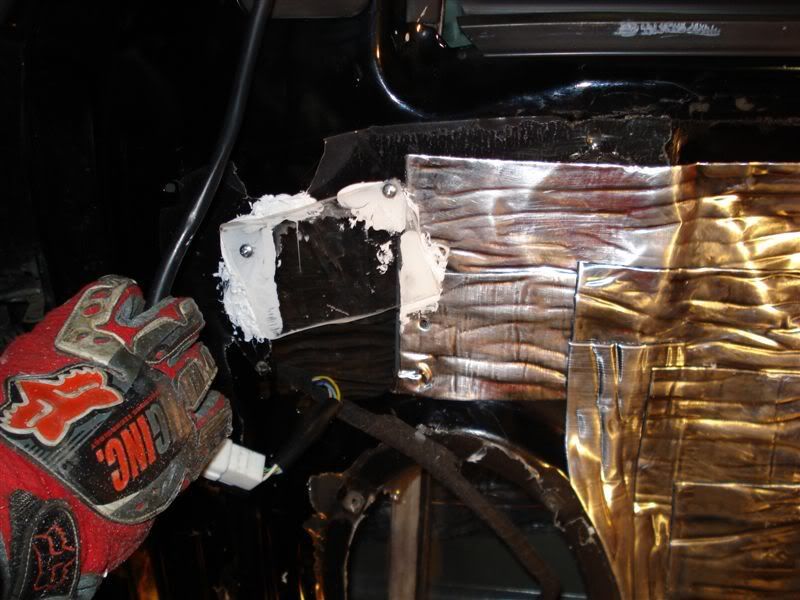
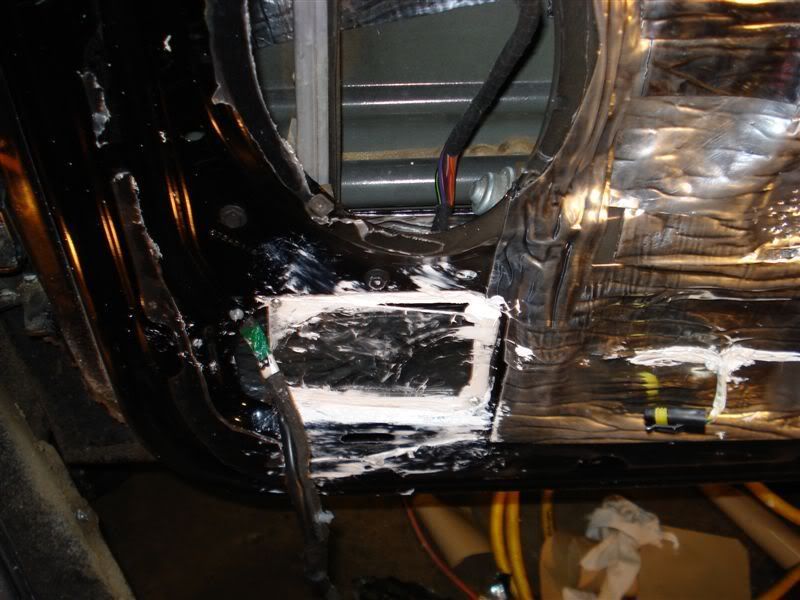
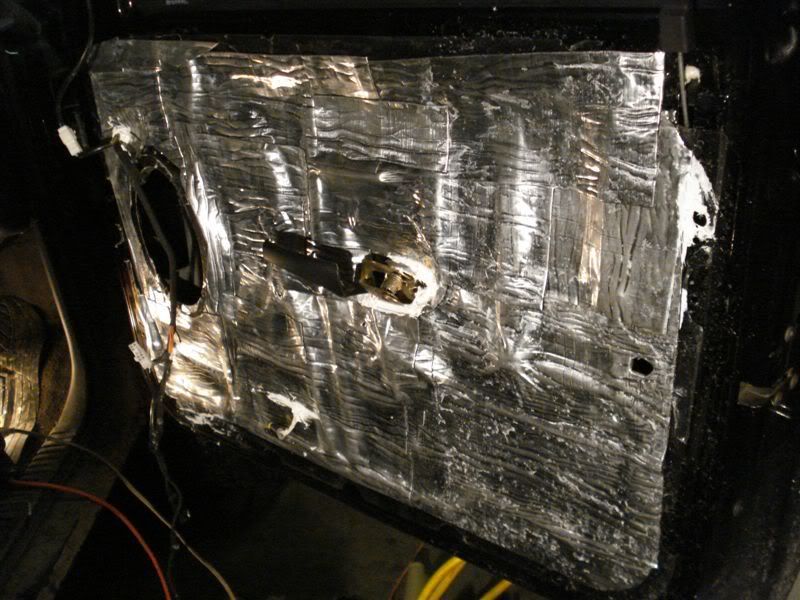
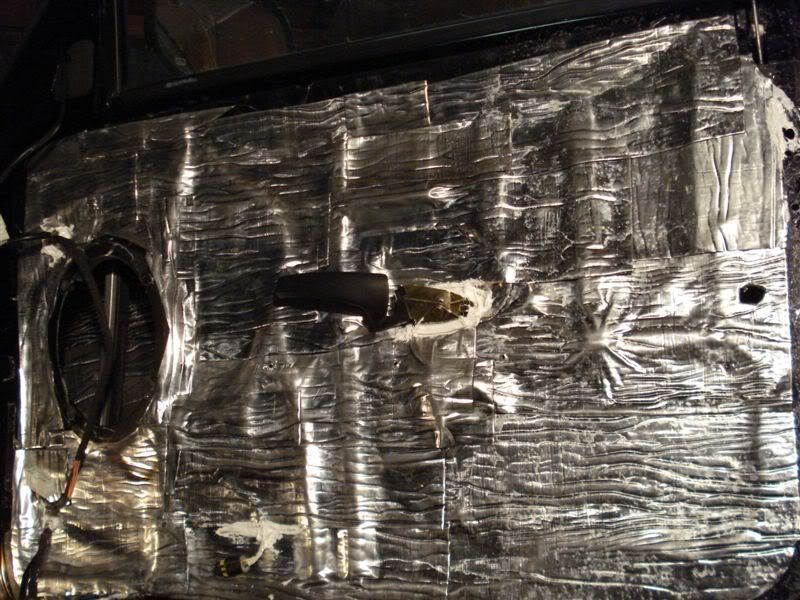
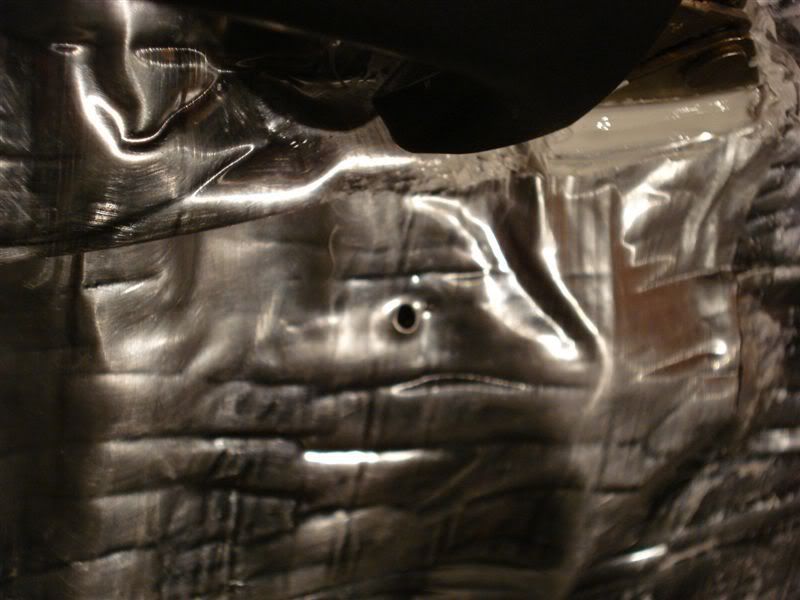
6- Now its time to deaden the actual door panel its self. First cover up any big holes in the door. I used acrylic I had laying around it worked, but cracked on me a few times. I suggest using aluminum or a type of metal if you can. It can be a heavy mesh. Jst something to not make the hole so open, as deadener isn't made to cover big holes. I put a layer of caulking between the door panel and the acrylic so it didn't rattle, I suggest everyone do this, you can use non hardening model clay, caulking, liquid nails, whatever you want really. But make sure whatever you use wont cause rust. If you unhooked any harnesses on the inside of the door panel, make sure you can still reconnect them to whatever they plugged into before you cover up and big holes. Now cut the deadener into strips and start placing on the door panel. There is no real science on where to start, but I usually start on one side of the panel at the bottom and work my way across the door. Overlap each piece of deadener. Really press down and work the deadener into all the cracks and groves of the panel. I also used the caulk to fill in any real small holes I didnt get with the deadener and where the harnesses go through the deadener. Now DON'T FORGET that there are wire clips that have to go back into the panel so the wires don't jst flap around on the panel, so make sure you remember where the holes are and poke a hole in the deadener through the hole when you cover it with the deadener.
7- If you bought a closed cell foam(I used ensolite by RAAMaudio) its now time to apply it. I cut mine to the proper length and width, then cut it into three separate sections. Some people don't cut it at all and some ppl cut the foam into many small piece. I found it easiest with the 3 separate piece, but its mainly preference on how to do this. I sprayed the section of door I was about to work with and them lightly sprayed the backside of the foam with the glue and then applied to the panel. Once the door is covered to your liking your done!!! Again, don't forget to poke holes in the foam where the clips go into the panel.
8- Reapply door panel in opposite order of how you took it off and your done. If any of the plastic clips stayed in the door and a lot of mine did. Jst pop them out and slide them back into the slots for them in the door panel. Make sure the plastic clips are all lined up with the holes in the door before you start beating on the panel to pop them into place tho.
9- Be happy your done and enjoy you speakers and quitter ride!!
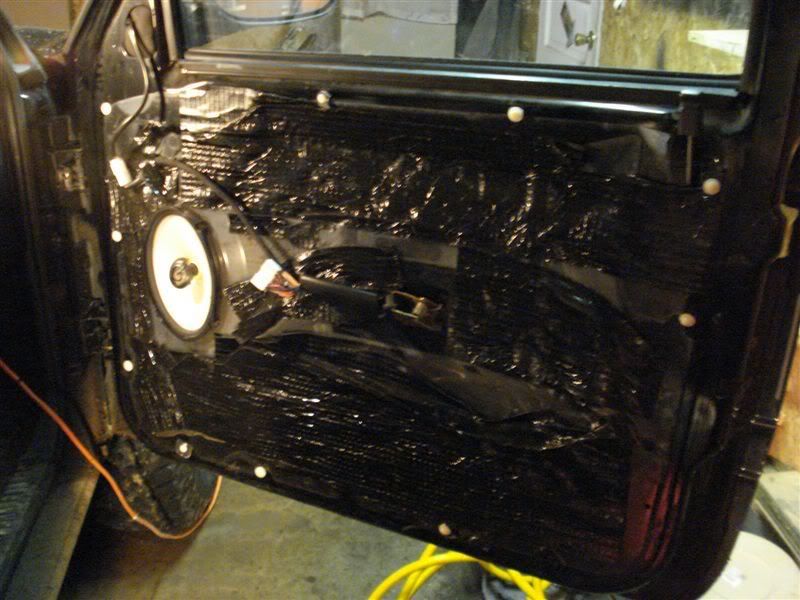
I know this is the driver door...I forgot to get a pic of the passenger door all clean off of the moisture barrier off.
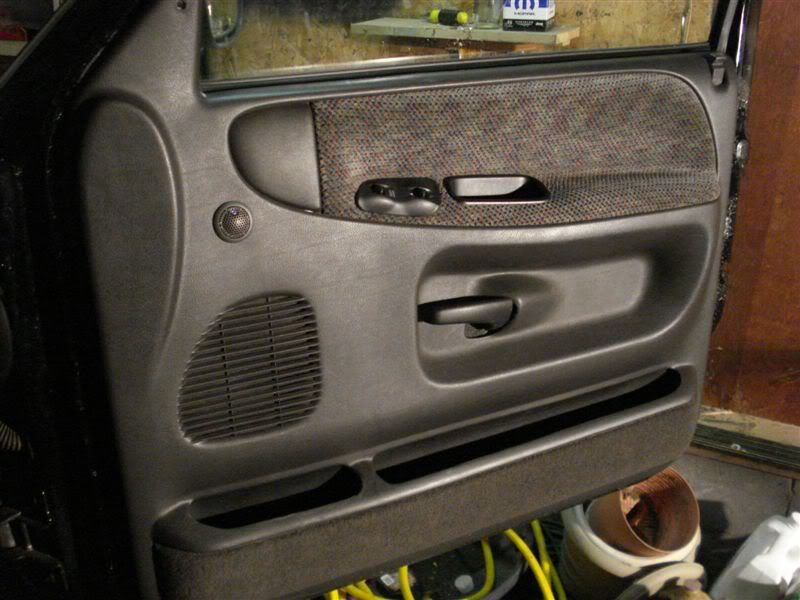
This is what the doors looked like with the speaker and crossover mounted...again no passenger side pics..sry!!!
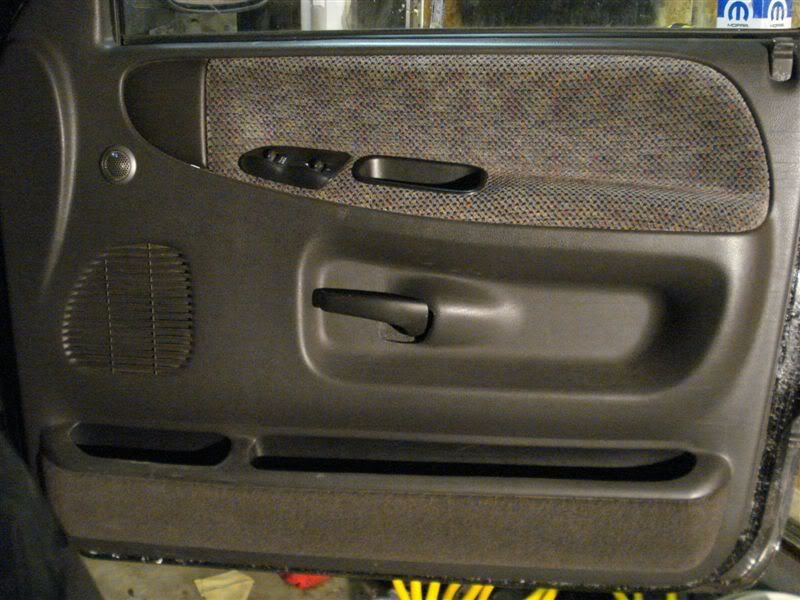
DONE!!!!!!....Well....maybe clean some of the excess glue up

WhenI have a few days off of work, I will also be doing the cab...so there will be more to the tutorial eventually.