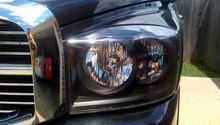
Dodge Ram 1994-2001: How to Install HID Headlights
Whether you need to replace the headlights on your Dodge Ram because they’re burned out, or you’re just looking to update the look of the front of your car, the good news is that most headlight replacement kits make it easy to swap out the old lights for new. Here’s how to install HID headlights yourself at home.
This article applies to the Dodge Ram (1994-2001).
If someone’s come up and pointed out to you that one or both headlights on your Dodge Ram are out, then you need to fix this problem as soon as possible. Not only is it a safety hazard, it’s also a calling card to law enforcement officials to pull you over and give you a ticket. The good thing is that, though it’s all a bit time consuming, it’s something that can be done at home in about an hour’s time (or less if you really know what you’re doing). Follow these steps to learn how.

Materials Needed
- Replacement HID headlight(s)
- Socket wrench set, including deep-well socket, extension, and 10mm socket
Step 1 – Remove the headlight mounting bracket from the body of the car
There are two 10mm bolts holding the mounting bracket to the body of the car; peel back the protective rubber piece covering them and use a socket wrench to remove. Place bolts in easy to locate place where they will not be lost.
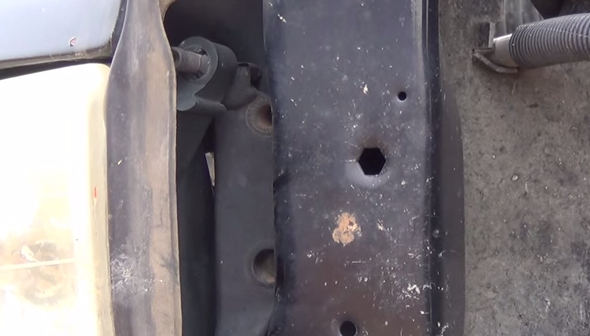
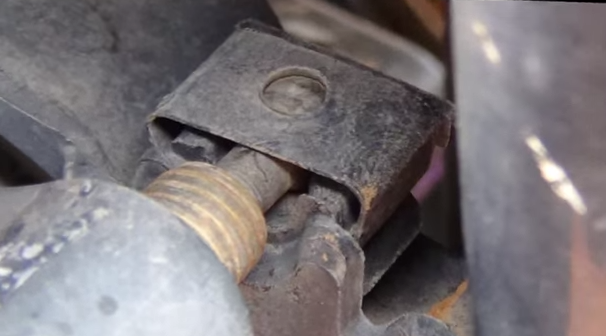
There’s also a hidden bolt located near the blinker of the headlight. Use the same socket to remove.
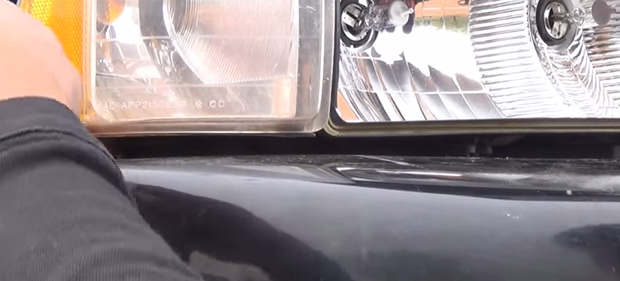
Step 2 – Unplug connectors and remove unit
Before you remove the headlight housing unit, unplug its connectors.
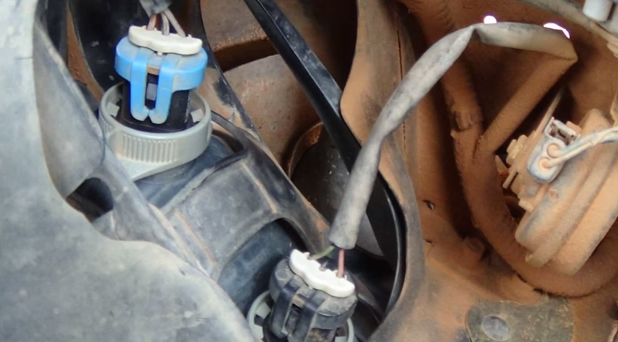
When that’s complete, give the front of the headlight and its mounting bracket a good hard tug to remove.
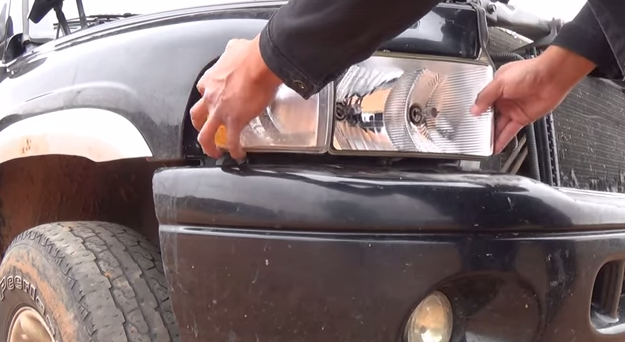
Next, to separate the headlight from the mounting bracket, remove the three clips attaching the two units.
Featured Video: 1994-2002 Dodge Ram Headlight Removal
Step 3 – Install new HID headlight
Installation is pretty much the reverse of what you just did to remove the headlight. Begin by attaching the mounting bracket to the new headlight via the three clips. Next, insert headlight and mounting back into housing area, and push until snug. Reconnect connectors.
Now comes the hard part—remember that hidden bolt? To get it back into place, it must be installed from the bottom; specifically, you need to make sure it falls within the bracket mounting, and is then tightened through the opening. The best way to do this is with a deep-well socket and extension.

Once that’s complete, you can move ahead with re-installing the last two bolts on the mounting bracket. Finish by re-installing the rubber piece back over the lens.
Featured Video: Wizard Ultra White Install in a 2001 Ram
Related Discussions
- HID Headlight Kit for 2001 Ram Sport - Dodgeforum.com
- HID Kit Mod Dodge Ram - Dodgeforum.com
- Help HALO Projection Headlights Installation 2001 Ram - Dodgeforum.com