Dodge Ram 1994-2001: How to Replace Air Filter
Don't know your air filter from your HVAC system? Don't worry, even the most novice of Dodge owners can replace an air filter in less than five minutes.
This article applies to the Dodge Ram 2nd Generation (1994-2001).
The air intake system of your vehicle is designed to ingest air, filter dirt particles out of that incoming air, and then channel it through the engine. Crucially, the air filter has to be functioning as intended, lest your engine suck up all matter of debris. Over time, the filter becomes contaminated with dirt, dust and grime, so regular replacement is required. Depending on your environment, the service interval can be as short as 20,000 miles or as long as 50,000 miles. Even checking your filter is a quick visual inspection that can go a long way. Inspection, replacement, or removal for an upgrade, whatever your reason, we've got the technical know-how to guide you through it.

Materials Needed
- New air filter
- Flat head screwdriver
- Dry towel
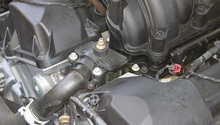
Step 1 – Open hood and remove hoses
Open hood and lock into place with your hood support rod.
Remove the hoses on left and ride side of the interior air box. The hose on the left (as you’re looking at the interior air box) is a larger hose. It should simply slip off. The hose on the right (as you’re looking at the interior air box) is a thinner and shorter hose. It, too, should simply slip off. If you can’t easily remove the hoses, then wiggle them at the place where they connect to the interior air box. You shouldn’t need to use tools to remove either hose.

Figure 1. Remove hose on left side of interior air box. 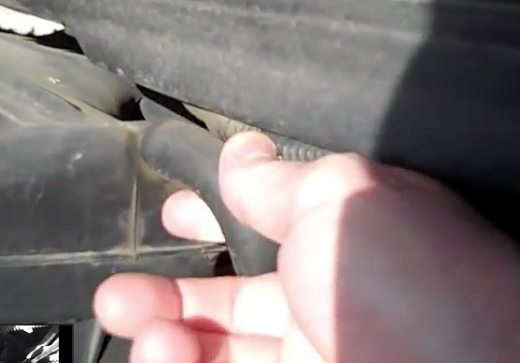
Figure 2. Remove hose on right side of interior air box.
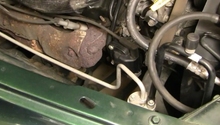
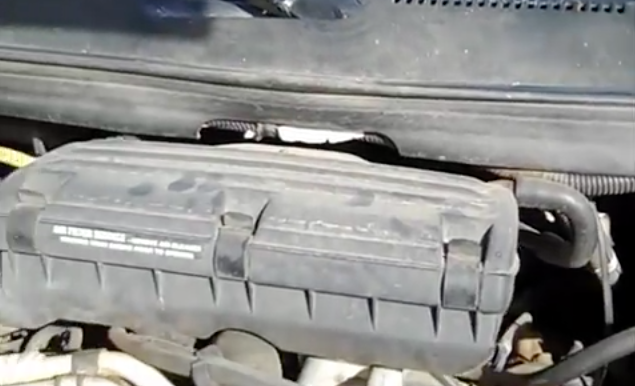
Step 2 – Remove screw holding interior air box into place
Locate screw holding interior air box into place. It is near the rear of the case, slightly beneath it. Use flat head screwdriver to remove screw.

Figure 3. Locate screw holding interior air box into place. 
Figure 4. Use flat head screwdriver to remove screw holding interior air box into place.
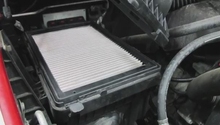
Step 3 – Remove interior air box
Lift the interior air box up and out, then set it on a flat surface.

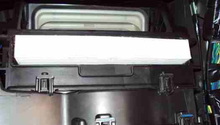
Step 4 – Open interior air box
Unsnap the three snaps holding the interior air box shut. Once you do, you can open lid of box and remove it. Set it aside so it’s not in your way.

Step 5 – Remove air filter
Take the old air filter out. It simply rests in the interior air box, so you don’t need to use tools to remove the air filter. If inside of the interior air box is dirty–and it likely will be,–clean with dry towel.
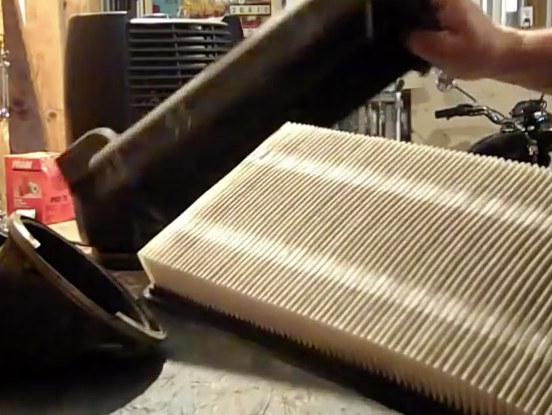
Figure 7. Remove old air filter. 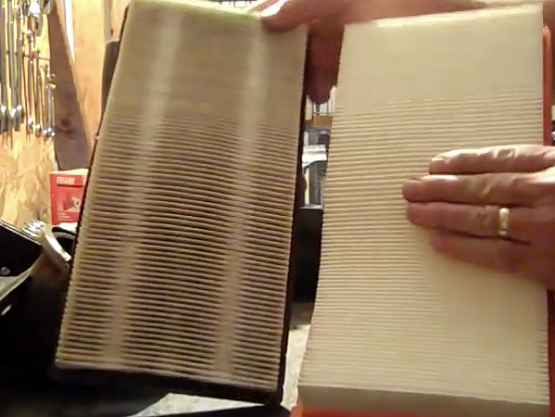
Figure 8. Here, you can see the difference between an old air filter and a new air filter.
Step 6 – Replace air filter and re-install air box
Insert new filter. It simply rests inside the interior air box.
Re-install interior air box by reversing its disassembly:
- Replace lid and snap interior air box shut.
- Put interior air box back into place.
- Connect hoses on right and left side of interior air box, then replace screw near the rear underside of interior air box.
- Finally, close the hood and you are finished.
Featured Video: Dodge Ram Air Filter Replacement
Related Discussions
- DIY - 14x3 Air Filter Assembly - DodgeForum.com
- 14x3 Air Filter Question - DodgeForum.com
- Air Filter Replacement - DodgeForum.com