Dodge Ram 1994-2001: How to Replace Distributor
Dealing with distributors, timing, firing orders, and eight spark plug wires can be a bit finicky, but you can save some money by tackling this job yourself. Read on to find out if this DIY is for you.
This article applies to the Dodge Ram 2nd Generation (1994-2001).
The distributor is the part of the ignition system that sends extremely high voltage spark from the coils to each spark plug. Timing must be perfect in order for the spark to occur at just the right time for the engine to run properly. So if there are any problems in the distributor, you will notice it right away with either a poor running engine or a complete no-start.
Installing a new distributor is a simple job, as long as care is taken to put the new one in exactly as the old one was removed. Attention to detail is key here. Some owners might find it easier to just have a shop do it, but for the die-hard DIYer, it can be done in a few hours in the driveway.
Materials Needed
- Distributor
- Masking tape and marker
- Open-end wrench set
- Screwdrivers
- Large ratchet or breaker bar
Step 1 – Prep work
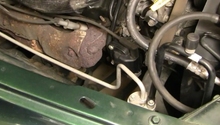
The distributor is not easy to get to. It sits all the way on the back of the engine, and there are plenty of other parts blocking your way. The best way to get to it is to remove the intake system, including the throttle body. Put them aside, and set yourself up to gain easy access to the back of the engine bay. A step stool on the side will work, as will a piece of plywood on top of the engine to lie down on.
Next, use the tape and marker to label each spark plug wire where they attach to the distributor. Once they are all numbered, pull them out and move them aside. Use a 7mm wrench to crack the two bolts loose that hold the cap onto the distributor, remove it and set it aside.
Step 2 – Make more marks
The next step is to find top dead center (TDC) of the engine. The easiest way to do this is to remove the #1 spark plug and plug the hole with your thumb. Slowly turn the crank with a large ratchet or breaker bar until you feel compression, indicating #1 compression stroke. Insert a screwdriver into the spark plug hole, touching the top of the piston. Rotate the crank back and forth, watching the screwdriver handle. When it is at its highest point, that is TDC. The distributor rotor will also be pointing toward the #1 contact of the cap.
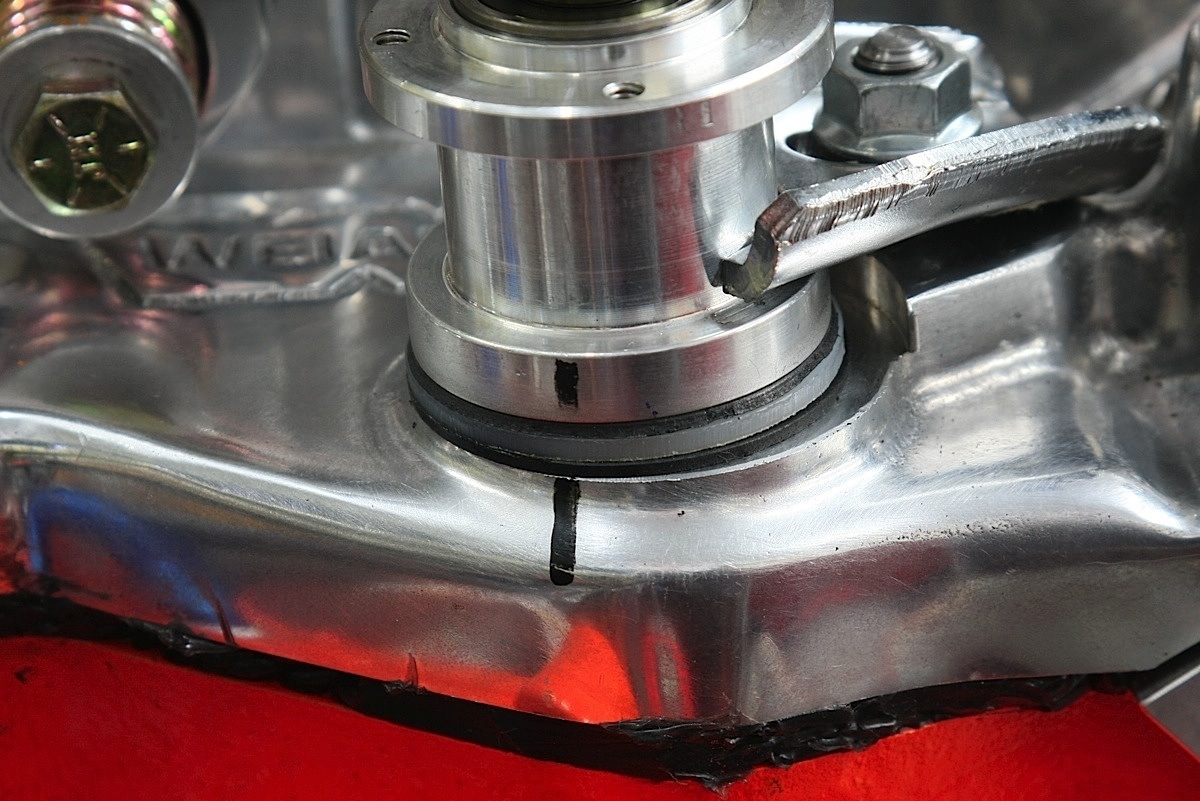
Mark the edge of the distributor where the nose of the cap is pointing. Make another mark where the base of the distributor meets the block, making sure the mark extends onto both pieces.
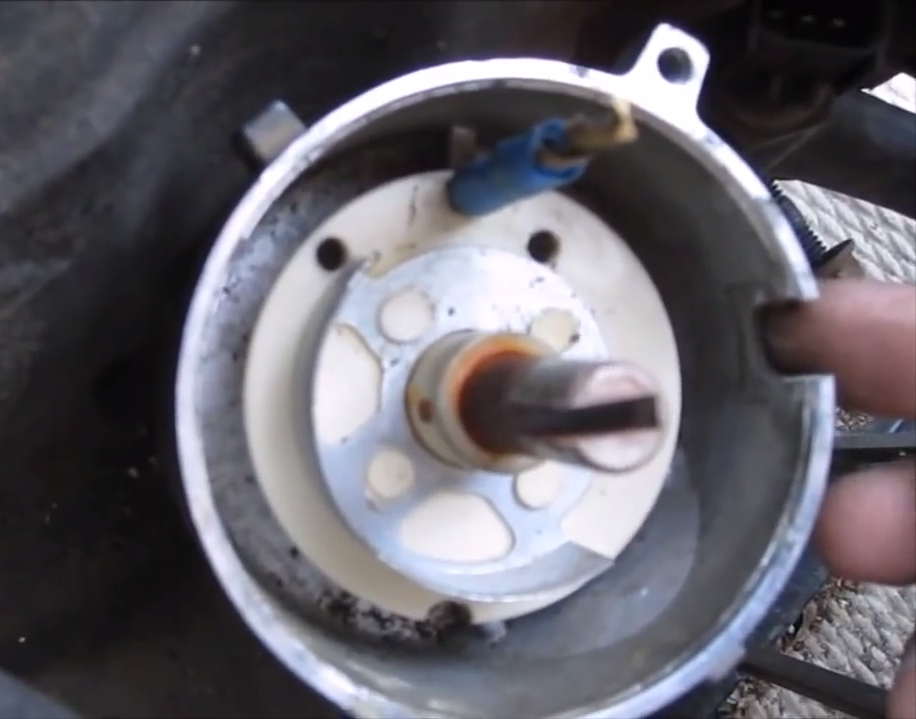
Step 3 – Remove the distributor
Unbolt the clamp at the base of the distributor and remove. Take hold of the distributor and pull up firmly but slowly. Keep a close eye on the rotor because it will rotate as you lift the assembly out. Take care not to touch the rotor or the gear at the bottom of the shaft, since you need to mark the new position of the rotor as well. This is the position you will place the rotor on the new distributor, so as the gears mesh in installation, it will end up back in position 1.

Step 4 – Install the new unit
As accurately as possible, copy the marks you made on the old distributor onto the new one. Accuracy is key here. Put the new rotor at position 2, and carefully press the distributor down into its hole. As the gears mesh, the rotor should turn to position 1. Loosely install the clamp, and rotate the entire distributor so that the marks at the base line up. Then, tighten it down. Double check all marks before continuing.
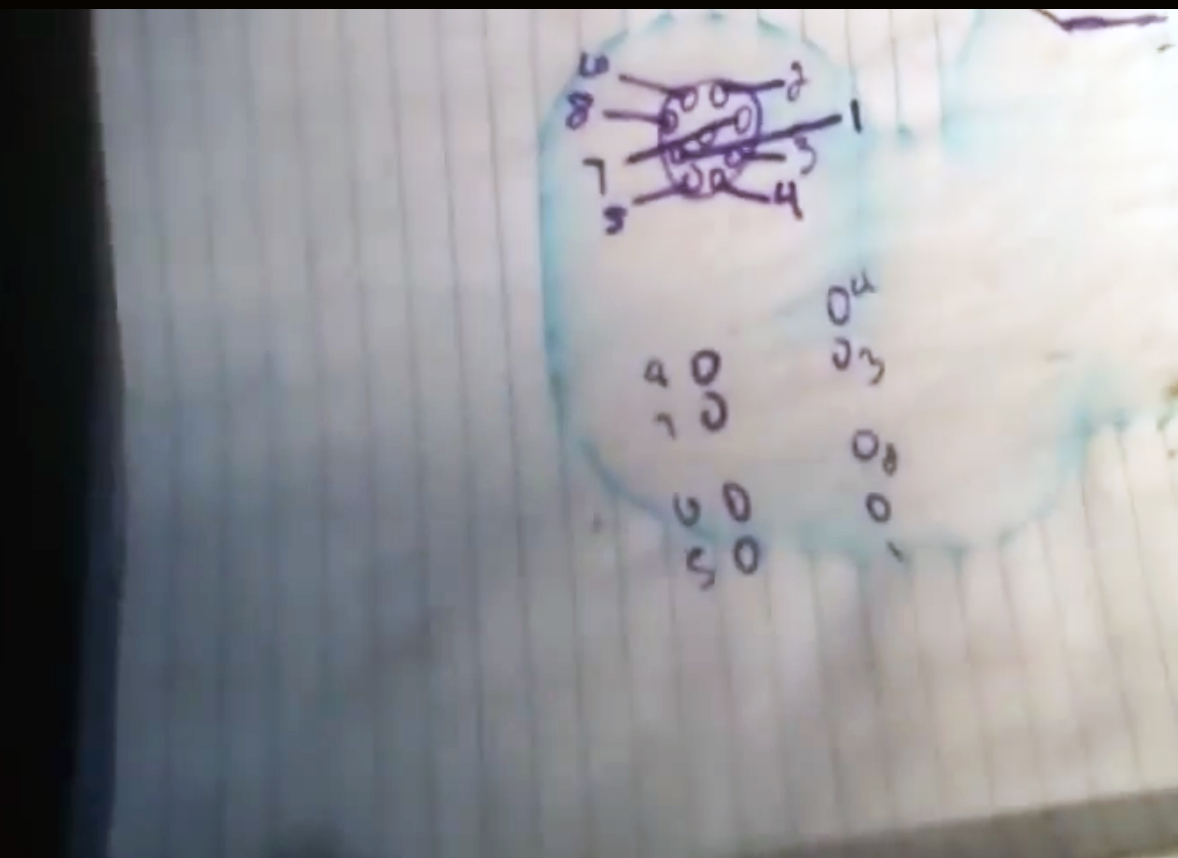
Install the new cap and put the spark plug wires back in, following the firing order 1-8-4-3-6-5-7-2. Re-install the intake system, and you are ready to test fire. If you were accurate, the truck should sound and run completely normal. However, there is one last step that needs to be done. If you have a scan tool and know how to use it, reset the fuel sync to make sure the timing is perfect. If not, take it to a shop to finish this last bit. Failure to reset fuel sync can lead to reduced performance as well as fuel economy, increased emissions, and can even lead to engine damage.
Featured Video: How to Install Distributor Cap and Rotor
Related Discussions
- How to Install Distributor - DodgeForum.com
- Replace Distributor - DodgeForum.com
- DIY Distributor Cap and Rotor Removal - DodgeForum.com