Dodge Ram 1994-2001: How to Replace Front Fender
Fixing the fender on your Dodge Ram can become a very expensive and labor intensive project. Here's how to replace the whole fender yourself and save some money.
This article applies to the Dodge Ram (1994-2001).
The fenders on the Dodge Ram are bound to get hit at some point. Some hits are worse than others. While a small scratch can be cheap to fix, sometimes a hard dent can be too pricey. If the body shop gives you a very expensive estimate for repairs, consider buying a new fender. Install it yourself and save the labor money. Most of the time that will cost the same as if you were to fix it; sometimes, it could even cost a lot less. The inner fenders on your Ram truck are spot welded to the outer fenders, so you have to either drill out the welds or cut them out with a spot-weld cutter in order to completely remove the fenders.

Materials Needed
- Full socket set, ratchet and extensions
- New (or used) front fenders
- Spot-weld cutter
- Drill
- Spot welder (optional)
- Steel nuts and bolts
- Rust inhibitor
- Double stick, weather-strip adhesive
Step 1 – Remove the preliminaries
The front fender connects to the vehicle in many locations.
- At the bottom of the rocker-panel seam.
- At the "A" pillar above the top hinge.
- At the hood hinge support (middle of the fender).
- On the top radiator brace.
- At the rear of the wheelhouse to the cab body.
Use your ratchet and socket to remove the bolts in these areas.
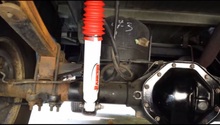
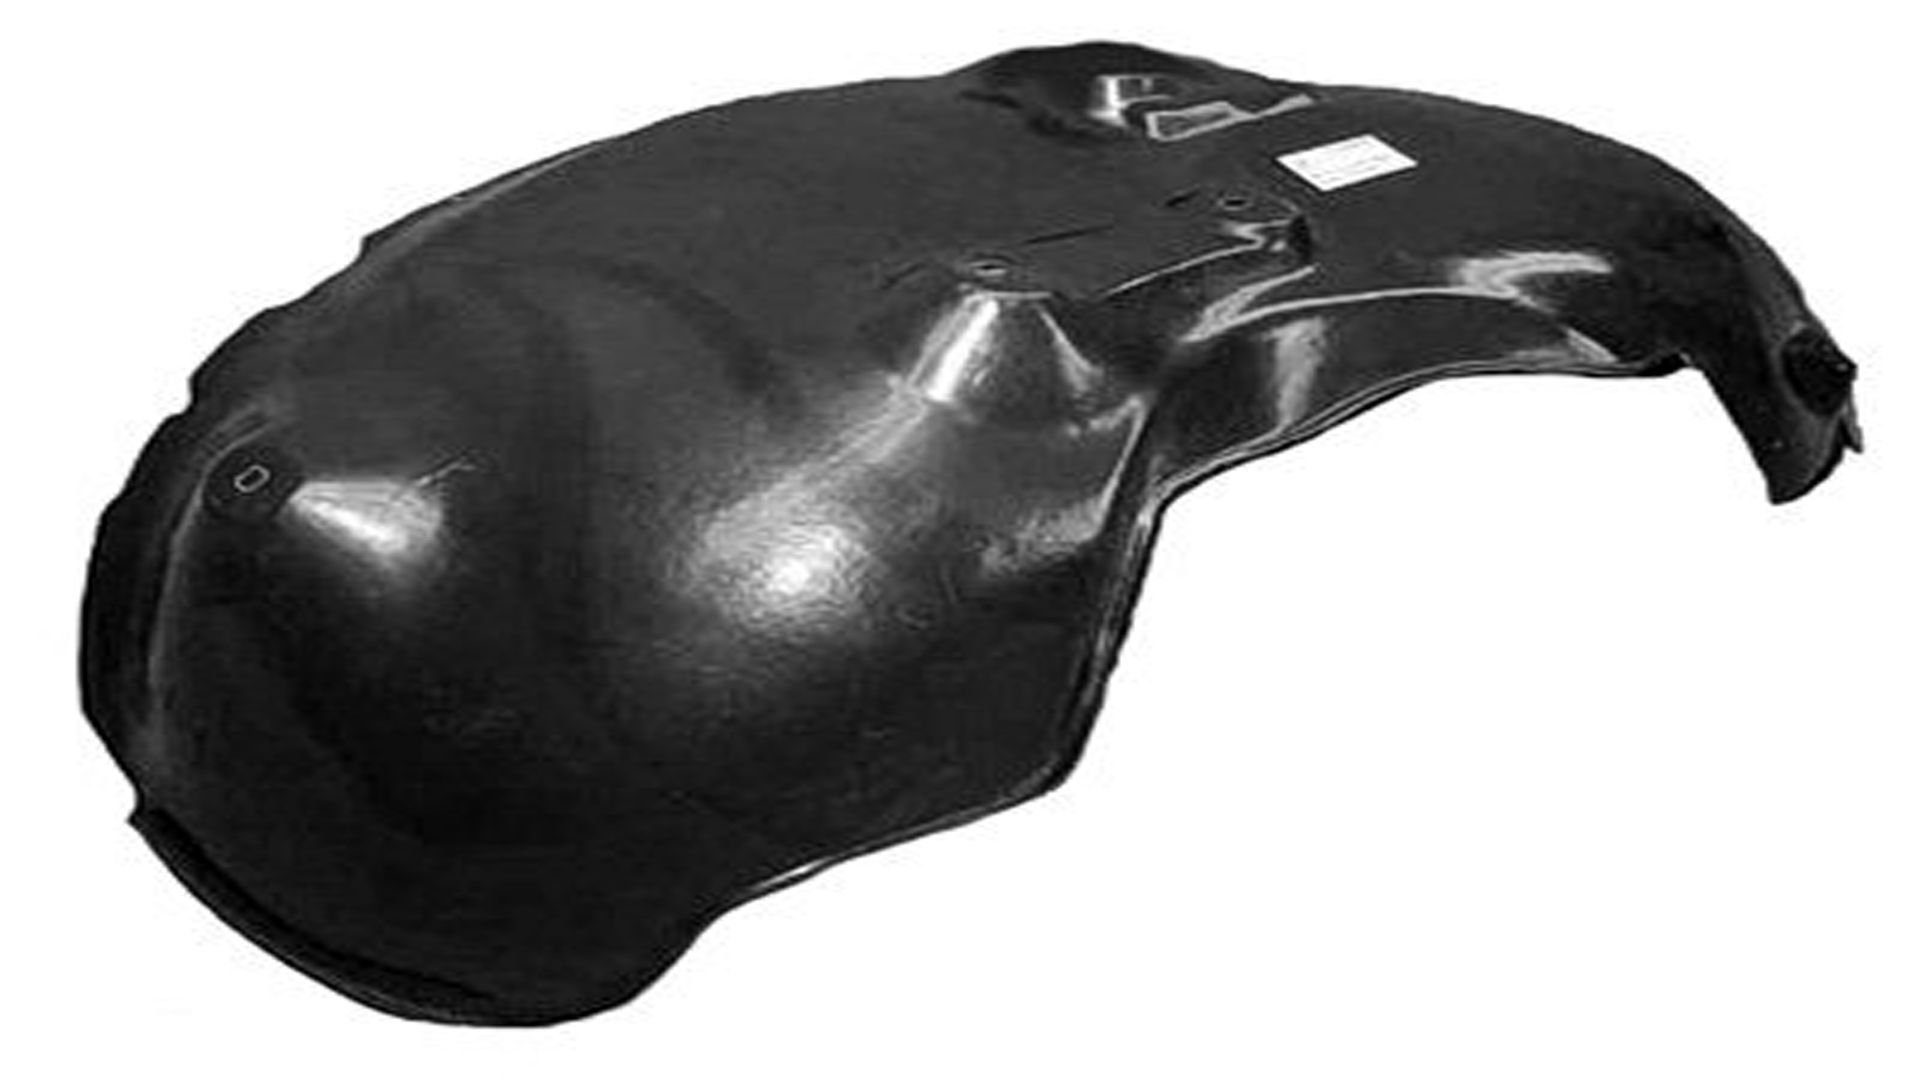
Step 2 – Splash shield removal
A plastic splash shield connects to both the fender and the wheelhouse. Remove the bolts that retain the splash shield.
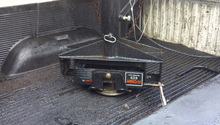
Step 3 – Remove the headlight/cornering light assembly
You need to gain clearance to remove this part. To do do, loosen the bumper-to-frame bracket and allow the bumper assembly to "sag," then remove the assembly.
Pro Tip
If you remove the upper bumper cover to gain clearance, the nylon clips will most likely break and you will need a new cover.
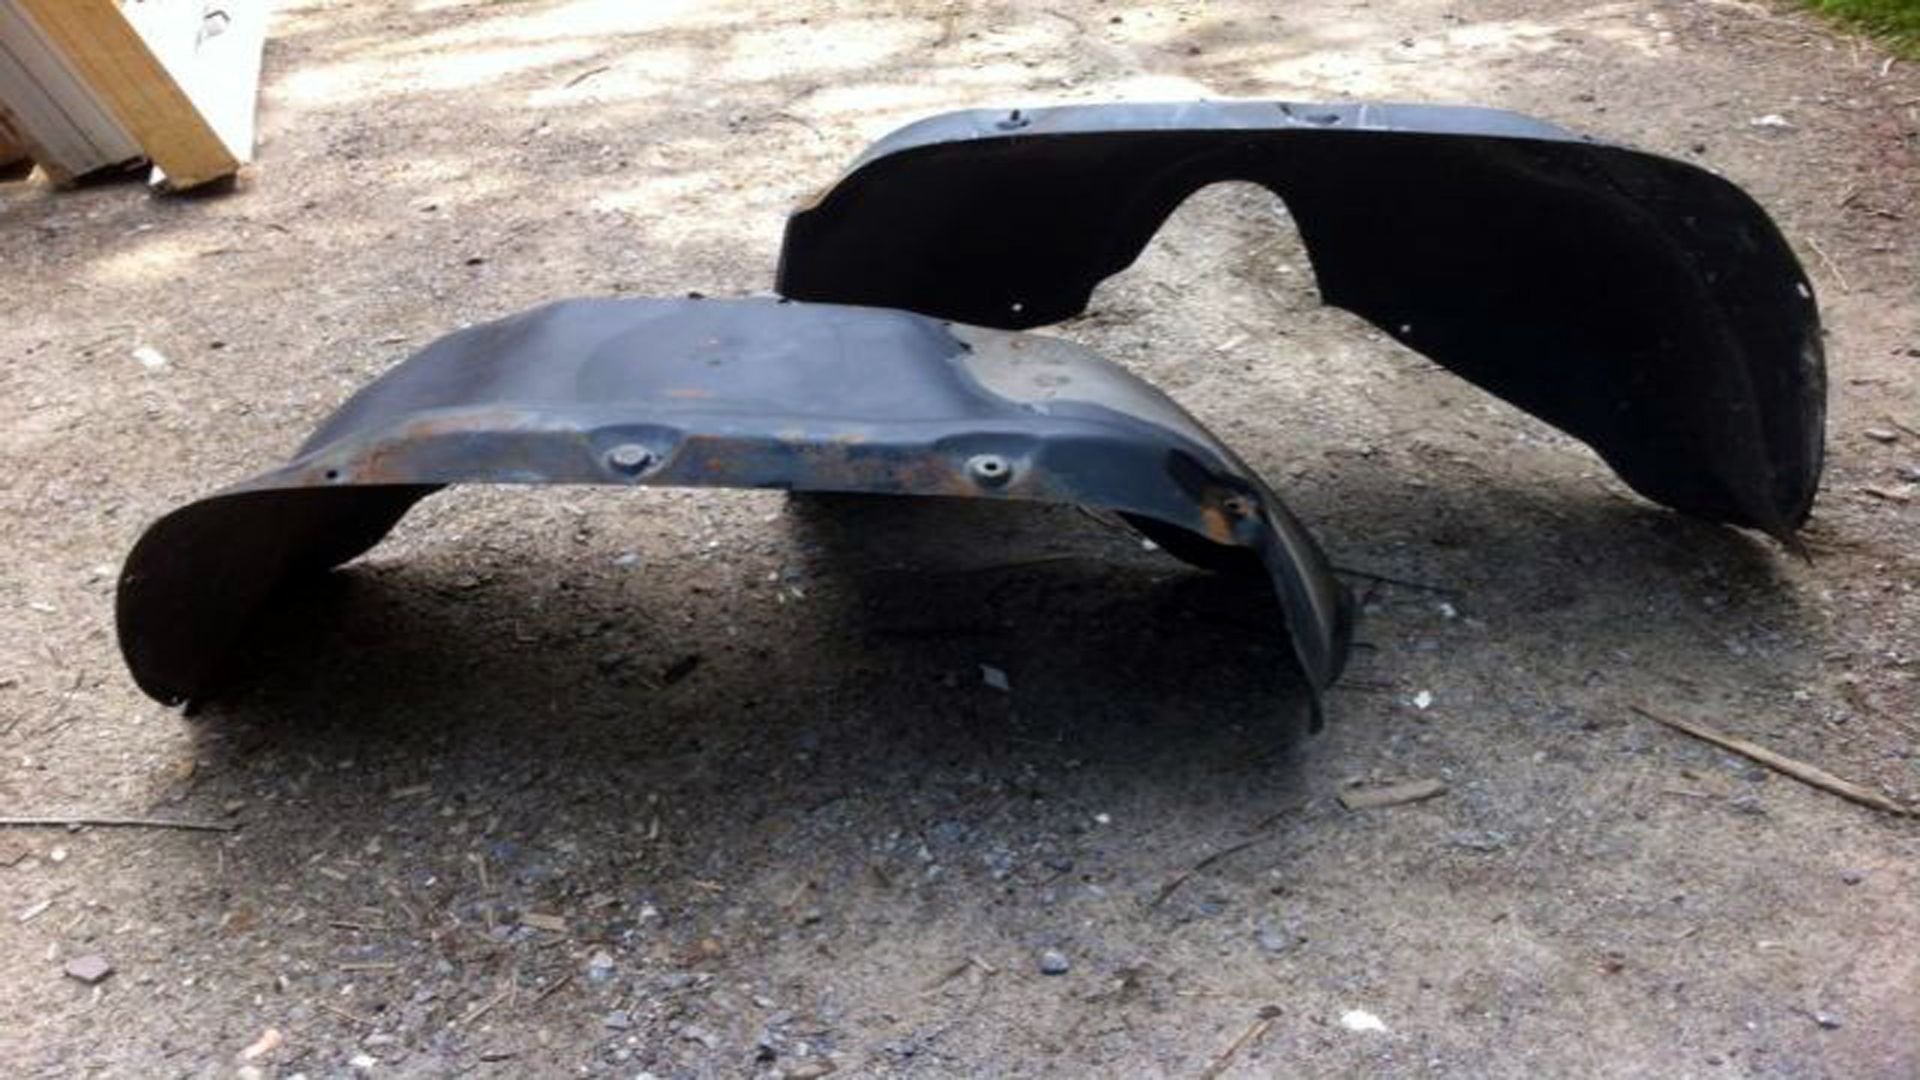
Step 4 – Separate the inner fender from the outer
Use a spot-weld cutter (or drill) to remove the spot welds that hold these parts together.
Step 5 – Install new fender
- Attach the inner fender first, preferably by spot welding. If you don't have a spot welder, you can attach the inner fender using stainless steel nuts and bolts. Put double-stick weather strip adhesive in the seams to prevent squeaks and rattles.
- Drill holes in the new fender to match the holes the spot-welder made in the inner fender.
- Attach the assembly with stainless steel bolts and lock nuts (best for servicing, if needed).
- Use rust inhibitor on the seams to help prevent rust. This also makes a great adhesive and will reduce noise coming from moving body panels.
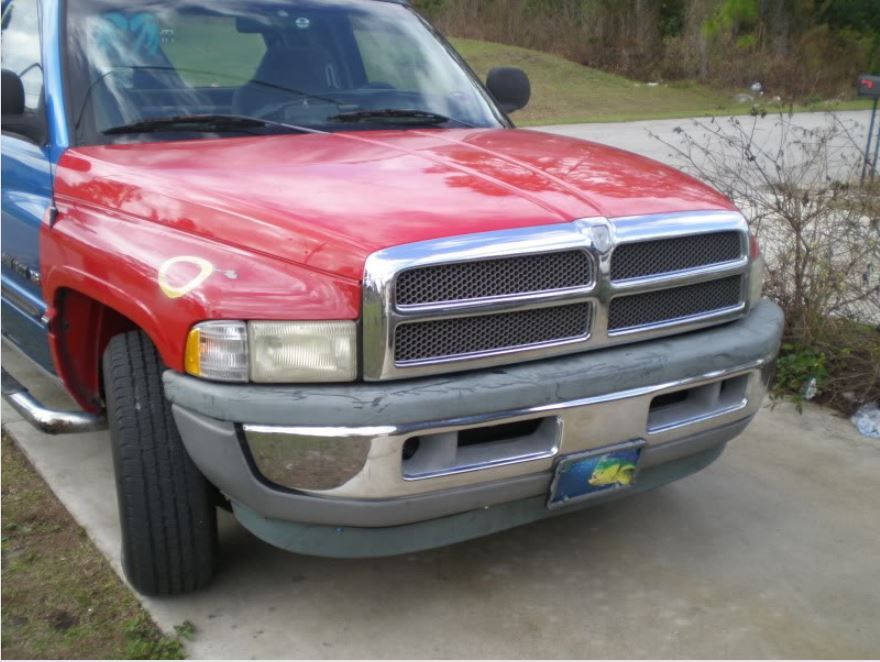
Figure 3. Fender installed.
Pro Tip
Before painting, have your local paint store attendant scan the paint on your door to get a good match.
Related Discussions
- Dodge Ram Fender Removal and Wheel Well Housing - Dodgeforum.com
- How to Replace Front Fender - Dodgeforum.com
- Removing Fender - Dodgeforum.com