Dodge Ram 1994-2001: How to Replace Power Window Actuator
Did the window stop working in your Dodge Ram? Read on to find out how to fix it.
This article applies to the Dodge Ram 1500 (1994-2001).
The power window actuator is responsible for moving the window up and down when you order it to do so. The window regulators on the Dodge Ram are a fairly common failure item, causing the windows to get stuck. Luckily, replacement is very straightforward and can be done with basic hand tools. For most owners, this can be done in less time than it would take to bring the truck to a shop.

Materials Needed
- Interior panel prying tool
- Screwdrivers
- SAE and metric socket and ratchet sets
- Tape and die set
Step 1 – Remove the interior panel
The panel is held on with a series of plastic clips that are almost guaranteed to break unless the utmost care is given when popping them out. Be ready to buy some new ones from the dealer just in case. Remove the screw from near the power window switch, and the two from the handle bucket. Once the panel is free, reach behind and unplug the power window switch. Then pry the power lock panel out, and slip the whole thing through the hole. Carefully maneuver the panel past the door lock and handle, then set it aside. Next, peel back the plastic sheet to reveal the front lower openings, as this is where the regulator and motor are mounted.
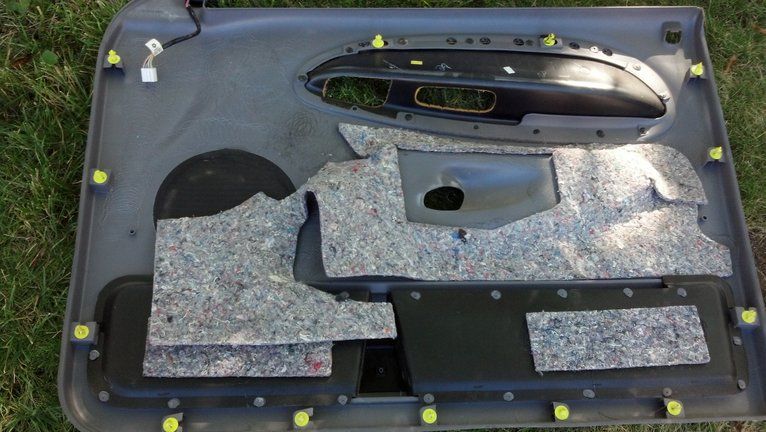
Figure 1. The 13 plastic clips (yellow) can be seen around the panel. 
Figure 2. Driver door with panel removed. Note the two access holes in the lower right.
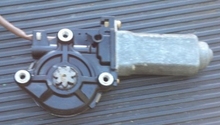
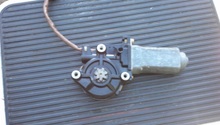
Step 2 – Remove the old regulator
The window will need to be rolled up to gain access to the regulator and motor. Once you have located them, remove the nuts that hold the unit to the door frame. You will need to prop up the window while the parts are out. A block of wood does the trick, or even some duct tape. The trickiest part of this job is finding the correct angle to get the regulator to fit through the cutout in the door. It's tight, but it does fit.

Step 3 – Re-install and test
Installation is, as they say, the reverse of removal. However, some replacement motors come with the screw holes un-tapped. Check them before attempting installation, and tap them if necessary. Put the motor in first and get it bolted down so you can un-block the window. Before you put anything else back together, you will want to test it. Plug in the window switch and make sure it travels as fully as intended. Once you are confident everything is back to normal, stick the plastic back down and re-install the door panel. Line up the clips, and tap the panel with your fist to snap them in.

Related Discussions
- 99' Ram 1500 Window Motor Replacement - Dodgeforum.com
- Replacing Electirc Window Regulator - Dodgeforum.com