Dodge Ram 1994-2001: How to Replace Power Window Motor
Power windows were solely created for convenience. However, they can be of great inconvenience if they stop working. The usual cause of a stubborn power window that refuses to follow your orders is a broken power window motor. If the one in your Dodge Ram is broken, here are the steps to replace it yourself.
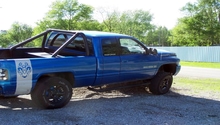
This article applies to the Dodge Ram 1500 2nd Generation (1994-2001).
When a power window motor goes bad, it usually does so with little or no warning. If you're lucky, the window will progressively move slower until it just gives up—a sign that the motor has failed. If you're unlucky, the motor will die with the window all the way down and a bad storm rolling your way. Replacing the power window motor in your Dodge Ram isn't a difficult task and not too expensive. Keep reading and this article will guide you through the process.

Materials Needed
- Trim removal tool
- Phillips screwdriver
- 10mm socket and ratchet
- Tape or spray adhesive (if necessary)
Step 1 – Remove the door panel
- Use a Phillips screwdriver to remove one screw by the power window switch and another two in the door handle bucket.
- The door panel is held in place by a series of plastic clips along its inside edges. Use a trim removal tool to carefully pry out one side of the door panel.
- Slowly work your way around the panel, making sure each clip snaps free. Take your time so the clips don't get damaged.
- Lift up on the door panel, and pull it away slightly from the door frame.
- Unplug the power window motor wire harness.
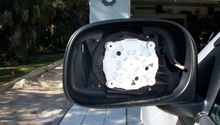
- Use a trim removal tool to pop off the power door lock switch panel, and then feed it through the door panel.
- Set the door panel aside.

Step 2 – Remove the power window regulator and motor
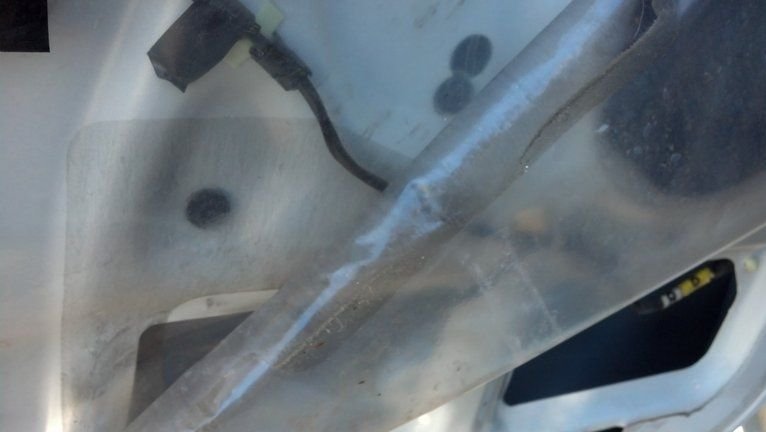
- Carefully peel back the water shield, but just enough so you can reach the cutouts at the bottom of the door frame.
- Use a ratchet with 10mm socket to loosen (but not remove) the two black screws between the water shield and nuts.
- Remove the three black Phillips screws that hold the window regulator in place.
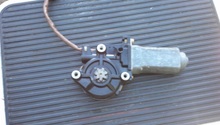
- Remove the window regulator, and turn it counterclockwise to remove the gear housing from the motor.

Step 3 – Install the new power window motor
- Install the new power window motor in place of the old one.
- Set the regulator back onto the door frame, and fasten the three black Phillips screws.
- Tighten the two black screws between the water shield and nut, then roll it back over the door. If necessary, apply a spray of adhesive or tape to help the water shield stick.
- Carefully slide the door panel back over the door lock switch panel and the door lock.
- Reconnect the power window wire harness.
- Place the door panel on the frame, and push the edges of the panel to snap the plastic clips back into place.
- Re-install the screws in the door handle bucket and power window switch.
Related Discussions
- Power Window Motor Replacement - DodgeForum.com
- Switch, Motor, or Both? - DodgeForum.com
- Power Window Motor Problem - DodgeForum.com