Dodge Ram 2002-2008: How to Replace Water Pump
The water pump moves coolant throughout your engine and radiator. If it seizes, your engine will overheat very rapidly. Also, seals inside of the pump can deteriorate and result in a loss of coolant.
This article applies to the Dodge Ram 3rd Generation (2002-2008).
The water pump is driven by the accessory belt on the Dodge Ram 5.7, 4.7, and 3.7 engines. The belt turns the water pump pulley that is bolted to the shaft, which connects to the impeller. As the engine rotates, the impeller turns at the same speed and creates enough centrifugal force to force coolant into the many passages of the engine.
Water pumps contain two key areas that are prone to failure. Between the shaft and housing are bearings that are designed to withstand the tension created by the accessory belt. Damage to these bearings can cause water pump noise and loss of rotation. To keep the coolant inside of the pump, a seal is used that surrounds the shaft.
Dodge used a viscous fan on these model years instead of an electric. This type of fan threads into the water pump shaft and is locked in place by a large nut. Removal of this fan can be tricky at times, but with the right tools it can be done.

Materials Needed
- Water pump
- 2 gallons of coolant (use Mopar HOAT coolant if your truck has that already in it)
- Fine sandpaper or steel wool
- Shop rags
- Brake parts cleaner
- 10mm wrench
- 3/4" wrench
- Socket set (8mm-19mm)
- Ratchets (3/8" and 1/2")
- Flat head screwdriver
- Pliers (channel lock and hose clamp types)
- Drain pan
- Ratchet extensions 3" and 5"
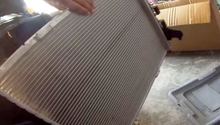
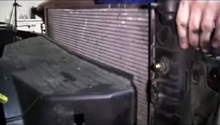
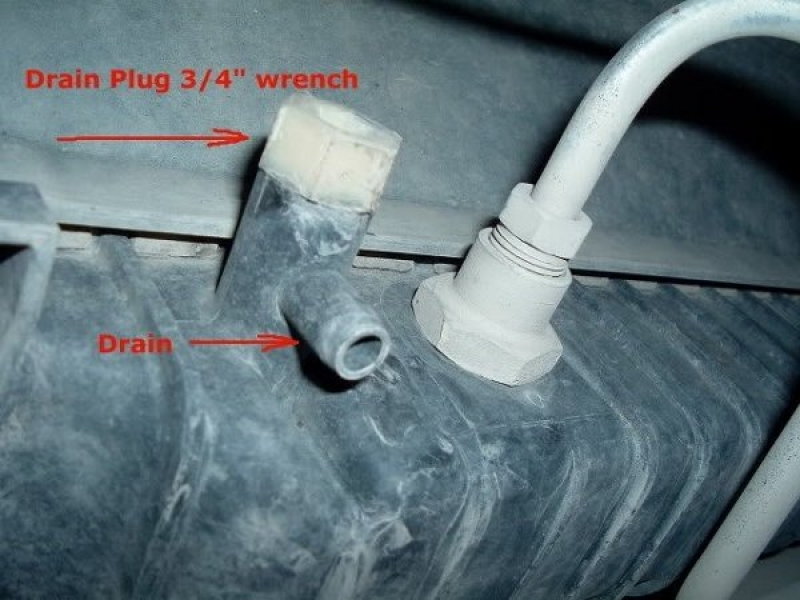
Step 1 – Drain the engine coolant
Place your drain pan under the radiator. Take off the radiator cap on the upper passenger's side corner of the radiator by pushing down while twisting the cap counterclockwise. On the bottom corner of the radiator of the driver's side is a plug. Turn this plug counterclockwise with a 3/4" wrench to drain the coolant from the radiator.
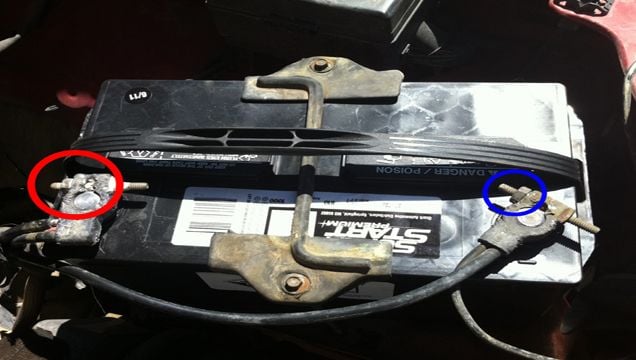
Step 2 – Disconnect the negative battery cable
Use a 10mm wrench to remove the negative (black) terminal from the battery post. Make sure the cable is secured away from the battery or wrapped in electrical tape to minimize the chance of the current jumping.
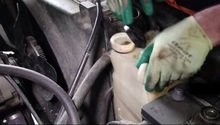
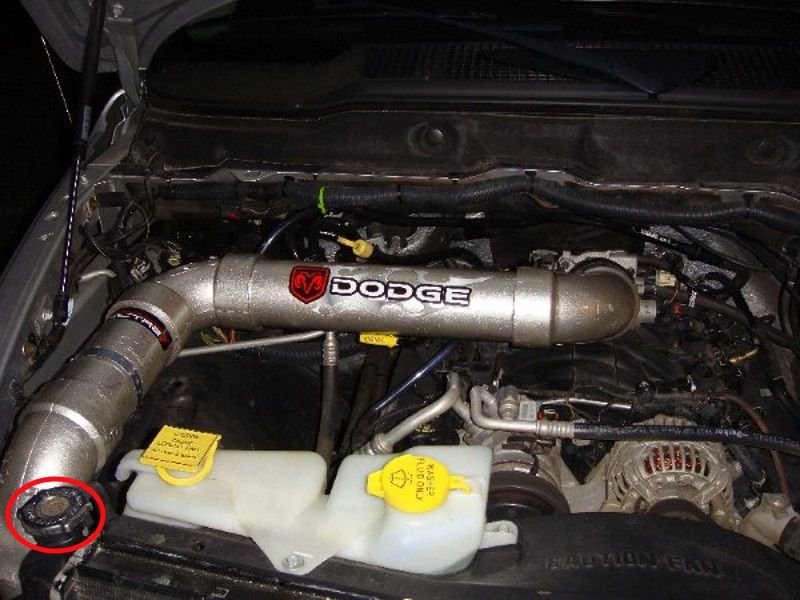
Step 3 – Remove the coolant recovery tank and washer fluid reservoir
There are some differences in the procedure for this step between the 5.7 Hemi engine and 4.7/3.7 engines.
The 4.7 and 3.7 have a coolant recovery tank and washer fluid reservoir that is side by side. First, remove the bolt at the top of the recovery tank. Remove the hose connected to the tank. Be careful while lifting the recovery tank from the engine, or coolant may spill. There are two electrical connectors on the passenger's side of the washer fluid reservoir along with a small hose below these connectors. Squeeze the tabs on the connector plugs while pulling them off the sensors. Then twist and pull the hose off of the reservoir. You'll want to place a cap onto the reservoir hose fitting to keep the fluid from draining.

The 5.7 engine coolant recovery tank is located above the radiator. There are two bolts at each side of the tank. Slide any hoses connected to the tank off and be careful as you lift the tank out of the engine bay, or coolant may spill. On the middle of the washer fluid reservoir is a tab that holds the reservoir to the fan shroud. Using a flat head screwdriver or prybar, pry the reservoir away from the fan shroud. Make sure to disconnect any hoses connected to the reservoir if you decide to completely remove it from the engine bay.
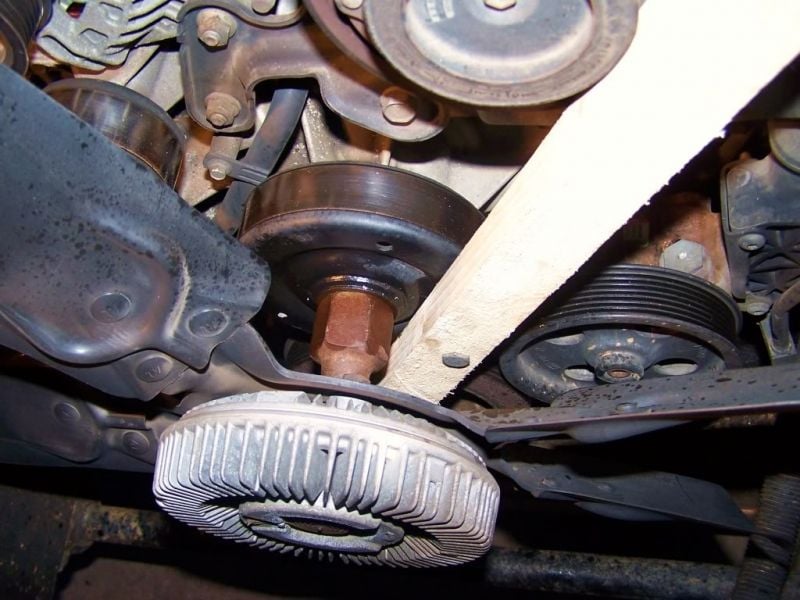
Step 4 – Remove the viscous fan from the water pump
It's best to use a correctly sized fan clutch wrench for this purpose; although, a large wrench or an adjustable wrench can also be used. On the water pump pulley are small holes that pins can be slid into. Once you have the fan clutch removal tool, slide the pins into these holds. You can see a homemade version of this tool in Figure 5. While holding the water pump stationary, use your other wrench to loosen the nut on the fan counterclockwise. This direction of rotation applies to you when facing the front of the engine.
Pro Tip
You can also tap the wrench with a hammer to break the nut free, but impacting the viscous center housing may damage it.
Step 5 – Remove the fan shroud (optional)
This step is optional. Removing the shroud allows for more working room. At the top of each side of the shroud (about two inches down) are bolts holding the shroud in place. At the bottom of each side of the shroud you will see a tab engaged into clips. To disengage these tabs, lift the shroud straight up.
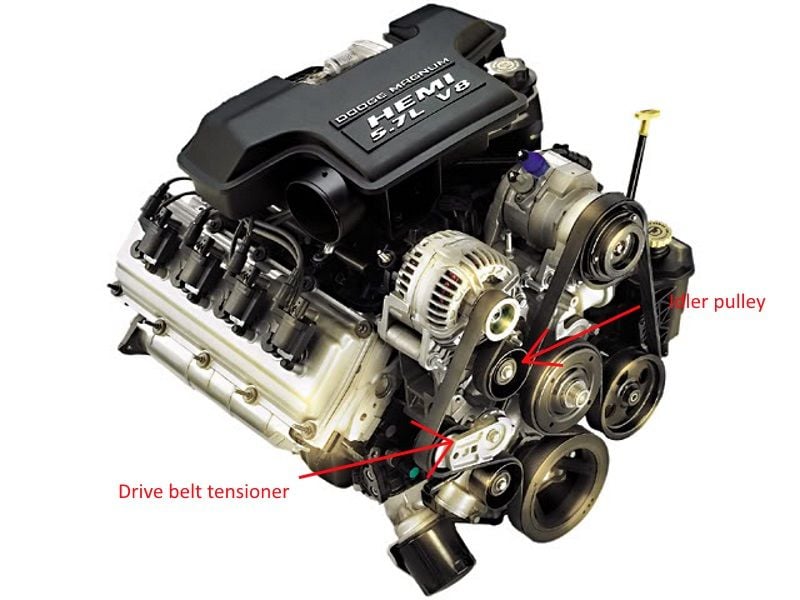
Step 6 – Remove the accessory drive belt and idler pulley
Locate the drive belt tensioner on the front passenger's side of the engine. Use a large 3/8" ratchet (or drive belt tool) and rotate the pulley to the right to release the belts tension. Slide the belt off the accessories and inspect it for damage to deem it reusable.
The idler pulley is directly to the right of the drive belt tensioner. One bolt holds it to the engine.
Step 7 – Remove the water pump
There are eight bolts holding the water pump to the engine. Three of these bolts are longer than the others. Note their location for simple installation. On the passenger's side of the water pump are three hoses. Remove these by releasing the spring clamps tension and sliding them off the pump. Some twisting may be required to create movement.

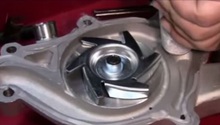
Figure 7. The water pump has been unbolted.
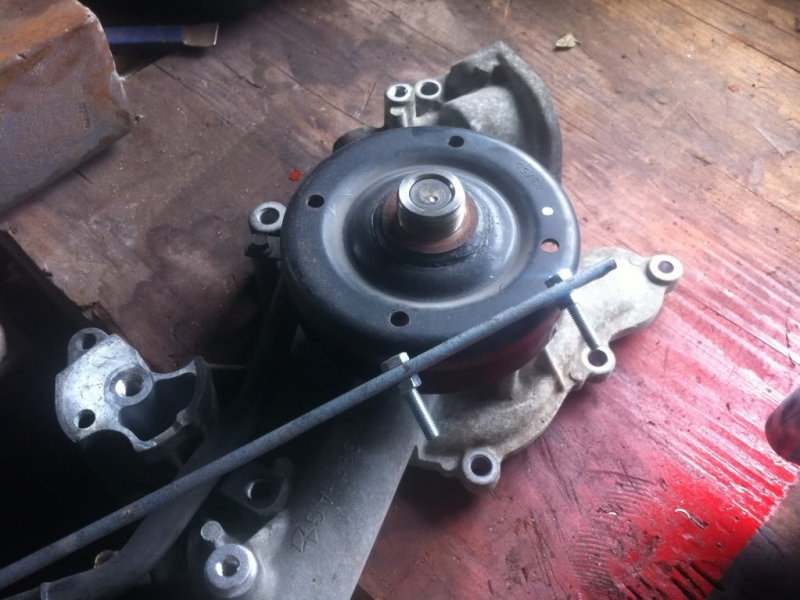
Figure 8. The removed water pump.
Step 8 – Install the new water pump
Clean the water pump mating surface on the block. Fine sandpaper and steel wool work best for this area. Spray some type of cleaning solvent (similar to brake parts cleaner) on a rag and wipe away any excess dirt/dust.
Install the new gasket onto the water pump. Make sure the gasket is fully pressed into the pump.
If your water pump contains a thermostat, install it into the new pump with the spring end inside of the pump. Some thermostats will have a small tip on the rubber diaphragm facing away from the water pump. This tip needs to sit at the 12 o'clock position.
Start the water pump bolts by hand until all are snug. Tighten the bolts in a criss-cross pattern. The torque spec is 25 ft./lb. for the 4.7 and 3.7 engines. For the Hemi, the torque spec is 30-35 ft./lb.
Re-install the coolant hoses onto the pump. You will want to use worm gear clamps instead of the factory spring clamps if they appear weak.

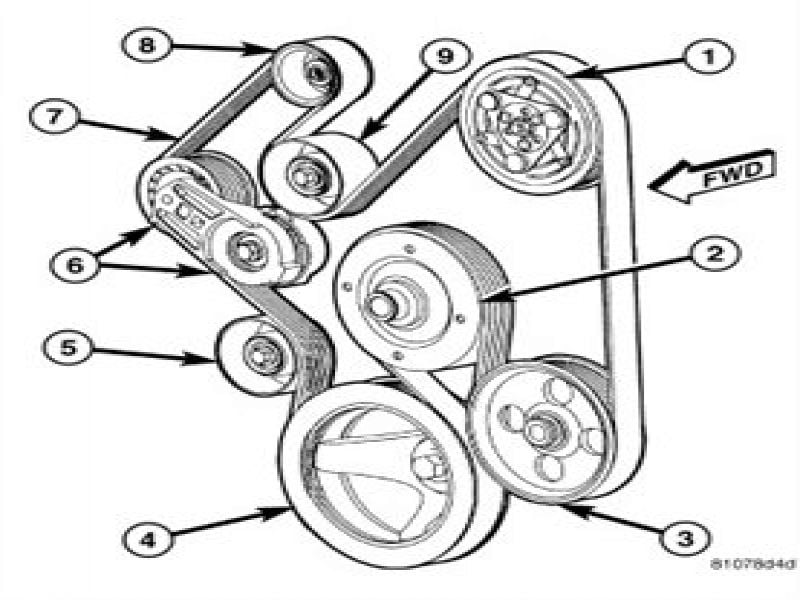
Step 9 – Re-install the idler pulley and accessory drive belt
Install the idler pulley first. Once both pulleys have been tightened, begin routing the drive belt. Slide the belt onto the idler pulley last.
Step 10 – Re-install
Re-install the fan shroud, viscous fan, coolant recovery tank, and washer fluid reservoir.
Slide the fan shroud tabs back into the clips, and then bolt the shroud in place. Thread the viscous fan onto the water pump. Remember to hold the water pump stationary and turn the fan nut clockwise. Install the washer fluid reservoir first, and then the coolant recovery tank. Make sure all hoses and both electrical connectors for the washer fluid reservoir are re-installed.
Step 11 – Fill and bleed the cooling system
Use a 50/50 mix of coolant and distilled water. Trucks using HOAT (Mopar) coolant will need to use this coolant again, unless you completely flush the cooling system. Afterwards, the flush standard green coolant can be used.
Re-connect the negative battery cable. Completely fill the radiator and re-install the radiator cap. Fill the coolant recovery tank to the full cold mark. For trucks with the thermostat located at the lower radiator hose, remove the upper radiator hose and fill the engine with coolant as well.
Leave only the recovery tank cap off and start the engine. Turn the heat on to the max setting. Let the engine run for about one minute. This will purge air from the system. Install the recovery tank cap, and restart the engine. Watch the coolant temp gauge to make sure it does not rise above the halfway mark. If it does, you may still have air in the system and will need to repeat the bleeding procedure. Wait for the engine to cool before re-opening the recovery tank cap. Top off the coolant as needed.
Featured Videos: How to Install a Water Pump (4.7L Engine)
Related Discussions and Video
- Replacing Water Pump - DodgeForum.com
- How to Replace Water Pump on 2003 Ram 1500 - DodgeForum.com
- Changing Water Pump, Advice? - DodgeForum.com
- Replaced Water Pump - DodgeForum.com
- Water Pump Change, Suggestions? - DodgeForum.com
- How to Replace Water Pump on 5.7L Hemi - YouTube.com