Dodge Ram 2009-Present: How to Install Backup Camera with Uconnect 5.0
The Uconnect, hands-free system offers more than just a wireless phone-connect feature—you can also install a rear-view camera out of it. As a plus, the system isn't that difficult to install.
This article applies to the 4th Generation Dodge Ram (2009-Present).
One of the coolest pieces of technology to hit the automotive market is the rear-view camera, allowing drivers of larger vehicles a chance to easily maneuver in reverse with little to no problems. In modern cars, these devices are seen as a common upgrade and can be fitted into nearly any vehicle.
The Uconnect on your Dodge Ram is programmed to be used with certain aftermarket camera kits. This DIY focuses on installing the Echo Master kit and running it through the chassis. So rather than spend close to a thousand dollars for another person to install it, why not save on costs and spend an hour doing it yourself.

Materials Needed
- Large flexible cable
- Silicone spray
- Ratchet and metric socket set
- Heat gun and heat shrink tubes
- Wire cutters
- T20 and T30 Torx screwdriver
- Zip ties
- Electrical tape
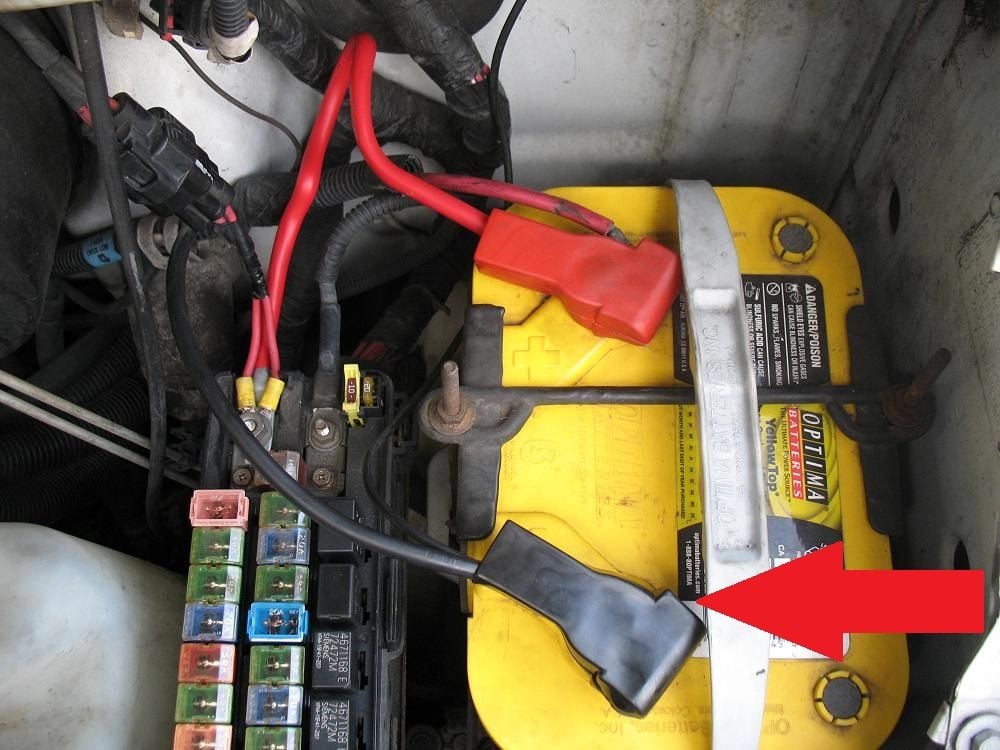
Step 1 – Disconnect the battery
Not many people enjoy getting shocked by a car battery, and I'd imagine you don't as well. So take a minute and disconnect the negative battery cable (black cover).
Step 2 – Replace the tailgate handle
The Echo Master kit has its camera inside the tailgate handle, which means the stock grip needs to be replaced.
- Remove the tailgate from the truck. To do so, release two wire clips on both sides of the tailgate and pull it upward.
- Remove the tailgate cover, which is held in place by several Phillips screws.
- Loosen the T30 Torx screws holding the tailgate access panel in place.
- Remove the power latch by sliding it toward the driver's side and releasing it from its pin.
- Remove the two 8mm bolts holding the latch in place.
- Remove the two 8mm key cylinder bolts on the stock handle.
- Then transfer the key cylinder to the new handle with the camera.

Figure 2. Install the new handle. 
Figure 3. Install the handle latch assembly.
- If you look under the tailgate, you will notice a factory fitted hole. This is the perfect place to route the camera wire harness through. Attach the harness to a large flexible cable, and then push it through the hole.
- Put the tailgate back together and begin snaking the wire harness through the rest of the truck's chassis, from the front to the back of the vehicle.

Figure 4. Tailgate wire harness. 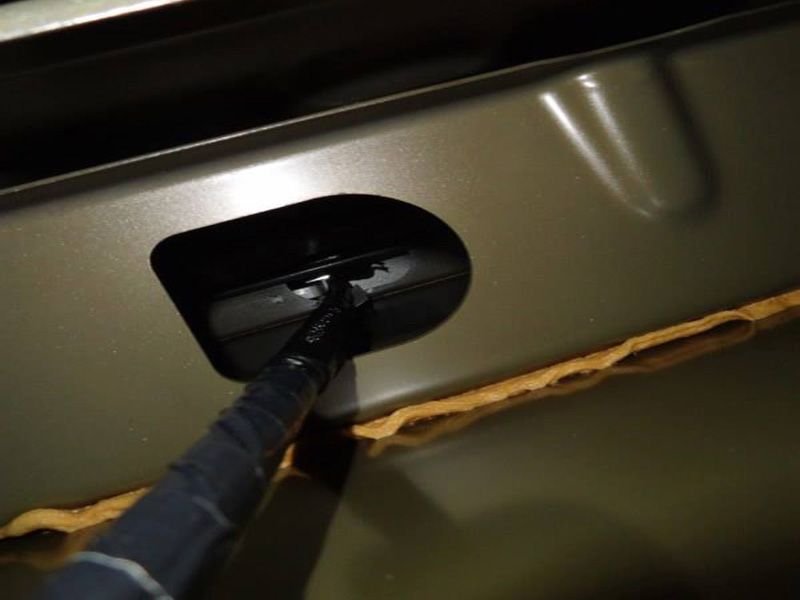
Figure 5. Camera wire harness routed through hole in the tailgate.
Step 3 – Snake the camera wire harness through the chassis
This is the most tedious part of the installation, as you have to snake the wires from the cabin all the way to the bottom of the tailgate.
- The most effective way to snake the wire harness through is to zip tie the harness to a flexible cable. You can also wrap it in electrical tape or use heat shrink tubes with some silicone spray.
- Then push the the cable through the "future hole" found under the main wire harness. The hole is covered by a grommet in the firewall of the engine bay (refer to Figure 6).

- Push the wire harness out until you leave approximately 4' of wire inside the cabin.
- Snake the wire harness down through the driver's side wheel well.
- Run it next to the stock wire harness under the chassis, and zip tie the new wire harness to chassis every 10".
- When you get to the spare tire, run the wire up to where the tailgate hole is.

Figure 7. Pulll the harness out from the engine bay. 
Figure 8. Push wire harness down through the driver's side wheel well. 
Figure 9. Strap wire harness to the chassis every 10". 
Figure 10. Run the wire harness across the frame.
- Connect the wires and use heat shrink tubes to hold them in place. You can also apply some extra electrical tape to ensure the connection is sealed against "the elements."

Figure 11. Protect the connection between the new wire harness and camera. 
Figure 12. Overhead view of the wire harness.
Step 4 – Run the wire harnesses for the camera
All that's left for you to do is wire the harness into the center console.
- Remove the T20 Torx screws from the top of the center console.
- Then pull off the center console.
- Locate the 12 volt accessory outlet, and use splice connectors to connect the camera wires.

Figure 13. Locate the 12 volt accessory outlet. 
Figure 14. Splice camera wires to the 12 volt connection wires.
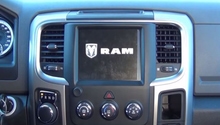
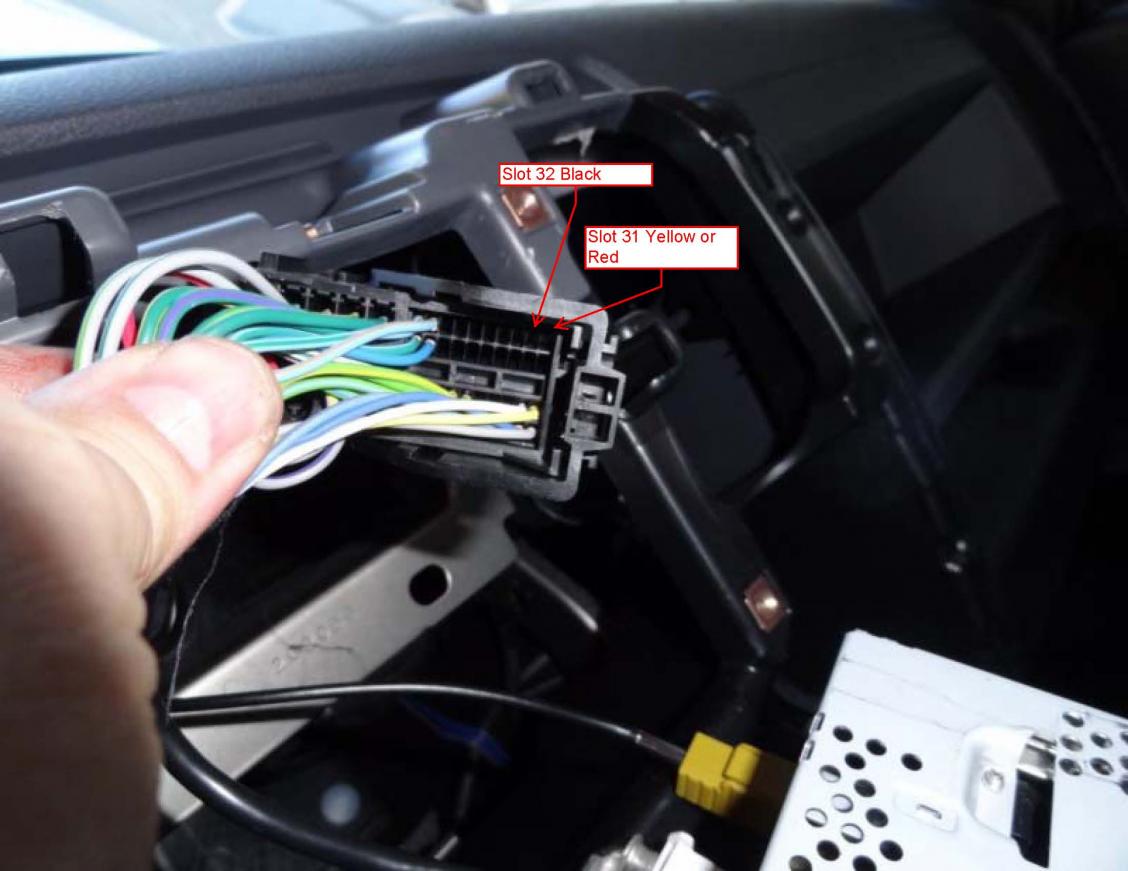
- Remove the radio's four mounting screws, and then remove the radio.
- Slide the yellow prong into slot 31 of the radio connector.
- Slide the black prong into slot 32 of the radio connector.
- Connect the RCA plug and re-install the radio.
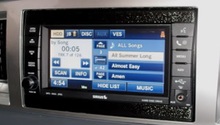
- Test the system by putting the truck in reverse. It will only display the pictures from the camera input and not the actual Uconnect program.
- If it the camera input is displayed, put center console back together and head to your local Dodge dealership to get the Uconnect program flashed and have the software working.

Featured Video: Dodge Ram Backup Camera Installation
Related Discussion
- Uconnect 5 Stock, Possible to Add Backup Camera? - DodgeForum.com