Dodge Ram 2009-Present: How to Remove Dashboard
It may seem insurmountable as you sit in the driver's seat, but it's really not as hard as it looks. It will take you some time, focus and patience, but if you follow the instructions below, you can successfully remove the dashboard of your Ram pickup.
This article applies to the Dodge Ram (2009-present).
Why would anyone want to remove the dashboard of their Dodge Ram pickup? Perhaps you want to install an aftermarket stereo system for a much better sound, or you're installing a DVD player for your family to watch while you're traveling. It could be that you want to redo the wiring, or perhaps install a Bluetooth phone system. It could be that you want to install some big bass speakers for your teenage son. Perhaps there are some rattles you've notice that you want to shore up before they annoy you any further. Or maybe you just want to see what's back there. Perhaps the best reason is if you do it yourself it will cost you nothing. While if you take it to your local dealer, the price will start at around $650.

Materials Needed
- Variety of sockets
- Flat head and Phillips screwdrivers
- A Trim Stick or something similar
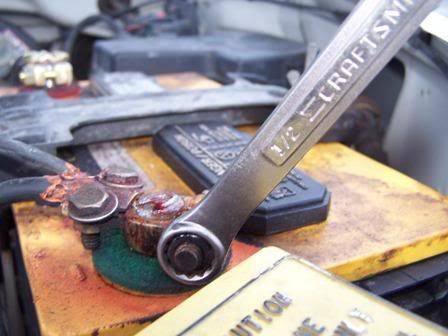
Step 1 – If your vehicle is equipped with airbags, disable the airbag system
- Disconnect and isolate the battery negative (black) cable.
- Wait at least two minutes for the airbag system capacitor to discharge before going any further.
- Once that has been accomplished, you can proceed.
Warning
This is a crucial step. The reason you are disconnecting the negative battery terminal is because you MUST disable the airbag system before you attempt anything with the steering wheel or the steering column. Failure to do this could result in an accidental deployment of the airbag. This could possibly cause a personal or even fatal injury.
Step 2 – Remove the steering column
- Remove the steering column opening cover.
- Remove the steering column as necessary.
- Remove the Wireless Ignition Node (WIN) from your vehicle.

Figure 2. Remove steering wheel and column. 
Figure 3. Steering column diagram.
Step 3 – Remove the floor console (if equipped) and the lower center bezel
If your truck has one, remove the floor console. Remove the lower center bezel as well.

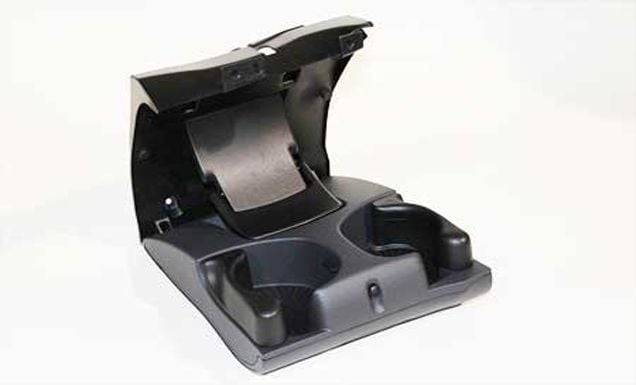
Figure 4. Floor console diagram. 
Figure 5. Center console diagram. 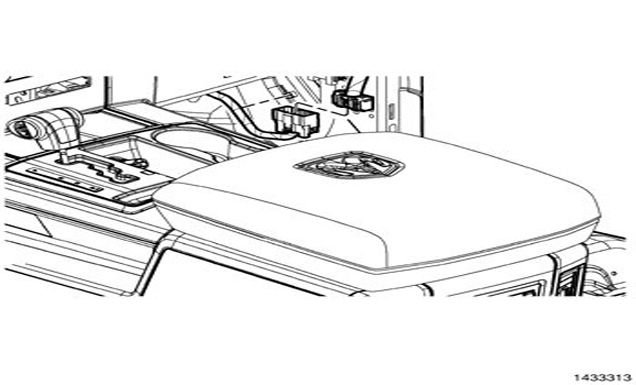
Figure 6. Lower center bezel.
Step 4 – Remove the left and right A-pillar trim
- Remove the lower trim from the inside of the pillar.
- Unsnap and remove the trim cover.
- Do the same for the opposite side.
Step 5 – Remove the defroster grille
Removing the defroster grille can be an arduous job with all the screws holding it in. Make sure to get all the various screws securing the grille to the dash.
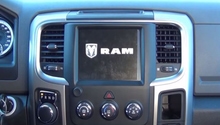
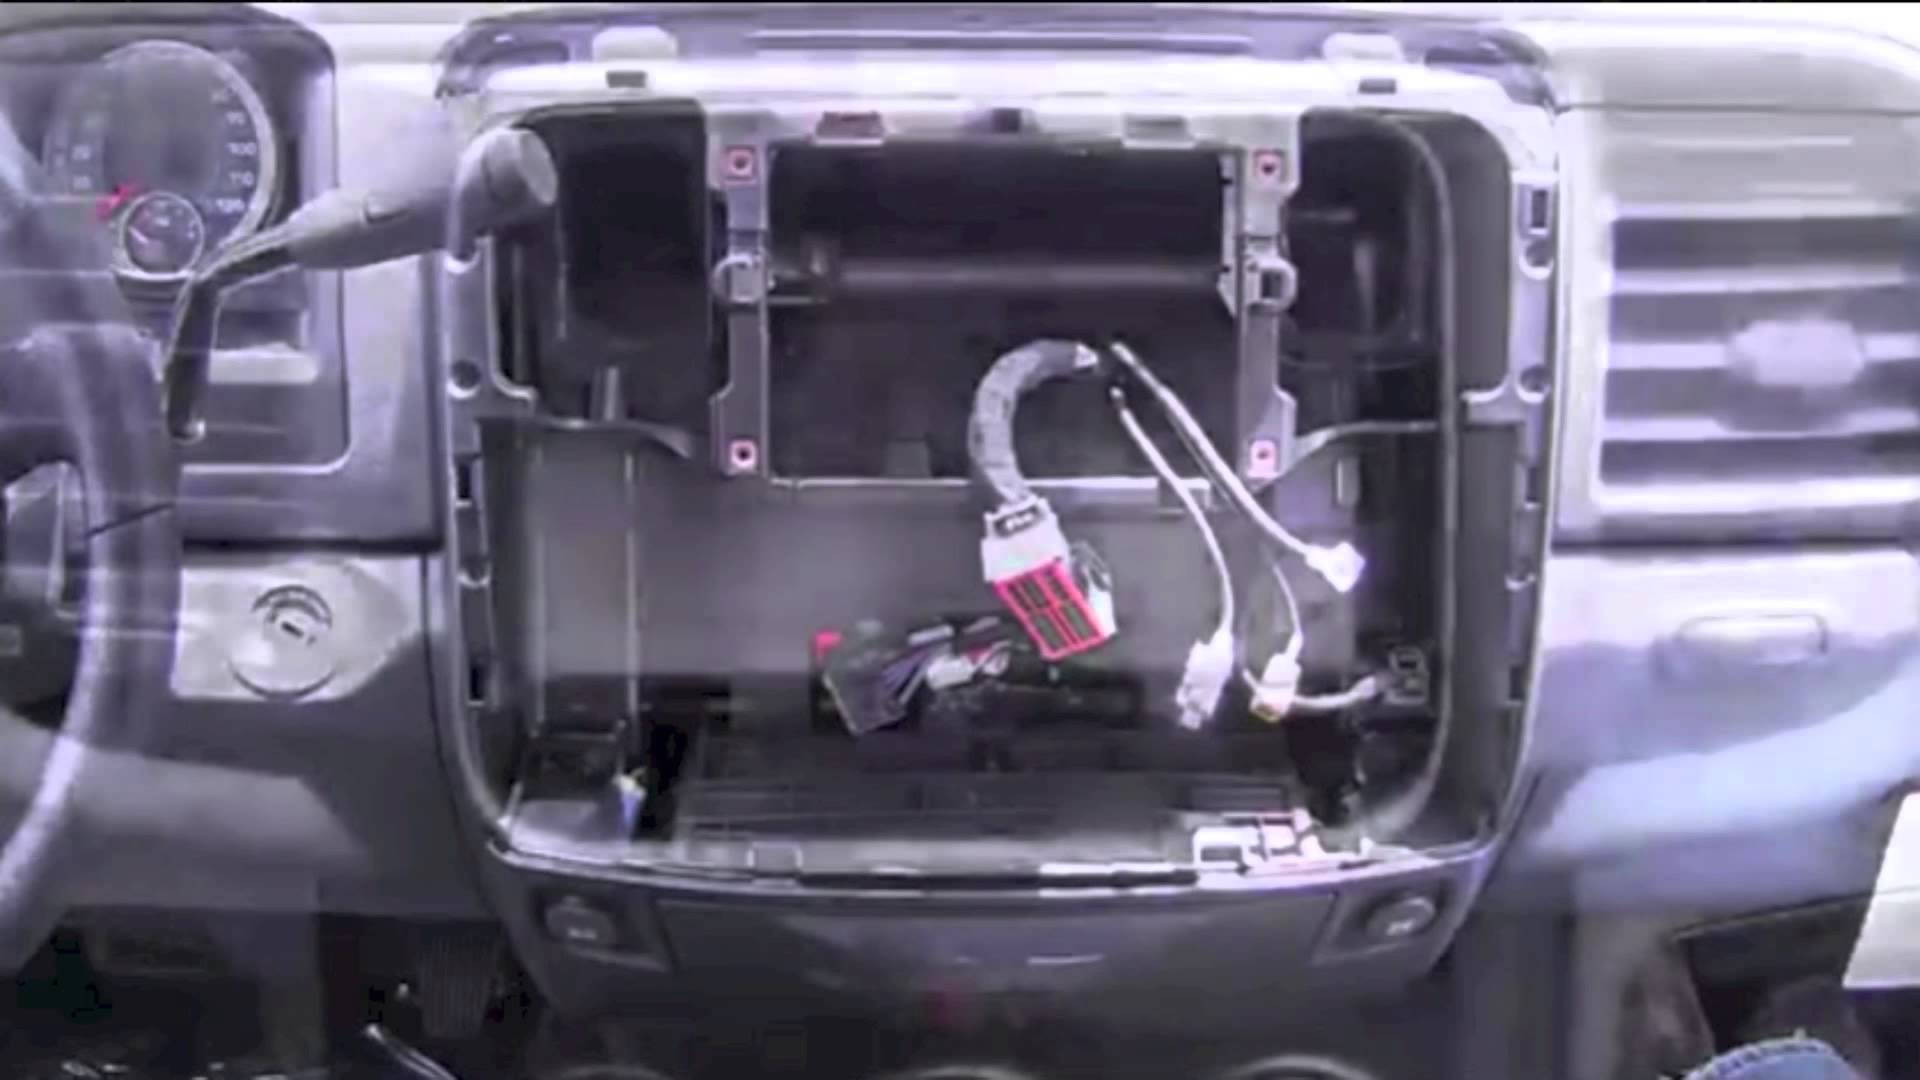
Step 6 – Remove the instrument panel center bezel and the radio
Now comes the time to remove the center bezel and radio. Use caution when removing these pieces as they are highly visible and you do not want to nick anything.
- Remove the left power outlets and bezels.
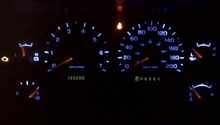
- Remove the entire instrument cluster.
Step 7 – Remove some levers and switches
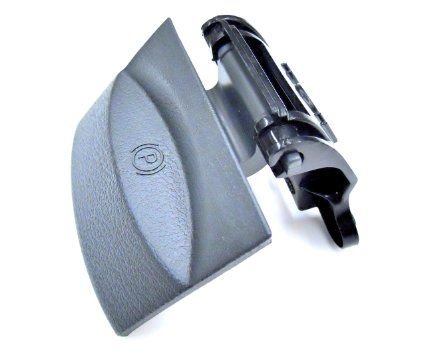
- Remove the parking brake lever bezel. Take precaution removing this part since the last thing you want is to mess up something that has to do with your brakes.
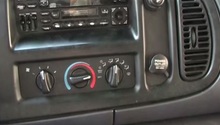
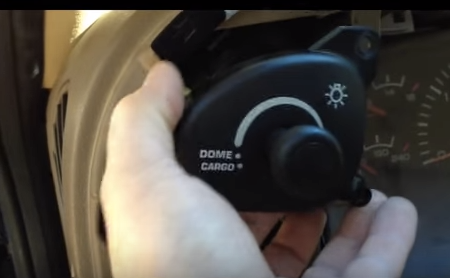
- Remove the headlamp switch/left distribution register.
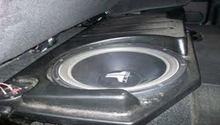
Step 8 – Remove the speakers
- First remove the left and right instrument panel speakers.

- Remove the center instrument panel speaker and sun sensor.
- Remove the right distribution register.
Step 9 – Remove the glove box from the instrument panel
Open the glove box door. Push on the back panel of the glove box to release it from the stops.

Step 10 – Remove the instrument panel storage bin
The instrument panel storage bin needs to be removed next.
Step 11 – Remove the passenger air bag
Now begin removing the air bag on the passenger side. Unhook the wire harness securing the module.

Step 12 – Remove the instrument panel
- Remove the 23 instrument panel cover fasteners.
- Partially remove the instrument panel cover to access and disconnect the PAB harness.

Related Discussion
- 2009 1500 Dashboard Removal - Dodgeforum.com