

 08-14-2015, 02:27 PM
Last edit by: IB Advertising
See related guides and technical advice from our community experts:
Browse all: Brake Guides
- Dodge Ram 2009-Present: How to Replace Brake Line
Step by step intructions for the do-it-yourself repairs.
Browse all: Brake Guides

DIY Rear Brakes and Wheel Cylinder replacement
#1
11-23-2012, 05:25 PM

Join Date: Sep 2012
Location: Wade NC
Posts: 231
Likes: 0
Received 0 Likes
on
0 Posts
Here's the situation, My pass rear wheel cylinder blew out, spewing 3 dot all over the braking system. The Cylinder needs to be replaced so do the brake shoes. Beings I'm doing one side....I will do the other side too. Forgive me now for the improper calling of brake components, I will do my best to describe items, for all to understand.
1997 Dodge Ram 1500, 9.25 rear.
Secure the vehicle on jack stands, I leave the jack as well, for extra stability.
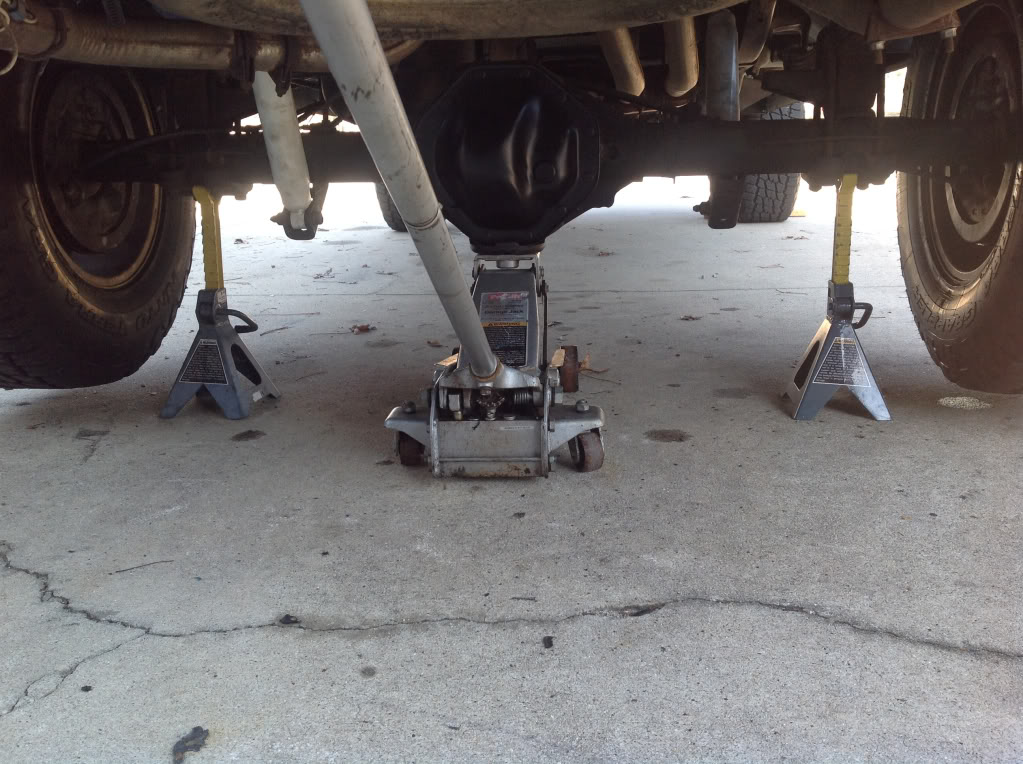
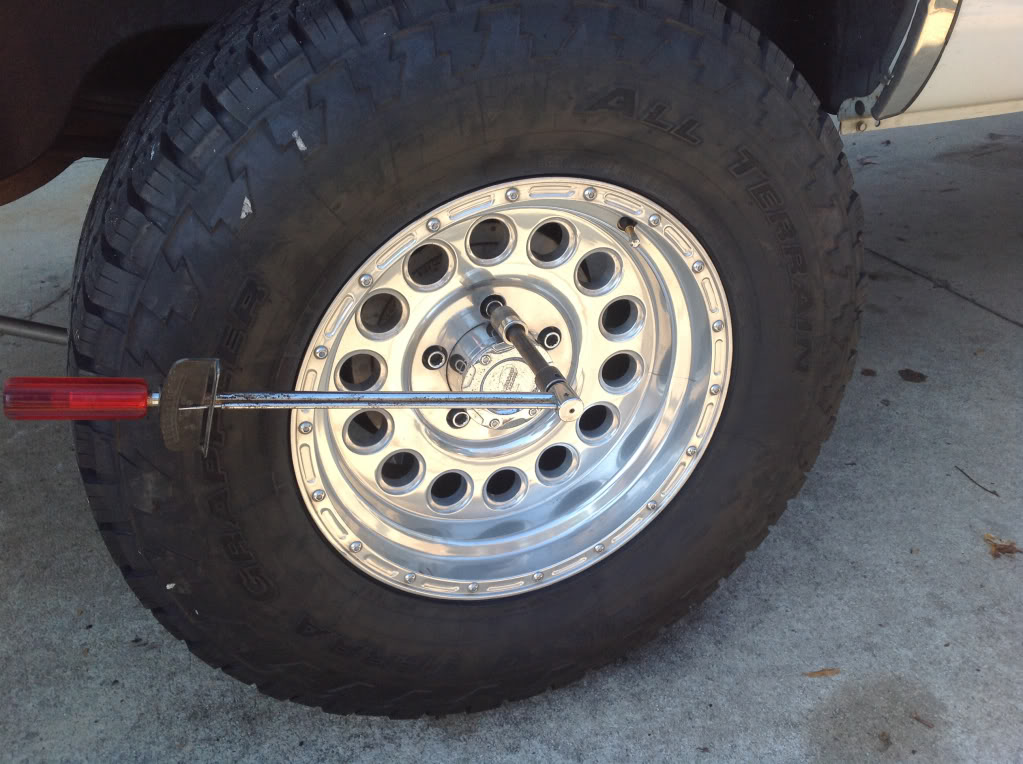
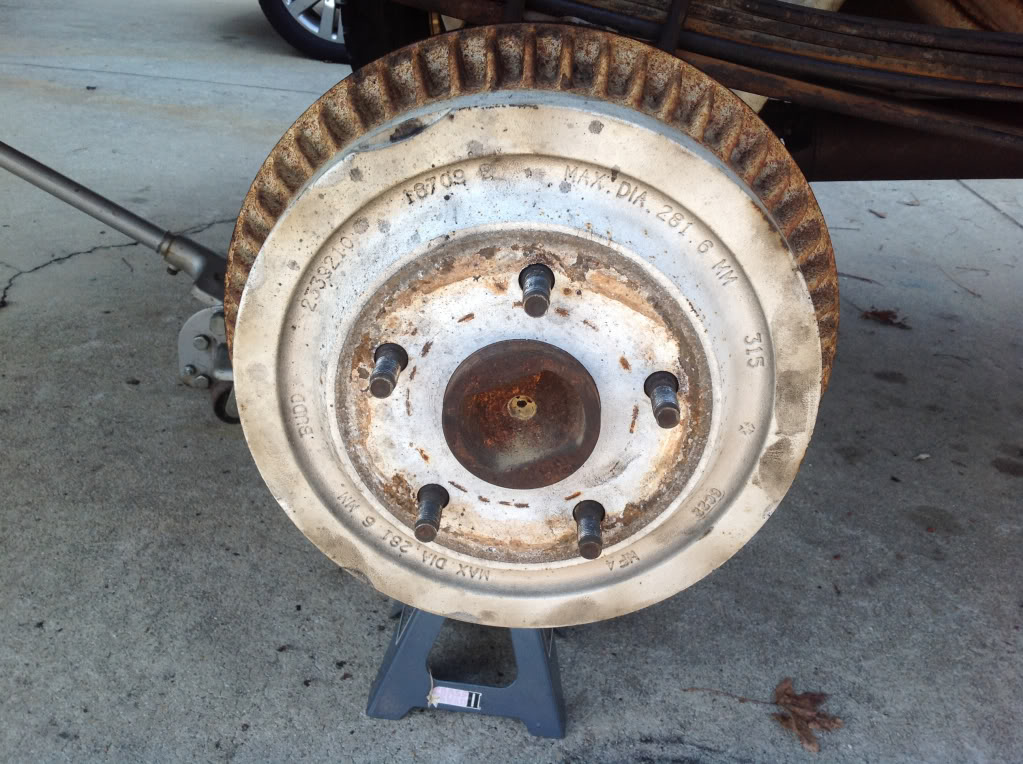
Loosen and lug nuts, Remove the wheel, remove brake drum.
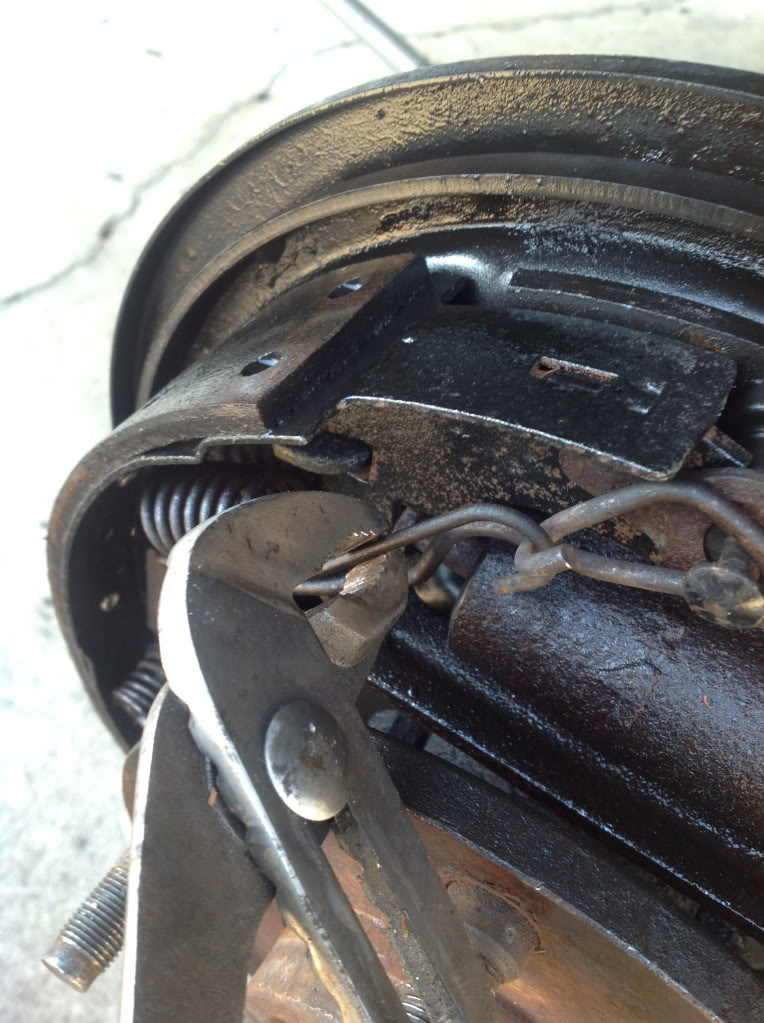
Using slip jaw pliers, remove the spring at the top, attached to the front brake shoe. A little leverage from the wheel stud can be used to make this simple.
Next remove the other spring attached to the rear brake shoe, use the same method as before.
Remove the 2 keeper spring located one on each shoe, be mindful of which one goes where, they are different in size. Yes there is a specialty tool for this. This is the tool I use to push in and 1/4 turn twist to release it from the pin.
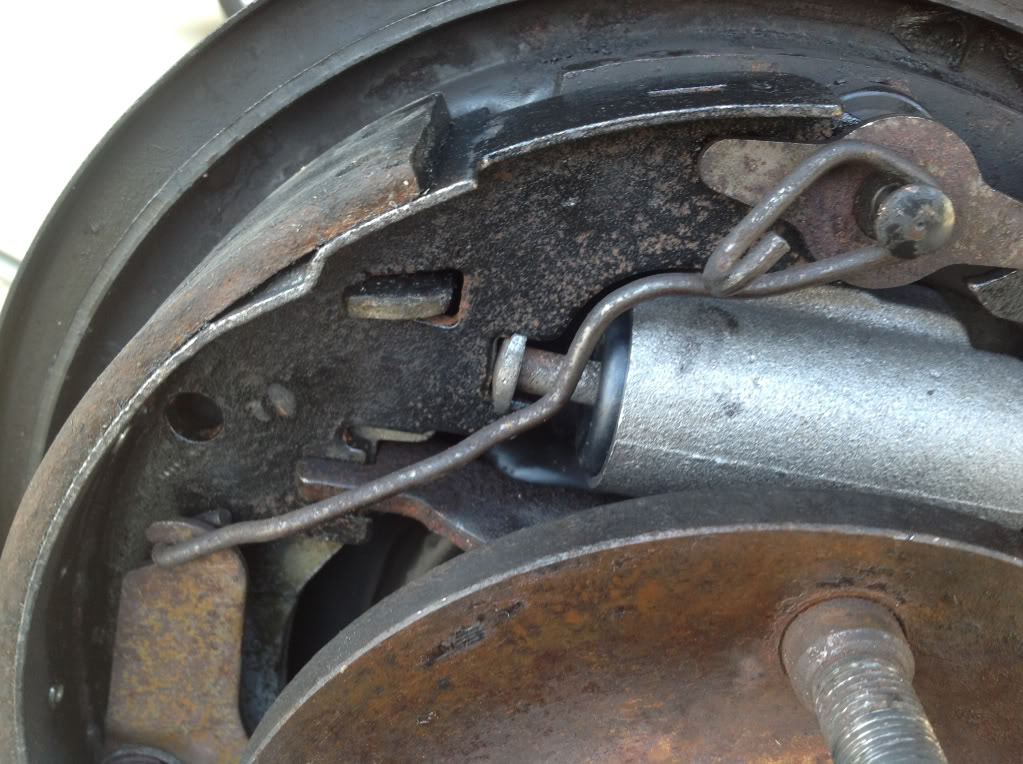
Next remove the rod from the stud and brake adjuster. Moving the brake adjuster will simplify this.
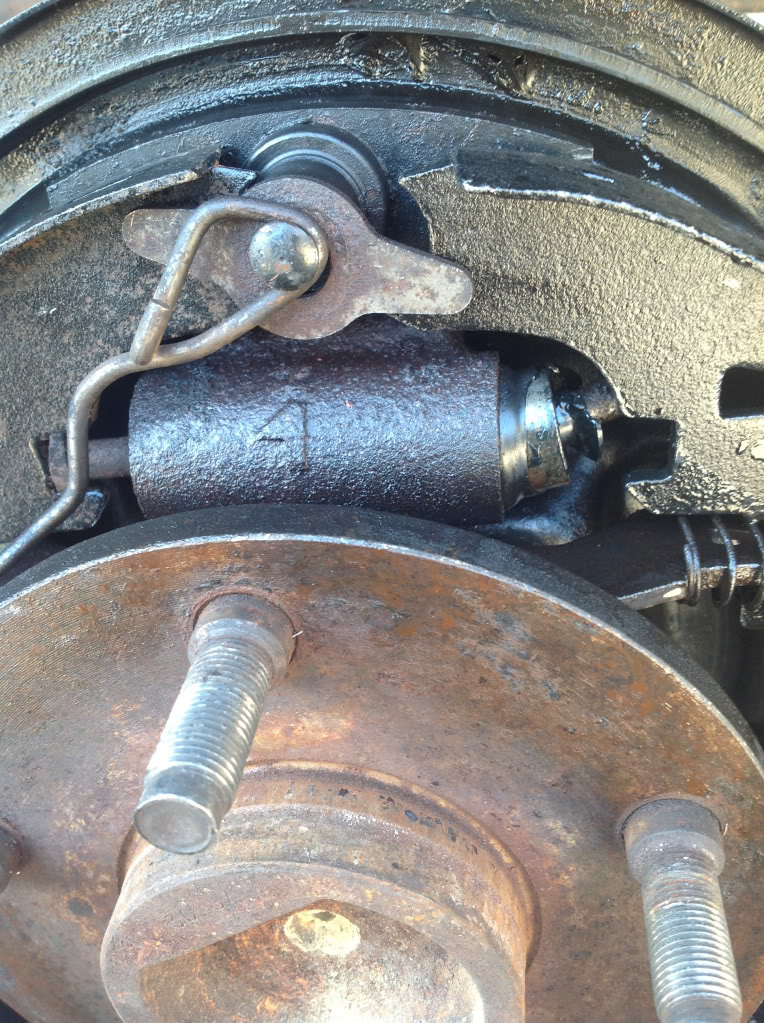
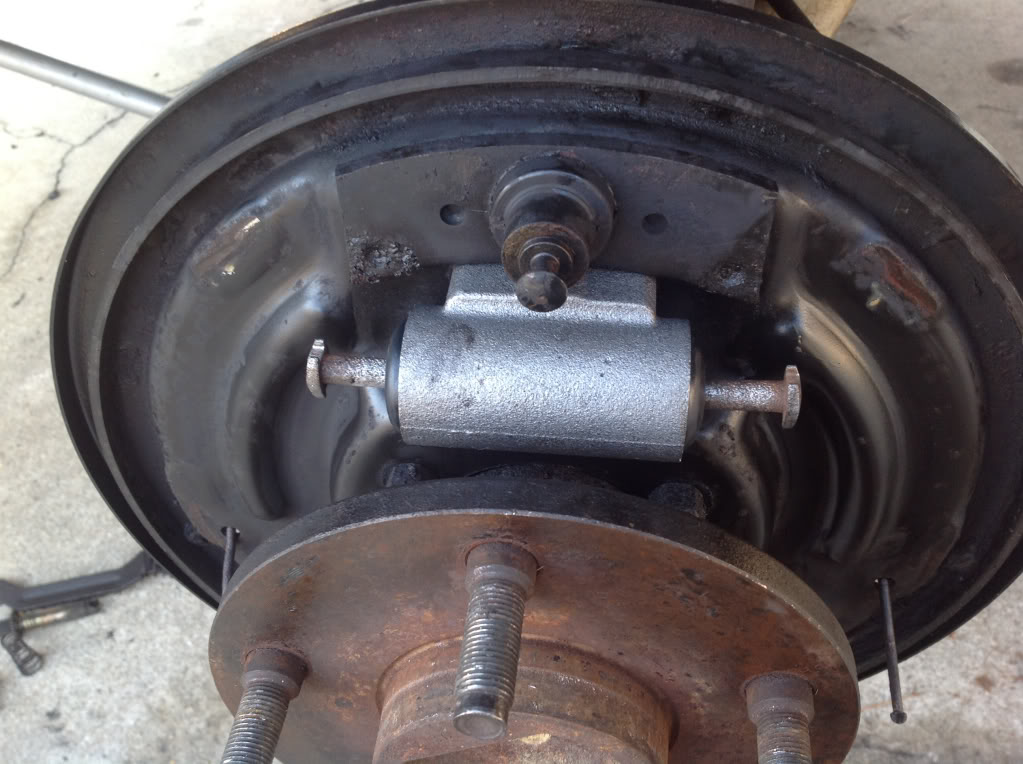
You will now be able to separate the shoes at the top and pull them off of the brake perch. The separator bar will also come out. Remove the emergency brake lever during this process from the rear shoe.
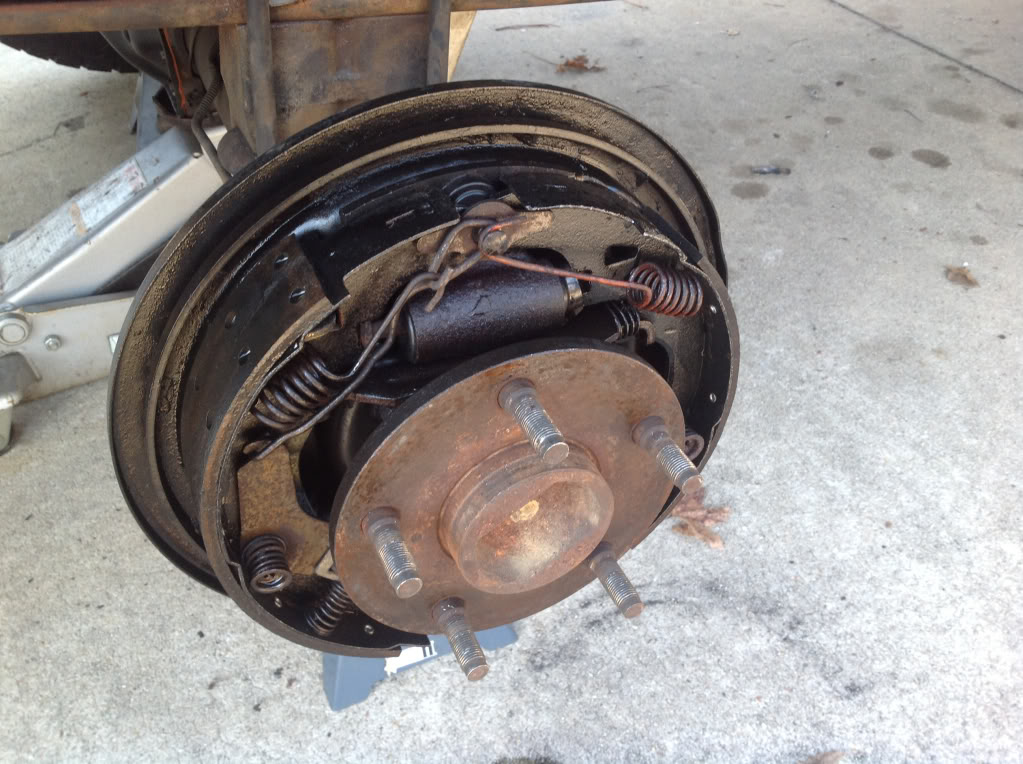
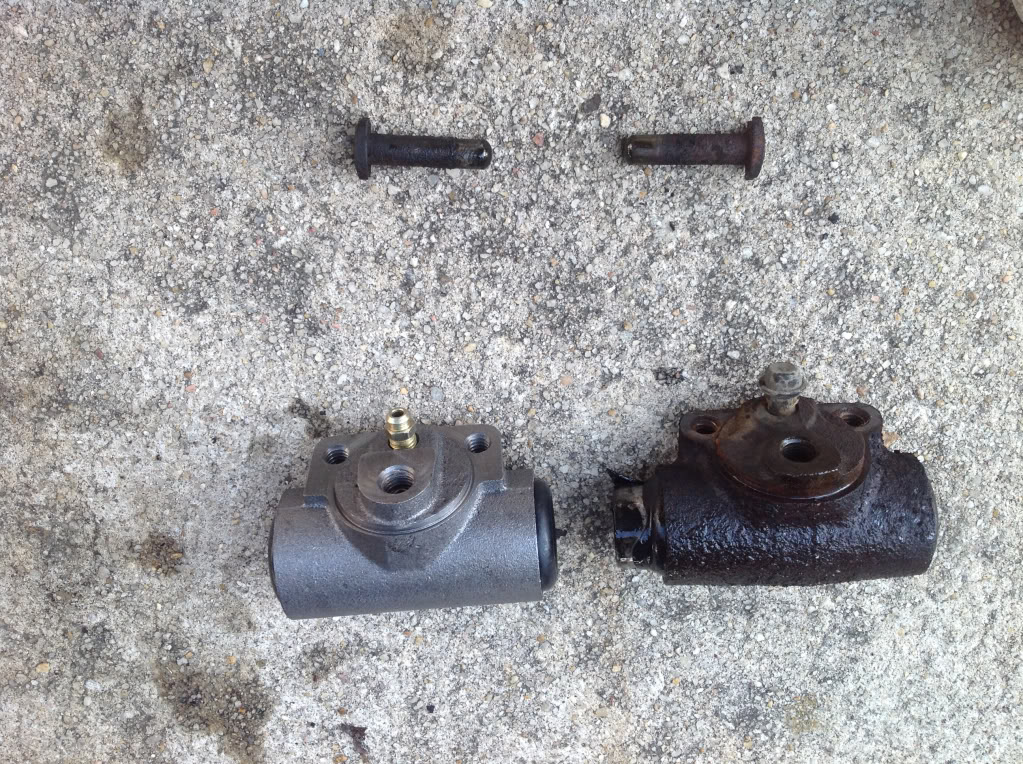
As you can see the wheel cylinder it toasted. Use brake cleaner to clean all components. If you are not replacing wheel cylinders....skip ahead to shoe replacement.
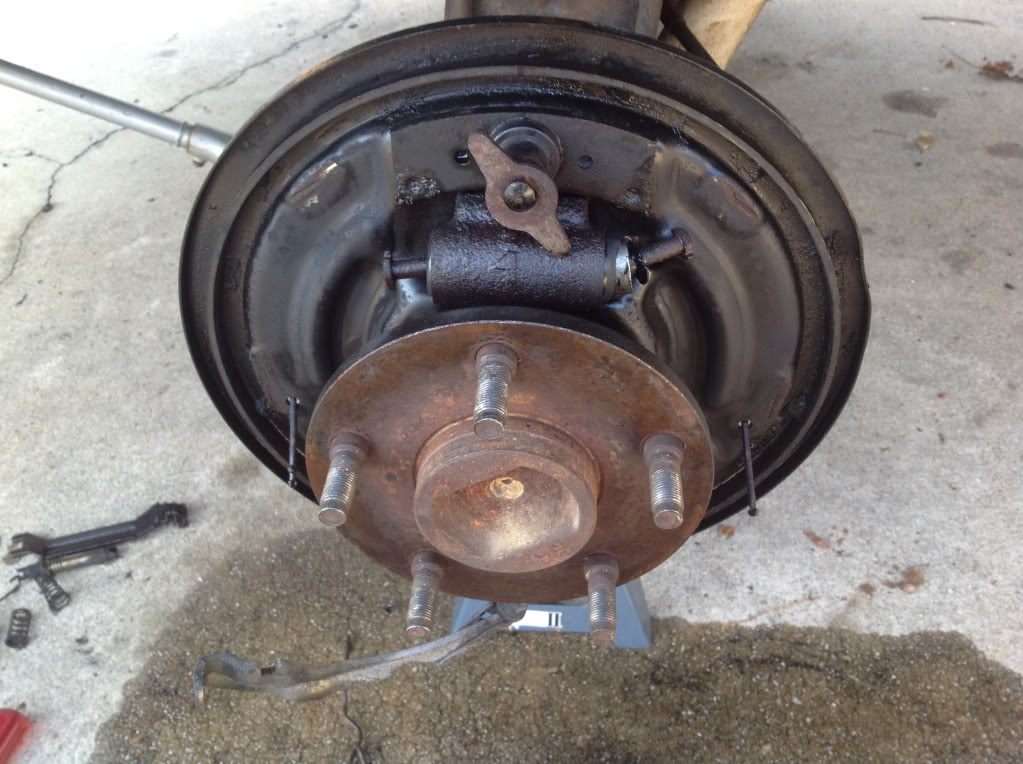
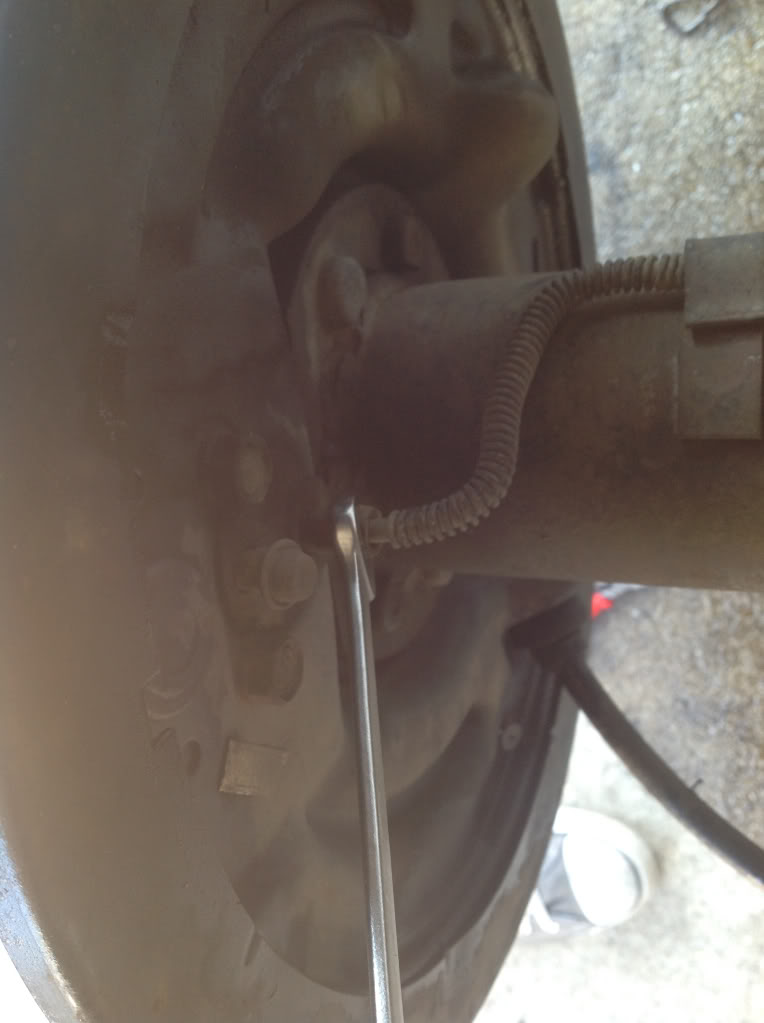
Using a 3/8 wrench remove brake line from back of cylinder.
Detach brake line from axel housing to make things easy

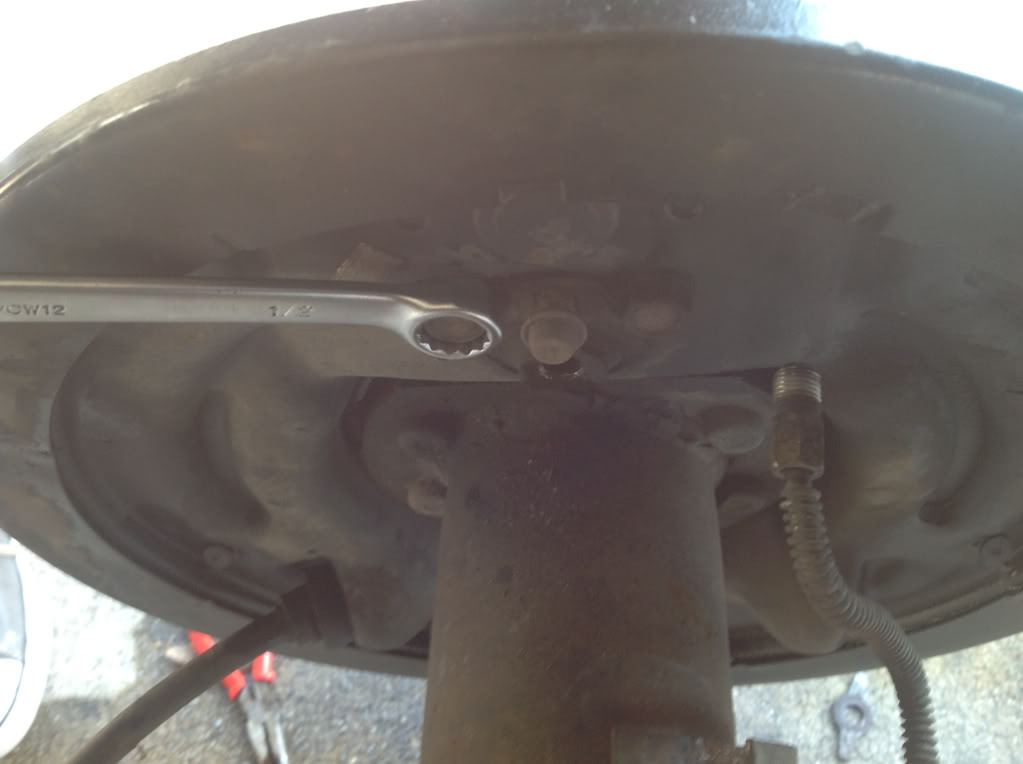
Using a 1/2 wrench remove the 2 screws holding the cylinder one. Use a BFH to tap the old cylinder free.

You will need to reuse the old plungers if you new cylinders were not supplied with them.
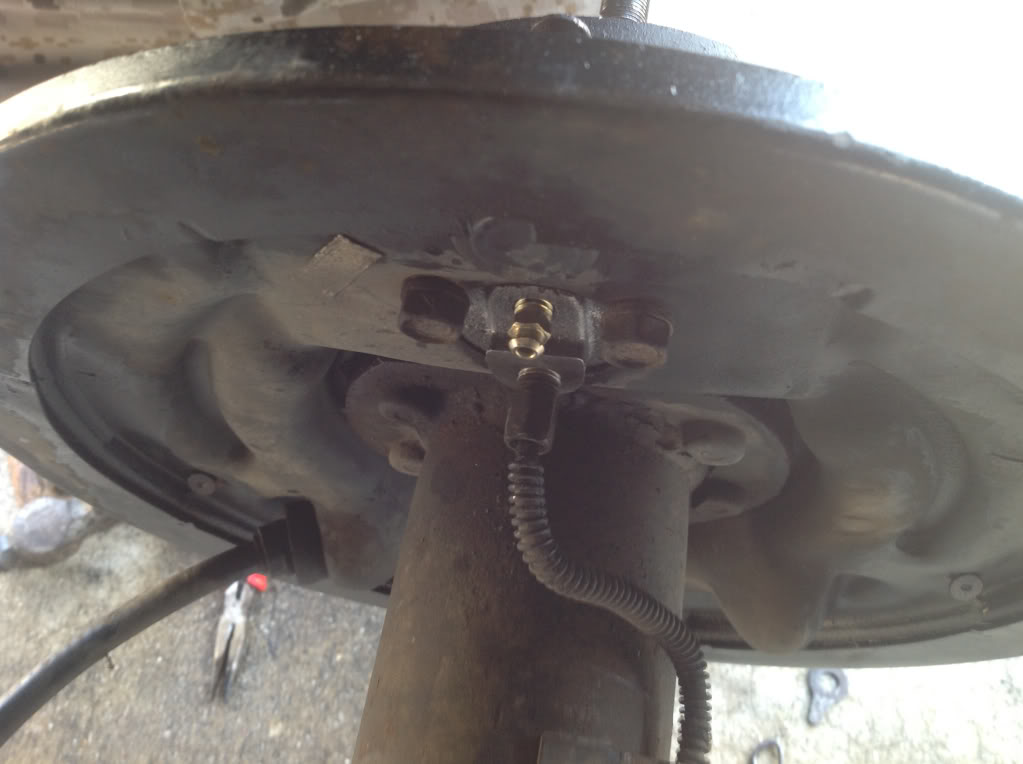
Install new cylinder and reinstall brake line, do not over tighten brake line, good n snug works for me.
Install cleaned up plungers onto cylinder.
BRAKES ONLY GUYS REASSEMBLY STARTS HERE.
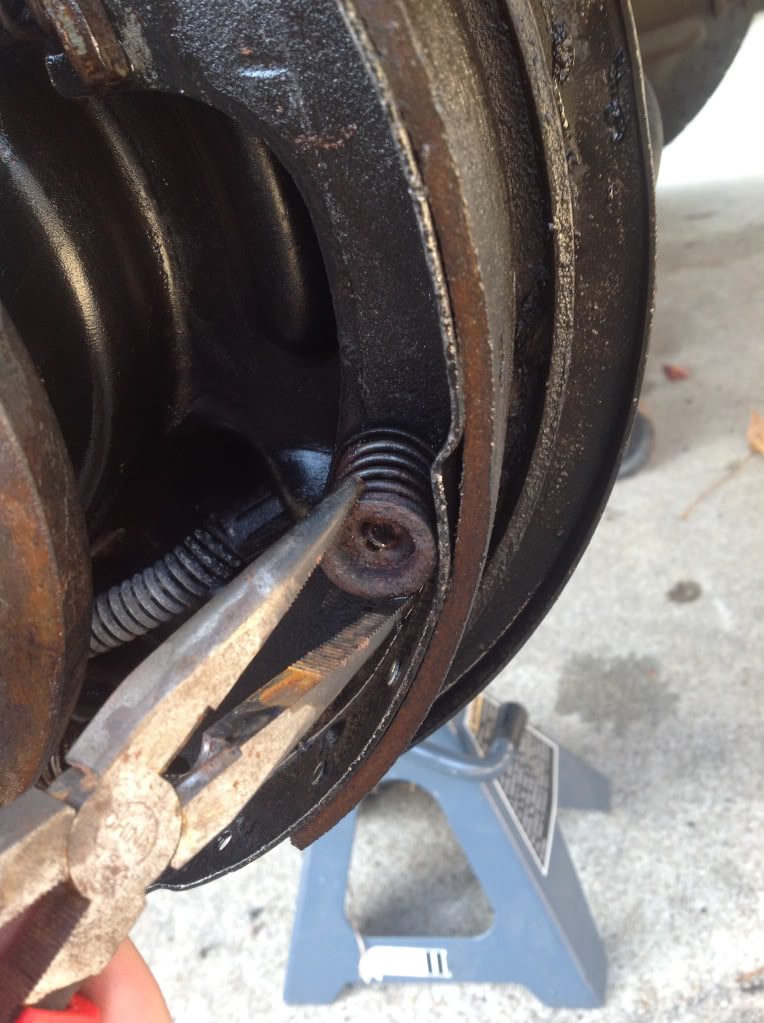
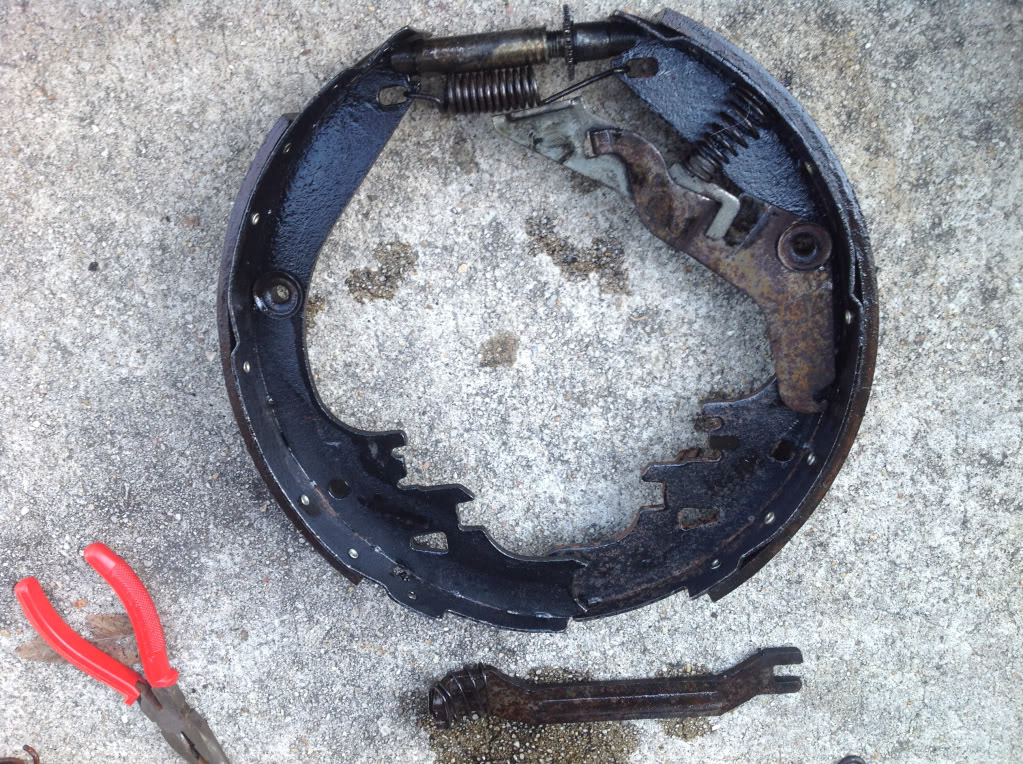
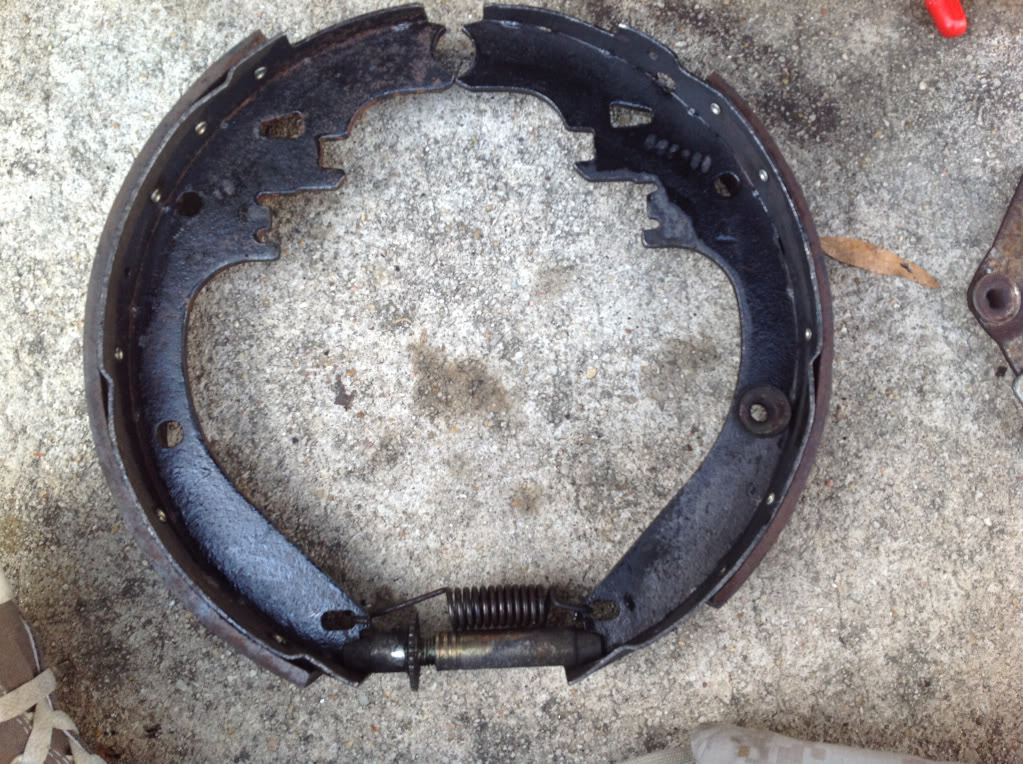
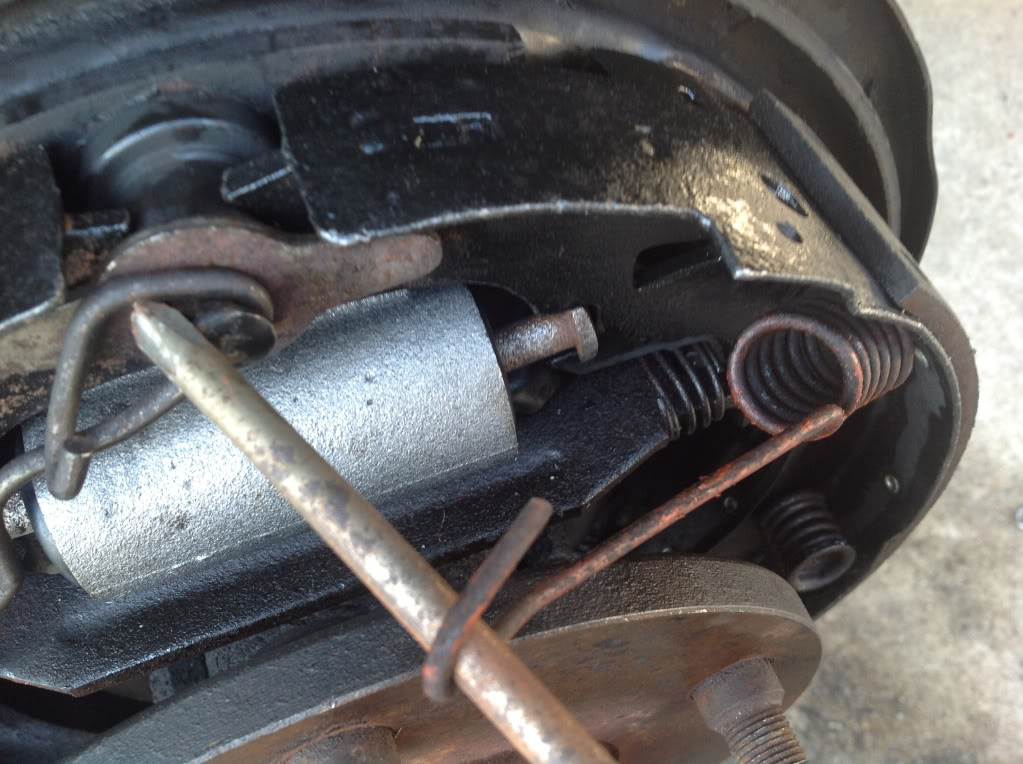
assemble the brakes with the adjusting wheel towards the rear, the longer brake shoe is the rear, the shorter is the front. Attach the adjusting wheel and spring.
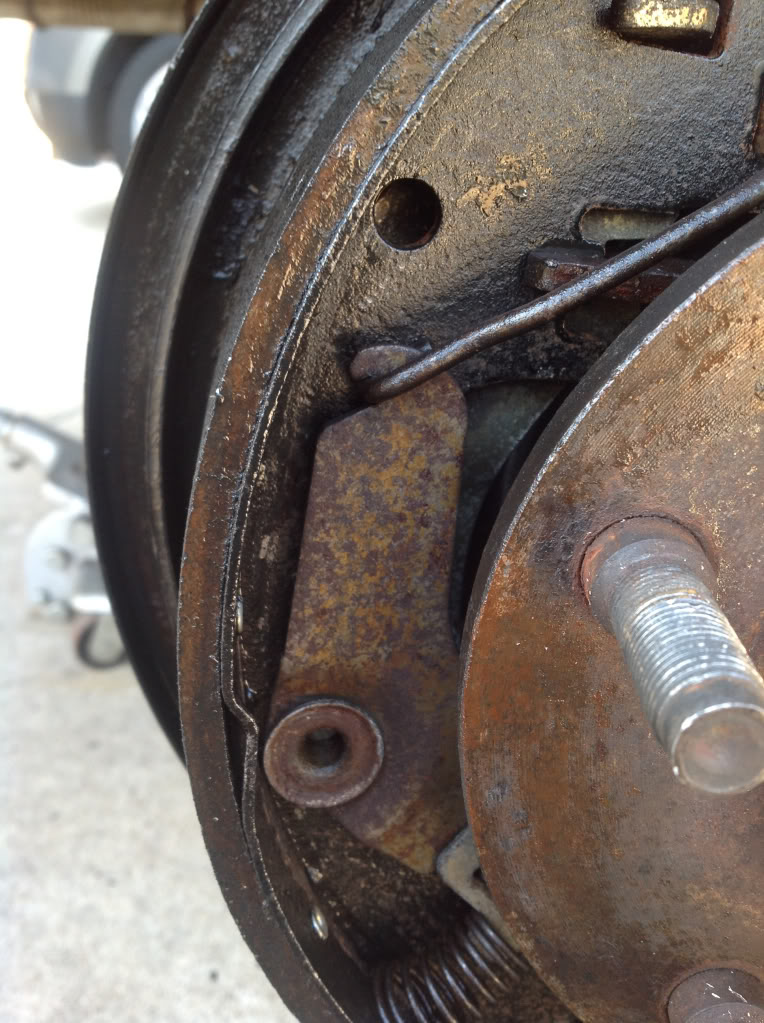
Install the adjusting lever as shown. This pic is upside down...sorry.

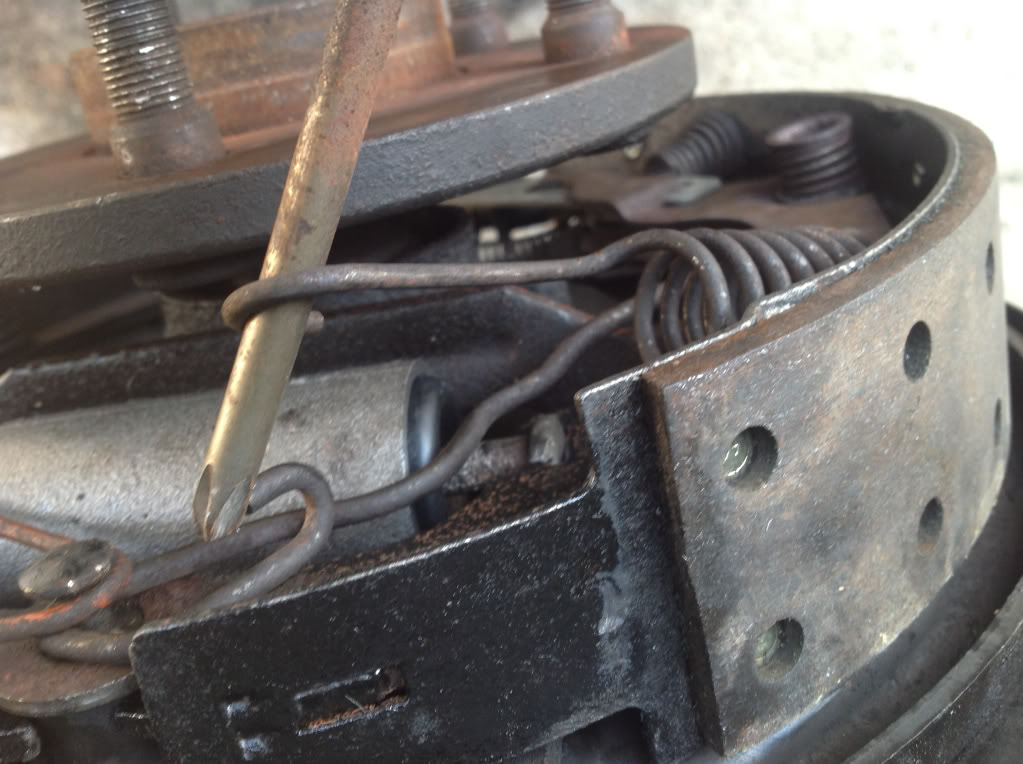
Carefully reinstall the shoes around the brake perch, reinstalling the emergency brake lever to the rear shoe, and installing the spreader bar with spring. Manipulate the cylinder plungers into there respective spots.
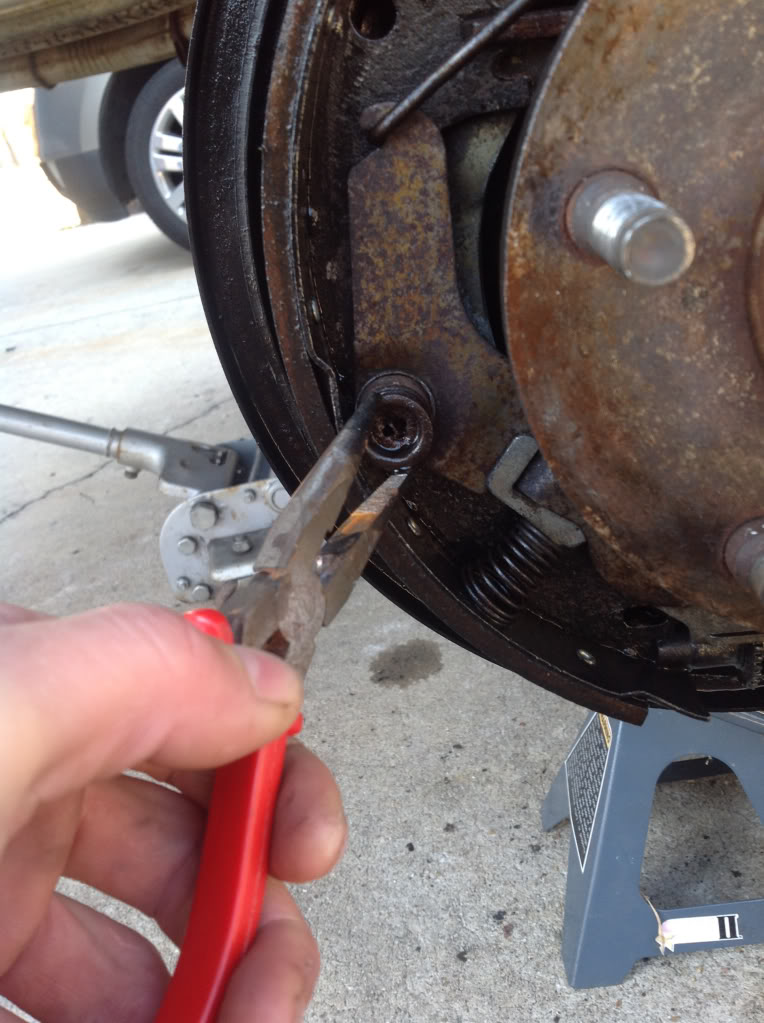
Reinstall the push turn springs, you may need to reach one hand to the back of the brake perch to hold the stud. I used the same specialty tool I used to take them off.
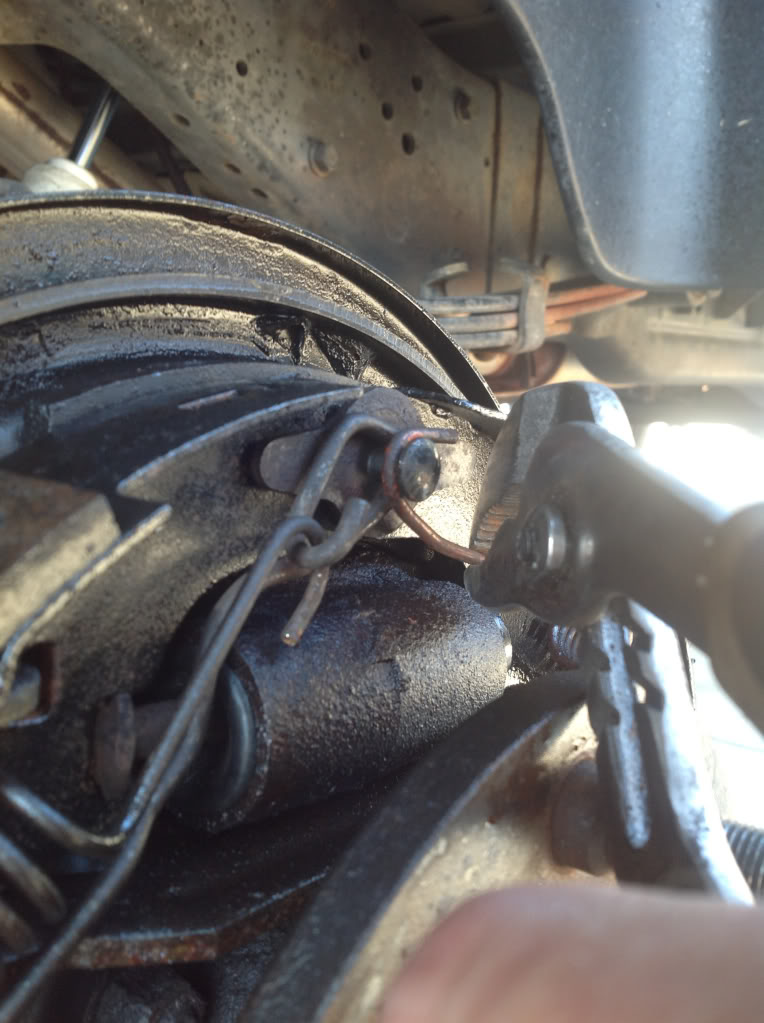
Reinstall the collar to the top pin, and reinstall the rod from the brake adjusting lever to the top pin.
Manipulating the shoes, and squeezing the together at the top, insure the plungers stay in place. Install the front shoe spring at the top. This screw driver method has worked for me, the past 20 years.
Install the rear spring in the same manner.
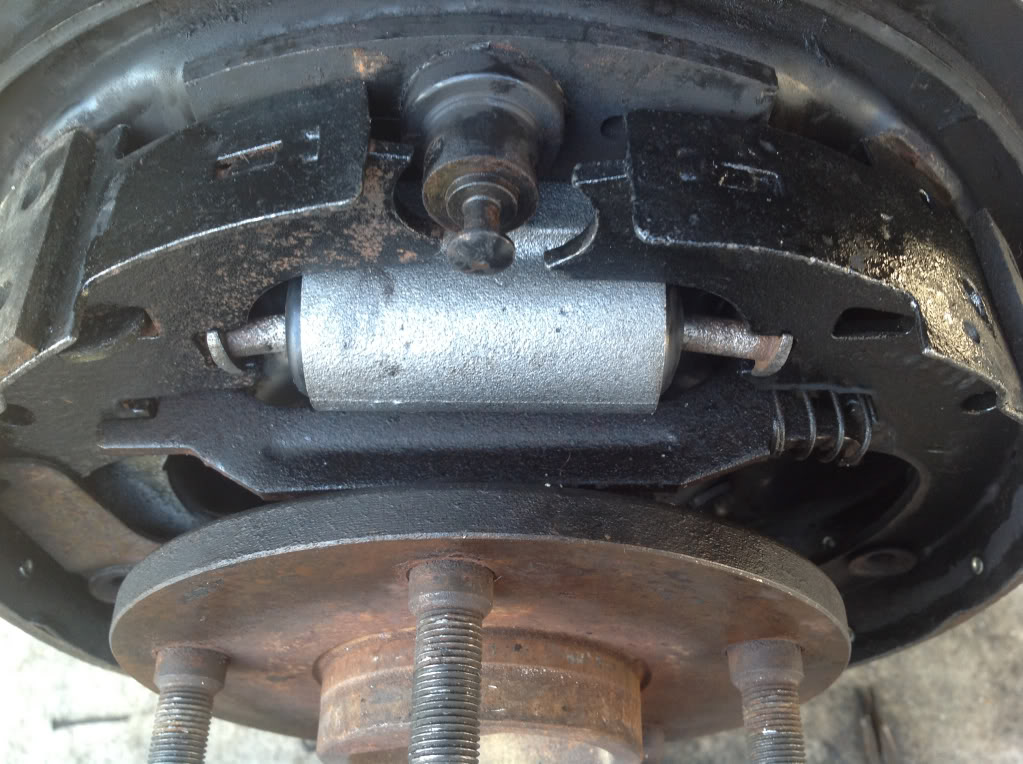
Here is the completed assembly
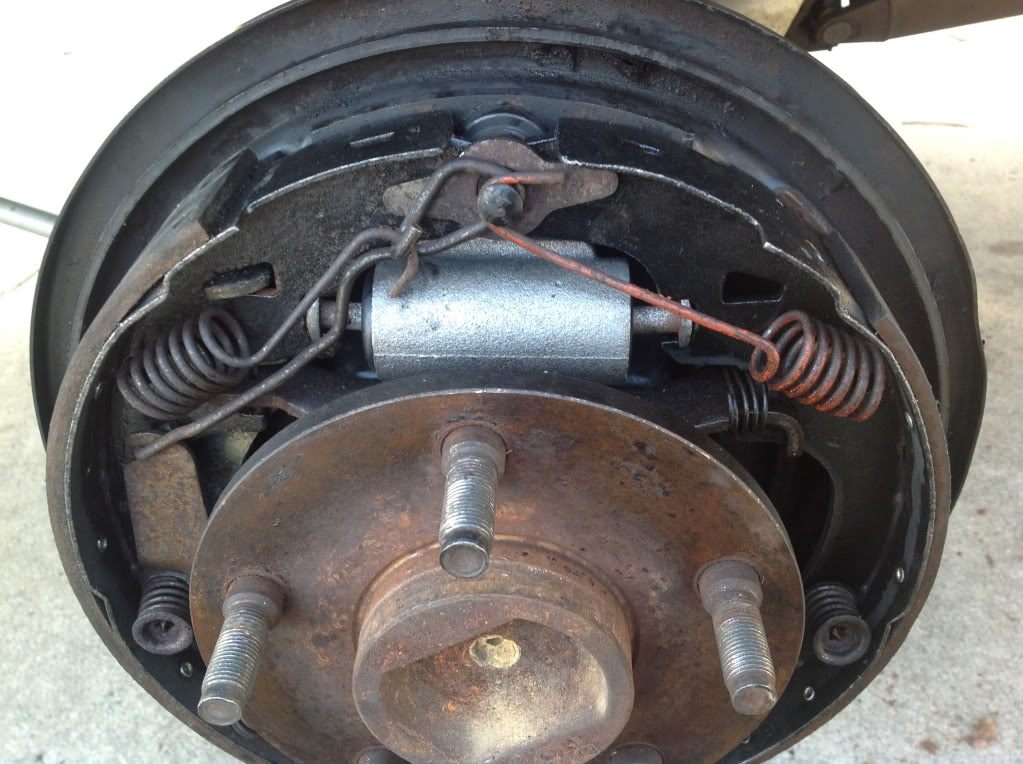
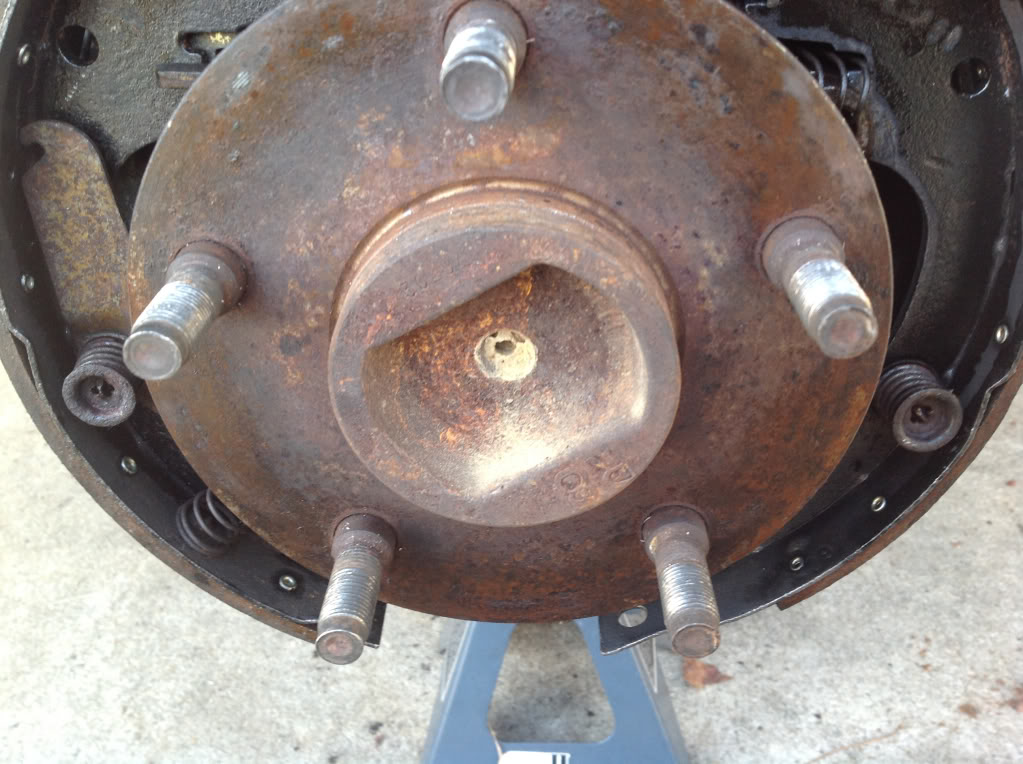
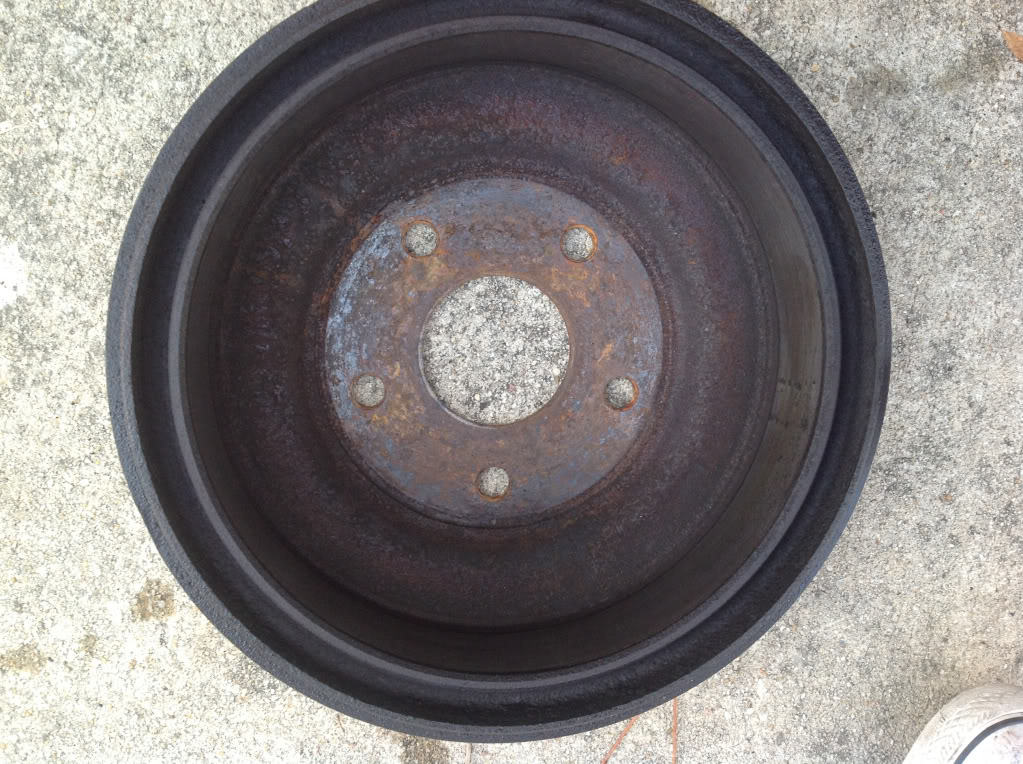
Clean your brake drum and replace it.
Ok now that everything is together let's adjust the brakes as needed. The adjuster wheel turns, this will allow the shoes to separate or come together. Turn the wheel in either direction, so when you put the brake drum on, the shoes barely touch the drum. You should not have to force the drum on, but there should not be a lot of room.
You will now need to bleed the cylinder, have a friend pump and hold the brake pedal while you open the valve on the cylinder releasing any air, keep doing this until only fluid escapes. Check your fluid reservoir and fill as needed.
Once your tire in back on.....Test Drive.
1997 Dodge Ram 1500, 9.25 rear.
Secure the vehicle on jack stands, I leave the jack as well, for extra stability.
Loosen and lug nuts, Remove the wheel, remove brake drum.
Using slip jaw pliers, remove the spring at the top, attached to the front brake shoe. A little leverage from the wheel stud can be used to make this simple.
Next remove the other spring attached to the rear brake shoe, use the same method as before.
Remove the 2 keeper spring located one on each shoe, be mindful of which one goes where, they are different in size. Yes there is a specialty tool for this. This is the tool I use to push in and 1/4 turn twist to release it from the pin.
Next remove the rod from the stud and brake adjuster. Moving the brake adjuster will simplify this.
You will now be able to separate the shoes at the top and pull them off of the brake perch. The separator bar will also come out. Remove the emergency brake lever during this process from the rear shoe.
As you can see the wheel cylinder it toasted. Use brake cleaner to clean all components. If you are not replacing wheel cylinders....skip ahead to shoe replacement.
Using a 3/8 wrench remove brake line from back of cylinder.
Detach brake line from axel housing to make things easy
Using a 1/2 wrench remove the 2 screws holding the cylinder one. Use a BFH to tap the old cylinder free.
You will need to reuse the old plungers if you new cylinders were not supplied with them.
Install new cylinder and reinstall brake line, do not over tighten brake line, good n snug works for me.
Install cleaned up plungers onto cylinder.
BRAKES ONLY GUYS REASSEMBLY STARTS HERE.
assemble the brakes with the adjusting wheel towards the rear, the longer brake shoe is the rear, the shorter is the front. Attach the adjusting wheel and spring.
Install the adjusting lever as shown. This pic is upside down...sorry.
Carefully reinstall the shoes around the brake perch, reinstalling the emergency brake lever to the rear shoe, and installing the spreader bar with spring. Manipulate the cylinder plungers into there respective spots.
Reinstall the push turn springs, you may need to reach one hand to the back of the brake perch to hold the stud. I used the same specialty tool I used to take them off.
Reinstall the collar to the top pin, and reinstall the rod from the brake adjusting lever to the top pin.
Manipulating the shoes, and squeezing the together at the top, insure the plungers stay in place. Install the front shoe spring at the top. This screw driver method has worked for me, the past 20 years.
Install the rear spring in the same manner.
Here is the completed assembly
Clean your brake drum and replace it.
Ok now that everything is together let's adjust the brakes as needed. The adjuster wheel turns, this will allow the shoes to separate or come together. Turn the wheel in either direction, so when you put the brake drum on, the shoes barely touch the drum. You should not have to force the drum on, but there should not be a lot of room.
You will now need to bleed the cylinder, have a friend pump and hold the brake pedal while you open the valve on the cylinder releasing any air, keep doing this until only fluid escapes. Check your fluid reservoir and fill as needed.
Once your tire in back on.....Test Drive.

#7
11-23-2012, 08:38 PM
Join Date: Sep 2012
Location: Wade NC
Posts: 231
Likes: 0
Received 0 Likes
on
0 Posts
Haha, thought about paint, but not this time.
