When you click on links to various merchants on this site and make a purchase, this can result in this site earning a commission. Affiliate programs and affiliations include, but are not limited to, the eBay Partner Network.
2nd Gen Ram Tech1994-2001 Rams: This section is for TECHNICAL discussions only, that involve the 1994 through 2001 Rams. For any non-tech discussions, please direct your attention to the "General discussion/NON-tech" sub sections.
Touched up the rust with a social paint from work. It goes on brown but if it starts to rust will turn purple and form into a hard surface (like a rock) to prevent any rust from starting. (That is the brown shpots you see) Here is how the paint process went(drying time between each coats at 30 minutes & 2 hours before the next step):
1. Self etching primer (2 light coats just enough to cover the surface)
2. High build primer (I did 2 coats just to get it sorted smooth) wasn't it being absolutely smooth as you don't see it.
3. Grind all the rust bubbles to bare metal
4. High Zinc Stop Rust Paint
5. Find more rust bubbles and touch it up
6. Touch up the spots with Zinc paint
7. Touch up with special paint from work (no label just has a code 56DH-542BPR) on heavy rusted areas
8. 4 costs of 3M Bondo Undercoating, would never use this under a vehicle but it's just acting as a rubber mat to stop water from soaking through the carpet
Got to love my work so much stuff to finish the truck. Used a piece of tin to patch the small area and used a waterproof/weather resistant aggressive/sealer to seal it (same stuff we use on the military vehicles). Full weld underneath the cab. Sprayed with Stop Rust primer after this picture. This will come to a halt as we are now work 14 hour days 7 days a week.
Last edited by MoparFanatic21; 08-10-2018 at 05:11 PM.
I have Pro Comp Extreme wheels and they have that stamped into the rim on the lip 2. So to go along with the rest of the truck (and waiting on parts) I decided to polish the aluminum rims and add a little touch of my own. I did the letters in Plum Crazy Purple!
Might be a little late, the last pic of the end of the axle shaft, i believe that there is a centering bushing that goes in the end of it to align it with the other center axle piece. What you see on the end ther is the remains of that bushing. https://torqueking.com/product/40107...-60-cad-axles/
Without the bushing to align the axle shafts the collar wont slide to engage 4x4.
I got the seal in place and the bushing is still there just the lip is gone. 4 wheel drive worked before and works now. I ended up making a tool to install the seal. I found out was it was after looking at the parts book. The bushing is still there just the outer lip half is busted off.
Last edited by MoparFanatic21; 08-19-2018 at 04:30 PM.
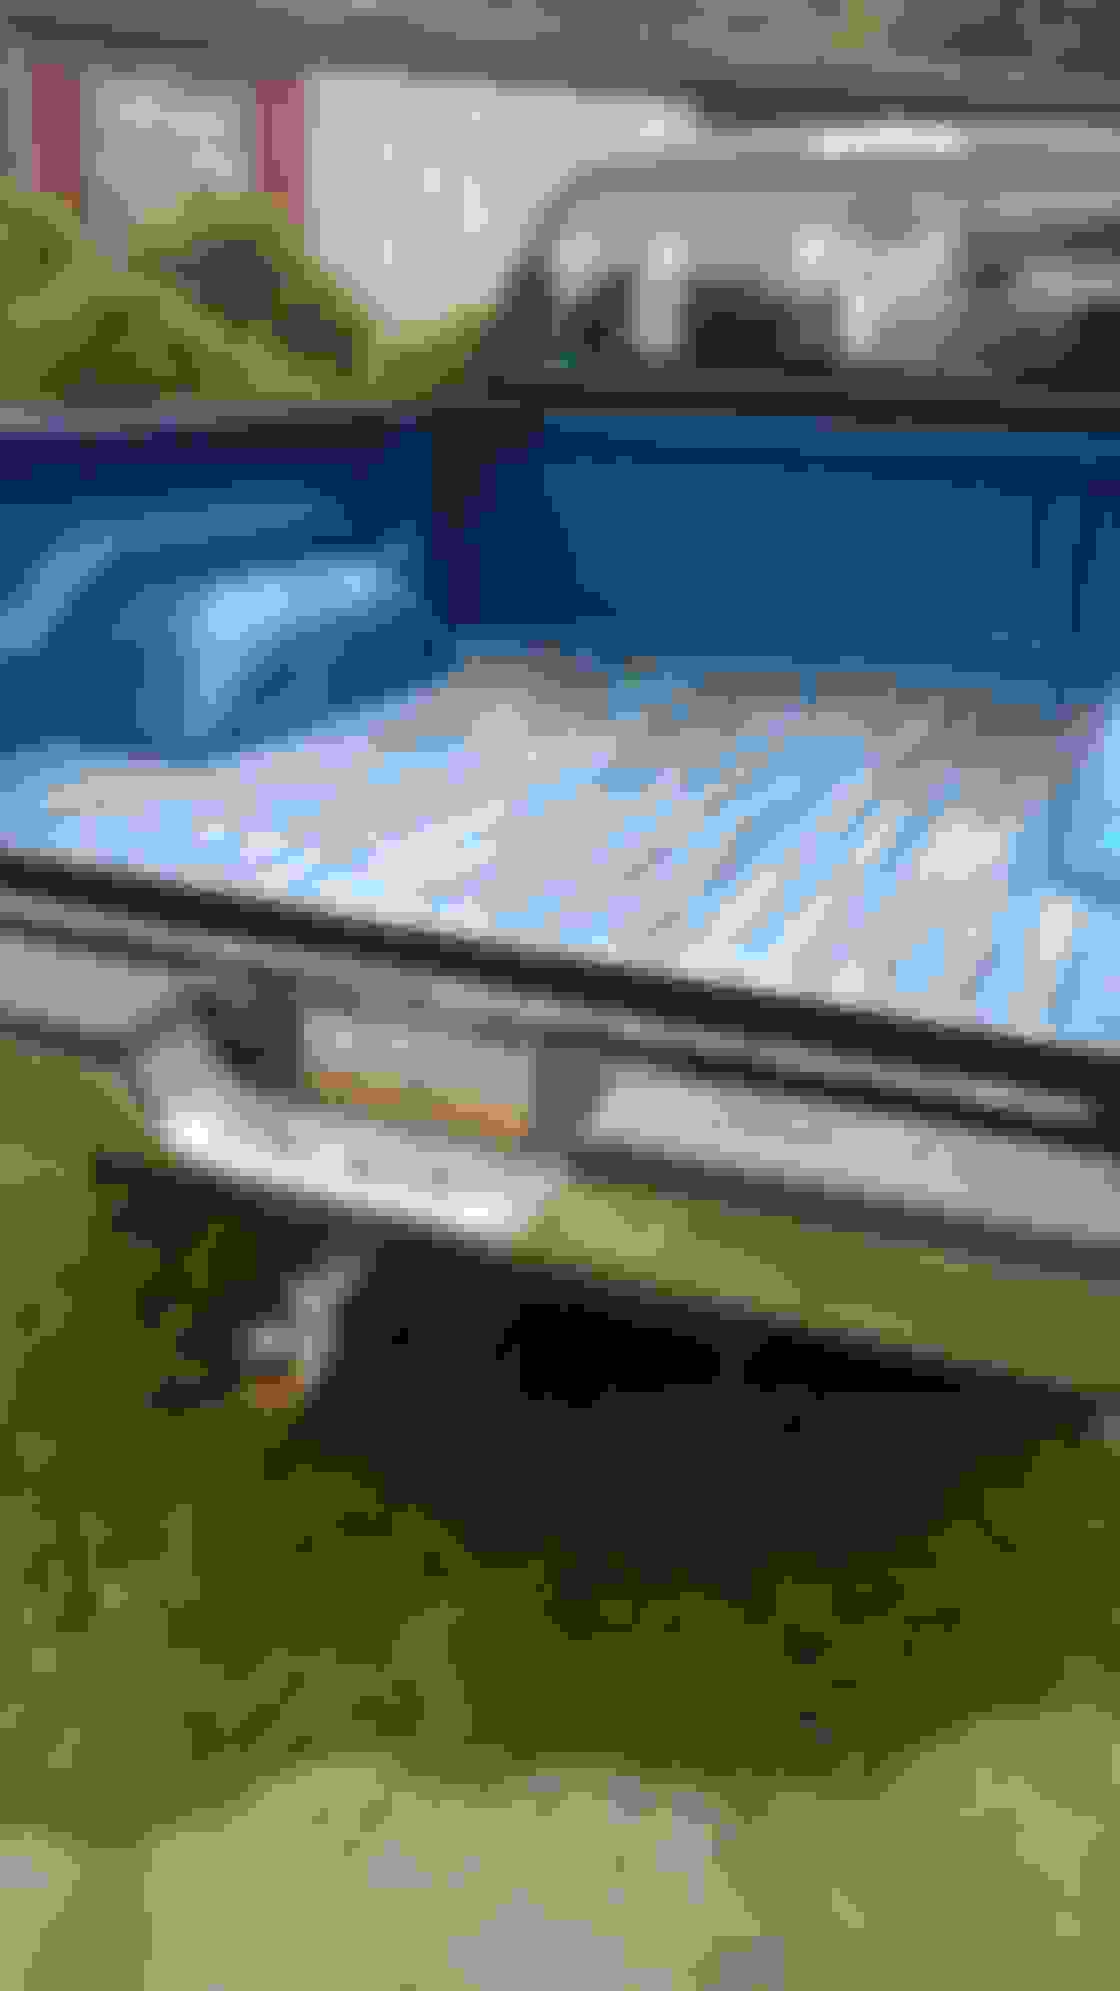
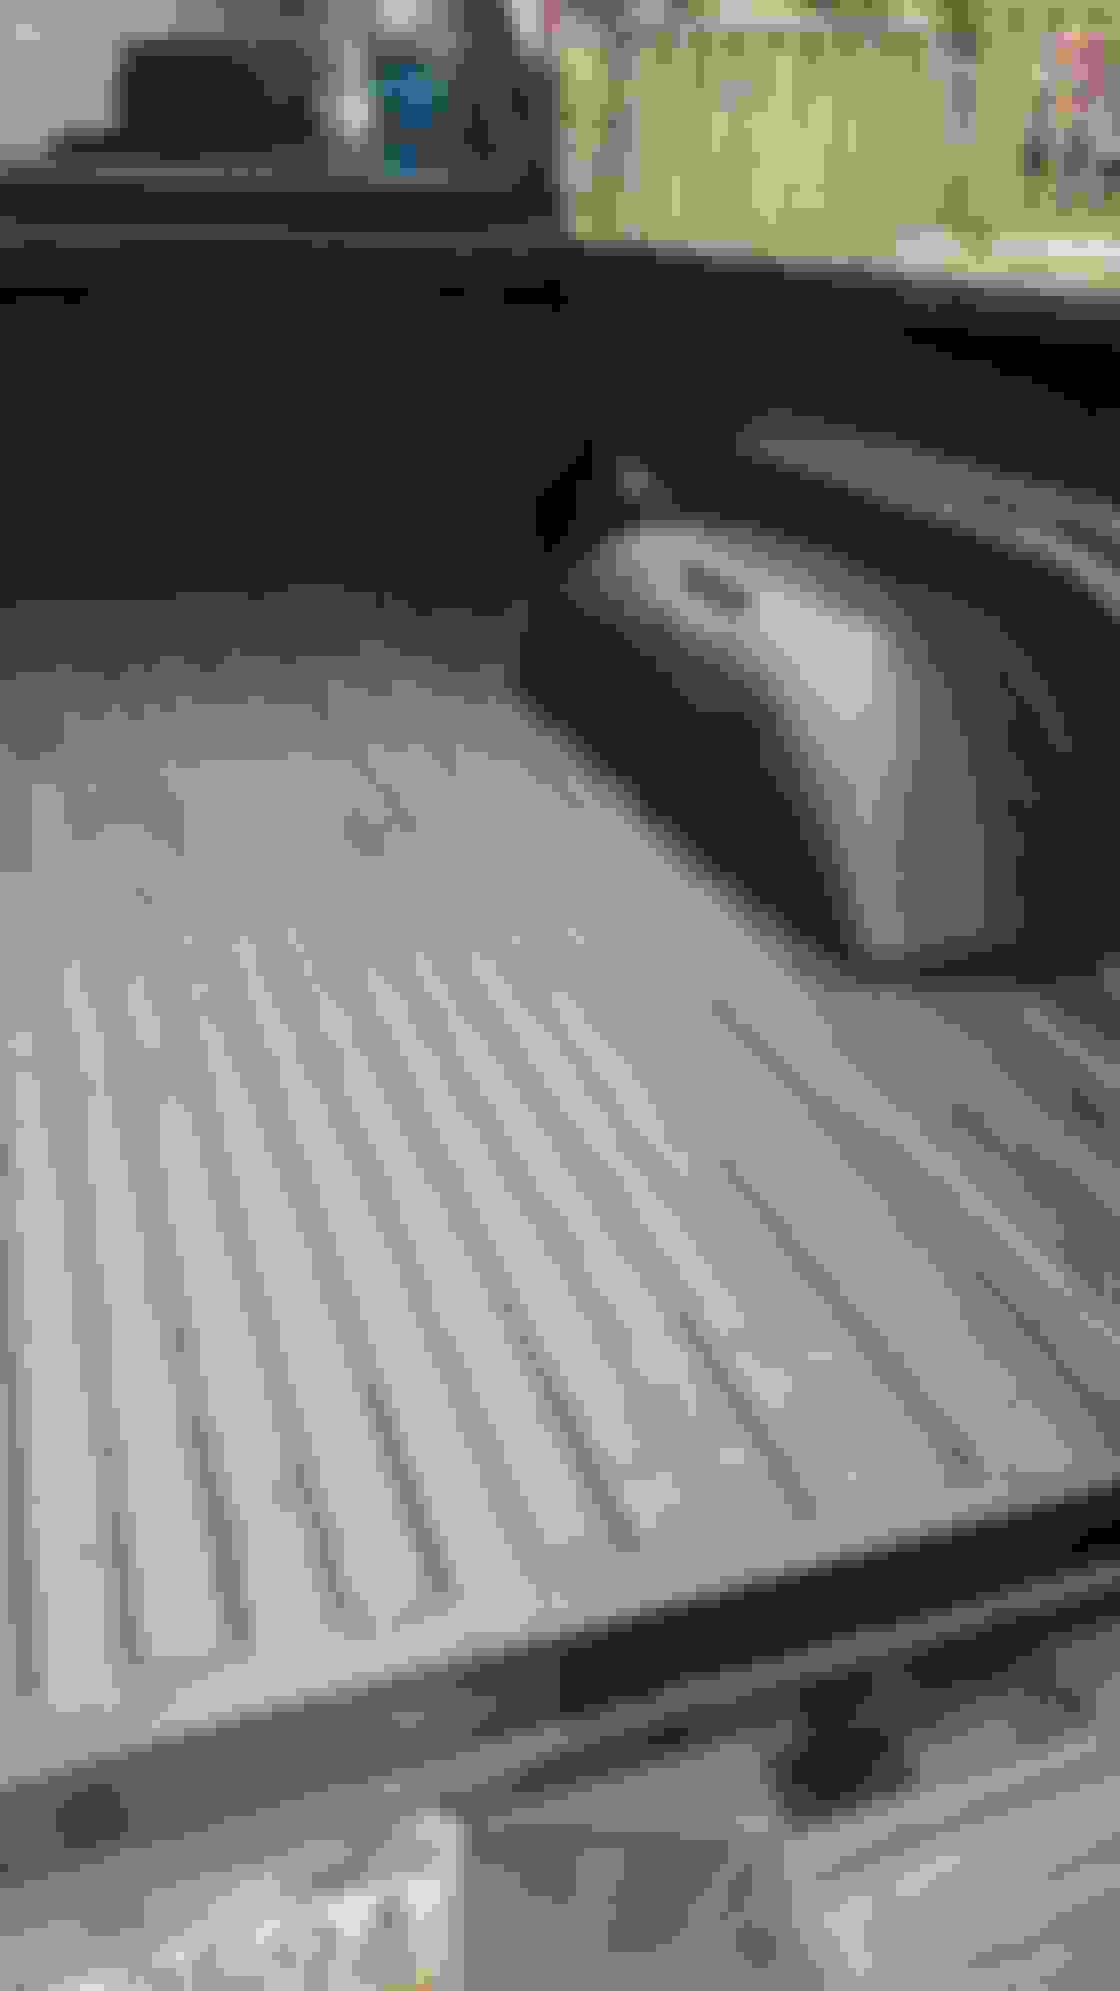
Got a bed liner kit (Herculiner) and got that done to the bed. Wow! It looks amazing and wasnt bad to do, just messy. I will update on durability when it dries. I did the whole bed, top of the bed, and the tailgate.
When I got the bed it came with a tailgate in better shape than mine. So I got it painted and noticed some lines and am in the process of resanding it and this time using filler primer to get it smooth. The first photo look at the bottom closest to the picture you will see what I mean.


 08-08-2018, 06:54 PM


 so much stuff to finish the truck. Used a piece of tin to patch the small area and used a waterproof/weather resistant aggressive/sealer to seal it (same stuff we use on the military vehicles). Full weld underneath the cab. Sprayed with Stop Rust primer after this picture. This will come to a halt as we are now work 14 hour days 7 days a week.