When you click on links to various merchants on this site and make a purchase, this can result in this site earning a commission. Affiliate programs and affiliations include, but are not limited to, the eBay Partner Network.
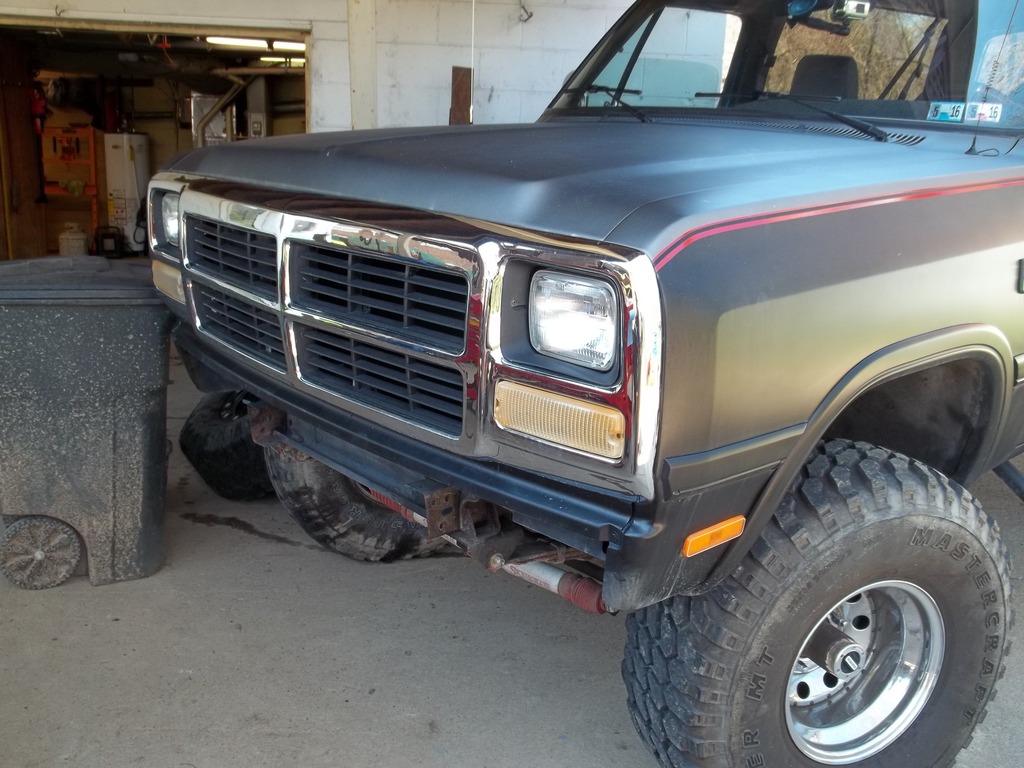
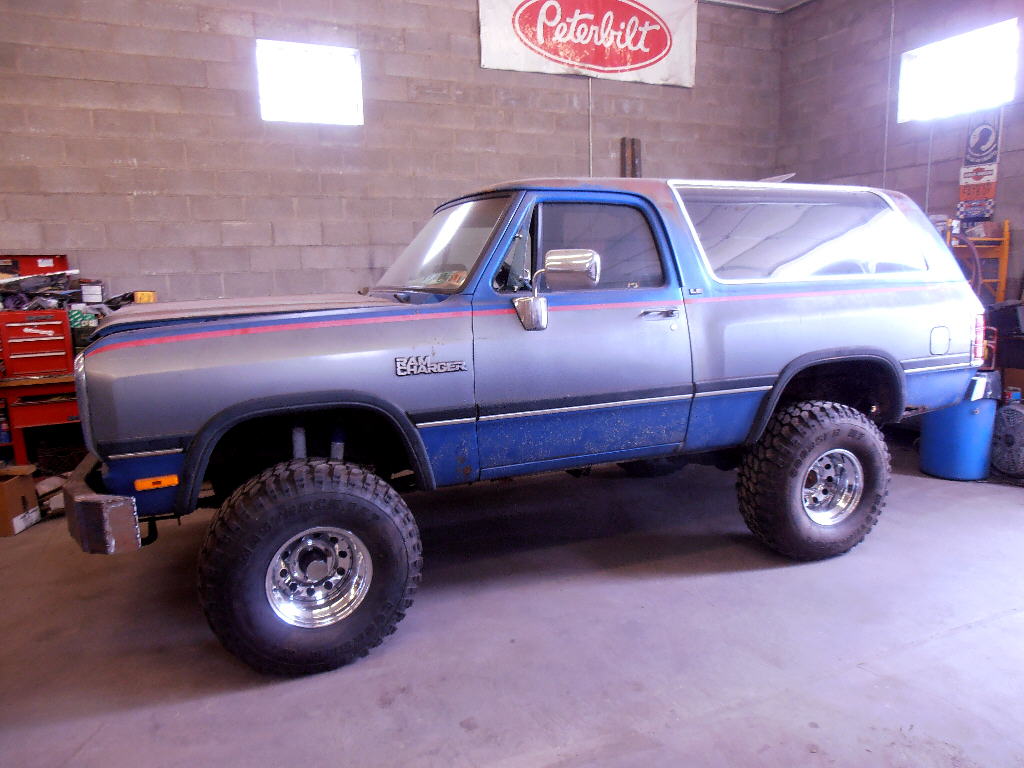
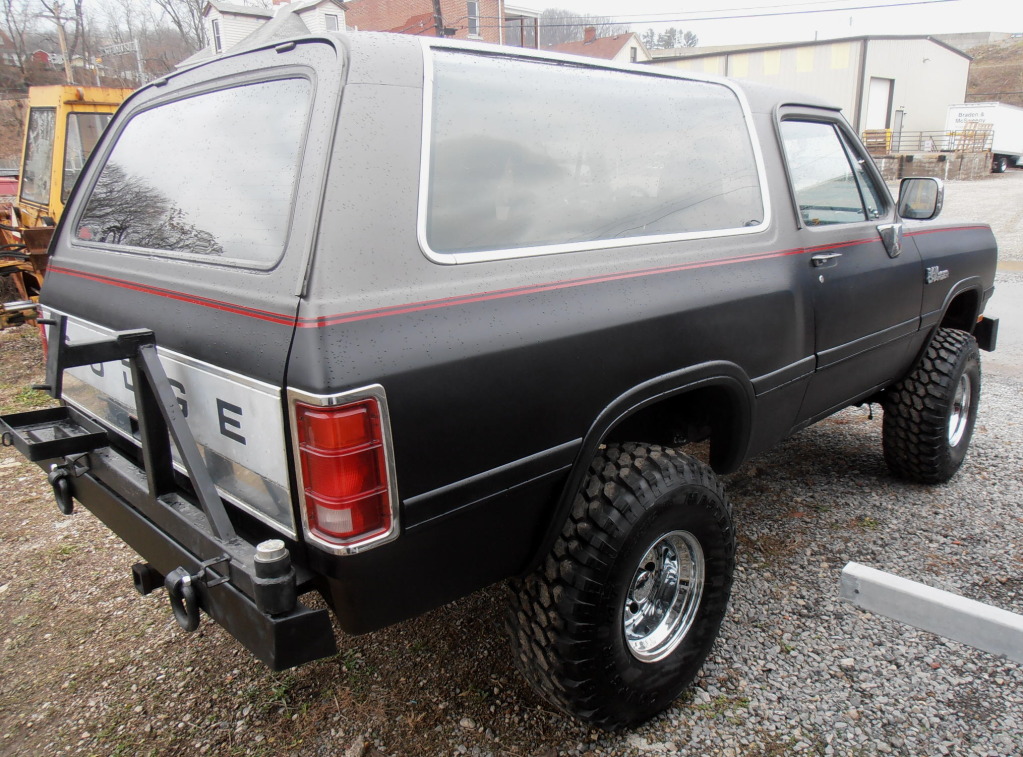
This is what it looks like NOW, after 8 years of resto-modding it. Not sure if I can turn THIS post into a "build" thread, or if I need to do that over in the Gen.1/SUV forums. Oh well, I'll figure it out... eventually!
I rather enjoy washing, waxing, and detailing still, even at my advanced age.
As it JUST became trailworthy this past week, I hope to have more pictures and Mpegs of dirtthis coming spring.
It originally belonged to my secretary's late husband, God rest his soul. It was his daily driver from 1997, when he bought it used from the Dodge dealer down in Mt. Oliver (Pittsburgh suburb), until he passed away in May of 2005.
I arrived here in August of '06. The truck had pretty much been sitting at their house untouched for 15 mos. Their sons didn't want it - she didn't want - she was about to have Rusty Hook tow it away for $200, when she asked me one day on a lark, whether I'd like a free truck! "Welllllllllll..." I said (in classic whipped husband fashion), "Lemmee check with my wife FIRST!" To which she thought a FREE (operative word...) was a GREAT idea. So I got a Ramcharger!
For reference, I'm SO old, I actually TEST DROVE a NEW'87 RC back in the day. I ended up getting a '79 Bronco instead, but Ramchargers have CONTINUED to flirt with me through the years. My best friend in hi skrool went nuclear Navy after graduation - he took his re-up bonus in '89, and ordered a BRAND NEW '90 RC, with rollbar, 5-speed, and 360 - black, with the tan cloth interior (he owned a '79 Dodge Lil' Red Express while we were in school!). Wotta GREAT new truck smell THAT was when I first rode in it with him... and it had less than 50 miles on it!
My kid brother owned one while he was in the service, stationed in Pensacola. I was down there for a college debate tournament in '90 - I think his was an '87 - white/blue/white, with blue vinyl interior. It was pretty cool cruising Pensacola that night in it. And when I finished college in '93 (Yes... the brother Blutarski 8-year plan... ... I'd actually dropped out and worked for a few years), I strongly considered getting a red/white/red '93 model at the local Dodge dealership near my University... but went for a new '93 Mustang GT instead... bow-chicka-bow-bow.
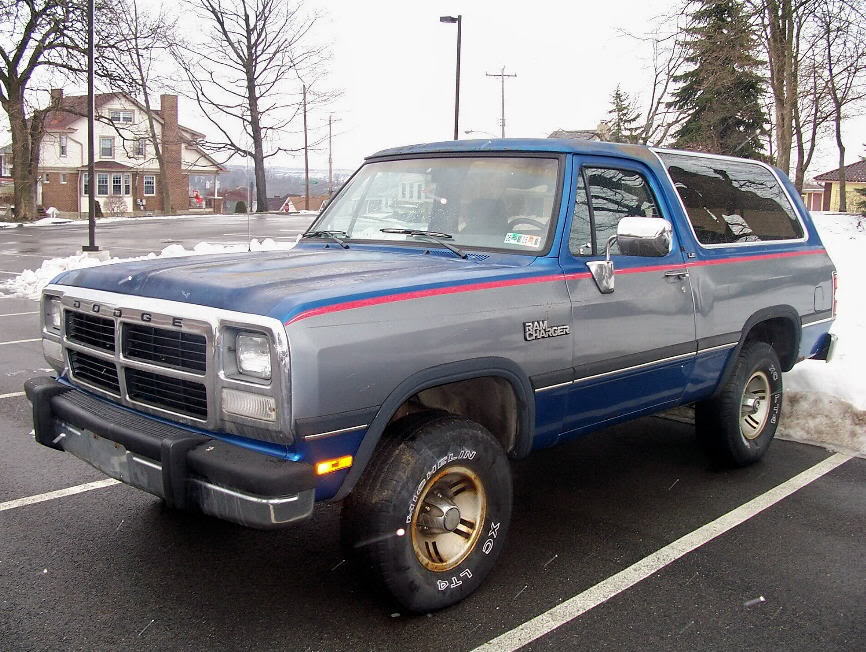
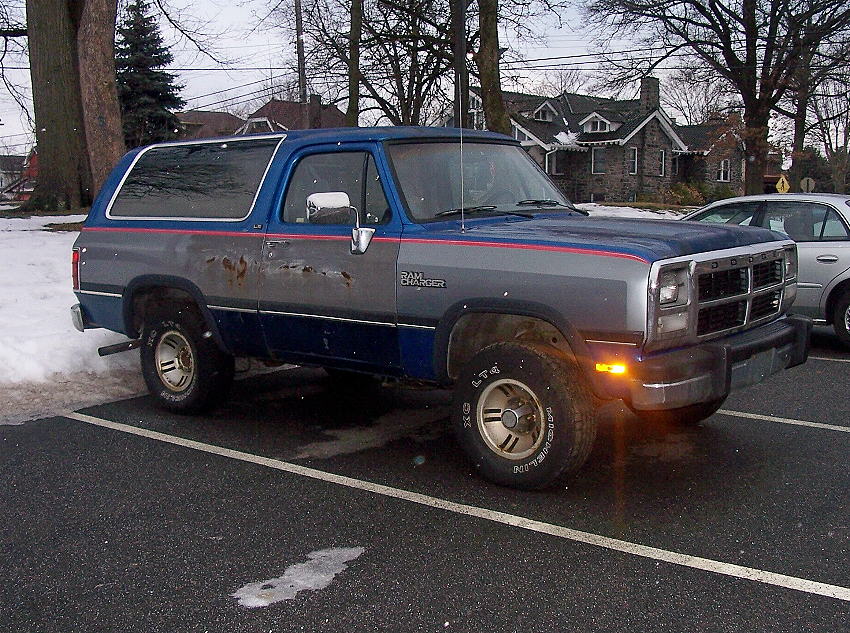
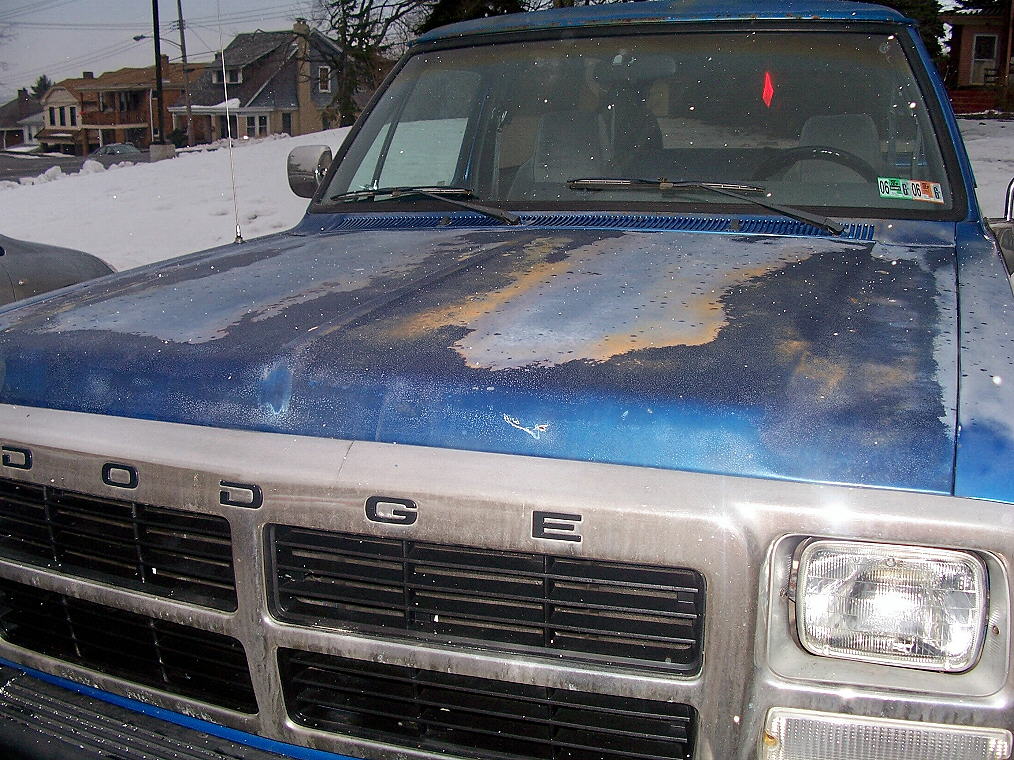
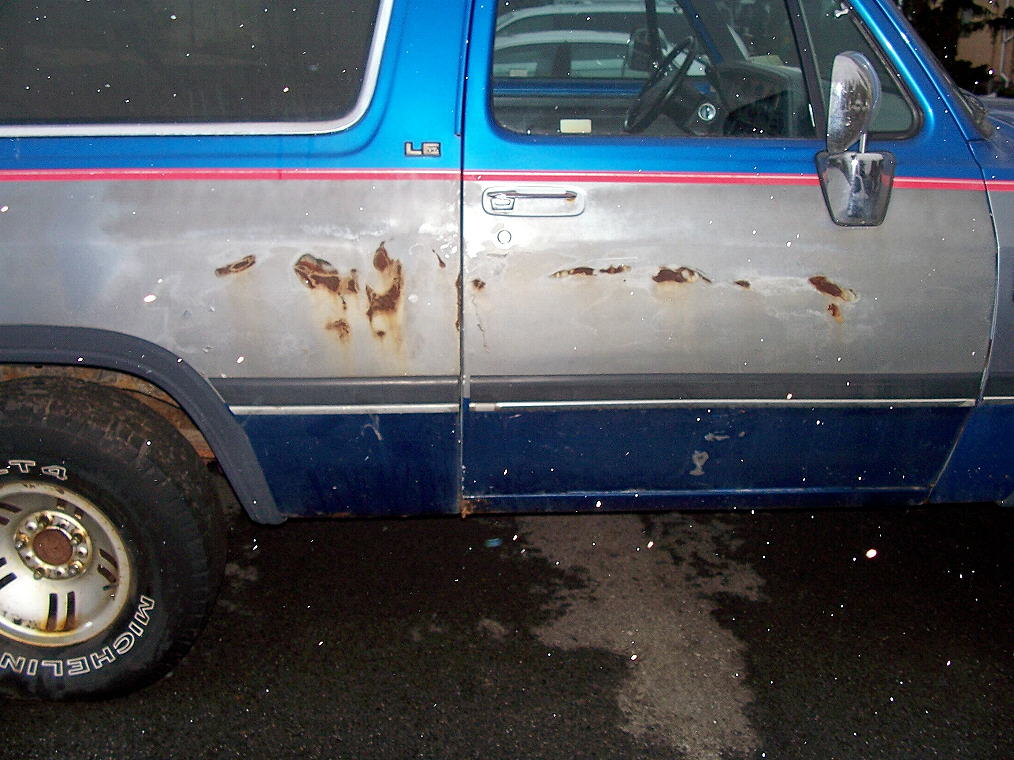
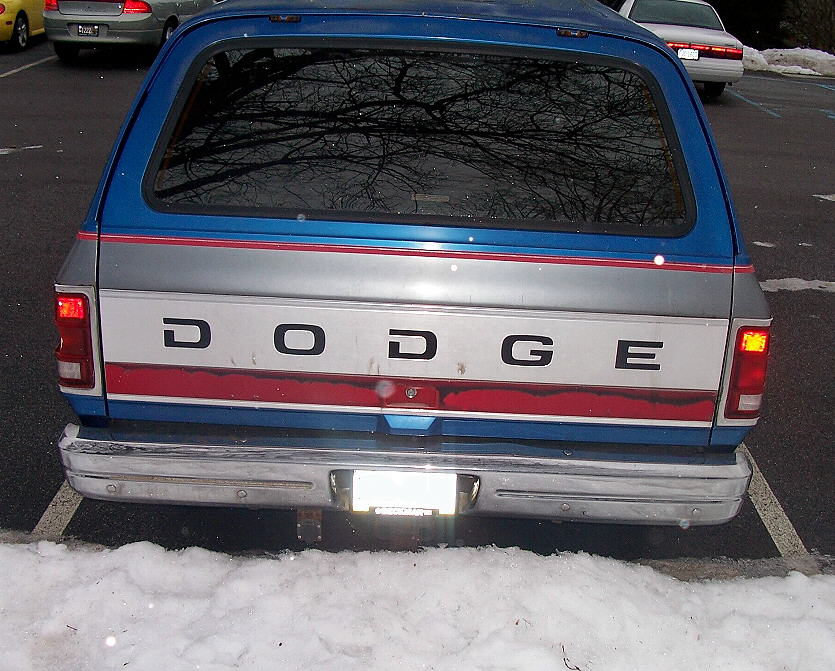
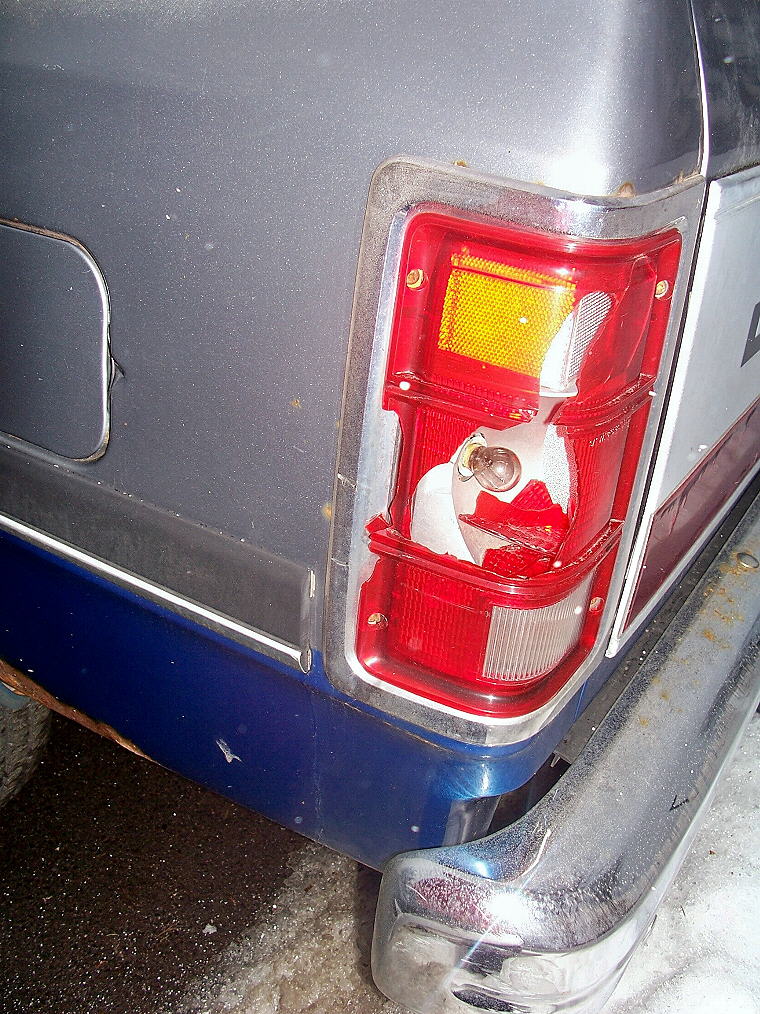
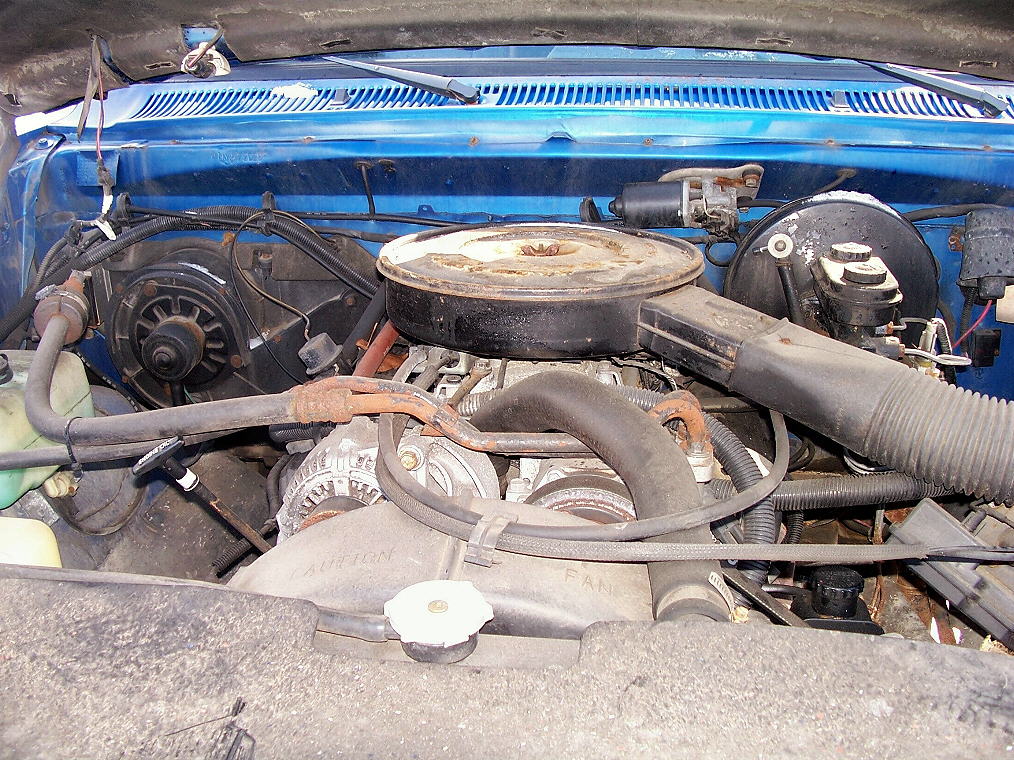
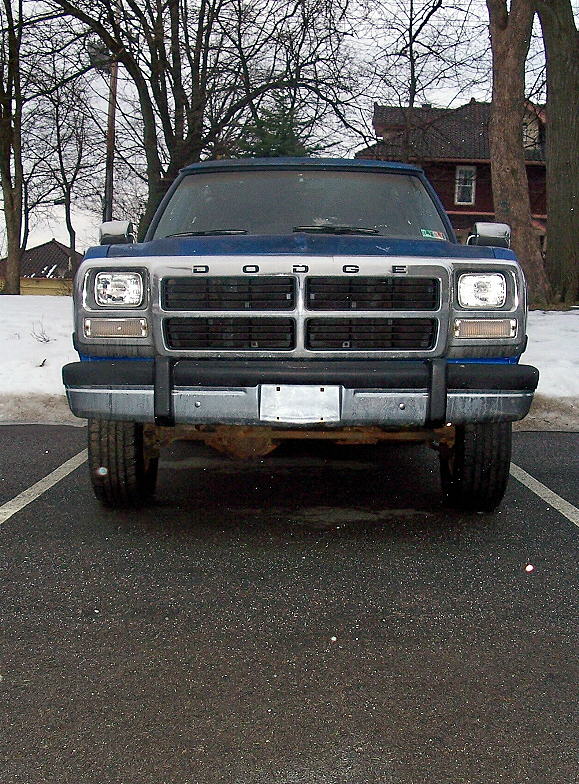
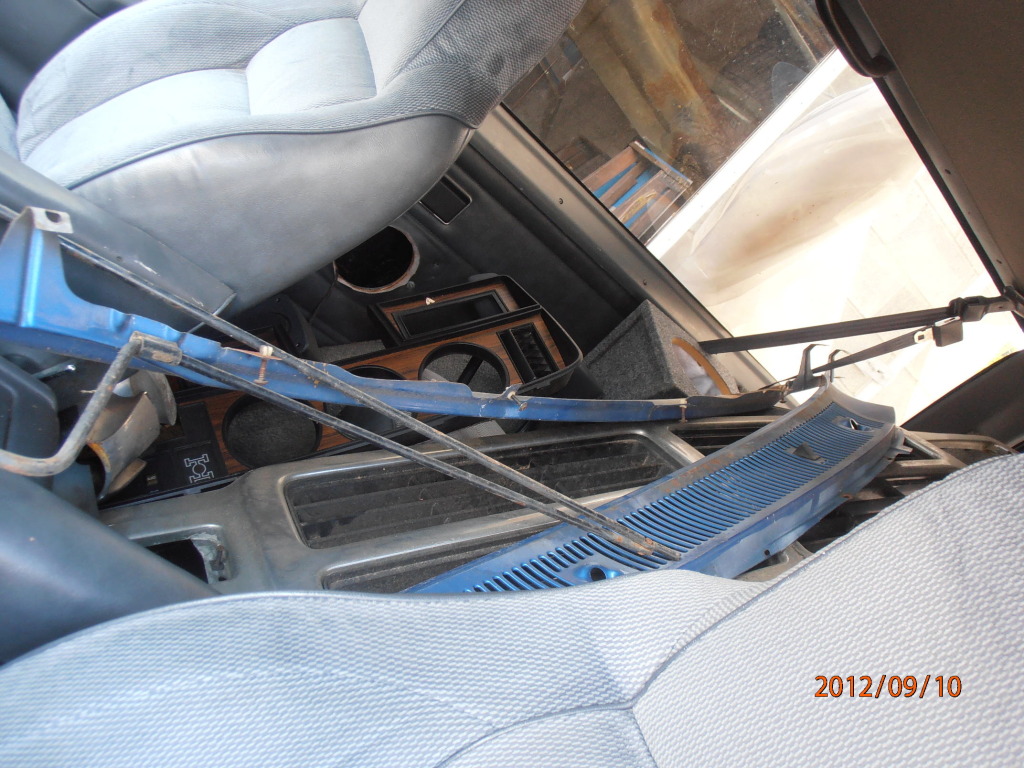
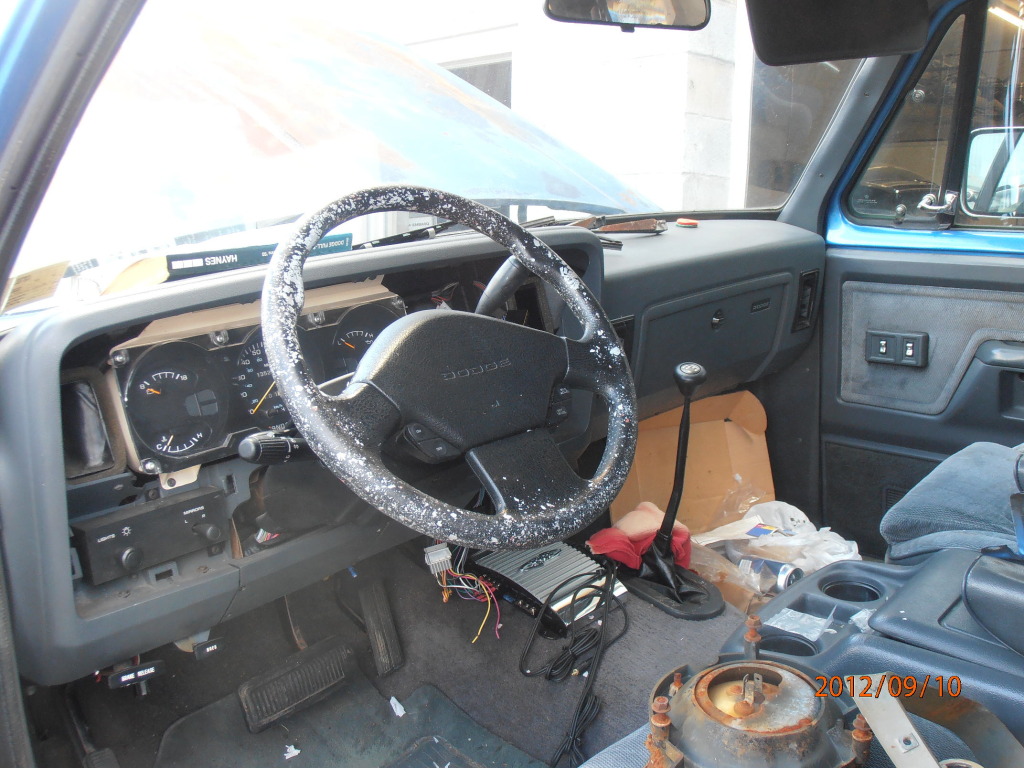
Sooooo... flash-forward 13 years, a marriage, and 4 kids later, and I figured I was waaaaaaay beyond ever owning a Ramcharger by now - especially since the last one in the states was built in '93 (they built 'em through '96 in Mexico!)... but all of a sudden, this '92 fell into my lap! So here's what it looked like when I inherited it (pictures ca. January, '07).
Well... every project's gotta start SOMEWHERE, right?
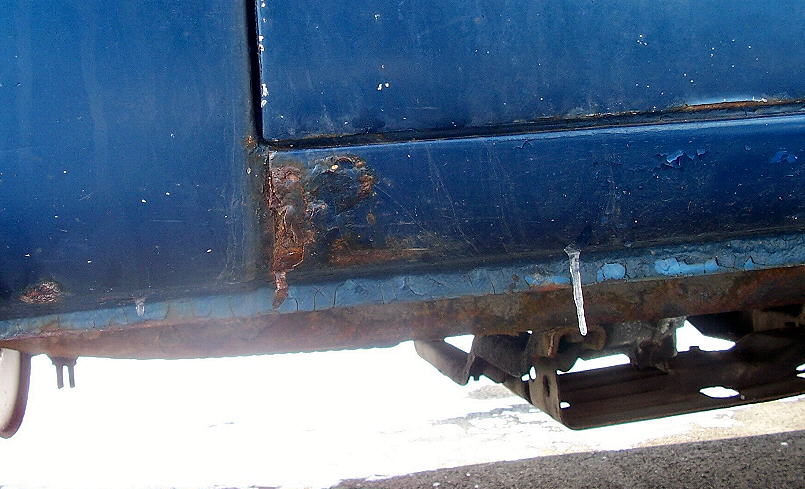
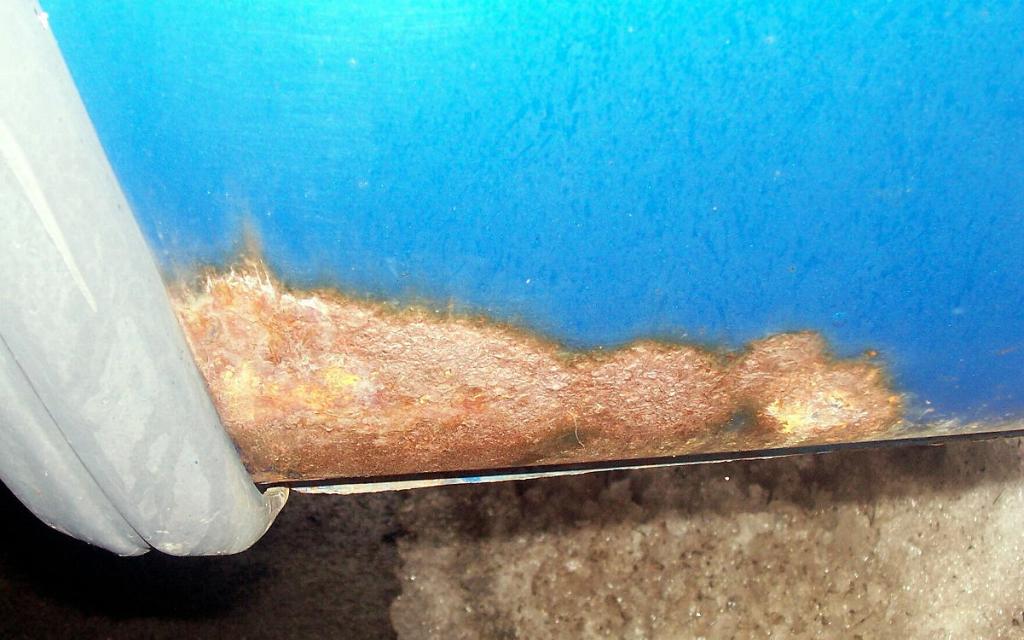
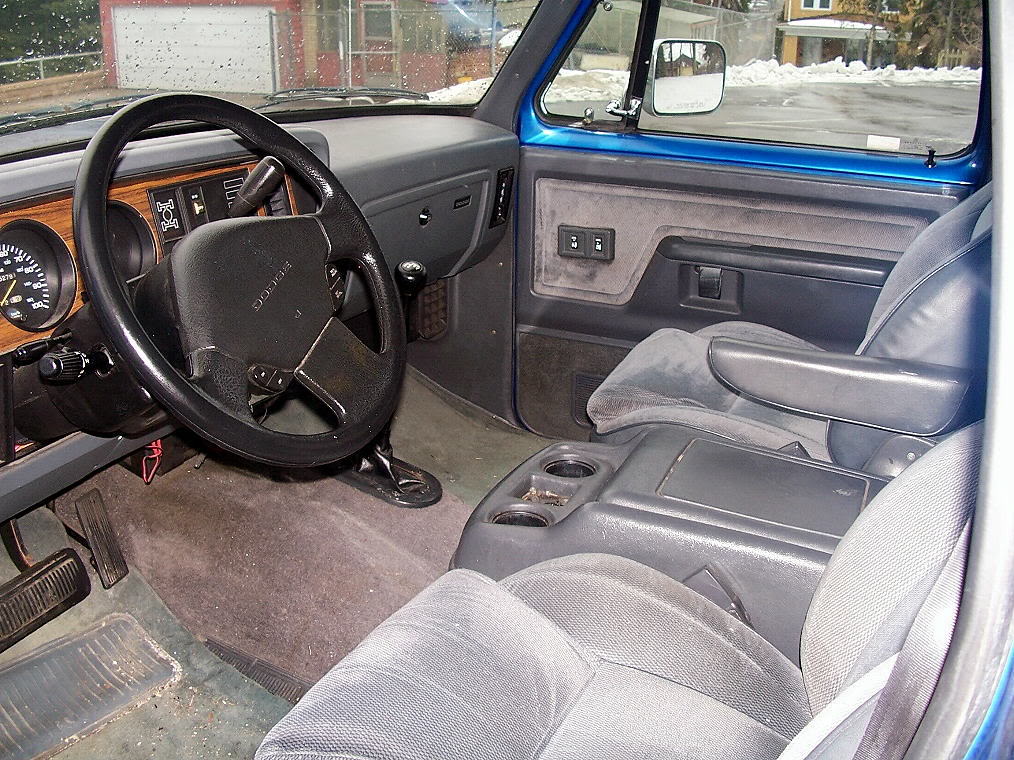
So it's a tired, but pretty solid (for Pittsburgh!) '92 Ramcharger LE150. 318 Magnum, 3.55 gears, A518 auto, Dana 44/Chrysler 9 1/4 axles, & rusty rear lower quarters and drivers side floorboard. You CAN'T fight Pittsburgh rust, but Dino was meticulous with service and care, so the interior was in GREAT shape, and the mechanicals were all solid.
As I ain't exactly made of money, the truck would end up just sitting a little while longer. My current profession is NOT car related, and allows for precious little time to work on them. Having grown up a gearhead just north of the Charlotte Motor Speedway (we were ALL gearheads back then!) I know HOW they work, and what's needed to improve them, but I lack the skillsets these days to make it happen. What little skills I've retained are only slightly more rusty than the truck I inherited. I'm getting a little better, but I'd hafta improve a LOT, to rise to the level of, "SUCK."
That said, my trusted mechanic at the time, offered to help me with a buildup, since he knew my four children are Autistic, and this would be a fun project to get them into the outdoors with. I was going to buy the parts, and he was going to work on it gratis, in his spare time, at his house. This worked out well... for a while... until he got a BETTER job, in the Marcellus Shale Drilling industry... out of state. So it ended up sitting a while longer in his shed (out of the elements, but NOT fixing itself!)... until August of 2012!
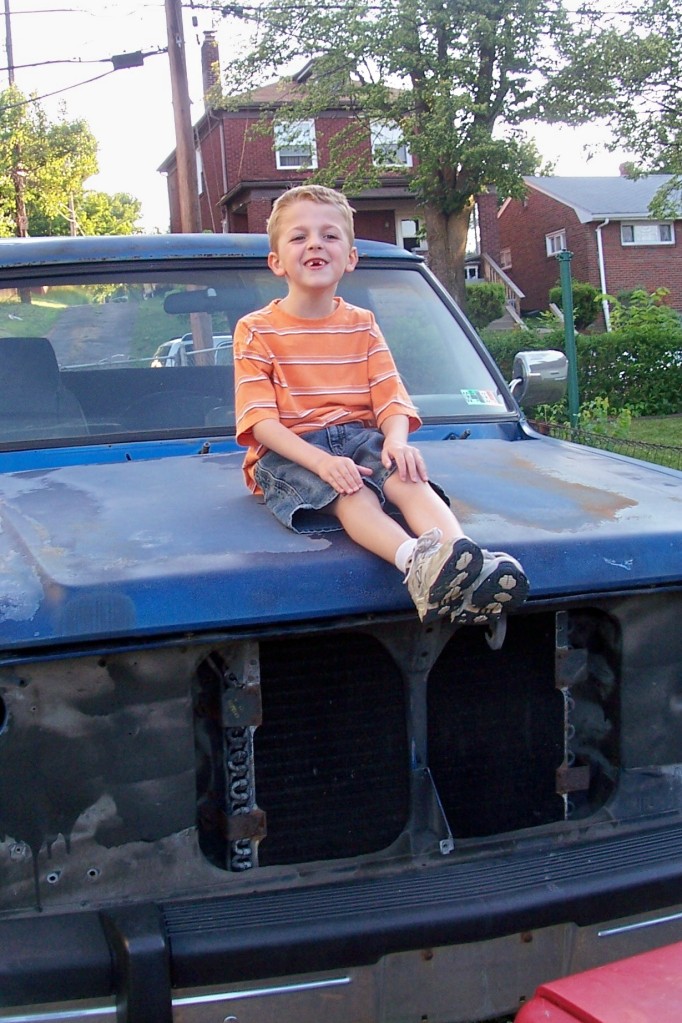
Here's #1 son sitting on it at his house in Carrick, in the summer of '07
BOTH of them are short a 'grill' @ that point...
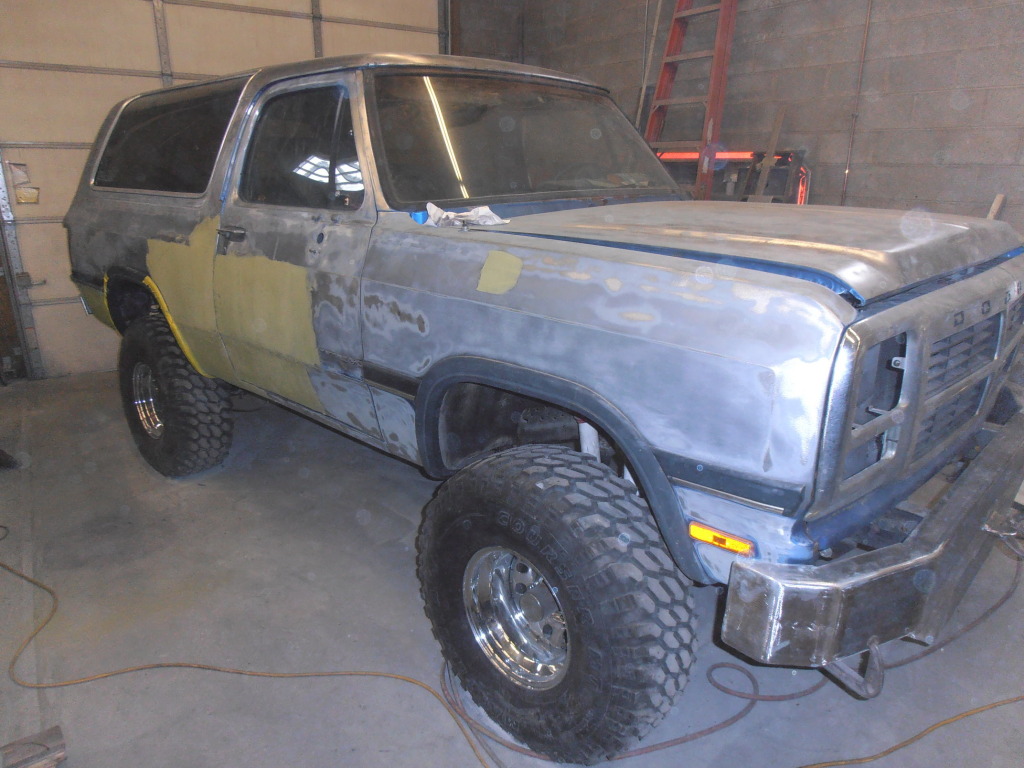
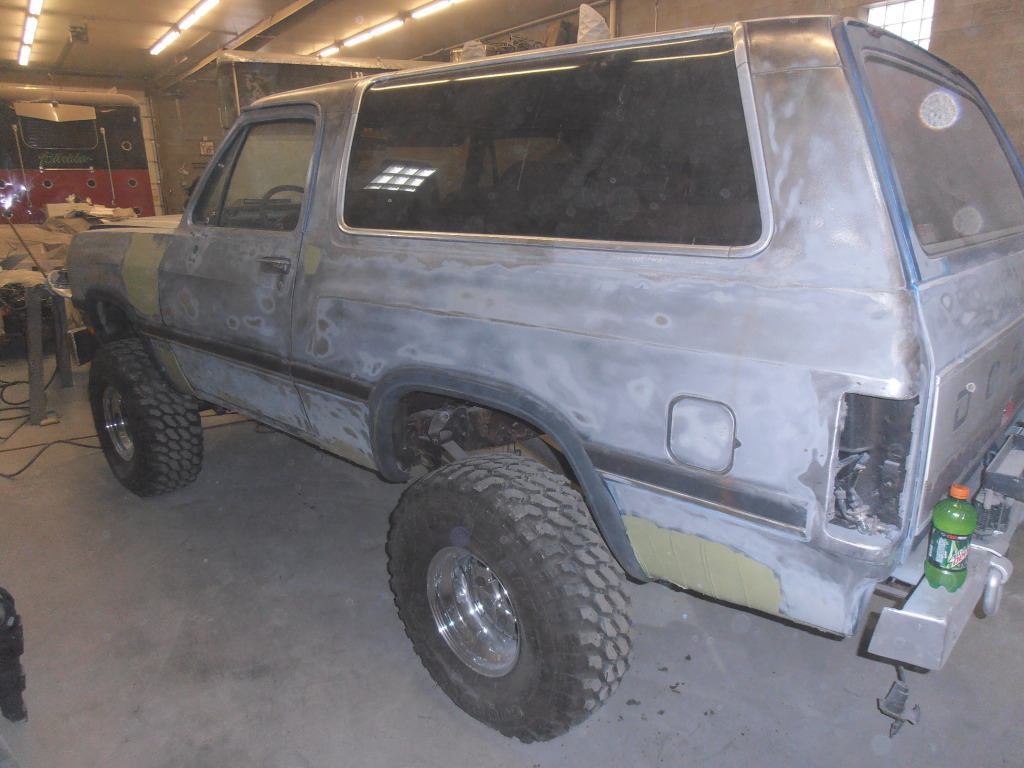
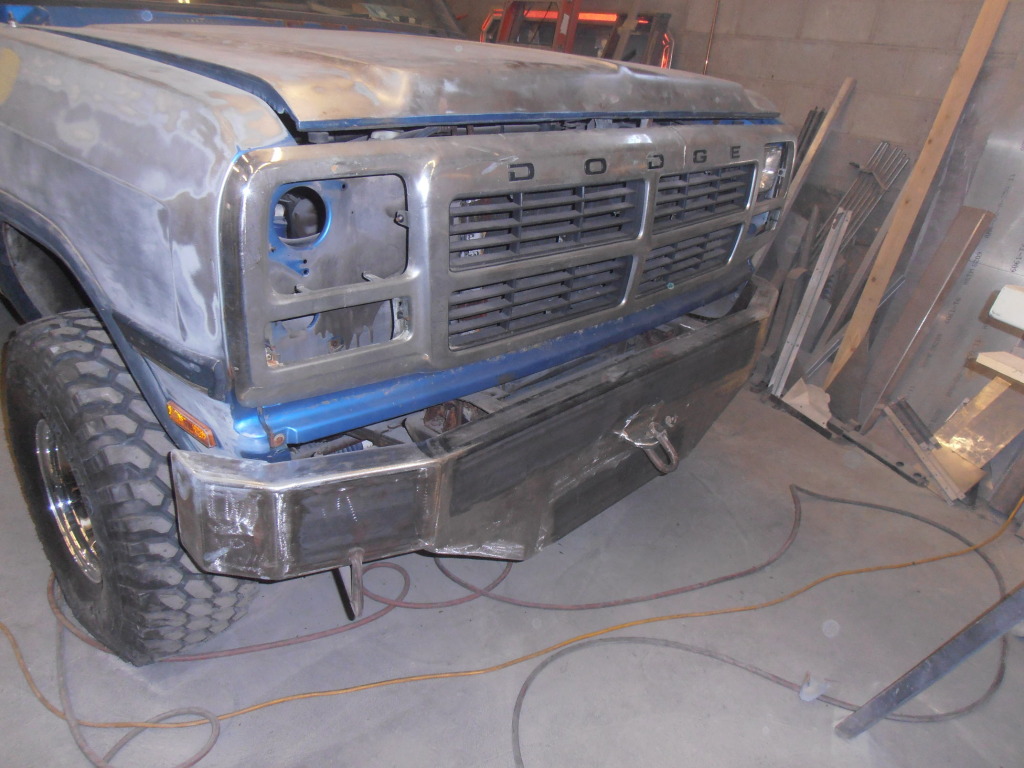
A friend of mine at church with a professional shop (specializing in big rigs!) wanted to help me out, so he did a TREMENDOUS amount of paint & body work to it for me, and completed the lift, albeit, not EXACTLY to spec (Exhibit A - NOT shimming the rear axle! ). Some of THAT process, looked like this!
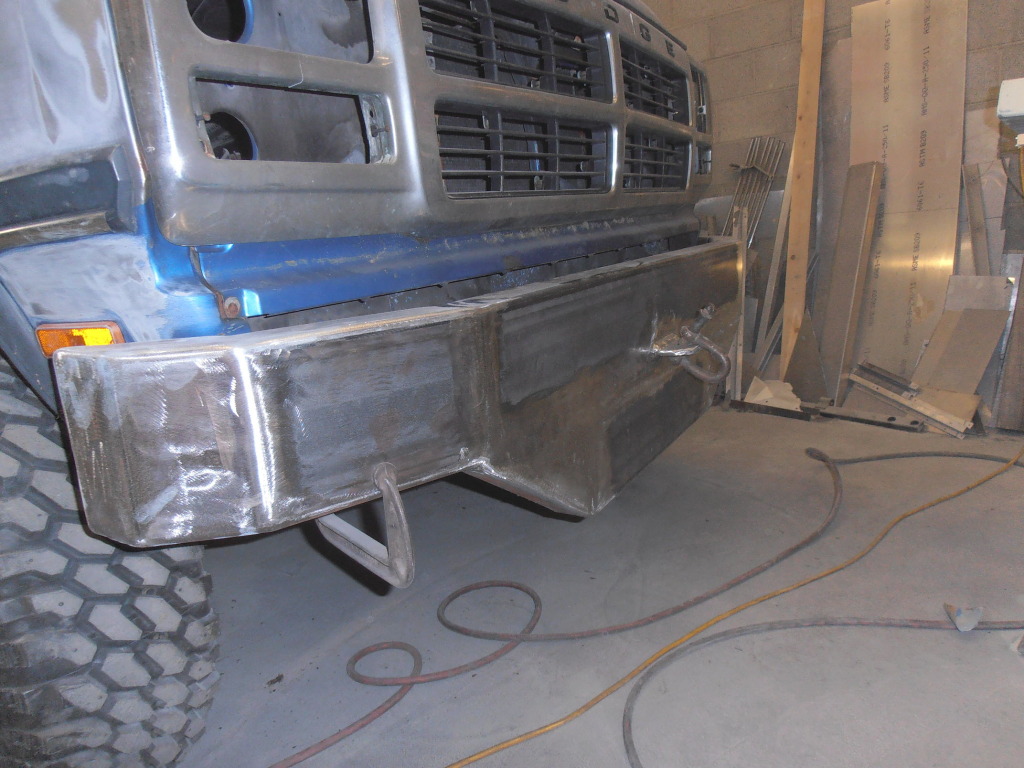
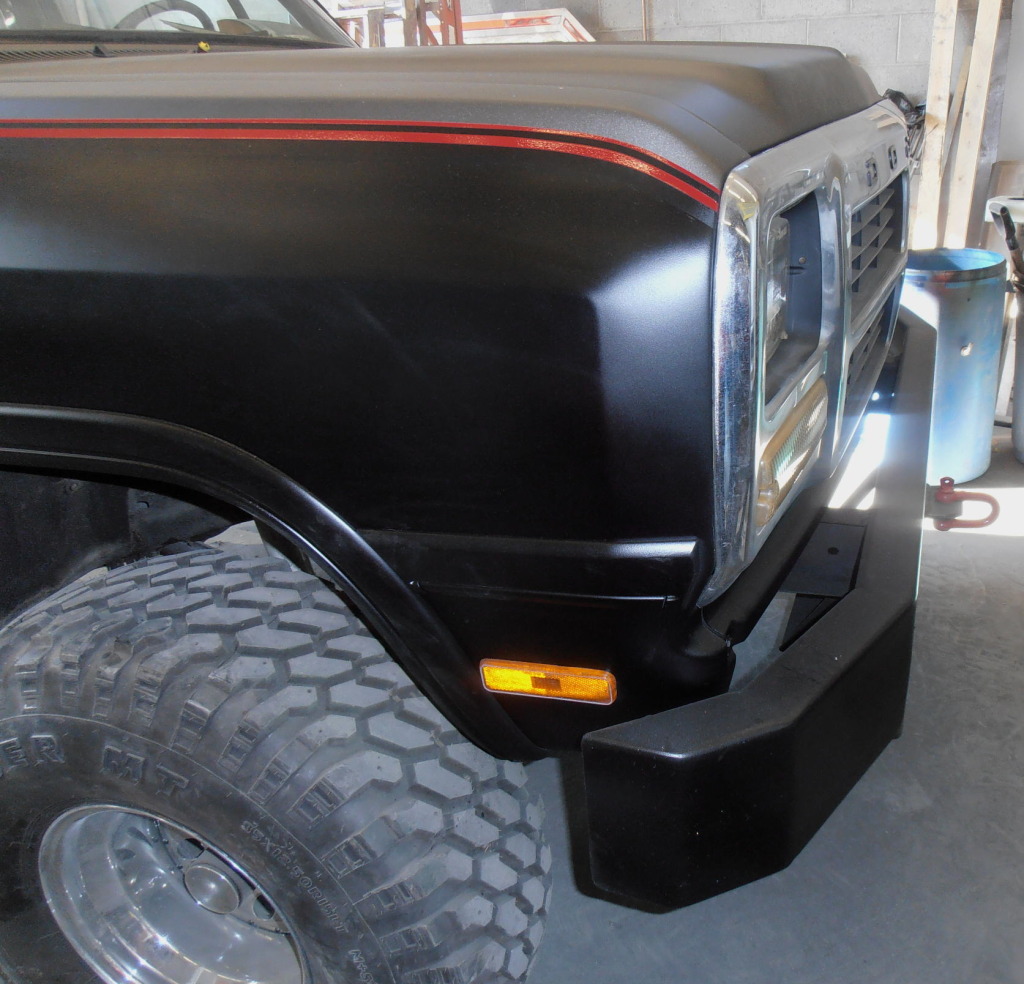
I'd purchased the tires, wheels, & multicarrier (Kennesaw Mountain Products - now Tactical Armor Group; ordered this BEFORE I knew about their crappy service!!!) back in '07... but they'd sat in storage UNTIL this point, when Jimmy started getting it all assembled. He fabbed up the front bumper as a custom piece.
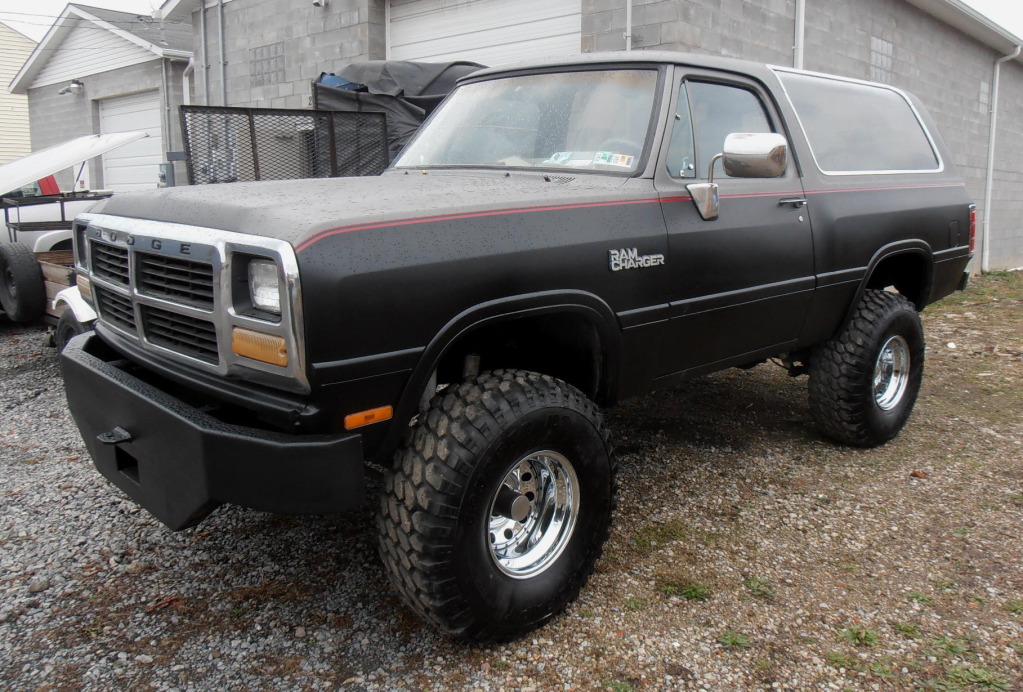
And the finished product, came out looking like this!
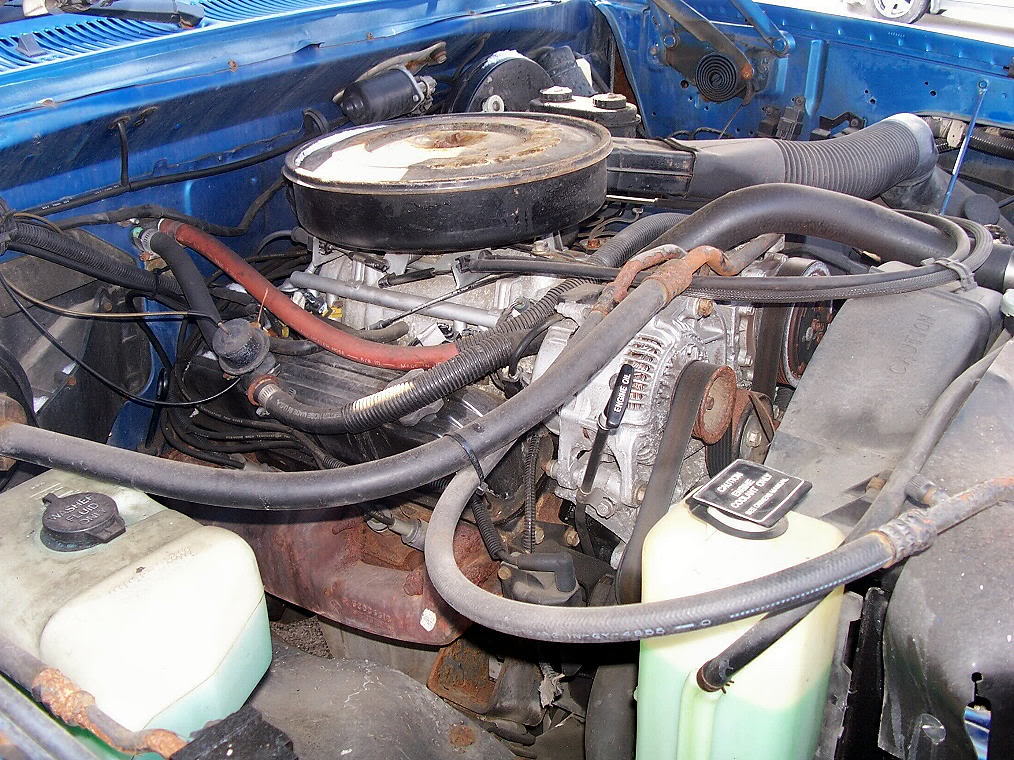
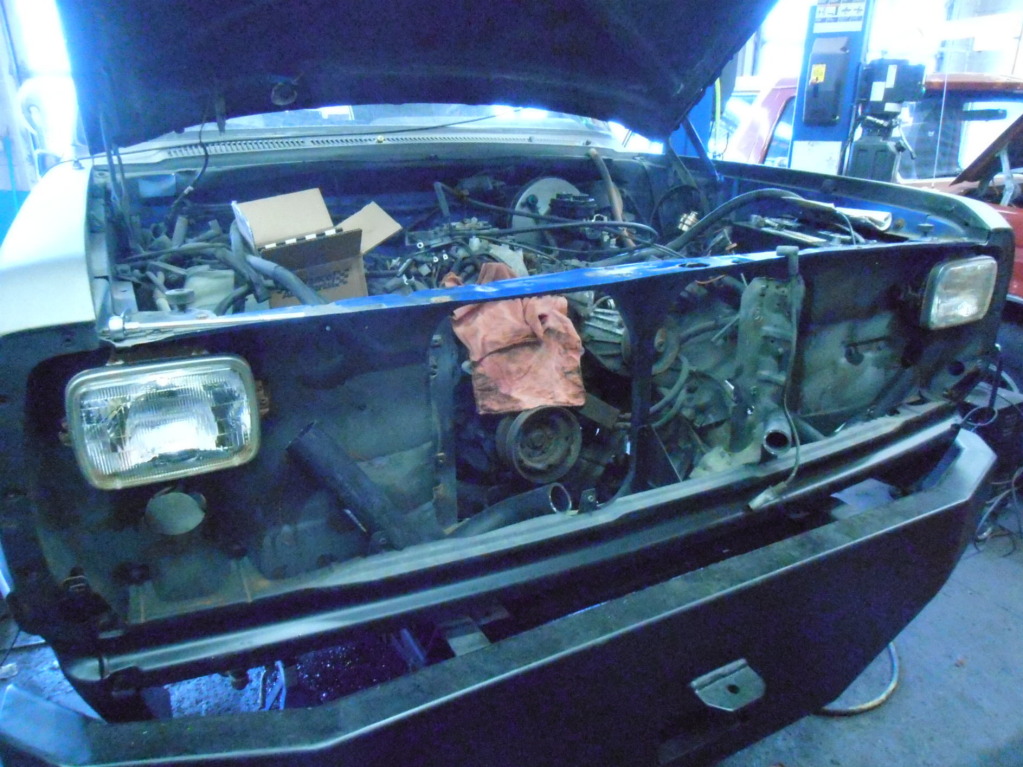
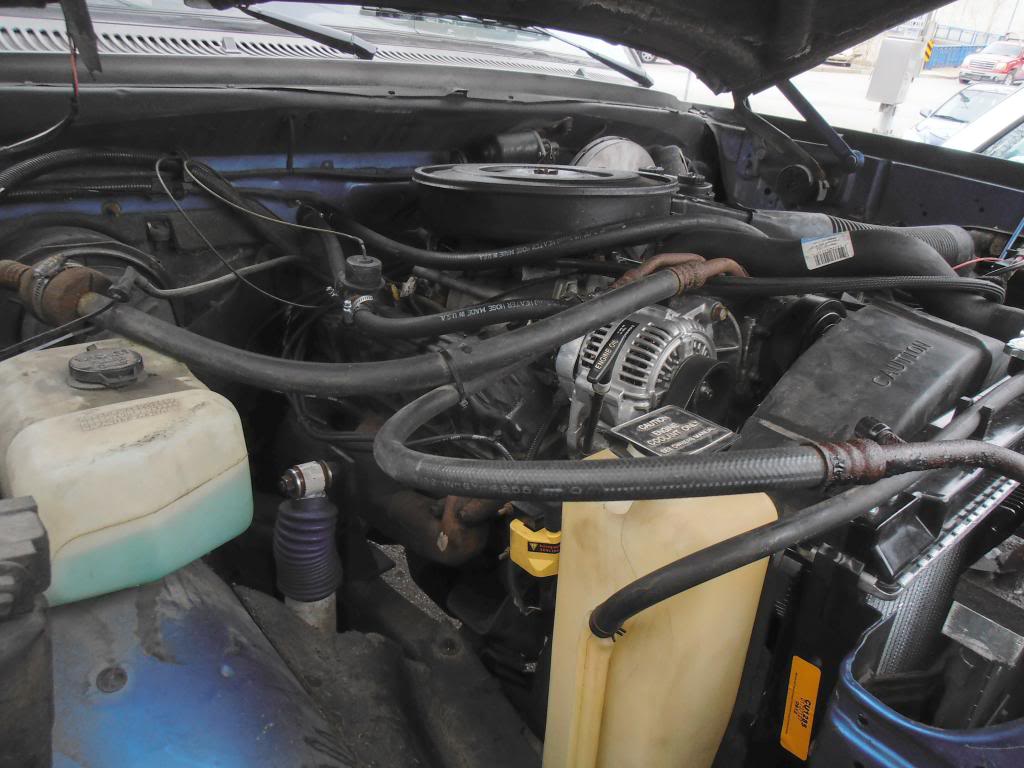
Of course, at THIS point, it was just a big, shiny, paperweight - the engine still turned and ran fine - but EVERYTHING else under the hood needed replacing. THREE things that saved it, as it turned out;
1) The previous owner had it tuned up, JUST before he died
2) I had the oil changed, JUST before it got parked.
3) The antifreeze looked low, so I added a gallon of pure Prestone, before it got parked.
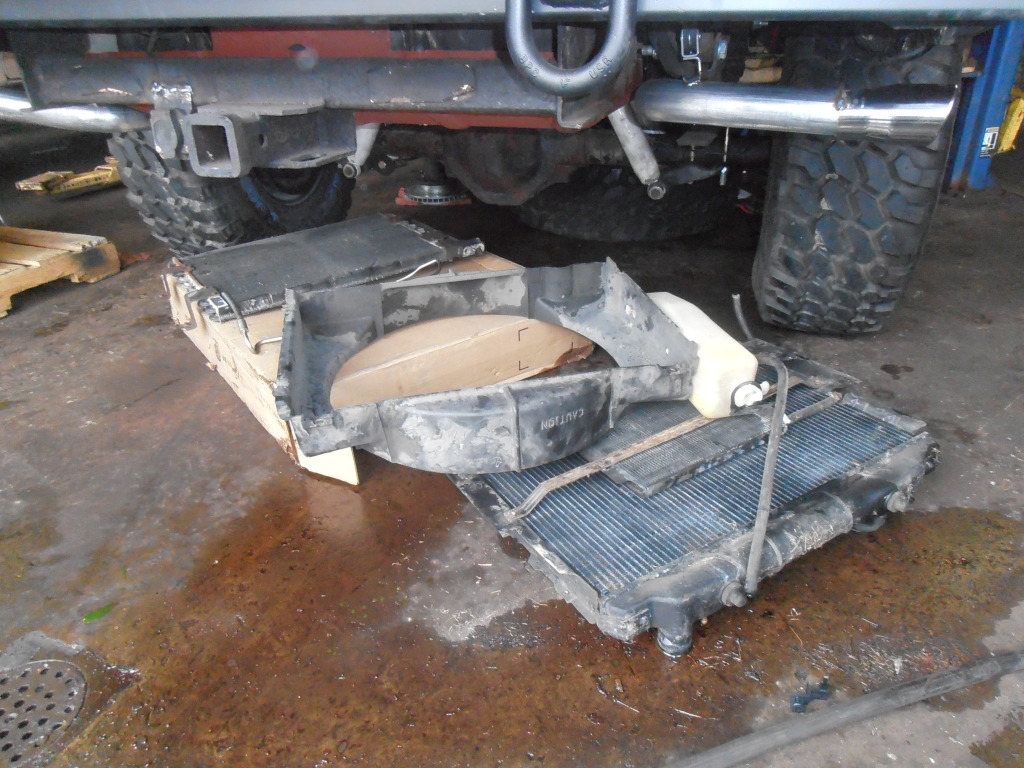
When we pulled the radiator in 2012, there wasn't a BIT of scale in it, and flushing the engine, there was no rust... so we SAVED the waterjackets, and basically the engine! Not that I still won't drop a crate Hemi 392 in it, as soon as I win the lottery... :rck:... but new engines aren't cheap - especially if you take the time to build 'em right, from the start. At least this way, I can still drive it, while doing ti piecemeal.
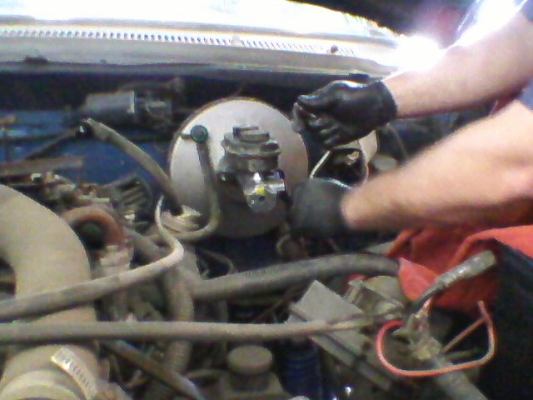
So the truck rolled, but every belt, hose, and vacuum tube on it has dry rotted, sooooooooooo... it's off to my buddy Chris's, at Monro Muffler.
Before all was said and done, I think it had more vertical miles on it, than horizontal miles, over the previous 6 years!!!
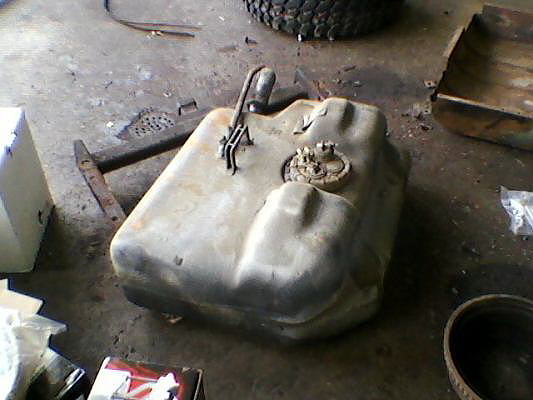
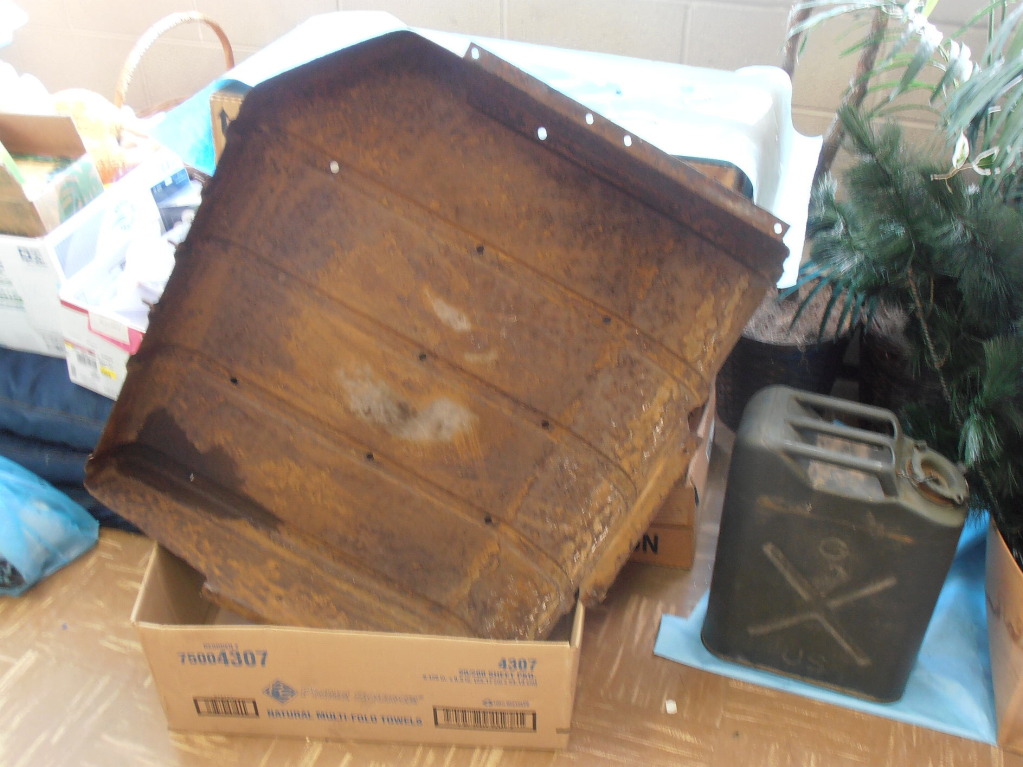
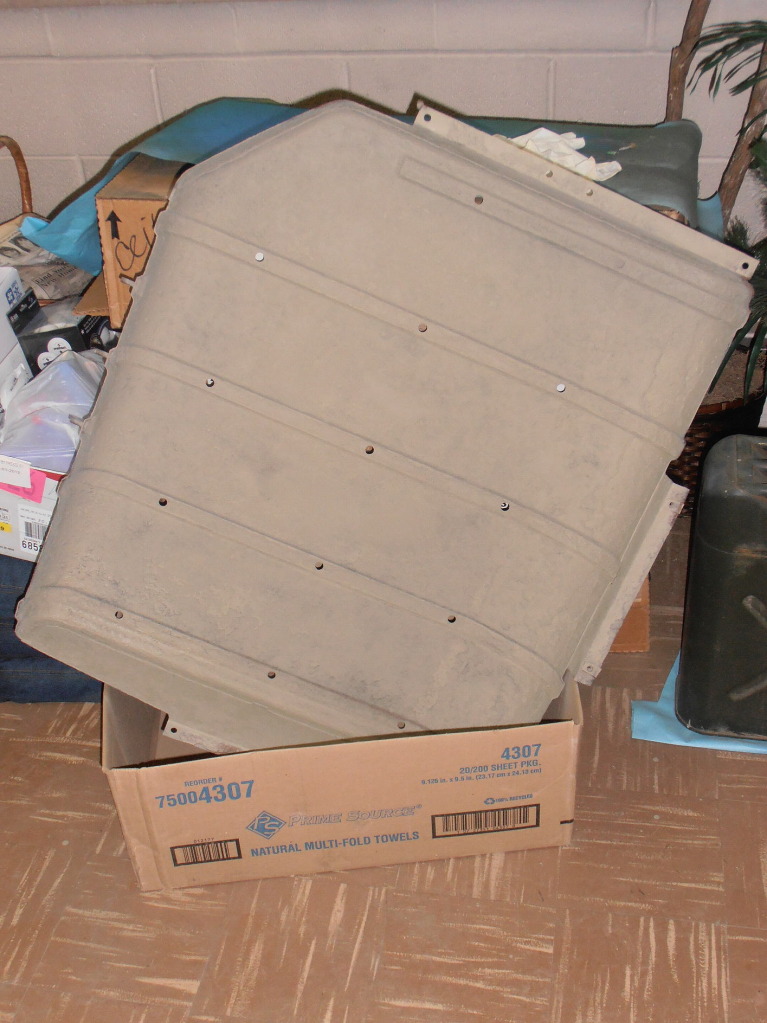
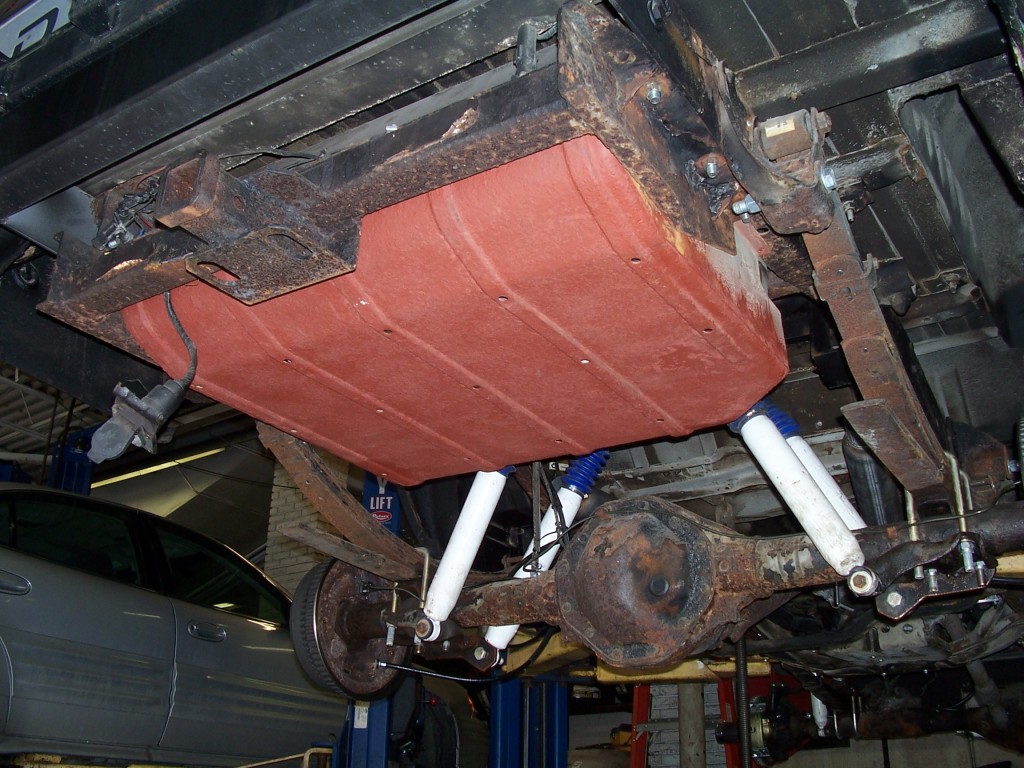
It was a sunny day last January, when I asked if I could have the tank skid, while he was replacing the fuel pump. I brought it back home, and quickly scrubbed about 2lbs of RUST off the inside and outside of it. I took it over to the craft room in the Education building of my church, which I'd long used as a draft booth in the winter for my son's Pinewood Derby cars, and hit it inside and out with some Rustoleum I had laying around from other projects (burnt orange primer and Desert Storm tan camo!). Not exactly 'factory' colors, but I figure scrubbing off SOME rust, and then repainting it, was better than just sticking a plain ol' rusty skid back up there!
In addition to the changes brought about by the lift kit, things I KNOW were replaced on it were;
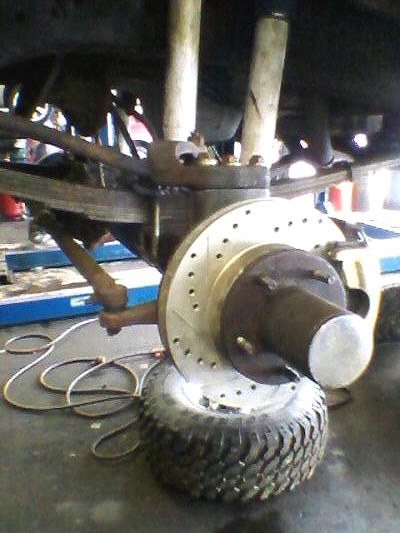
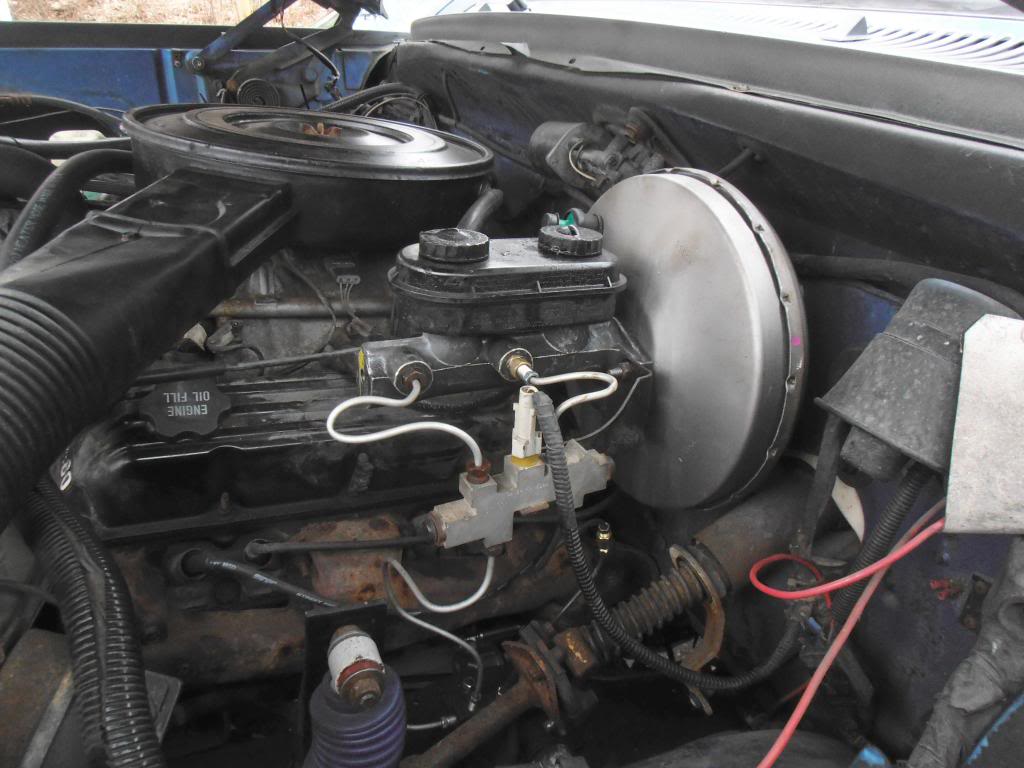
- New master cylinder, booster, brake lines, drums, rotors, pads and e-brake cables
- new a/c condenser, system flush, R134 conversion
- Warn lockout hubs
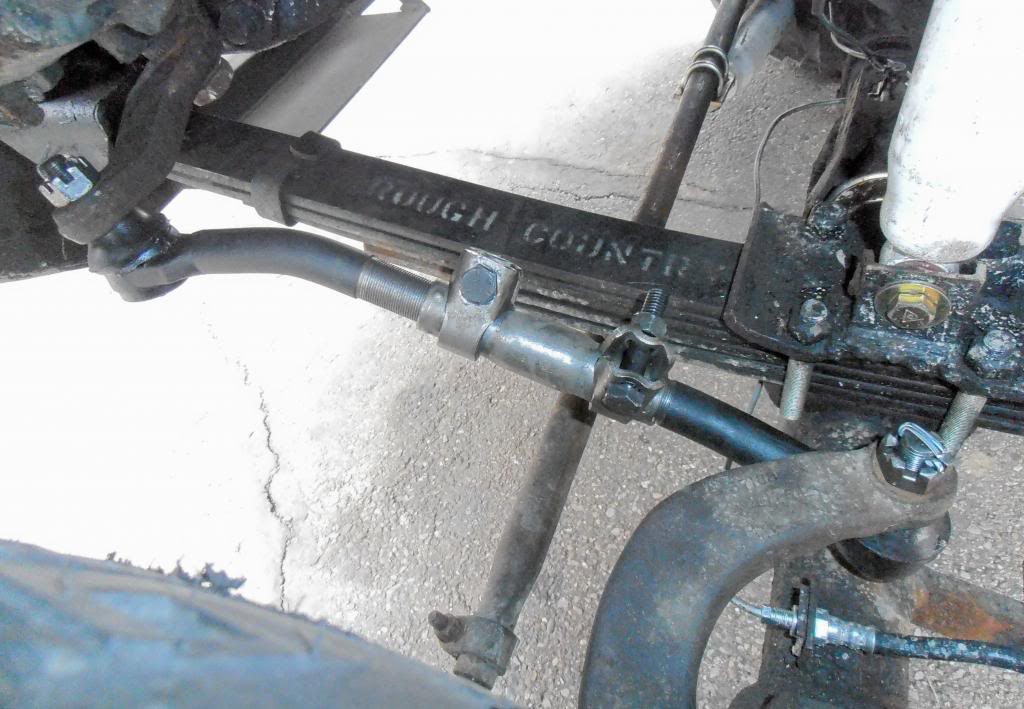
- adjustable drag link
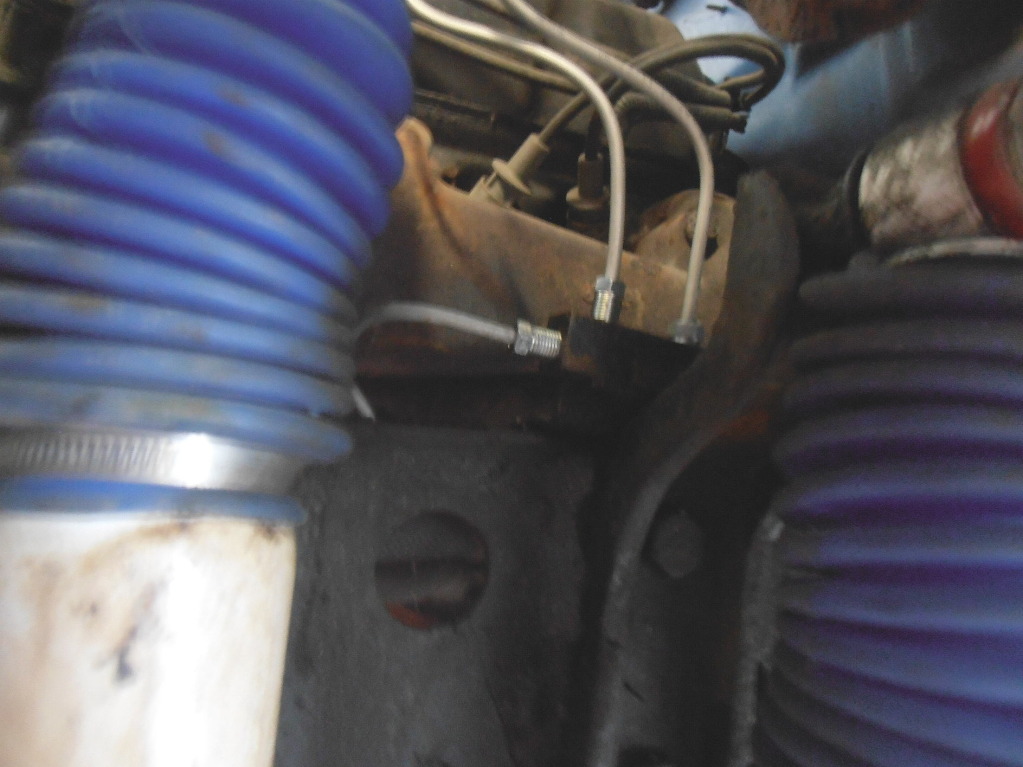
- new fuel pump, stainless fuel lines (custom made in MI)
- new starter, distributor, coil, wires, plugs, & battery
- new power steering cooler, transmission cooler, oil cooler, and radiator
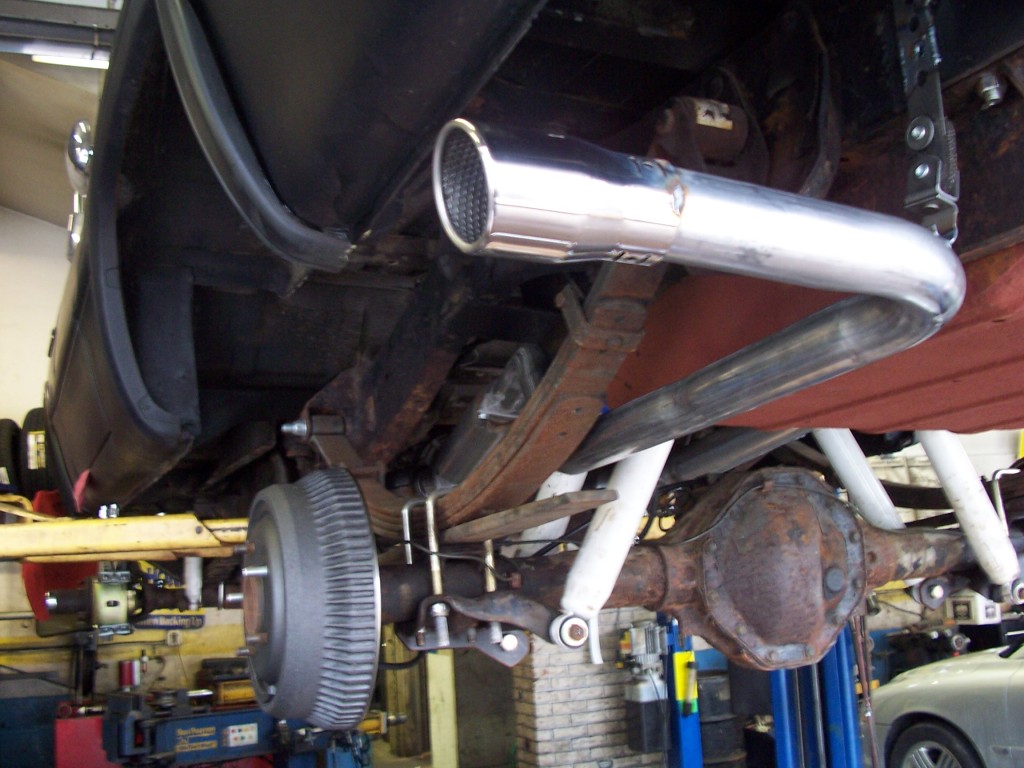
- new, true dual exhaust, including JEGs hi-po cats and Magnaflow glasspacks
- new 125 amp alternator (replacing the factory 65 amp alternator!)
- new CAD (recently replaced with a Posi-Lok)
- driveshaft refurbished at Pittsburgh Driveshaft, with all new U-joints (a new one since built)
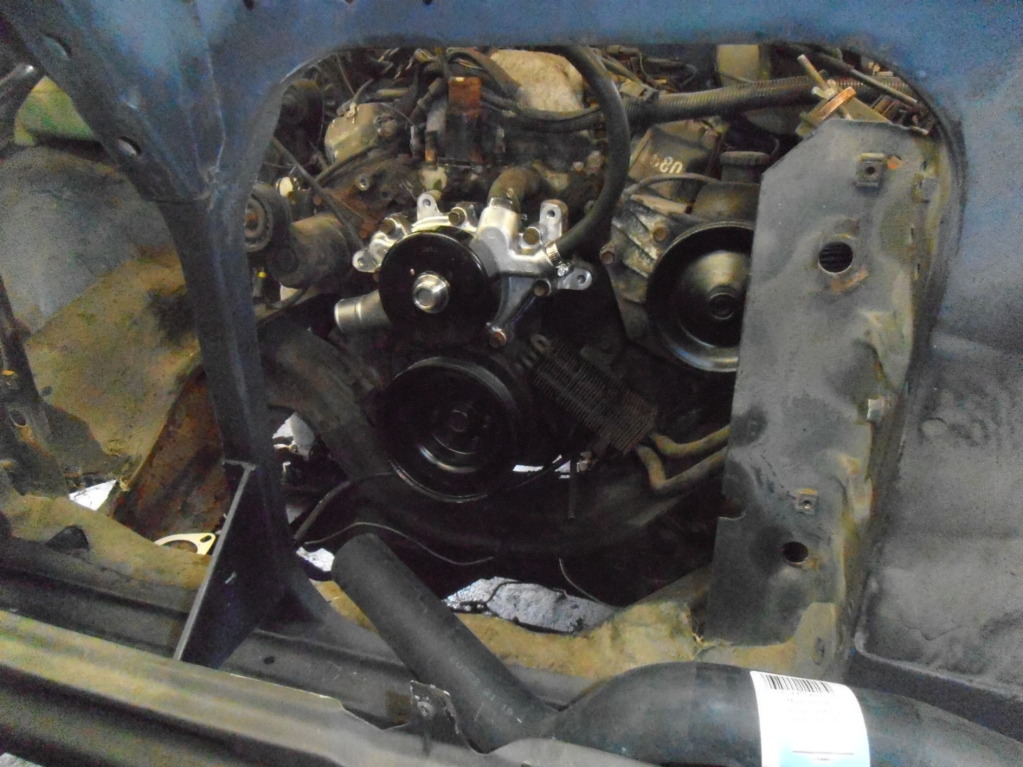
- ALL filters, hoses, and belts
- all pulleys and belt tensioner
Plus a ton of 'miscellany,' like screws, bolts, nuts, and other fun stuff. Looked nominally decent when done!
I added these!
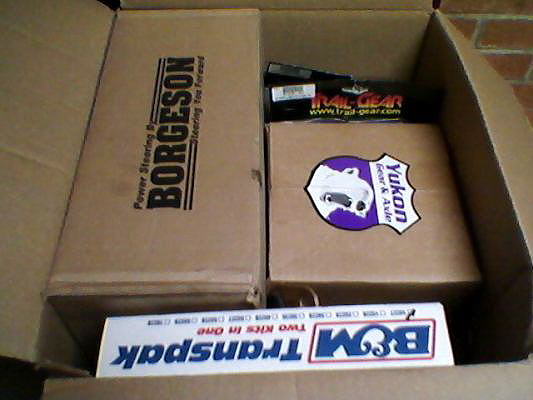
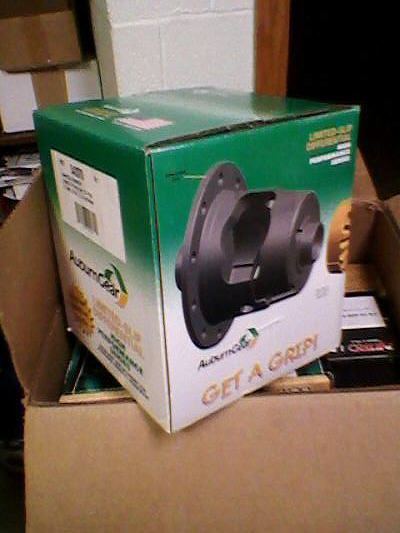
With the truck actually passing inspection and mobile, then came the NEXT batch of components, for Dave to work on over at Gibbs Automotive here in Pittsburgh - the best 4WD shop IN the city.
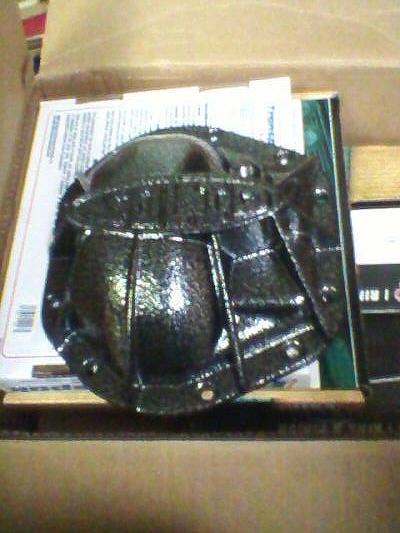
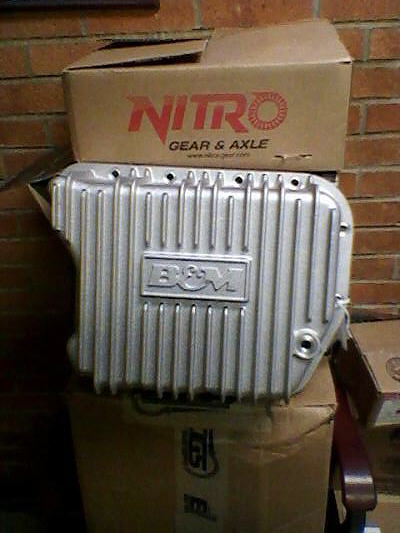
The stuff REALLY started piling up in my office!
So Dave got it in May of last year, and I got it back this April - 11 mos. later. Some of what happened there along the way...
#3 son in the background.
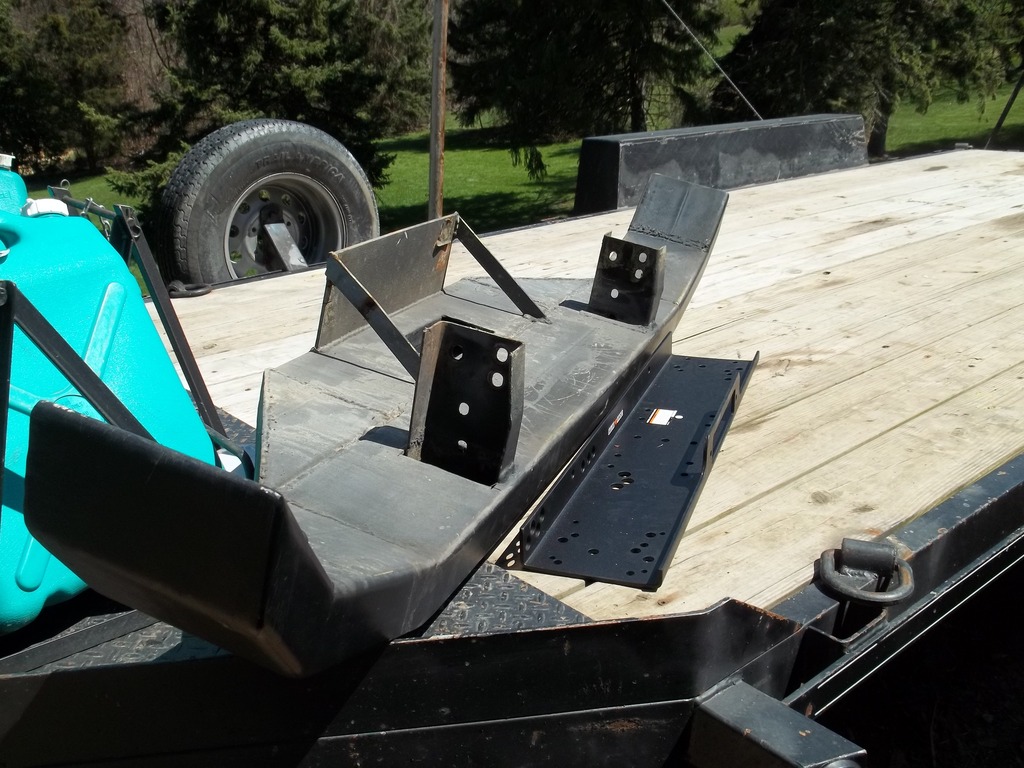
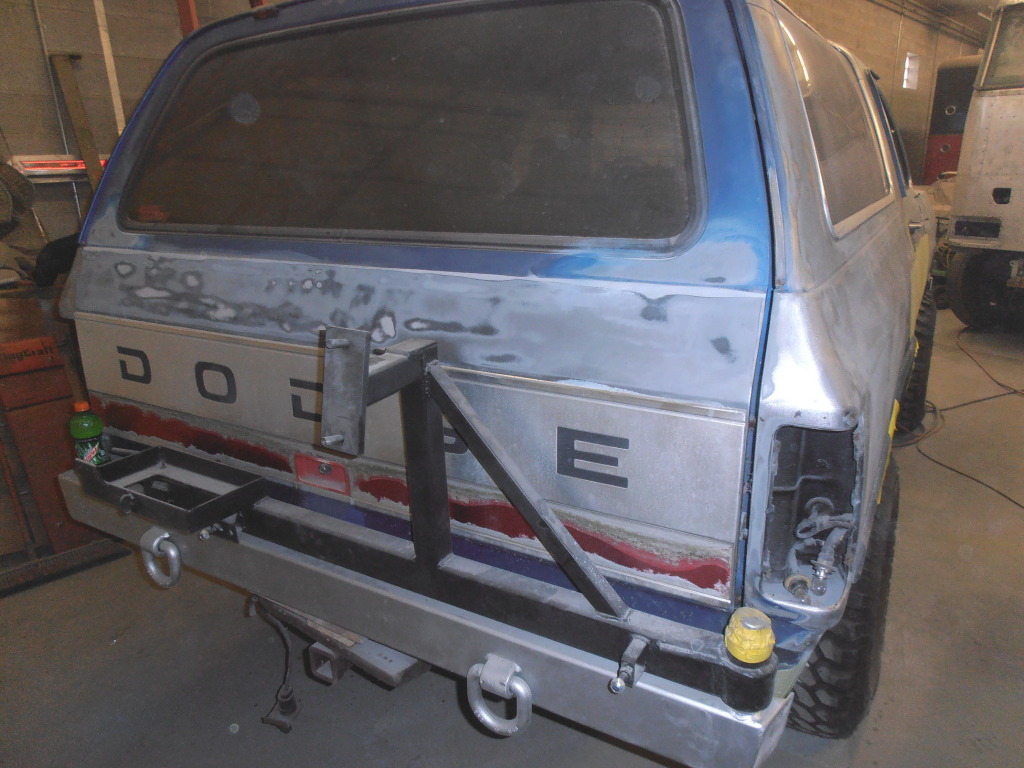
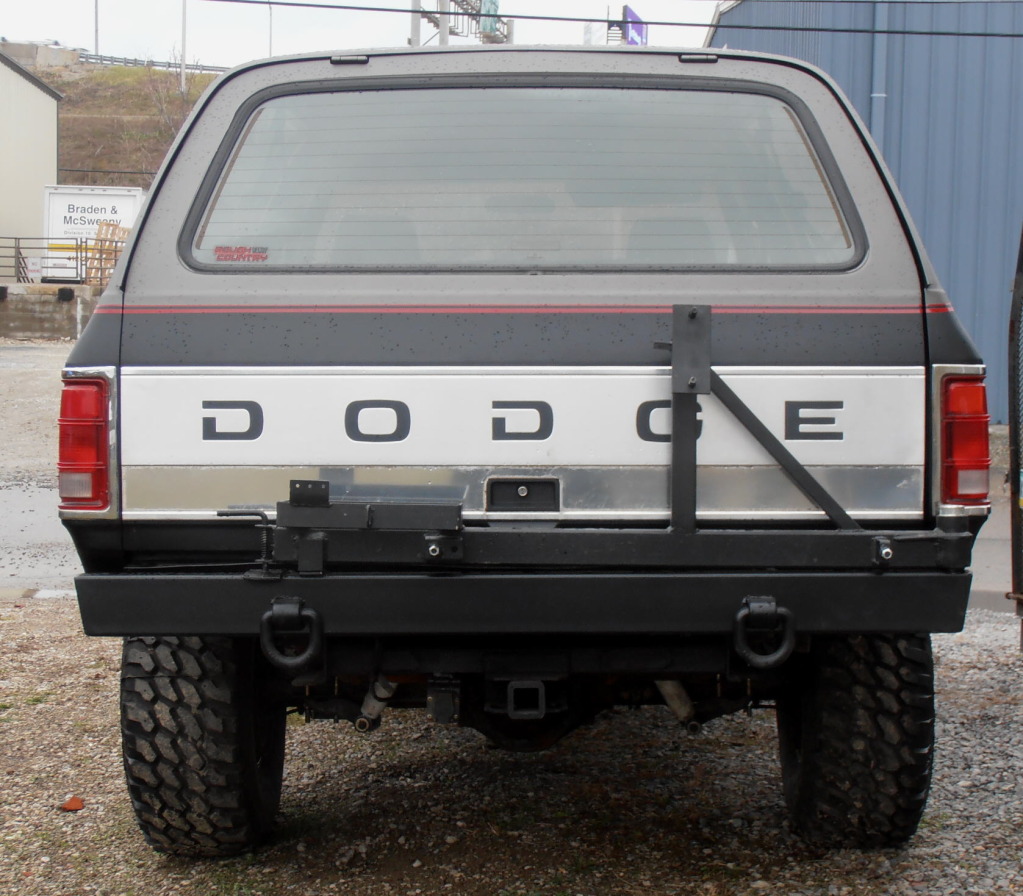
Dave also straightened out the out-of-spec rear tire carrier, so I could ACTUALLY mount a spare tire back there!
Other things that got done THIS time around;\
- re-geared from 3.55 to 4.56
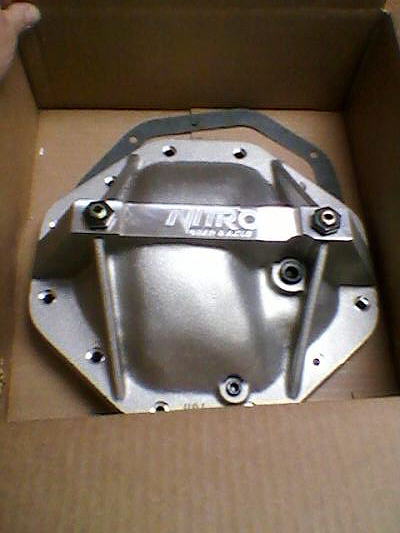
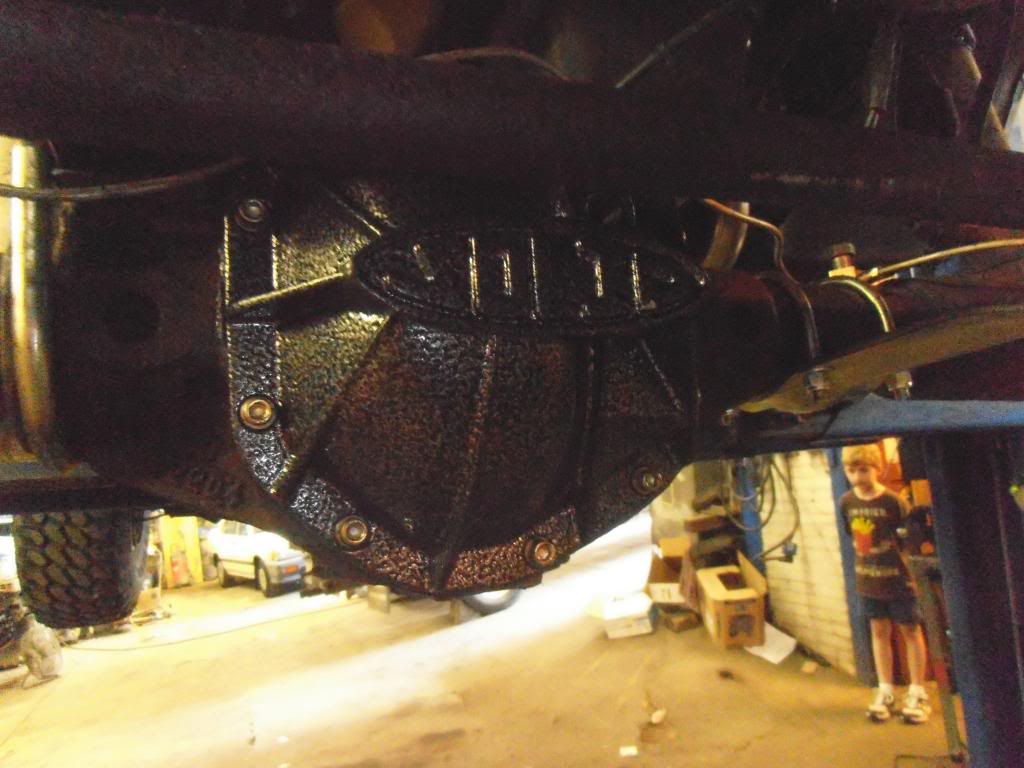
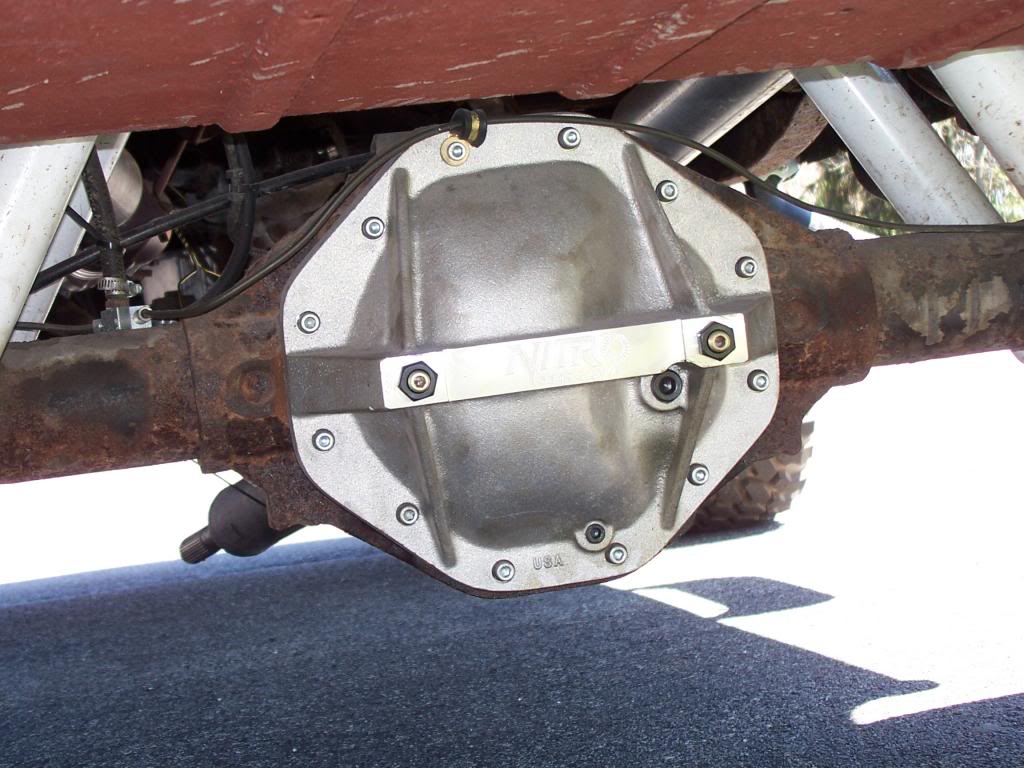
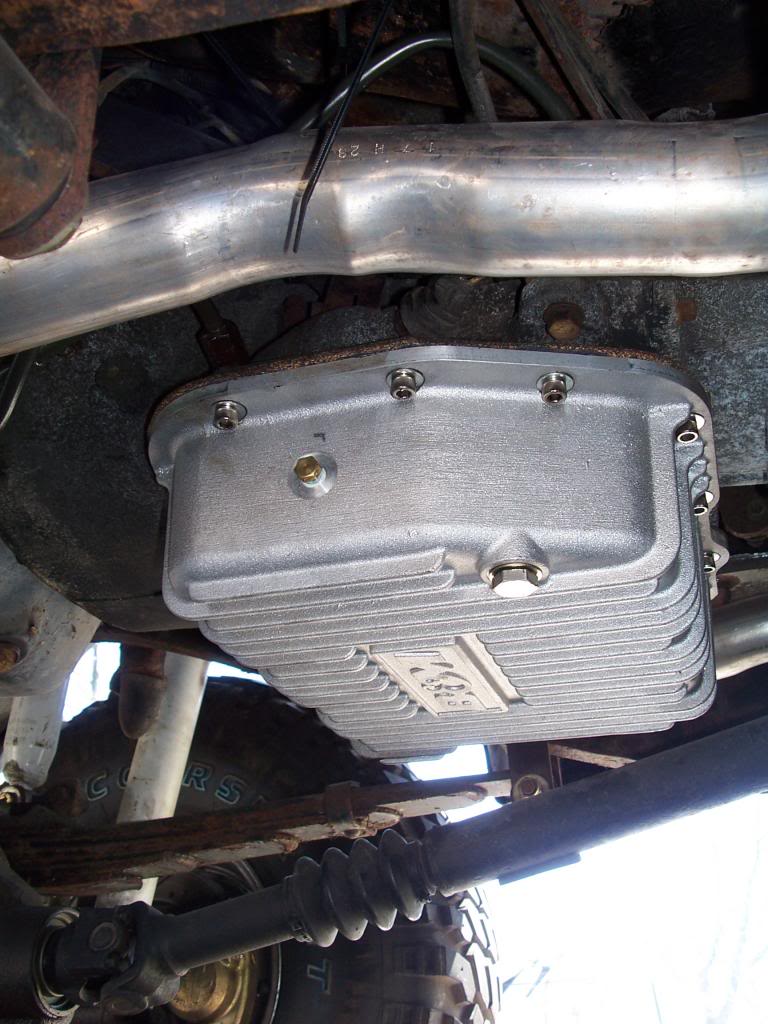
- armored diff covers installed
- armored transmission pan installed - shift cable cleaned, transmission fluid changed
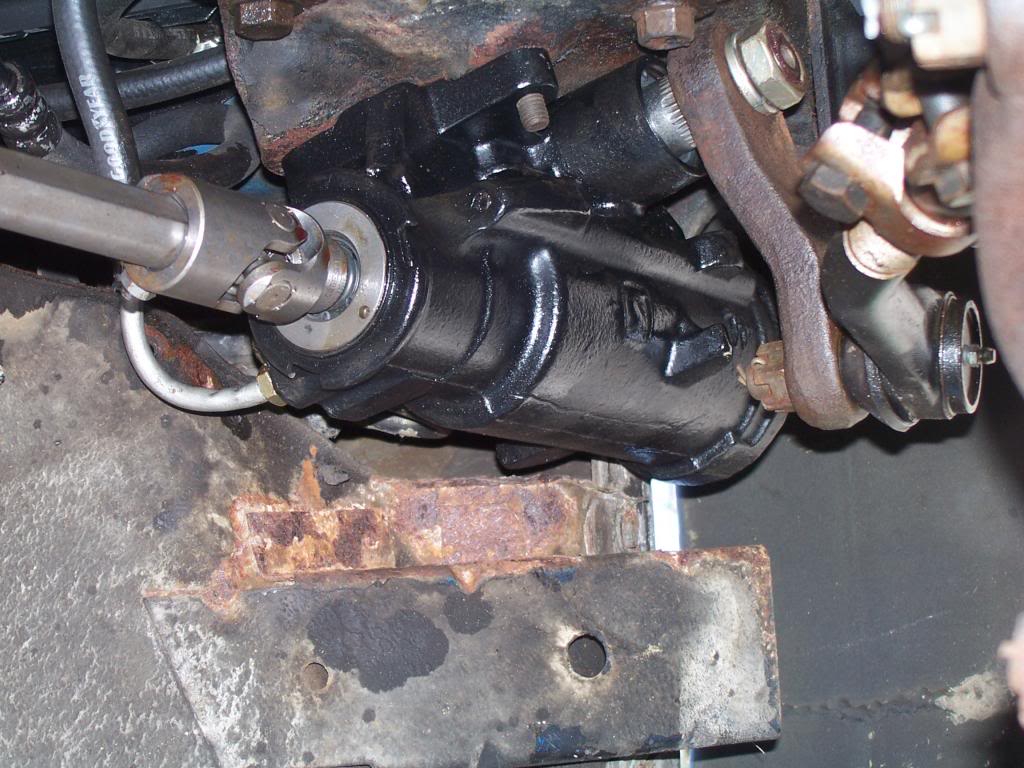
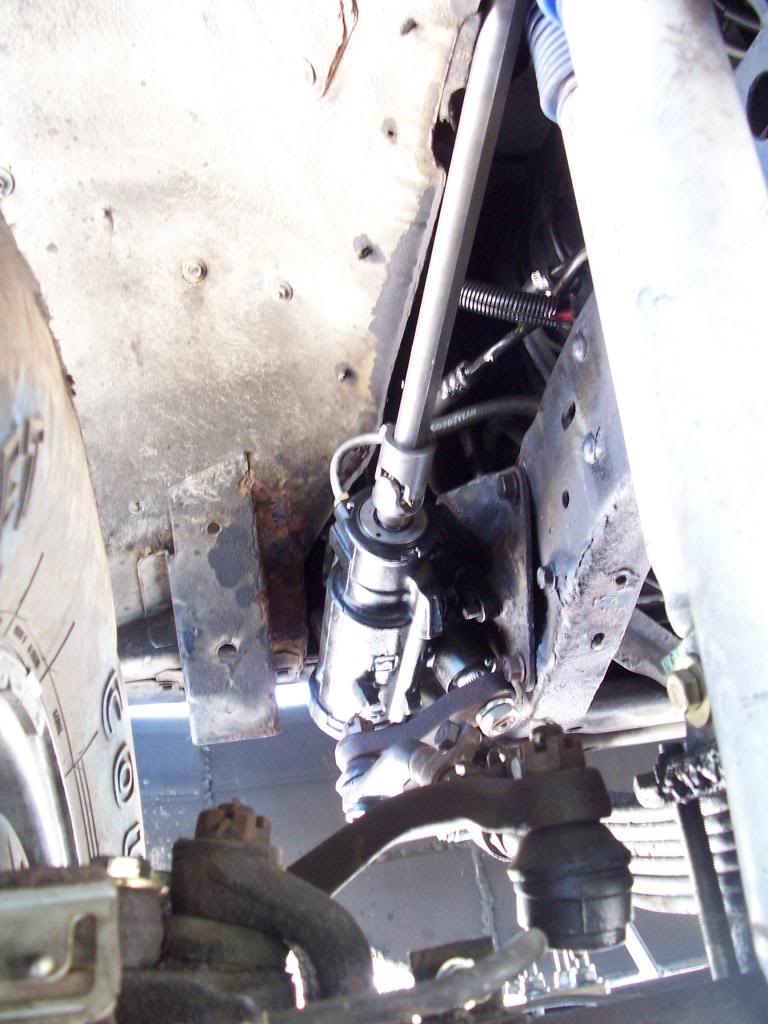
- Borgeson steering gearbox and shaft installed
So now you could DRIVE it... but without shimming that rearend, I was eating U-joints like they were free. So that led to the NEXT project;
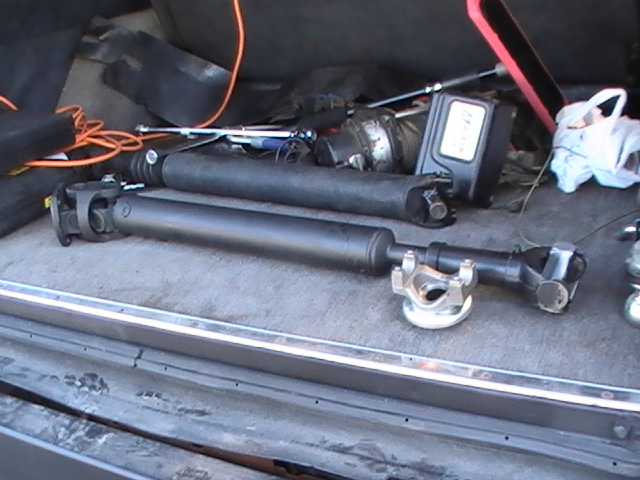
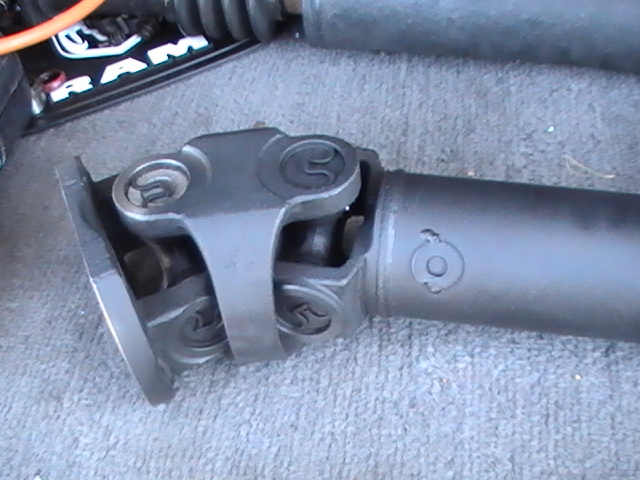
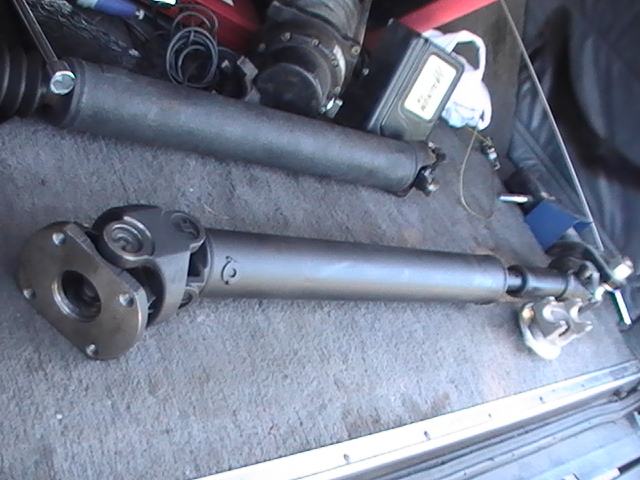
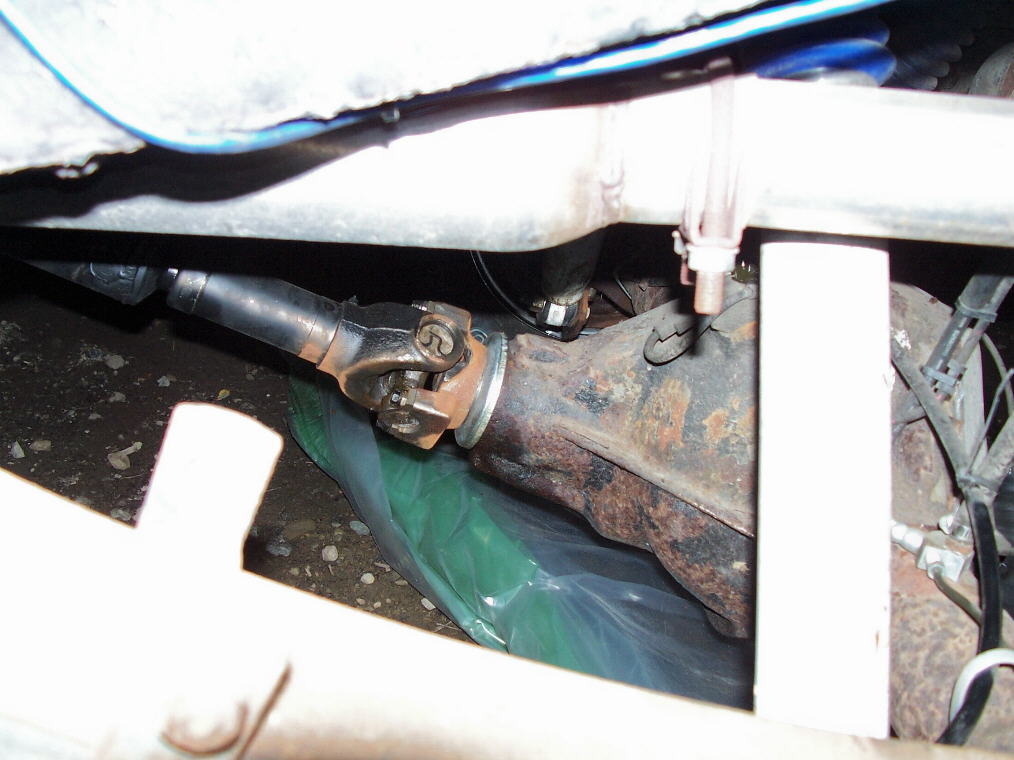
Double-cardon custom drive shaft!
Last edited by The War Wagon; 12-08-2014 at 06:09 PM.
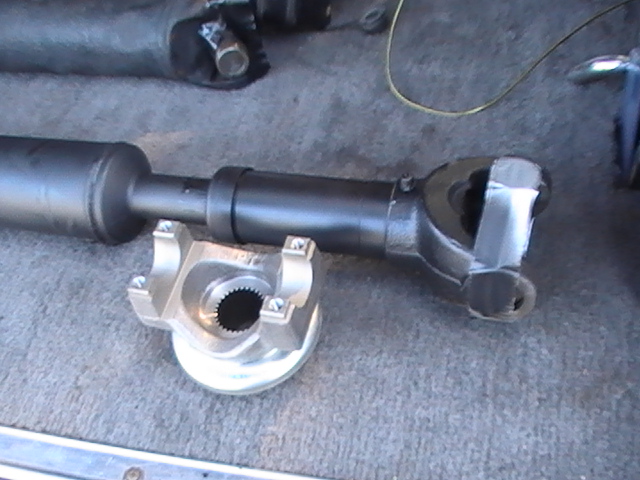
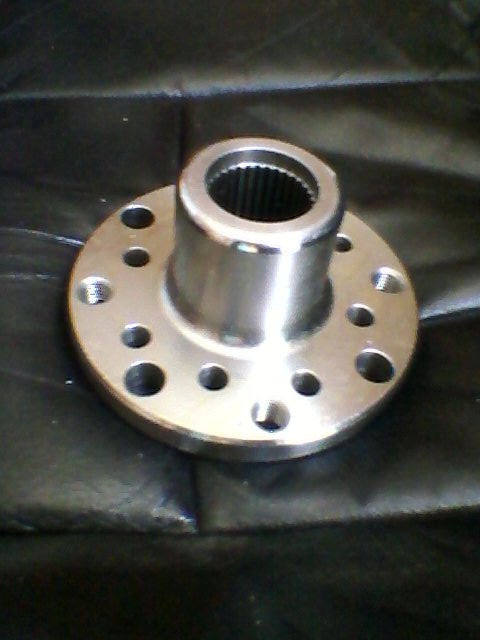
The Driveshaft Superstore of Phoenix AZ custom built me a slip-on flange for my 241-D T-case, which allows you to bolt up a custom-style Ford flange & eliminate the slip-yoke.
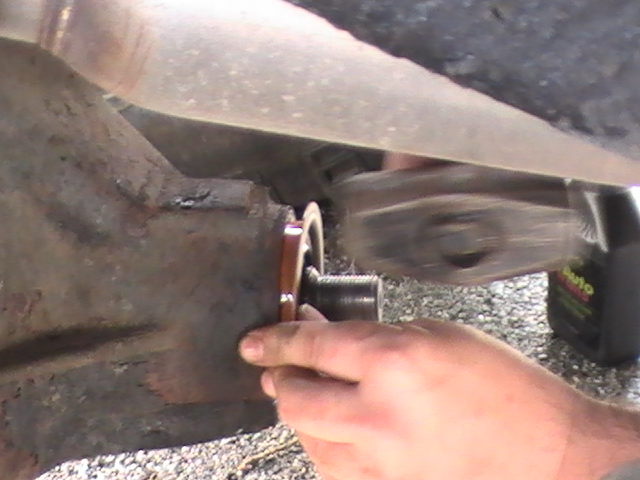
So my buddy Eric, from Steeltown Offroaders (my local 4x4 club) helped me out back one June Saturday to in stall it all (actually, he did MOSTof the work ).
NOT to panic - we got a block of wood right AFTER this, to tap it in more gently, and not damage the seal.
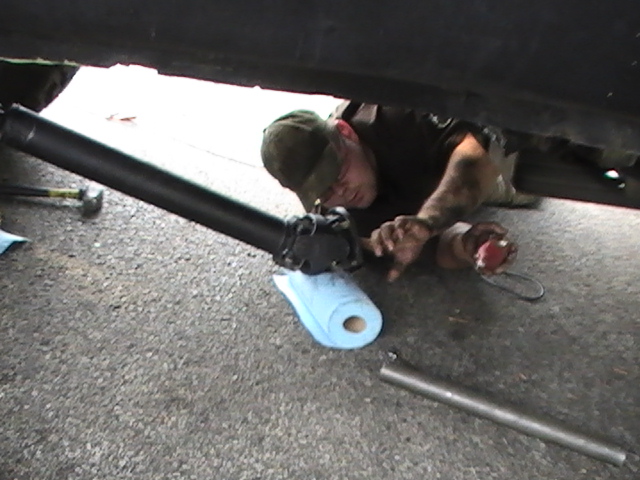
And these are the only three pics I got, because I spent the other three hours under the truck, holding the driveshaft steady while Eric installed it!
Darndest thing though - the t-case flange had four smooth holes, and four tapped holes. And so we're TRYING to install the the bolts THROUGH the tapped holes. FIRST off, the collar wasn't seating QUITE flush, so out came the Dremel tool, to shave what must of been just thousandth's off the cardon, before it finally seated flush. But then, we could NEVER get the 4th hole to line up true!!!
Eric was VERY careful & thorough at this - that, and I ordered EIGHT ( 8 ) bolts from Denny's... JUST to have a few spares to play with, in case of something like this! Once he hit resistance, he'd back the bolt out, inspect everything, and try and see where we were going wrong. No matter what we tried, three bolts going in true, would always pull the cardon off-center of the flange by maybe just the tiniest fraction, to keep a fourth bolt from going in true. And brudda, we played with this, from before 5pm, until 8pm!!!
FINALLY... we tried what is often done with these flanges - put the bolts through the BACK of the flange through the smoothbore holes, and bolted it into the tapped cardon holes that way.
And he was done in 30 seconds.
Wotta day.
Replaced the old 1310 connectors though, with a 1350 yoke at the t-case, and a 7290 at the axle!
Annnnnnnnnnd... it was still binding.
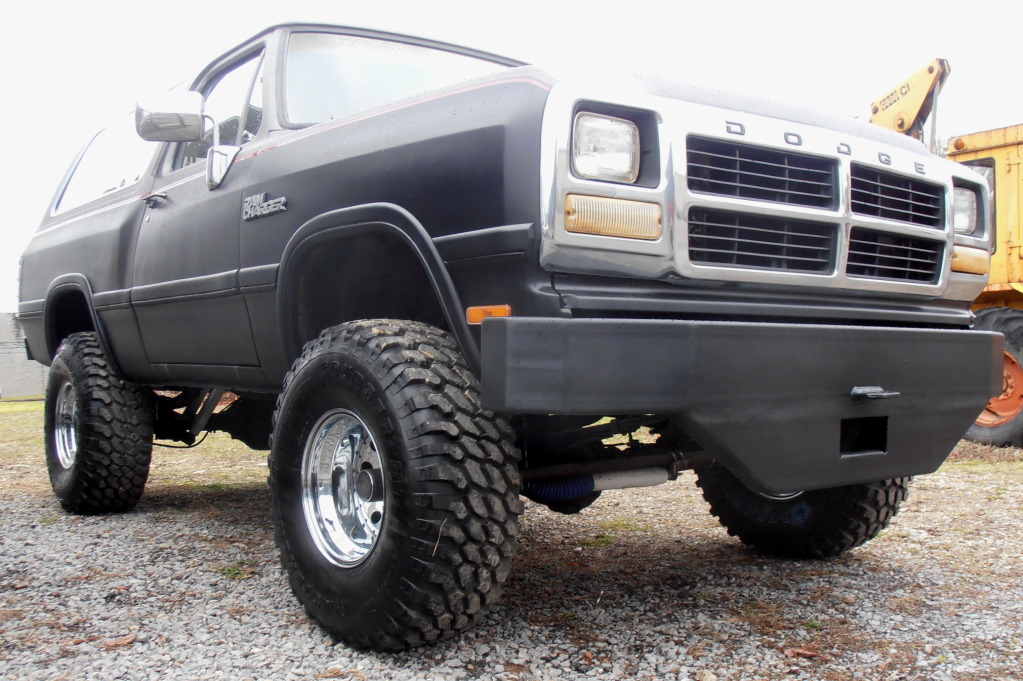
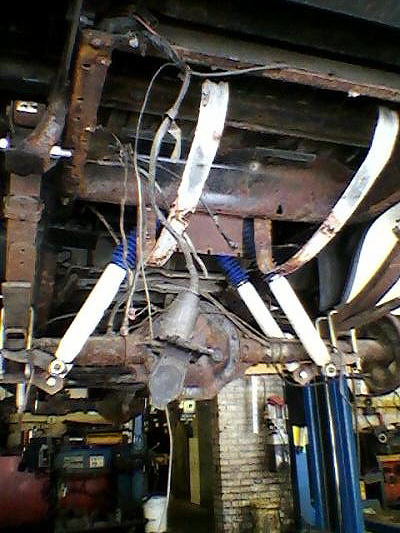
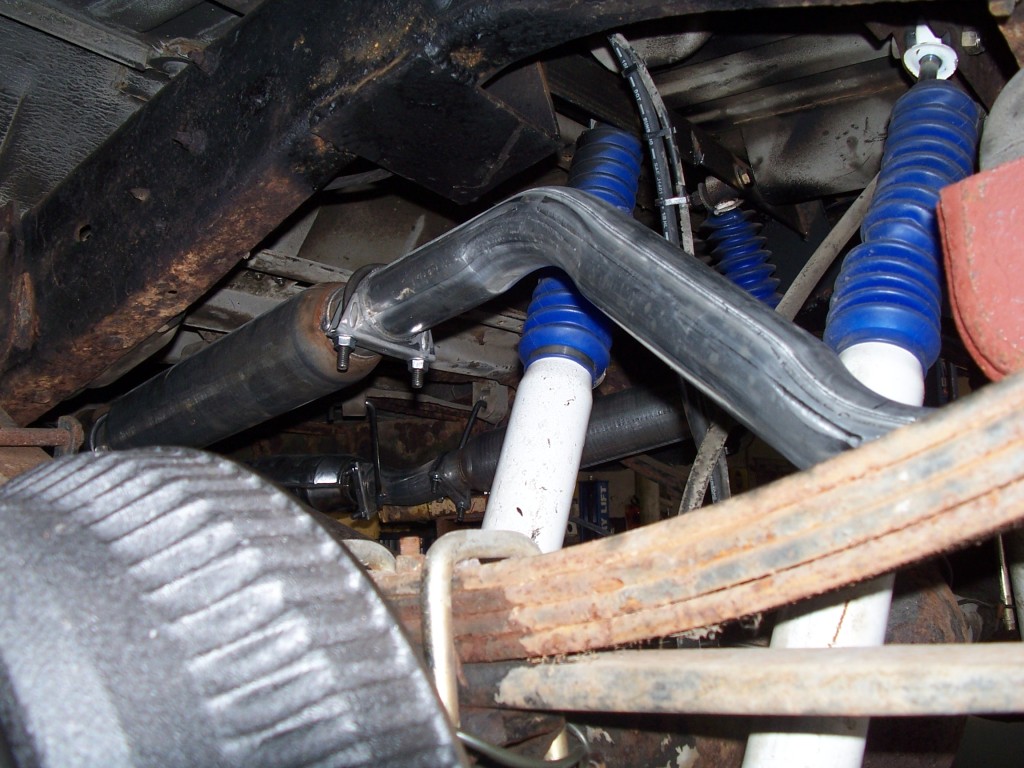
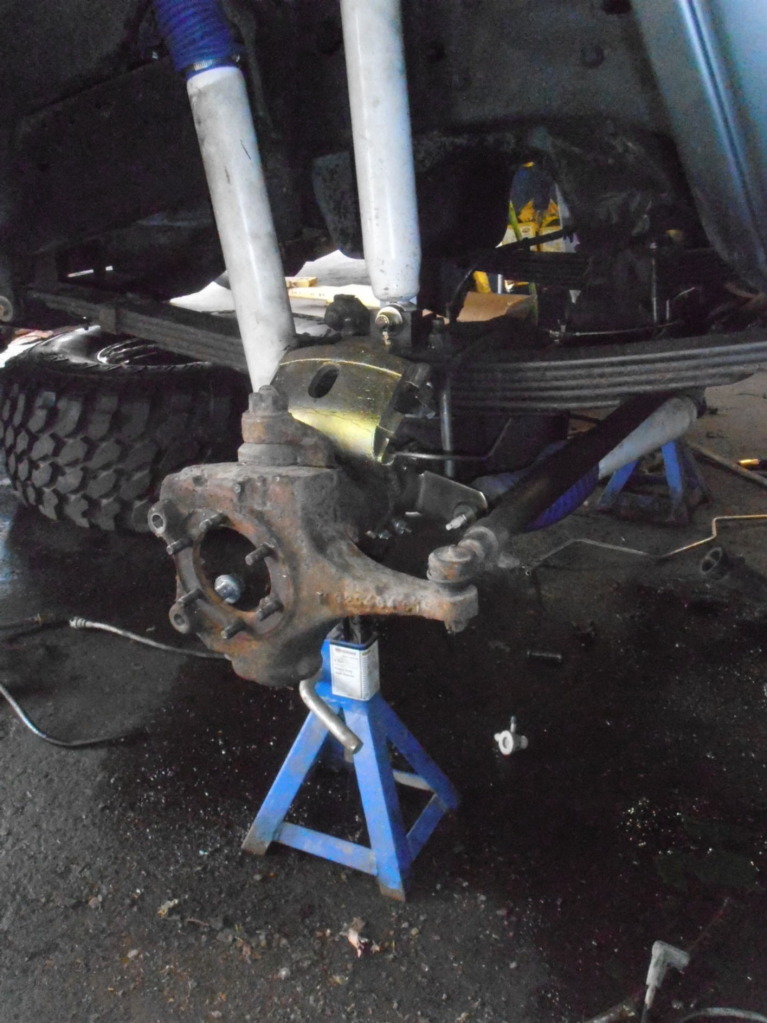
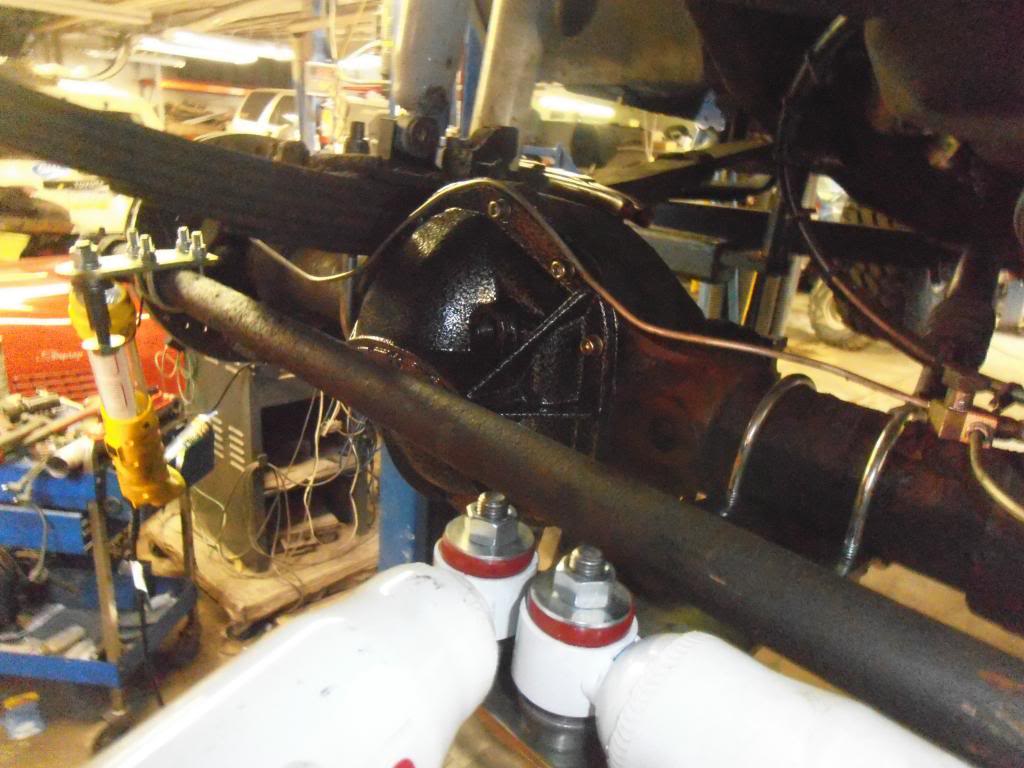
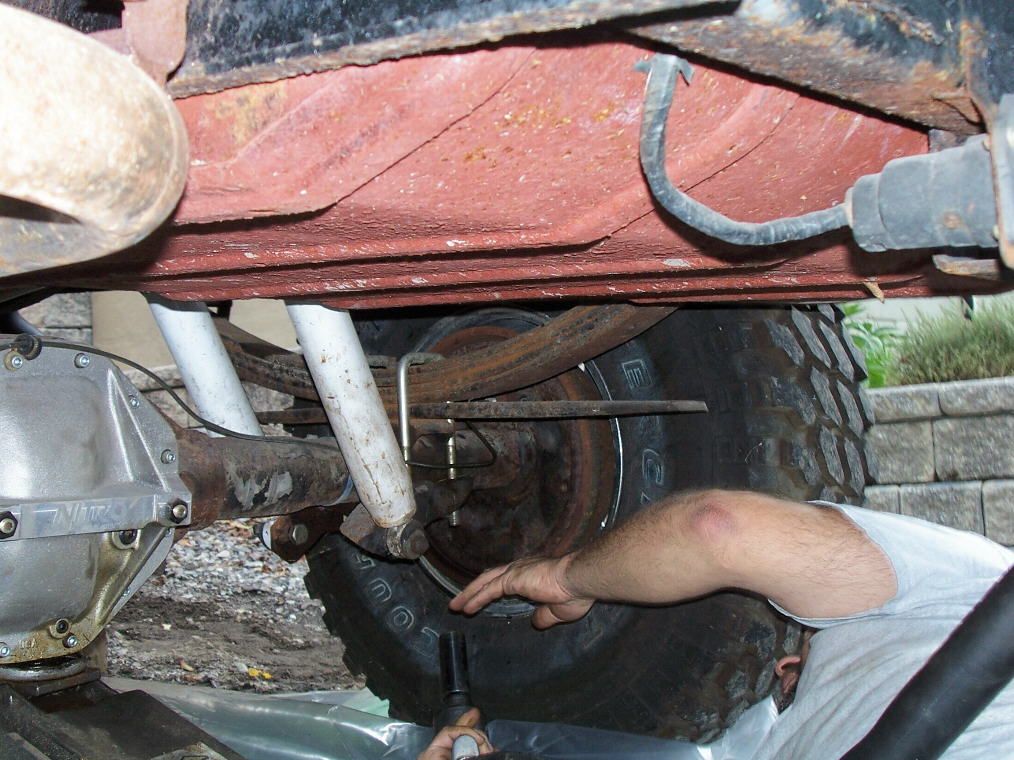
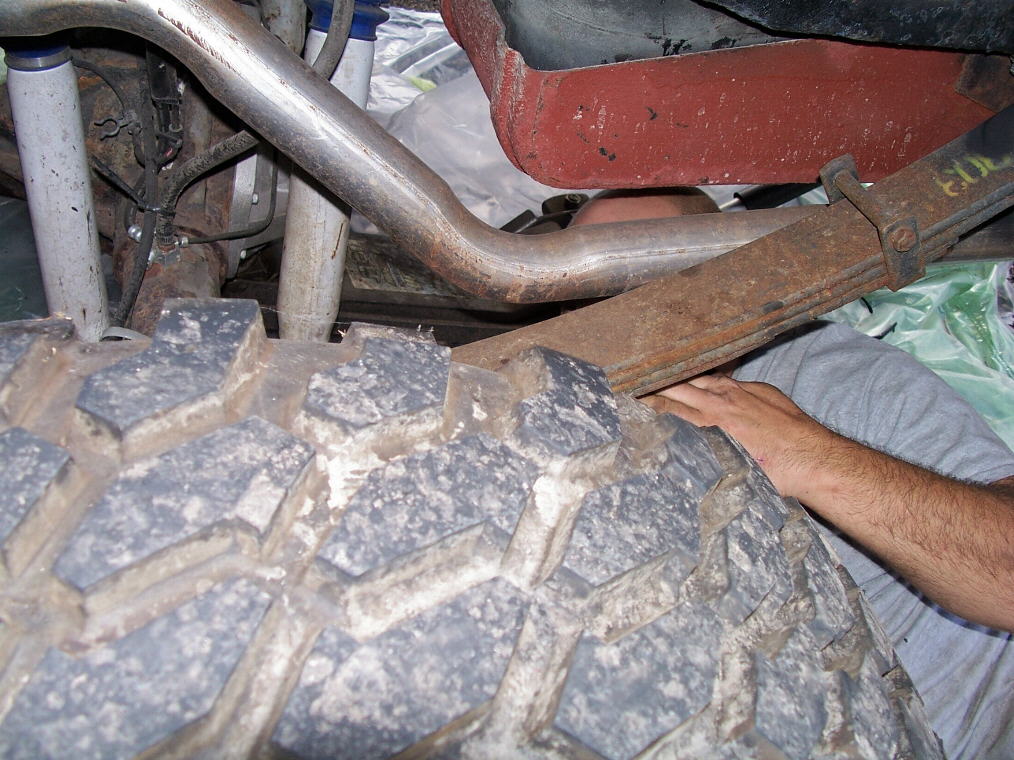
It's only a 4 1/2" lift, and 35" tires... but there was NO getting around shimming it... So here we go - FINALLY - with that project, in early September.
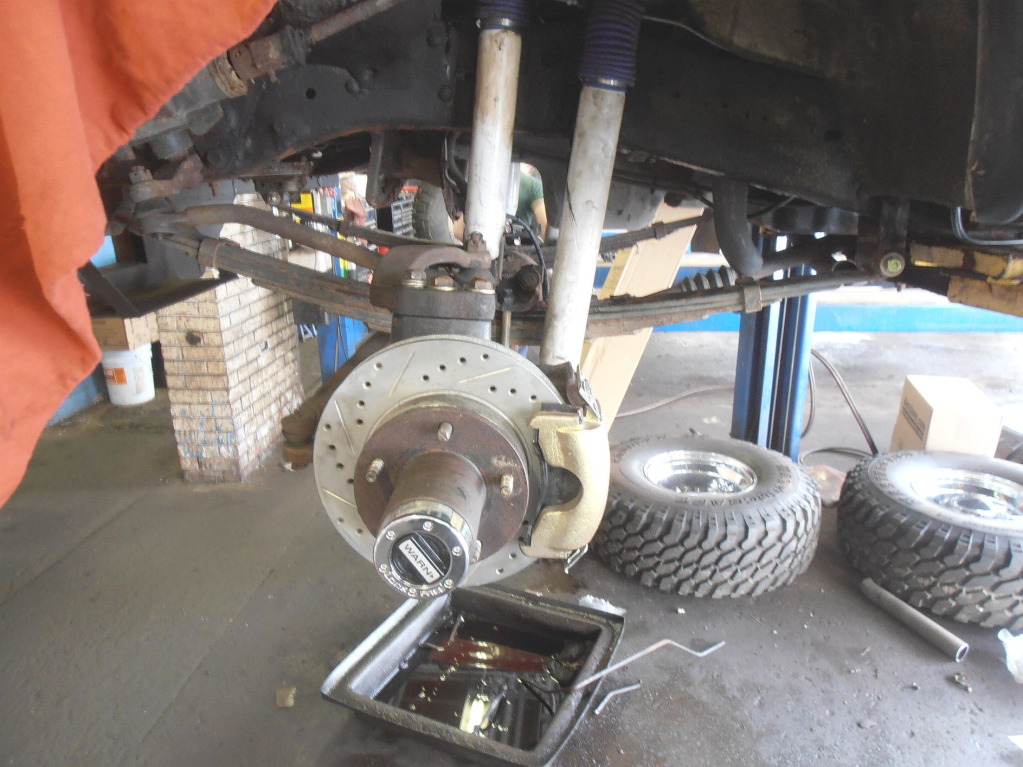
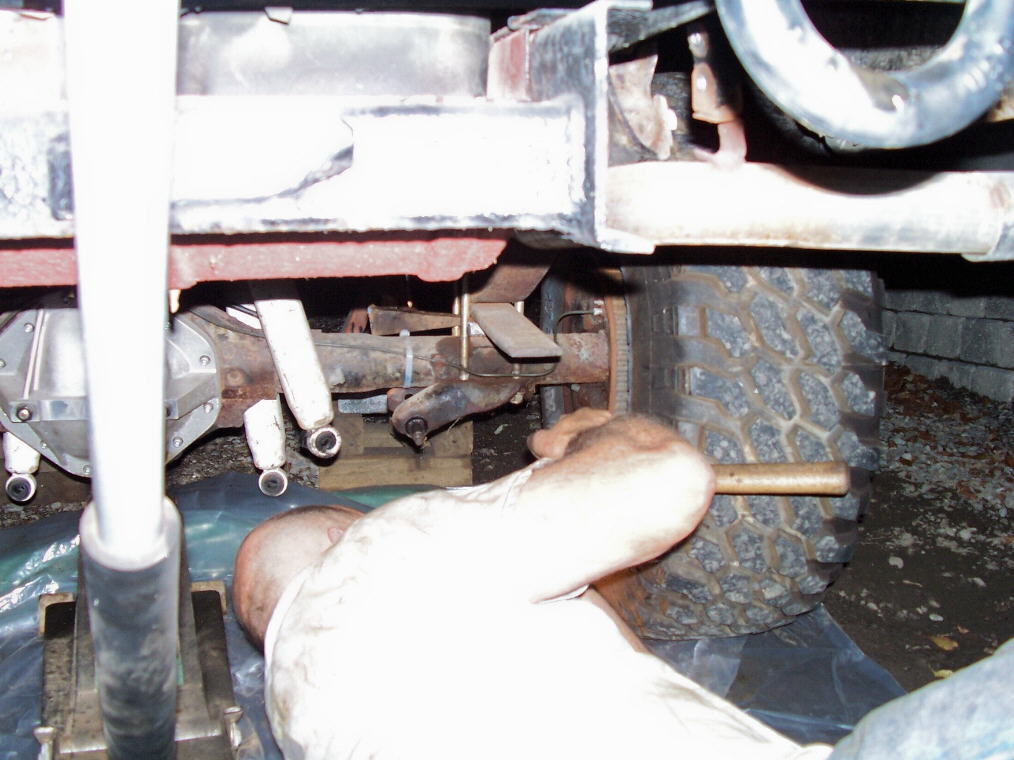
So I went to see the Wizard of Poz (Pozman is another buddy in Steeltown Offroaders, who lives acouple miles down the road from me) to get the leaf pack shimmed. We decided to work on it there, since he has all the cool tools.
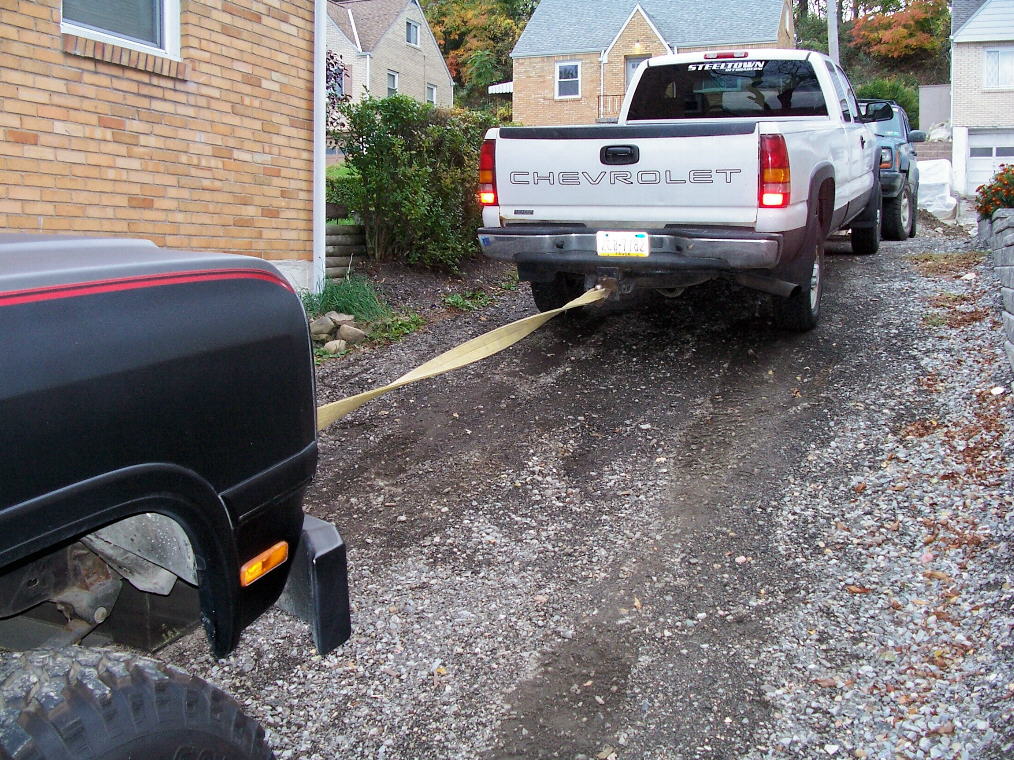
Safety first, of course. After chocking, and before the jackstands, we had to 'anchor' it.
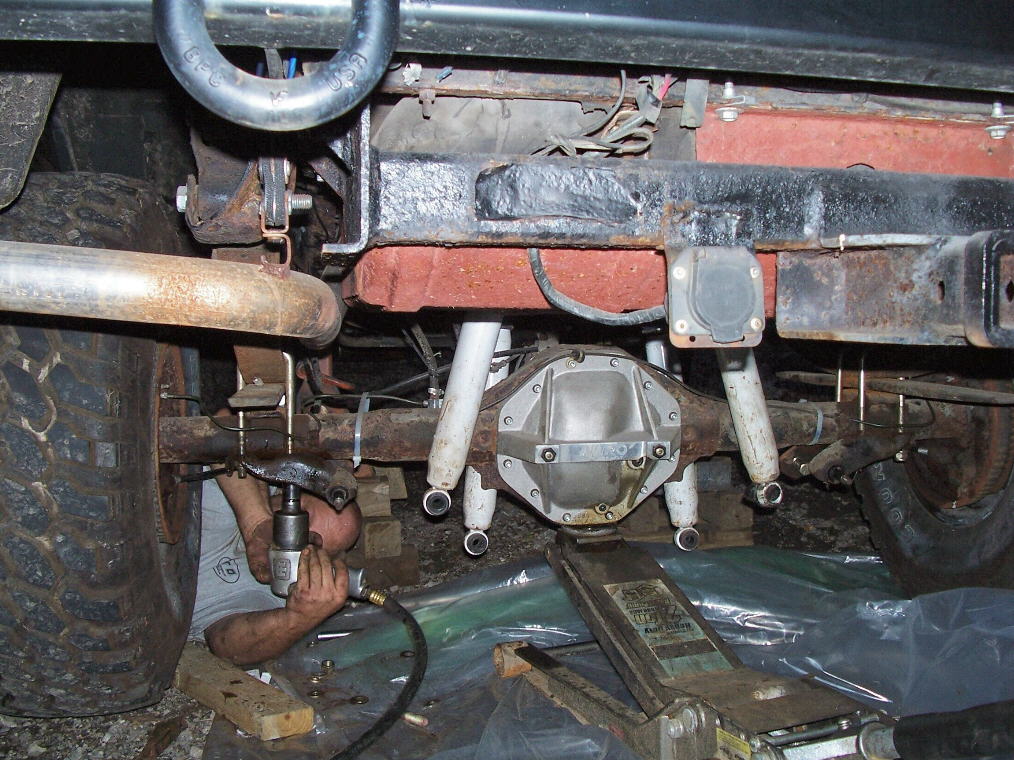
Strapped it to his hitch and my pintle. Time to UN-bolt everything!
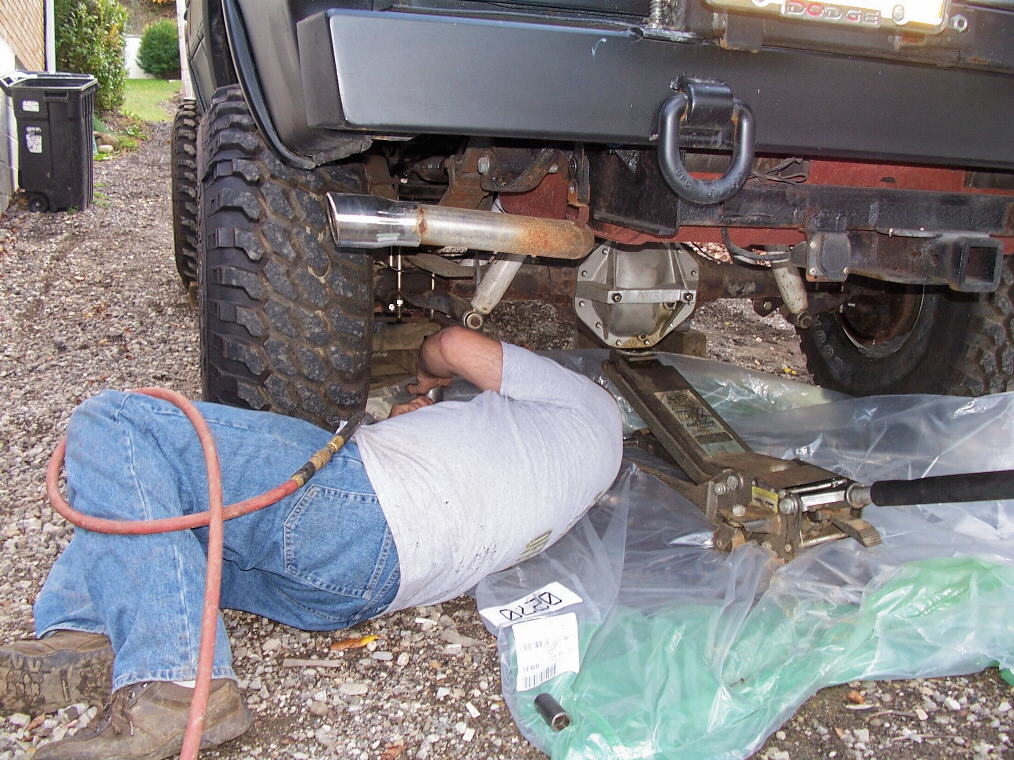
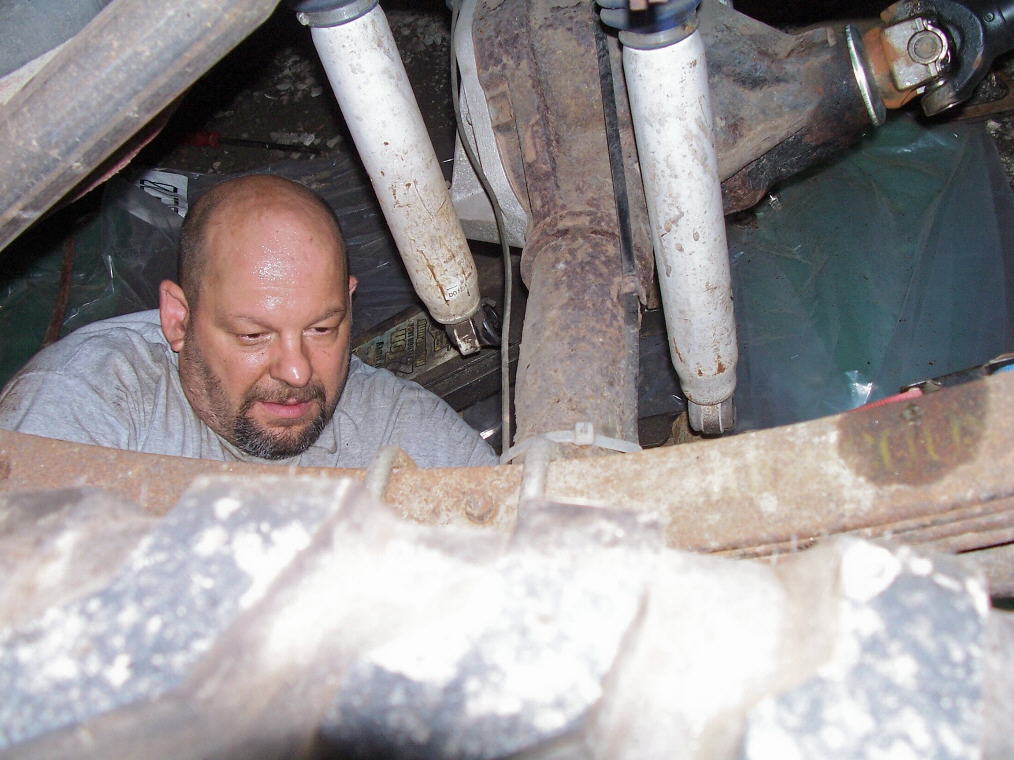
Where's Waldo?
After extensive eyeballing, and some actual measuring of the driveshaft and pinion angles, I THOUGHT about erring on the side of caution, and going with 6 degrees shims... but a nagging instinct, led me to get 8 degree instead... We'll see how this plays out...
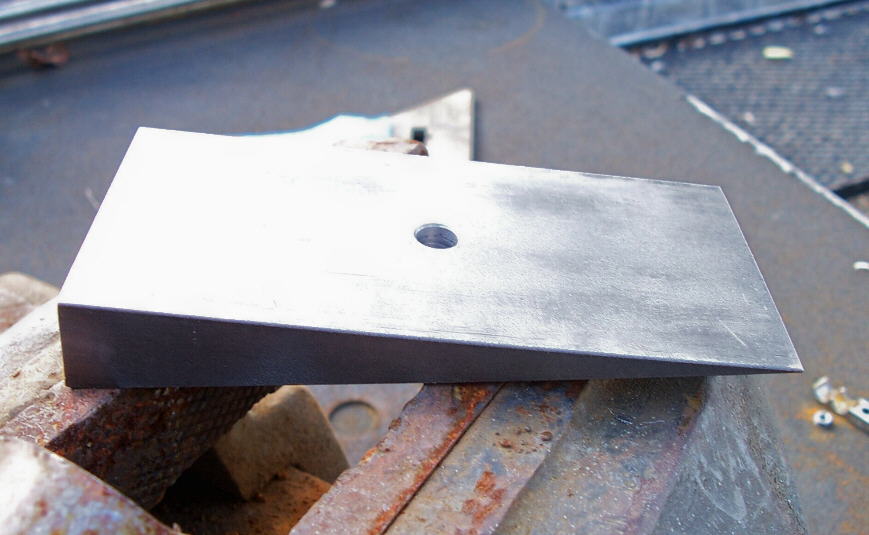
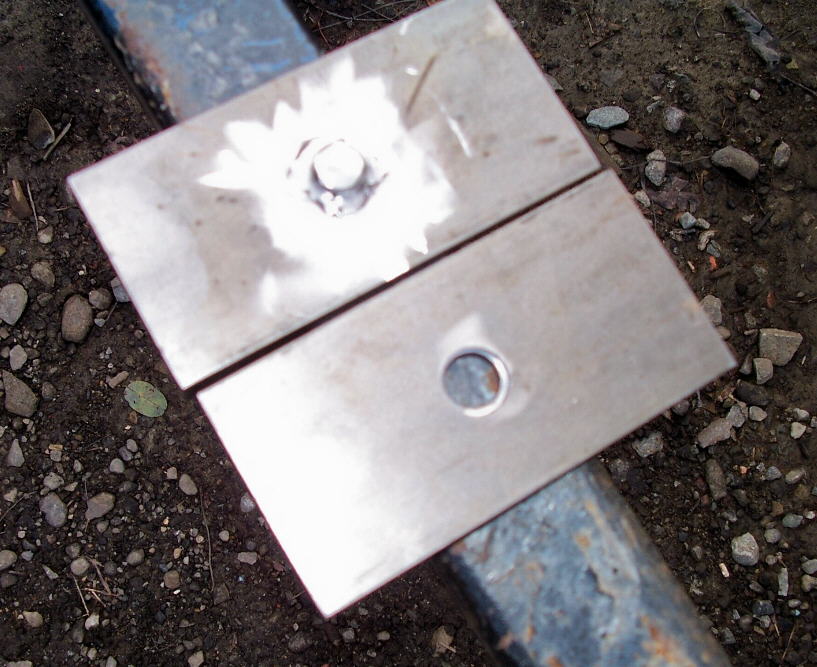
Of course the hole's not big enough, so it's off to the drill press. NEXT thought is, to weld a little bar stock into the BOTTOM side, so it'll drop into the hole in the spring pack, and the pin in the axle tube will drop into the top half, thereby solidly anchoring it to pack & axle. And yes, they are STEEL shims.
Did I mention Ted has COOL tools?
A little drilling, welding, and grinding later, we have a GOOD shim! Of course, night arrives at 7pm now - earlier, when it's cloudy... and JUST in time for re-assembly.
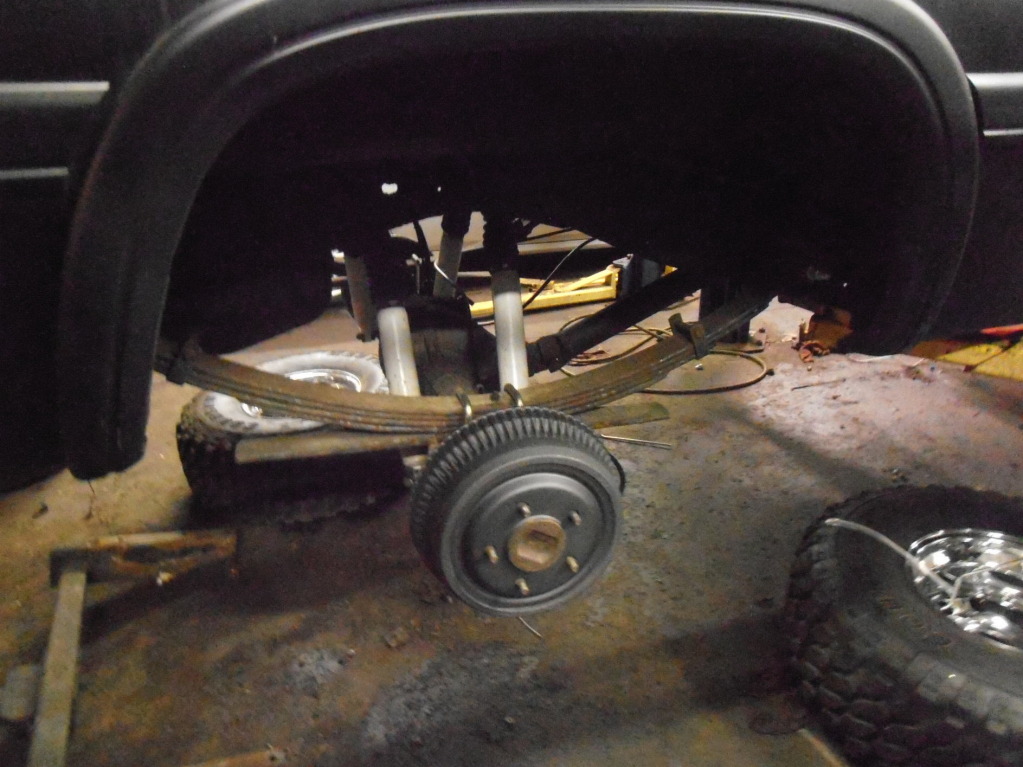
By 8:30 though, we had 'er buttoned up. Sure enough, the 8 degree shims proved to be the right call!
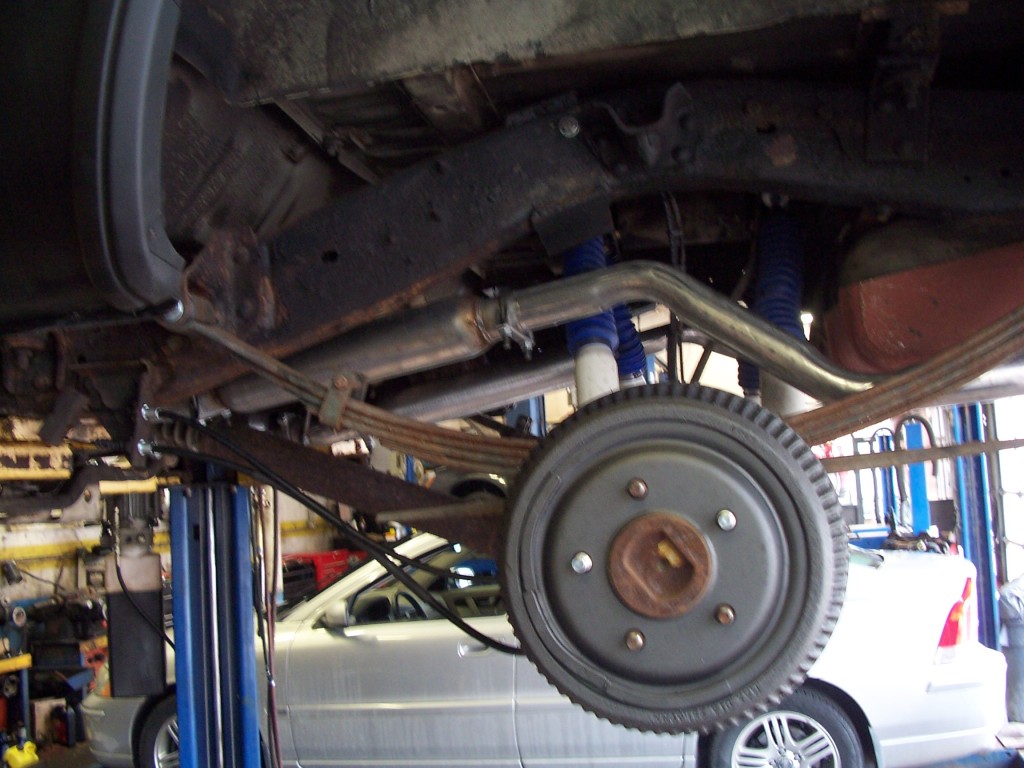
Other than running over a chock on the way up the driveway, which scared the CRAP out of me, the drive home was FLAWLESS!!! No more grinding of U-joints into a fine powder - and the new double-cardon driveshaft can finally perform as it ought!!!
Didn't solve ALL the problems yet, but it solved the BIGGEST one to even making it DRIVEABLE in RWD!!! Thanks Poz!!!
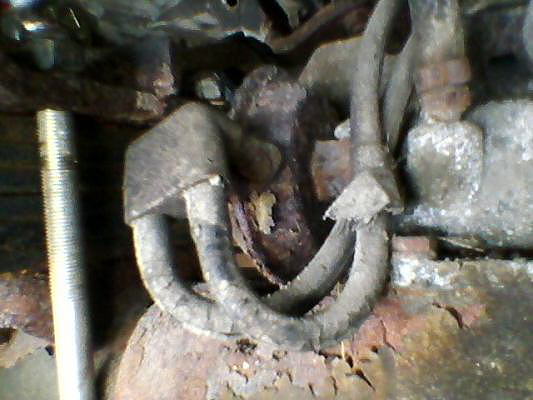
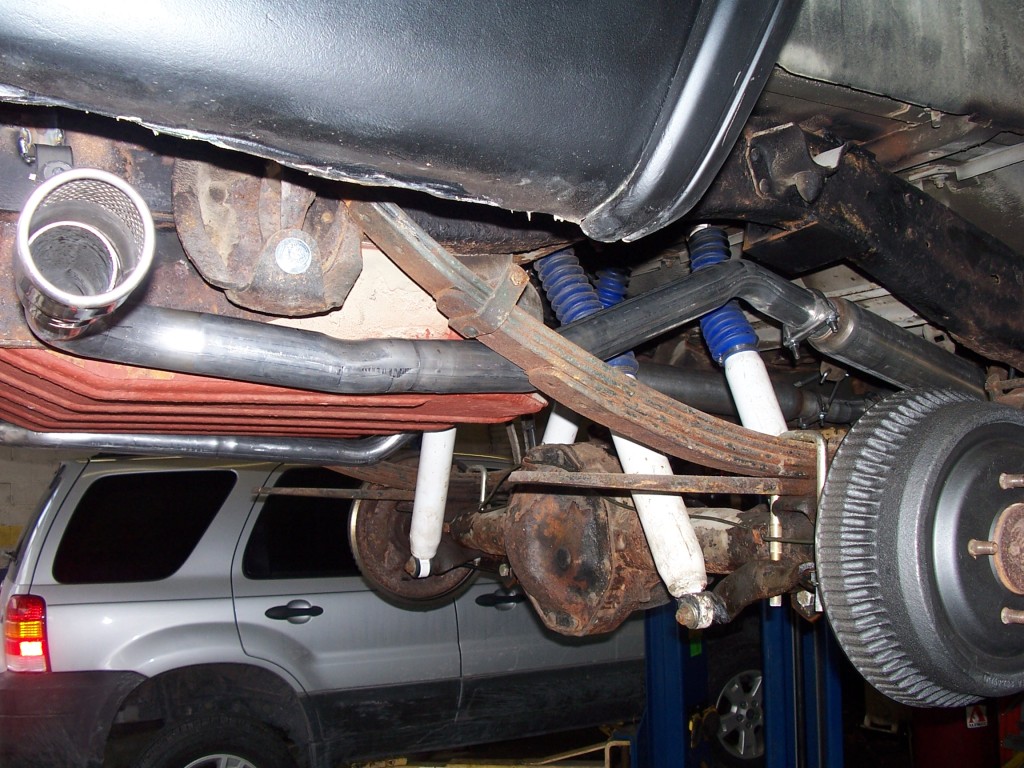
In fact, as we discovered when we went to change the driveshaft, my brand new CAD had gotten gummed up, when the inner grease seals let go - the front axle would NOT engage! My front axle had been burping axle grease all over the parking lot, so replacing those seals - and the vacuum CAD, with a MECHANICAL unit - became the NEXT big project.
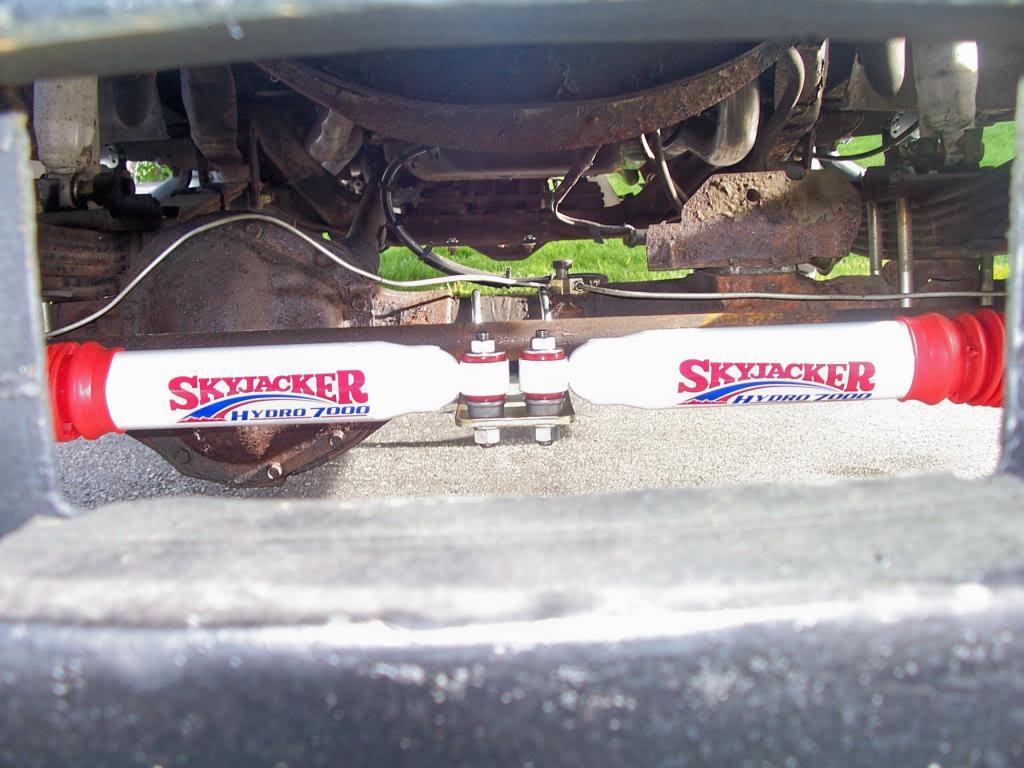
Dave took care of that these past couple of weeks, and also straightened out my shock setup, which had NOT been the best (ordering the lift kit in '07, it came with dual shocks for all four corners. At some point, we're going to replace THOSE with Bilsteins!)
But now the truck is FINALLY... after 8 long years... offroad READY & CAPABLE!!! I'll send it back to Dave this winter, as the front bumper needs some plasma cutting to trim; I have a 9,000lb Magum winch to install, as well as some headers, a Hughes Intake plenum fix and a Fastman throttle body to install. I already have a Mopar performance ECU for it, so future upgrades include new heads, cam, lifter, and double roller timing chain. The kickdown cable in the transmission needs replacing, and then a B&M Transpak installed. we're also going to build some crossover steering for it!
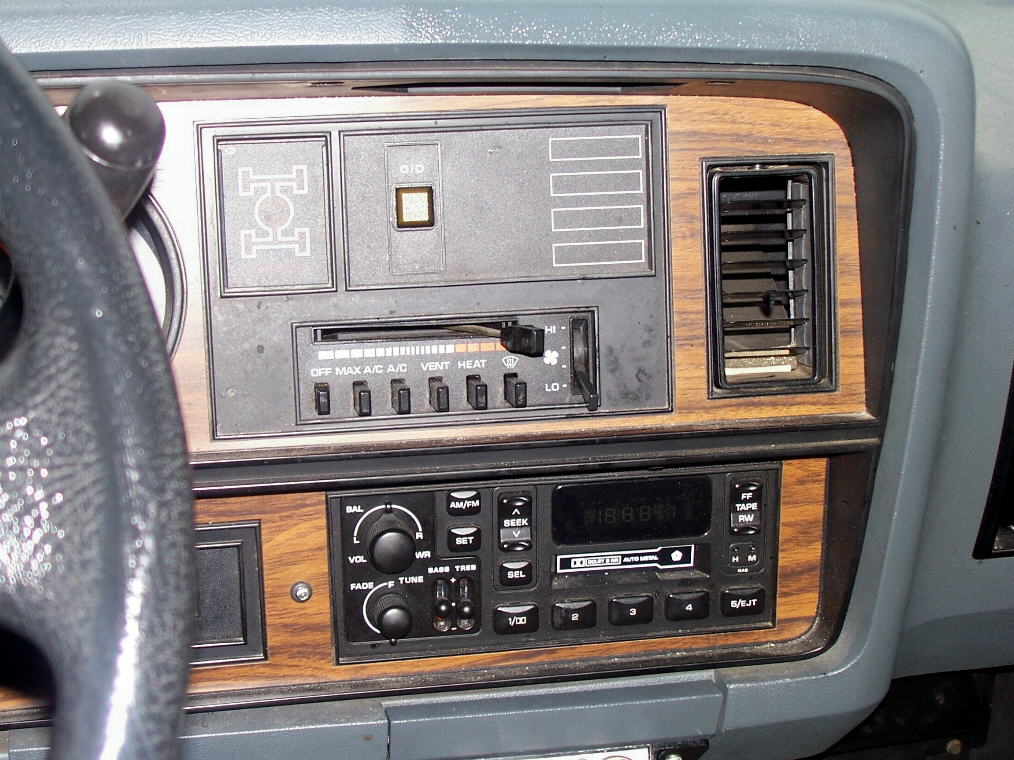
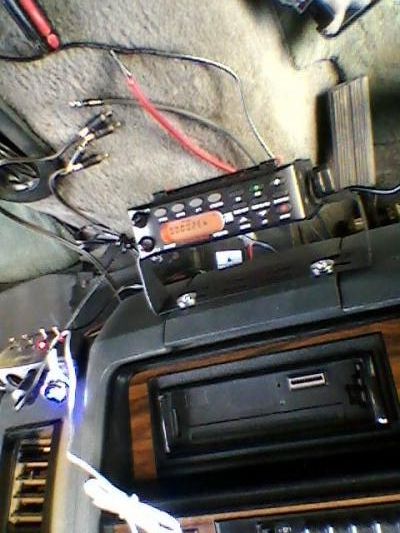
I got the stereo and CB installed this summer, and like any project vehicle, there's enough little things to KEEP doing to it until I retire, but seeing where it STARTED... to where it is now... here in the RUST BELT... it's been an AMAZING project to date!
Custom embroidered dash cover I had made for the truck.
LOTTA electronic spaghetti - I'm thinking I might build a custom center console to cover this mess come next spring. Galaxy 949 cb, to keep tabs on things.
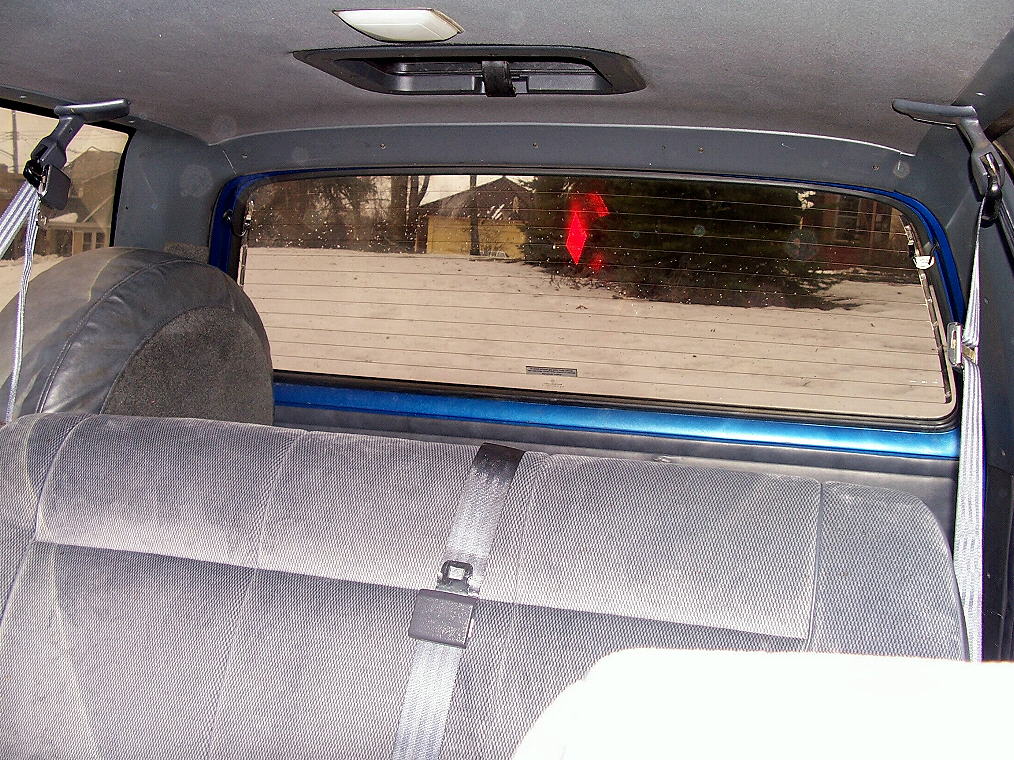
CB mount - 102" steel whip is QD mounted - and the setup is otherwise hidden by the spare when not in use.
Uniden BC355C scanner and antenna.
Magnetic mount to the fender, near the A-pillar - stores underhood when not in use!
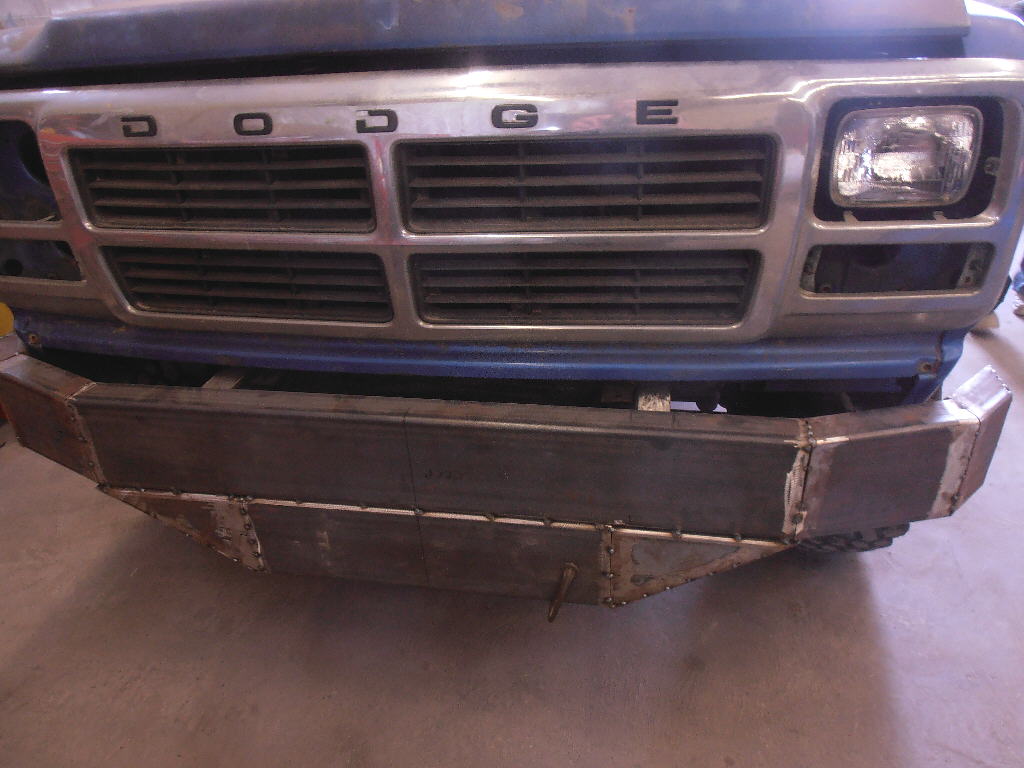
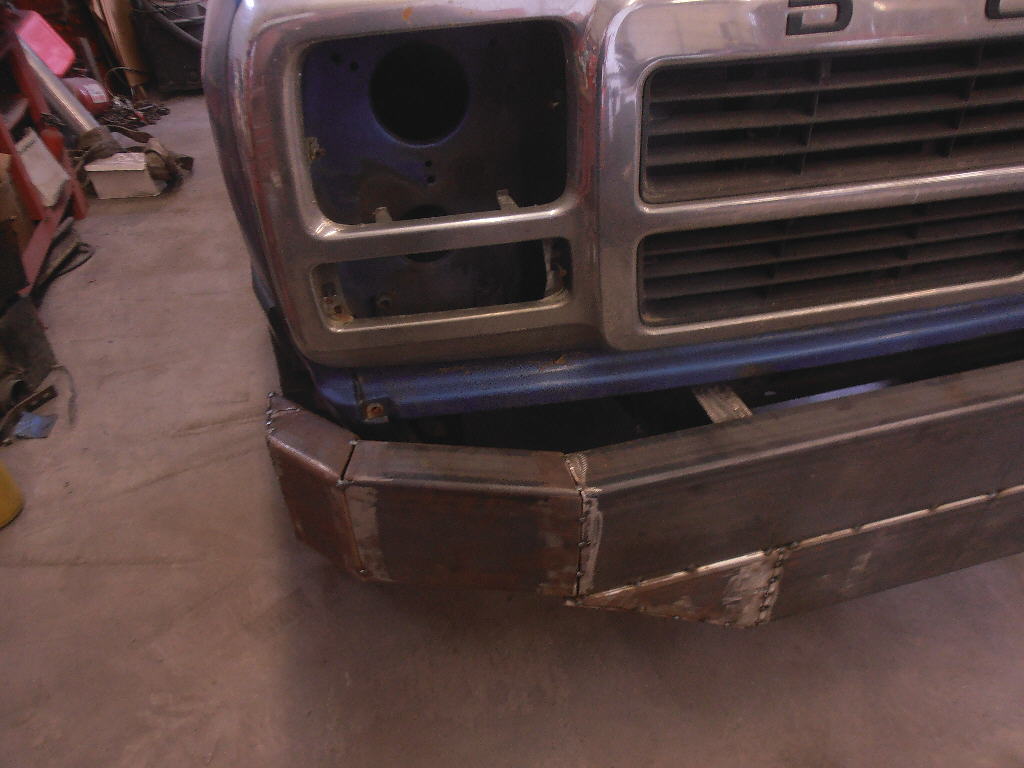
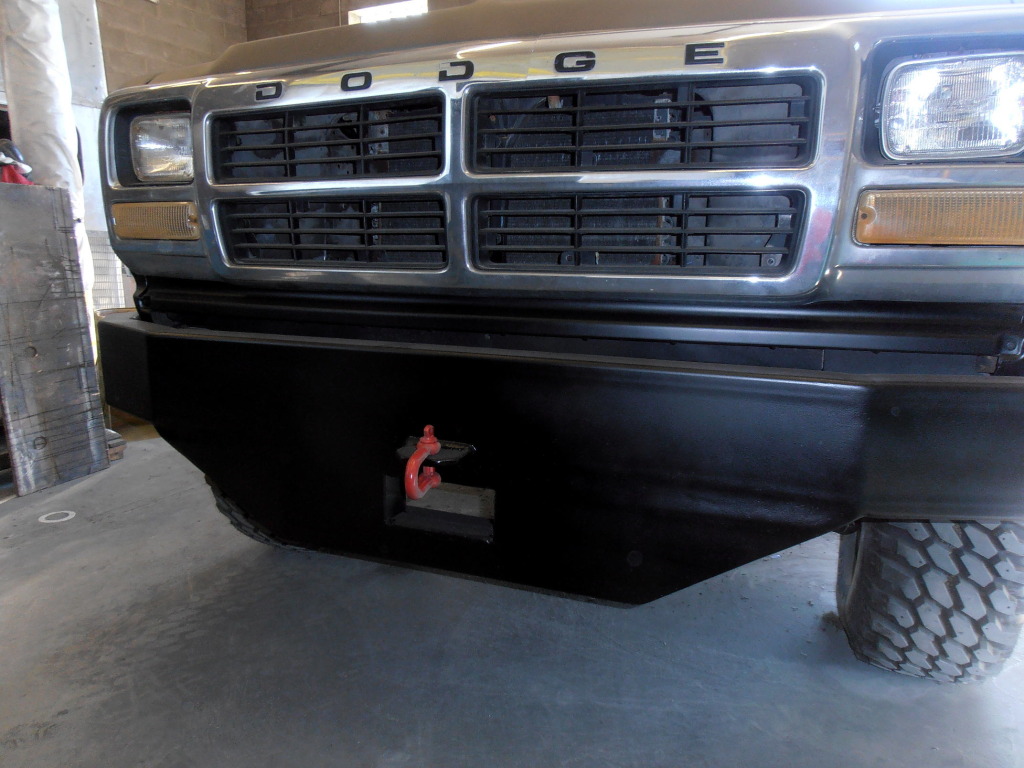
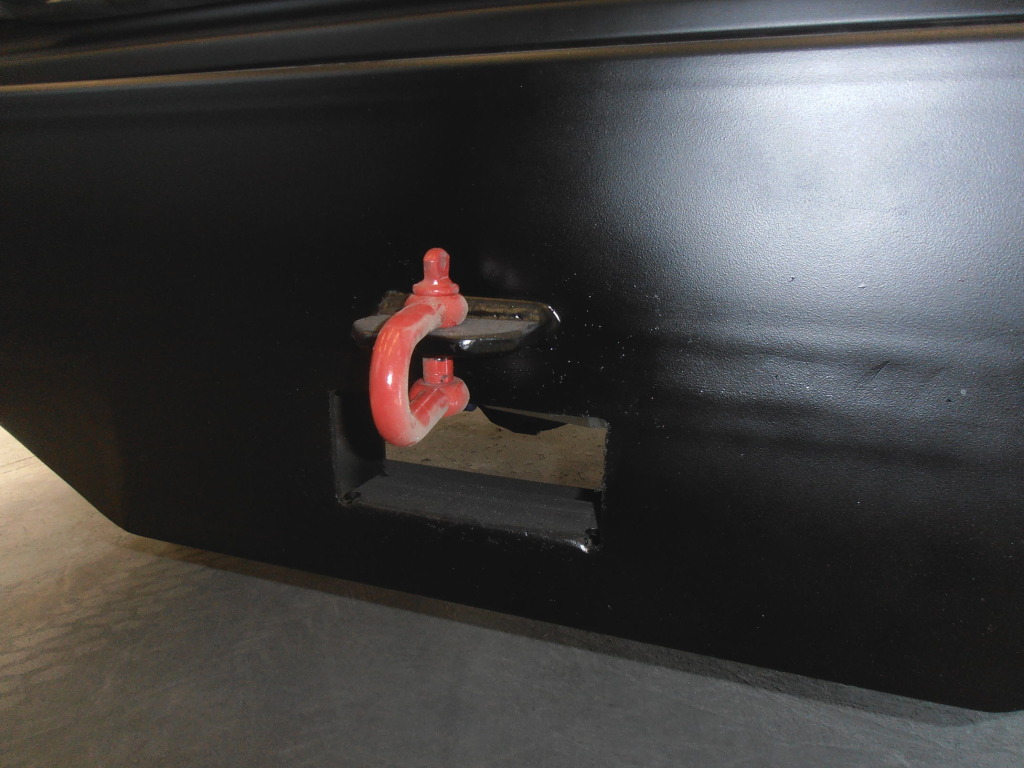
So my bumper, which my paint & body man custom-fabbed just because he wanted to, needs work. And at quarter inch box steel, it's 31 flavors of awesome... BUT... as great as it would be, for escaping Pittsburgh during the zombie apocalypse, it drags every rock & stump once you get it offroad.
So I ran it down to our club president's house - he works for Caterpillar, owns a plasma cutter, tube bender, and all sorts of cool toys - and left the bumper with him!
Hung his portable joist from his deck I-beam, hooked it through the pintle, so it wouldn't slip and smash valued extremities, unbolted 'er, and then heaved it over onto his flatbed.
You can practically see the seam lines where we're going to trim it. I also picked up a universal winch plate at Harbor Freight on the way down, and left my Magnum winch with him, so they can mount that up as well.
Probably WON'T be ready for our daytrip to Phoenix Offroad (just west of Steubenville, OH) next Saturday, but it SHOULD be ready for our Spring Thaw weekend at Doe Valley (outside Johnstown, PA) starting May 13!
Do you have a build list for the steering and suspension work you did? I have a 2004 2500 4X4 and I want to make it more off road worthy. Pretty sure its riding on all original equipment with 300,000+ miles.
Do you have a build list for the steering and suspension work you did? I have a 2004 2500 4X4 and I want to make it more off road worthy. Pretty sure its riding on all original equipment with 300,000+ miles.
Thanks
About the only thing between our two vehicles that would be 'similar,' would be Borgeson steering, and the adjustable draglink. I'm not entirely familiar with the Gen.III trucks - does the 2500 have leafs up front?
Apologies I wasn't very clear. Interested in the build list mainly for the brands you used, so I could look into what they may offer for my vehicle. Lot of brands out there but I would rather try what someone else has already "tested" in their builds. The front of my truck uses coil overs. Very nice work on that Ramcharger.

 11-27-2014, 02:10 PM


 ... I'd actually dropped out and worked for a few years), I strongly considered getting a red/white/red '93 model at the local Dodge dealership near my University... but went for a new '93 Mustang GT instead... bow-chicka-bow-bow.

 ). Some of THAT process, looked like this!
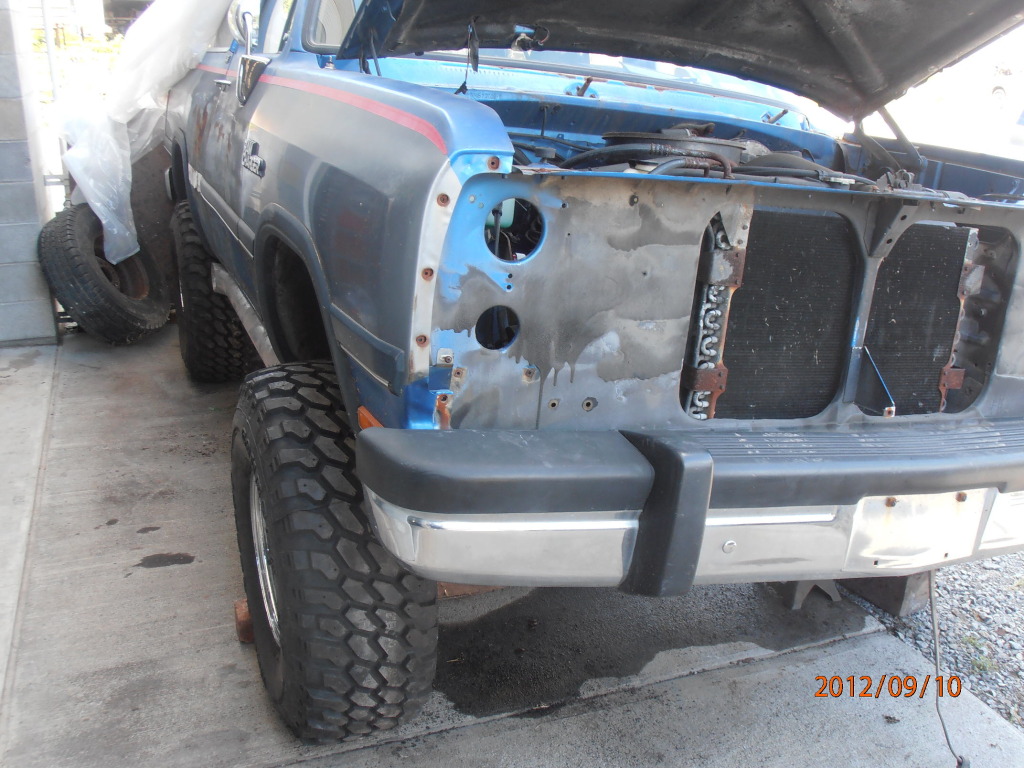


 ).
).


")

 I'll send it back to Dave this winter, as the front bumper needs some plasma cutting to trim; I have a 9,000lb Magum winch to install, as well as some headers, a Hughes Intake plenum fix and a Fastman throttle body to install. I already have a Mopar performance ECU for it, so future upgrades include new heads, cam, lifter, and double roller timing chain. The kickdown cable in the transmission needs replacing, and then a B&M Transpak installed. we're also going to build some crossover steering for it!


 Uniden BC355C scanner and antenna.