
Dodge Ram 2009-Present: Why Am I Getting Poor MPG?
Bad fuel economy can be the result of many different factors. Checking each, starting with the easiest, should locate the source of the problem.
This article applies to the Dodge Ram (2009-present).
Bad fuel economy can be an indicator of a serious engine problem. It can also be caused by something as simple as low tire pressure. The best way to avoid bad fuel economy is by completing the maintenance schedule in your owner's manual at the proper times.
Calculate your fuel economy by fully filling your tank. Then find out your models fuel tank capacity. Before you start driving, set your trip odometer to zero. Once your tank reaches near empty, divide the number of miles driven by the number of gallons used for your MPG rating.

Materials Needed
- Tire pressure gauge
- Basic tool set (ratchets, sockets, screwdrivers, and pliers)
- Vacuum gauge
- Scan tool
- Spark tester
Step 1 – Check the tire pressure
If you have the same tires that were equipped from the factory, locate the tire placard sticker on the driver's door or door jamb for the recommended PSI level. For other tires, check with the manufacturer's website for specific amounts.
Pro Tip
Low tire pressure creates more rolling resistance and can lower fuel economy by five MPG or more.

Step 2 – Fill the fuel tank with new gas
Gas that contains high amounts of moisture will create poor fuel economy. Fill your gas tank at a different station. Try not to fill your tank as gas trucks are filling the station's main tank to reduce the risk of dirt/moisture entering your truck.
Step 3 – Check for an intake restriction
First check the condition of the air filter and replace if needed. There may also be a restriction of some type along the intake path into the engine. Remove your intake system up to the throttle body for inspection.
(Related Article: How to Install Throttle Body - Dodgeforum.com)
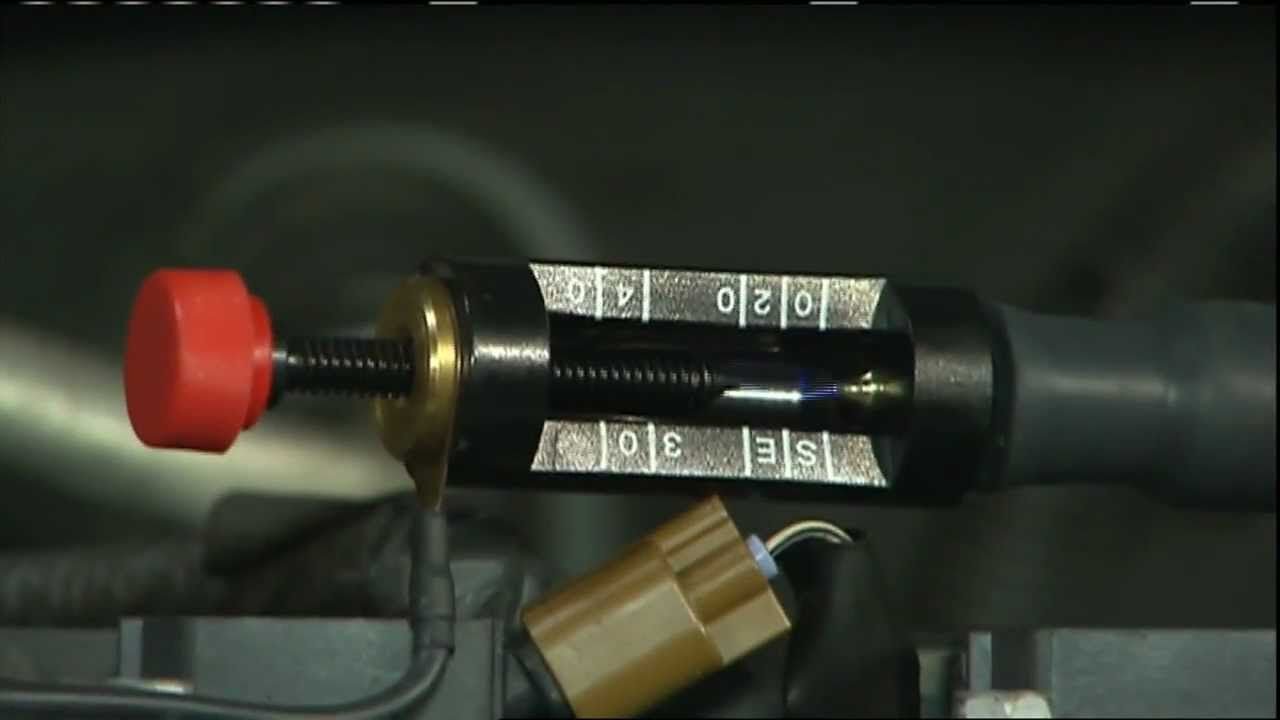
Step 4 – Check for an exhaust restriction
A vacuum gauge can be installed onto an intake system port for a quick check of system back pressure. A T-fitting can also be used to tie into a vacuum line. Start the engine at idle and slowly raise the engine RPM's to 3,000. The reading should be greater than or equal to the idle reading. If the vacuum level slowly drops, you may have an exhaust restriction.
An exhaust system back pressure tester can also be used. You will need to remove an oxygen sensor and thread the back pressure gauge into the sensor port. First test the back pressure at idle. The reading should stay below 2 PSI. Then bring and hold the engine to 2,000 RPM's. The reading should not rise above 3 PSI.

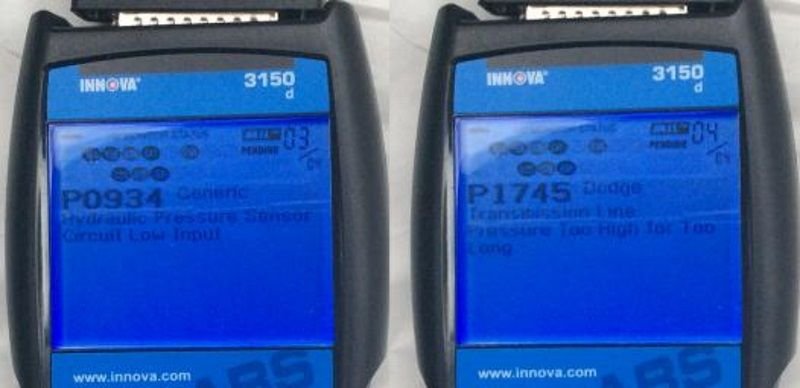
Step 5 – The truck is not shifting into overdrive
When this occurs, a diagnostic trouble code should be set. The truck may not shift into overdrive because of low fluid level/pressure. A malfunction with an electronic solenoid or sensor as well as mechanical gear damage can cause this.
To check the fluid level, locate the transmission fluid dipstick (it will have a yellow handle). Warm the engine to operating temperature and check the fluid level at idle on a level surface. If your model does not have a dipstick, you will need to locate the fill plug. Open the fill plug on a level surface and fill the transmission until fluid begins to drain from the plug.
Step 6 – There's a problem with a sensor or wiring
Sensors and solenoids such as the electronic throttle control, acceleration pedal position sensor, manifold pressure sensor, and oxygen sensors can create poor fuel economy if operating incorrectly. These sensors consist of delicate electronics and complex wiring to transmit detailed signals from the sensor to different vehicle modules and back. Most often when there is a sensor or solenoid error, the associated module will detect the problem and set a diagnostic trouble code. Have your truck scanned for codes even if none are present as some may be stored but not actively displayed. Software updates may also fix a problem associated with a sensor or solenoid.
Step 7 – Check the ignition system
High amounts of resistance in the coil packs or spark plugs can create weak spark and misfires. Misfires are usually detected by the powertrain control module setting a diagnostic trouble code. A high energy spark tester can be used to check for proper operation of the ignition system. You will need to remove each coil pack and plug the spark tester into the coil while watching the tester for spark. If spark is present, the ignition system is capable of generating the required amount of voltage to fire the spark plugs.
Check the spark plugs gap and condition and replace if out of specification. A light brown color on the tip of the spark plug indicates a proper amount of combustion.
Related Discussions
- How to Improve Gas Mileage in 5.7L Hemi - Dodgeforum.com
- 2010 Ram 1500 Any Ideas to Improve Gas Mileage? - Dodgeforum.com
- Offical MPG 4th Gen Thread - Dodgeforum.com


