Dodge Ram: Lighting Problems Diagnostic
Here's how to diagnose various lighting problems in your Dodge Ram.
This article applies to the Dodge Ram (1994-present).
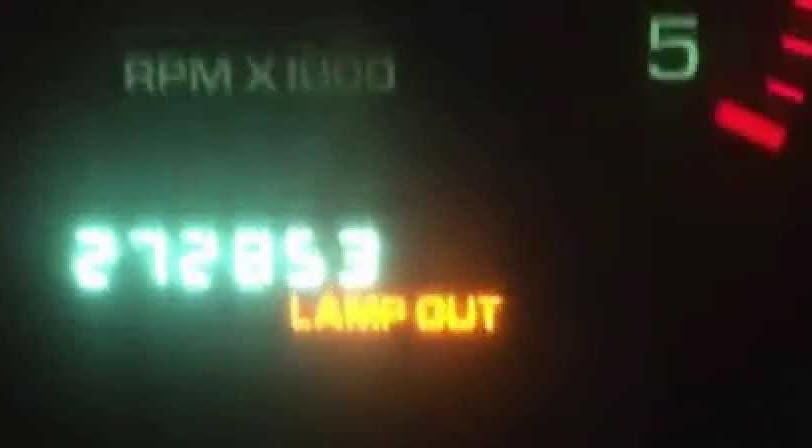
With all the different lights and components within and all about your Dodge Ram truck, it could be hard to determine the source of a problem when there is one. For example, when a bulb has blown, many manufacturers have implemented an instrument cluster indicator which "flashes" or lights up when a bulb is out. Other manufacturers have warning messages on the LCD display. Some manufacturers, like Dodge, in addition to the "light out" indicator, have a "chime" that alerts the driver that a light is out. Keep reading for a step-by-step guide for diagnosing various lighting problems in your Ram.

Materials Needed
- Test light
- Screwdriver (Phillips and flat head)
- Torx bits
- Ratchet wrench
Step 1 – Determine which bulb is out
It is possible that you may get a light out indicator on your instrument panel but can't actually find the bulb which is out. Look again.
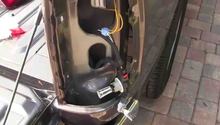
- Inspect all bulbs including brake lamps, turn signals, fog lights, license plate lights, etc.
- Inspect the wiring and housing for all light bulb sockets in each light component.
- If you or the previous owner has installed "mismatch" bulbs, this could cause the indicator to turn on.
- Replace faulty bulbs if found and/or mismatched bulbs.
Pro Tip
Often it is easier to buy cheaper bulbs from auto parts stores, but in this case, you'll want to stick to the recommended bulbs for each light. Refer to your owner's manual for exact recommendations.
If replacing faulty bulbs is not the only issue, read on to Step 2.
Step 2 – Addressing head lamp failures
By design, Dodge has not included fuses or relays to control the circuits leading to the low beam housings. This can sometimes cause a high current that could blow a bulb and at the same time, place the TIPM (fusebox) at risk for failure. There was a stage of software that the manufacturer updated which does address the problem and instruct the ECU (computer) to not disable the circuit and allow the user to simply change out the burnt bulb.
- Check for burnt bulb and replace it.
- Test power on low beam circuit at the connector using test probe or test light.
- Visit your local dealership and speak to the service department regarding flashing the TIPM with the latest software.

Pro Tip
This issue can be increased in occurrence if aftermarket "high output" bulbs are being used as opposed to dealer recommendations. Refer to the owner's manual for more information.
If that didn't resolve the issue, move on to Step 3 to learn about another possible problem.
Step 3 – Replace PDC (Power Distribution Control) fuse box
Many model Dodge Ram trucks have suffered from a common problem with corrosion. It occurs at the circuit board and can cause issues where lights malfunction. One can brave out the task to remove the board and "repair" the corrosion, but it might be better to replace the unit entirely. This board is located within the PDM, which is housed within the TIPM (a unit that houses the front control module and the PDM).
- Double check to ensure the correct bulbs were being used in your headlights in the first place.
- Double check any wires to the connectors and the fuse box which may be frayed or damaged.
- Visit dealership to purchase the new fuse box.
- Remove TIPM from truck and swap in the new fuse box.

Pro Tip
Because the price of a new fuse box can be hefty, one may be tempted to visit a salvage yard or parts clinic that sells used units. Avoid this action because it is likely that these same units have suffered from corrosion as well. You may buy yourself some time if you remove your existing PDC and clean it with compressed air and the connectors as well using very tiny amounts of WD-40.
Related Discussions
- Regarding Light Out Indicator and Chime - Dodgeforum.com
- Regarding Software Update to TIPM - Dodgeforum.com
- Regarding PDC Replacement - Dodgeforum.com