Dodge Ram 1994-2001: How to Change Automatic Transmission Fluid and Filter
Here's a simple job that can increase the life of your automatic transmission. So keep the cash in your pocket and the truck on the road.
This article applies to the 2nd Generation Dodge Ram (1994-2001).
With regard to vehicle maintenance, changing the automatic transmission fluid and filter is often overlooked. If your Ram is overdue, here is a great DIY job that will save some money and increase the life of your truck. You only need a few basic tools, and it can be done in one afternoon in the comfort of your own garage.
Materials Needed
- Large oil catch pan
- Ratchet and 1/2" socket
- T20 Torx socket
- Brake cleaner
- RTV sealant
- Shop rags
- ATF+4 fluid
Step 1 – Remove the oil pan
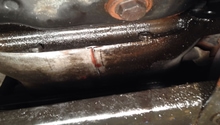
The most difficult part of this job is the first step. Unlike the engine oil pan, the transmission doesn't have a drain plug, meaning things can get a bit messy. Put some cardboard and a large drain pan underneath the transmission, and start by just cracking all its 1/2" bolts loose. In many cases, this is enough for the oil to start seeping out on all sides of the transmission pan, but you want to bring one side of it down first to control the flow of oil into the drain pan. So remove the bolts from one side first, and then one-by-one toward the other side.
Hold the transmission pan up with one hand to prevent the oil from leaking everywhere. Once the oil has fully drained, remove the bolts and set the transmission pan down.

Step 2 – Clean and inspect the transmission
Leave the drain pan and cardboard in place, and let the transmission continue to drip while you are cleaning it.
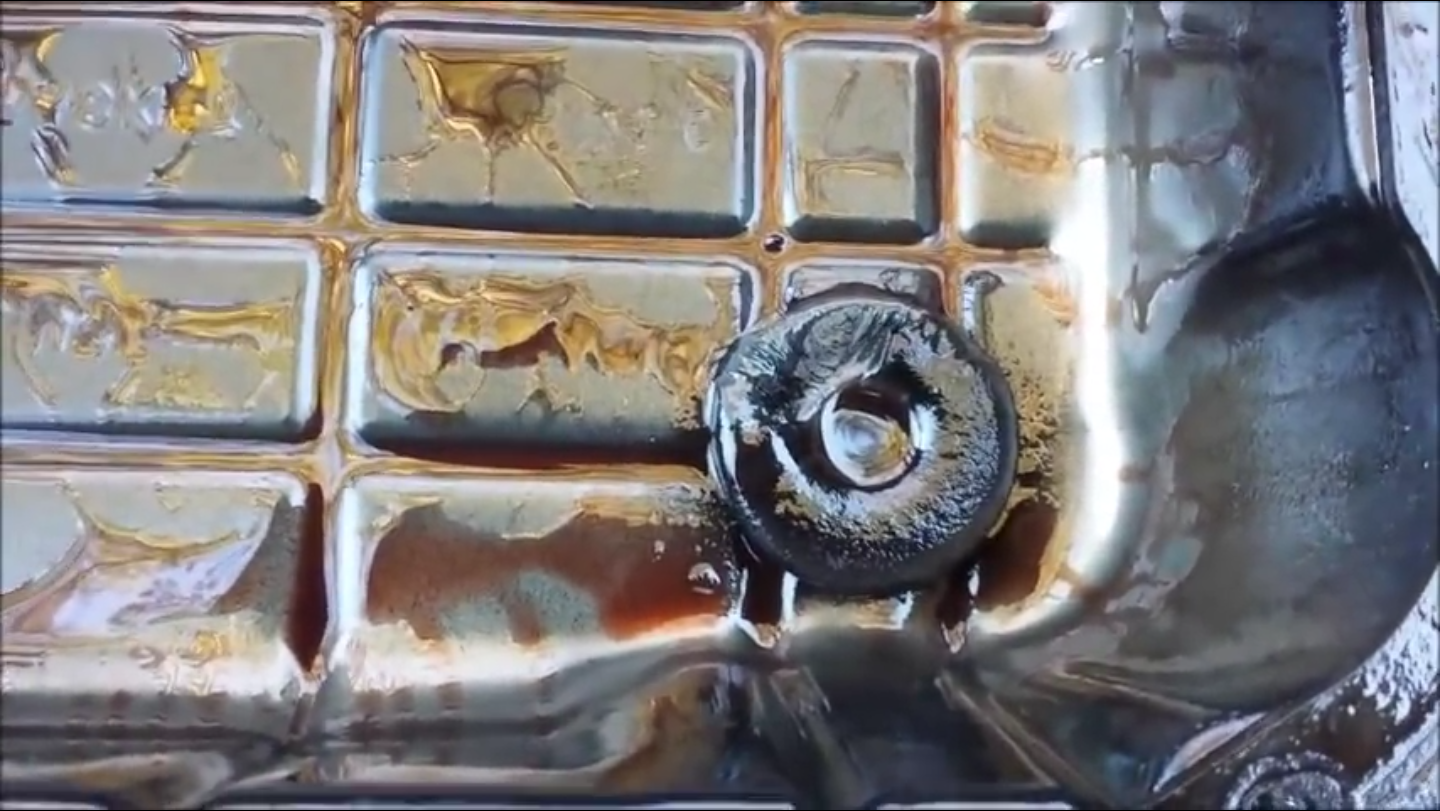
In the corner of the pan there is a magnet that collects metal shavings and debris, so they cannot be sucked into the valve bodies and cause potential damage. It's normal for there to be some material here as the clutches wear, but too much can indicate a problem, leaving you to service your transmission in the near future. Use rags and brake cleaner to wipe all of the old oil and debris from the pan.
If you are installing an aftermarket drain plug, now is the time to do it. Follow the instructions on the package, and make sure you remove all metal shavings before re-installing the pan.
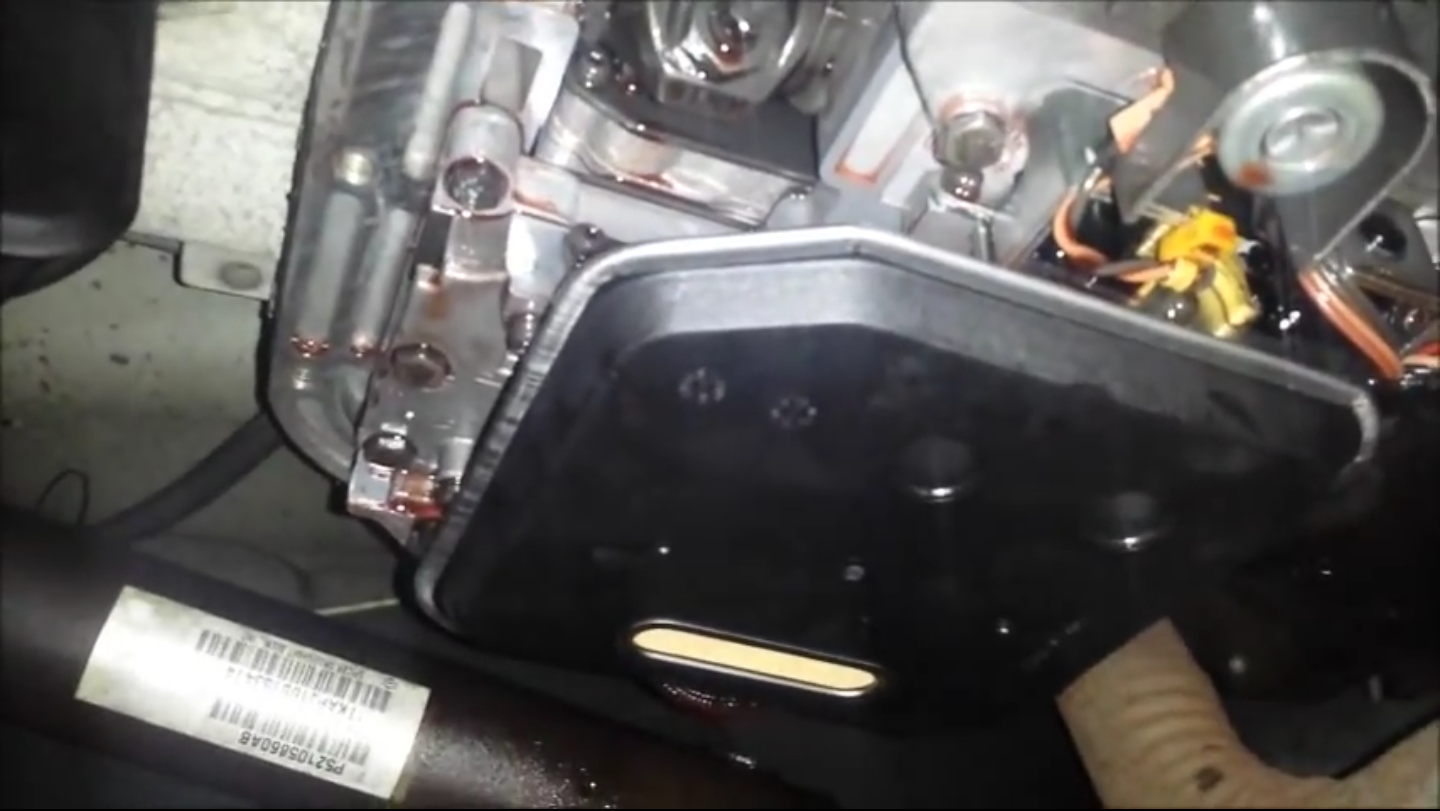
Step 3 – Replace the filter
There are two T20 torx bolts holding the filter in place. Remove the bolts, remove the filter, and pour the oil into your drain pan. Set these parts aside and then install the new transmission filter, making sure it's oriented correctly.
If your pan was sealed with RTV sealant, now is a good time to scrape it all away to prepare for the transmission pan to be re-sealed.
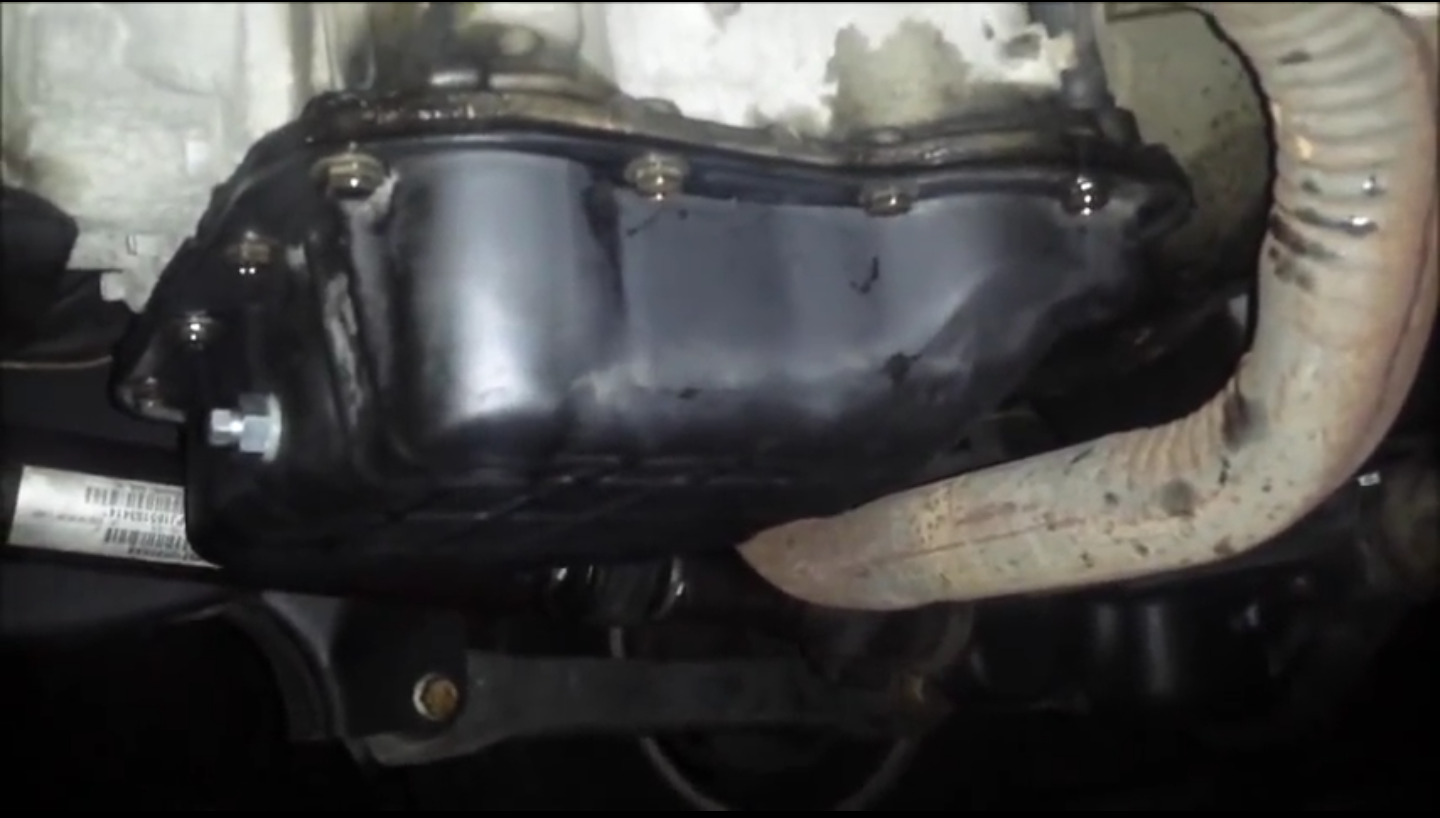
Step 4 – Re-install the transmission pan
If you are using RTV sealant, apply a thin coating onto the gasket and hold the pan in place. With your other hand, thread in all of the bolts until they are finger tight. In a crisscross pattern torque the bolts to 12 ft-lbs.
Now, start pouring in new ATF+4 fluid into the transmission. Depending on how much was drained out and how much remained in the oil cooler, you will need to add between five and eight quarts; start small, and check the oil level as you are pouring. Always check the level with the engine running and with transmission in neutral. Once it's at the right level as indicated on the dipstick, drive the truck around and top off the fluid as needed.
Featured Video: Transmission Fluid/Filter Change
Related Discussions
- 46RE Transmission Fluid - DodgeForum.com
- Added 6 Quarts Transmission Fluid After Change - DodgeForum.com