Dodge Ram 1994-2001: How to Replace A/C Evaporator
There are many complex parts to the A/C system, so if something goes wrong, where should you start? Read more to find out.
This article applies to the Dodge Ram (1994-2001).
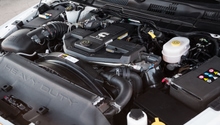
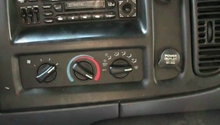
You turn your A/C on, crank it to the coldest temperature setting and expect cold air to come out through the vents, but instead, the system lets you down and blows warm air. The A/C system is complex in the way that its made up of multiple parts and components, and lots of physics and complicated terms are involved. That being said, the evaporator plays the biggest role of drawing in the heat and humidity out of the cabin and replacing it with cold air. So if the evaporator were to fail, it wouldn't be able to turn that warm air into cold. Below is a step-by-step guide on how to replace the evaporator in your truck. Keep in mind this requires to work with multiple complex components, so if you're not familiar with an A/C system, then you may want to visit the dealership.

Materials Needed
- 10mm, 12mm, 8mm socket
- Ratchet wrench
- Phillips screwdriver
- Flashlight (optional)
Step 1 – Disconnect the battery
Before you commence any work in your car, disconnect the battery terminals to avoid any electrical shock or damage to your truck's components. Begin with disconnecting the negative (black) terminal first, then the positive (red).
Step 2 – Remove dash
Start by accessing the driver's side footwell and use the Phillips screwdriver to undo the three screws that hold the lower dash panel underneath the steering column together, then repeat this step on the passenger side. Once the screws are out, pop out the panel, but be careful not to pull on any of the wiring inside of it. Then use the 8mm socket and ratchet to remove the top bolts located near the windshield, and lastly, use the 13mm socket to release the passenger compartment dash. Then you may wiggle it out and remove the dash as a whole.
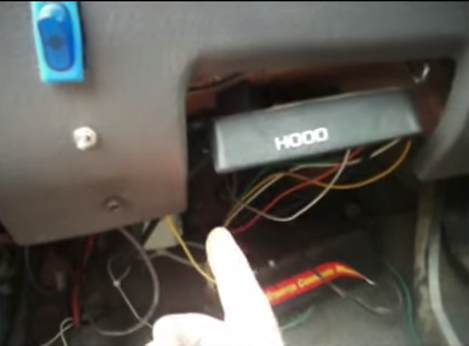
Figure 2. Remove dash panel under steering column. 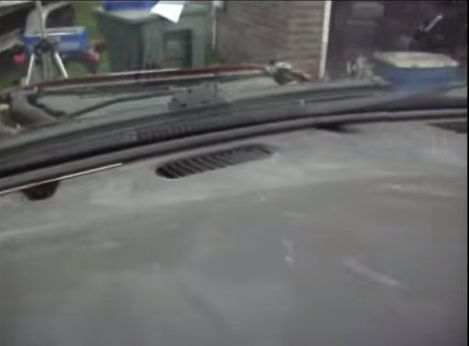
Figure 3. The bolts are located to the right and left of the center vent. 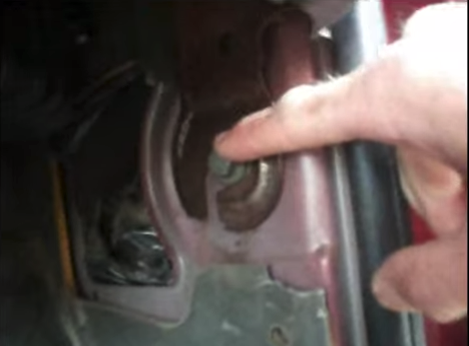
Figure 4. 13mm bolt on the passenger side lower dash.
Pro Tip
Make sure to place the dashboard somewhere safe, where it won't get damaged or anyone may trip on it. Dashboard panels are very costly.
Step 3 – Remove evaporator
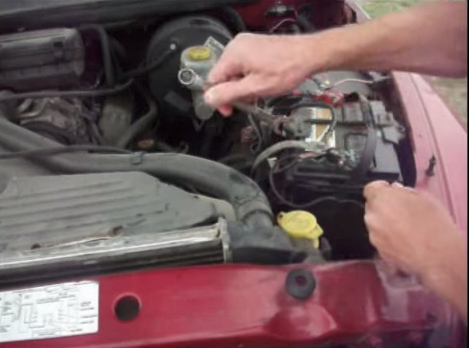
Now that the evaporator housing is exposed, you must start by unclipping the wiring harness. Once the evaporator is free of any wiring, you have to use the 10mm socket and ratchet to undo two bolts from the inside of the truck and two on the outside firewall in the engine back. Then remove the vacuum hose attached through the outside firewall as well. Make sure to disconnect the heater hose, as well as the ground wore connected to the evaporator, as well as anything that may be attached to the evaporator as well.

Figure 5. Disconnect the wiring harness. 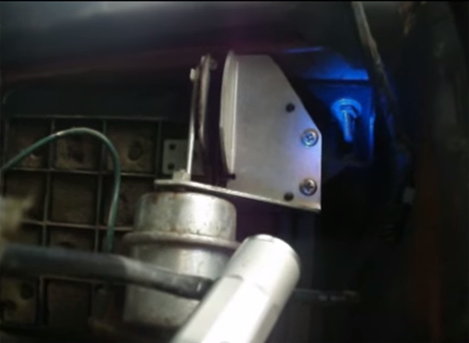
Figure 6. Remove the 10mm bolts. 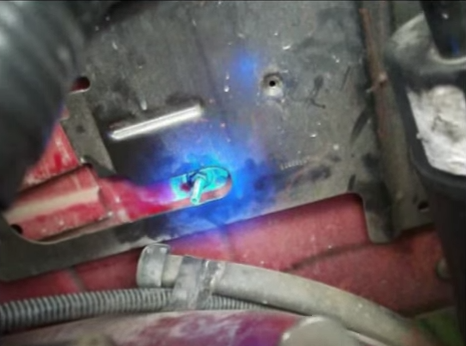
Figure 7. Remove bolts from the outside firewall, inside the engine bay. 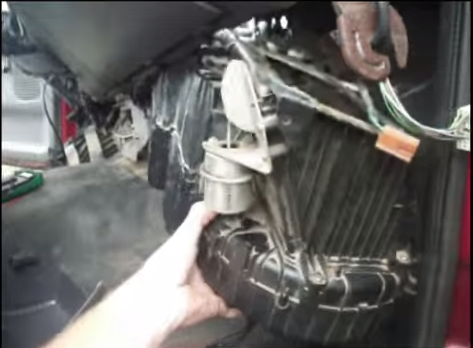
Figure 8. Once it's free, carefully wiggle it out of place.
Step 4 – Install new evaporator
Now that the evaporator assembly has been fully removed, make sure to examine the hoses and clamps that you've had to remove in order to get the evaporator out. It's good preventive maintenance to replace any worn out hoses or clamps now that the evaporator isn't getting in the way of everything. In order to install the new evaporator, you must work in reverse order of how you removed the old one. Follow these steps:
- Connect heater and drain hoses
- Replace bolts from the outer firewall
- Replace bolts from inside the cabin
- Plug in wiring harness
- Bolt dashboard back in place
- Bolt lower dash panel back in place
- Reconnect battery
- Test system
Featured Video: How to Remove an Evaporator on a Dodge Ram
Related Discussion
- A/C Evaporator Replacement for Dodge Truck - Dodgeforum.com