Dodge Ram 2009-Present: How to Install Uconnect Module
Uconnect is a Bluetooth hands-free entertainment system that can easily be installed in your Dodge Ram. If your Ram didn't come with the system installed, it doesn't mean you can't have one.
This article applies to the Dodge Ram 4th Generation (2009-Present).
Most of us are familiar with the sleazy salesman pitch, and unfortunately, the Uconnect system was a large part of that monologue. When the hands-free Uconnect system was first introduced, many Dodge Ram buyers were led to believe that the system came as a standard option, which was definitely not true. Fortunately, the truck was made to host the module, which is awesome considering the unit is not at all hard to install and only asks for a little time out of your day. So, as an effort to pay retribution to those of you who want to use the hand-free Bluetooth Uconnect system, here are the instructions to install it into your Ram truck.

Materials Needed
- T20 Torx screwdriver
- 7 and 10mm socket
- Ratchet
- Trim removal tool
Step 1 – Disconnect the battery
You'll be tampering with some of the electrical components in the center console, so as a precaution, disconnect the negative battery terminal (black cable). Remember, you should always disconnect the battery if your work involves electrical wiring.

Step 2 – Run the microphone wire
- Open the glove box.
- Release the tabs on the two upper corners, and gently lower the glove box out.
- Pry out the passenger's side A-pillar using a trim removal tool, but don't pull it out.
- Remove the trim's 10mm bolts, and then snap the trim off.
- Run the plug-end of the microphone wire from the headliner through the A-pillar and behind the glove box.

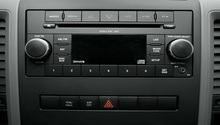
Step 3 – Remove the center console bezel
- Remove the two T20 Torx screws from the top of the center console.
- Use the trim removal tool to pry out the sides of the bezel, and then snap it out by hand.

Step 4 – Remove the factory radio
- Remove the 7mm bolts on each corner of the radio.
- Then slide the radio out, and disconnect the wire harness plug.

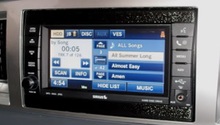
Step 5 – Install the Uconnect system
- Connect the factory radio plug to the Uconnect module.
- Install the Uconnect unit, and reattach the center console bezel.
- Mount the Uconnect module behind the glove box.
- Connect the large plug and microphone connector to the Uconnect module.
- Re-install the A-pillar and glove box.
- Take the truck to a dealership and have the system re-flashed, otherwise the system will not work.

Figure 5. Connect factory harness to the Uconnect system. 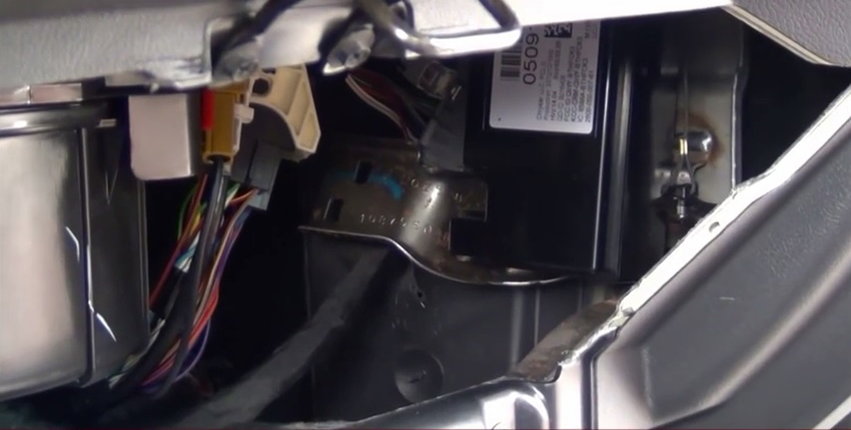
Figure 6. Mount the Uconnect control module. 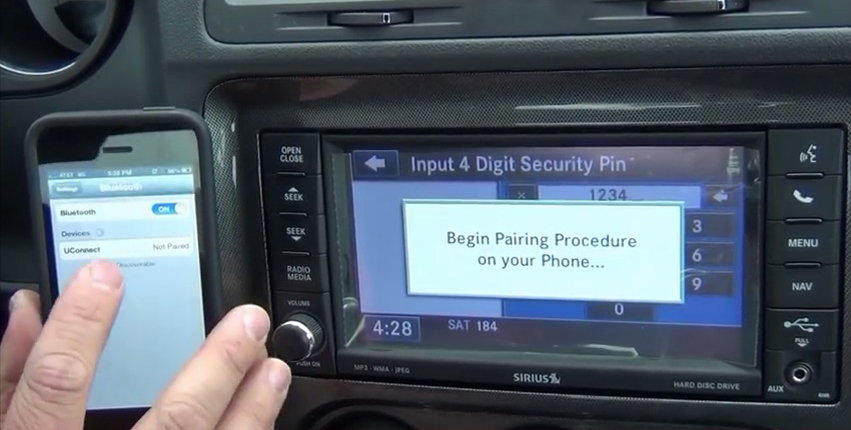
Figure 7. Re-flash the Uconnect system.
Featured Video: Uconnect Installation
Related Discussion and Video
- UConnect Module Install - DodgeForum.com
- UConnect GPS Navigation Radio Upgrade - YouTube.com