Dodge Ram: How to Replace Tail Light Bulbs and Assembly
Fixing the tail light on a Dodge Ram is so simple anyone can do it. This how-to will guide you through replacing the tail light bulb and assembly.
This article applies to the Dodge Ram (1994-present).
Fixing a broken or burned out tail light is important and can get you into trouble if you don't fix it as soon as possible. Thankfully, it is neither expensive nor difficult to fix. Anybody can fix a tail light, and you can, too, if you follow the instructions in this article.

Materials Needed
- Replacement tail light bulb and/or assembly
- T25 Torx screwdriver
- Phillips screwdriver
- Soft pry tool (optional)
Step 1 – Remove the tail light assembly
Open the tailgate on your truck and you'll see two T25 Torx screws next to the tail light assembly just below the the tailgate hinge. All you have to do is remove these two screws then you can just pull the tail light assembly from the truck. If you're having trouble getting it to come out, you can try prying it off. Make sure to only use a soft pry tool so you don't scratch the paint on the truck. Once you have it loosened you'll need to unplug the electrical harness. Pry out the little red clip on the harness then squeeze the end of the harness to pull it out.

Pro Tip
Newer truck models starting from the '08 model have the harnesses directly attached to the bulb sockets. Simply twist the bulb sockets counter-clockwise to remove them from the tail light assembly.
Step 2 – Replace the tail light bulb and assembly
Use a Phillips screwdriver to remove the four screws holding the bulb circuit plate to the tail light assembly. Pull out the plate and find the bulb you need to replace. Just pull the bulb out and insert the new one. You should hear it click into place. After that, it's just the reverse process to install the assembly:
- Attach the bulb circuit plate to the tail light assembly and tighten the four Phillips screws.
- Connect the electrical harness and reattach the red clip to the harness.
- Line up the pins on the tail light assembly to the holes in the side of the truck and insert the assembly to the truck.
- Tighten down the two T25 Torx screws.
Be sure to take the time to test the bulbs and make sure they work. Remember that if one bulb has burned out, the other could be on its way out so it may be best to replace the opposite bulb as well.
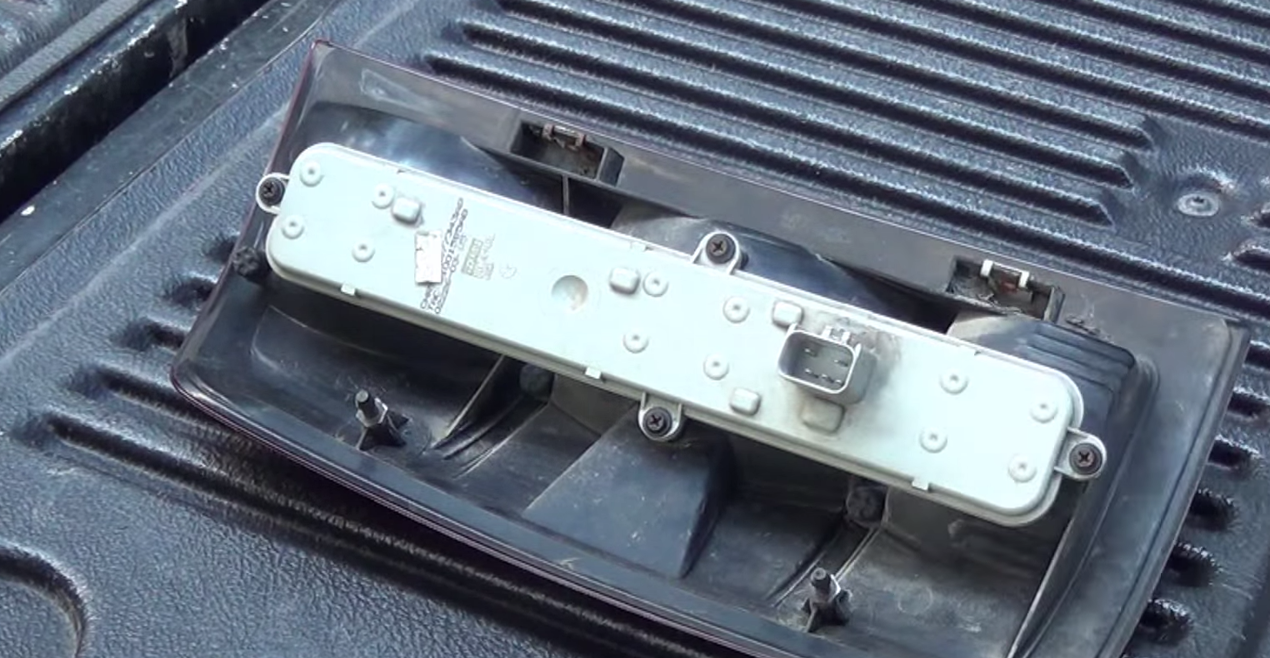
Figure 2. Remove these four Phillips screws. 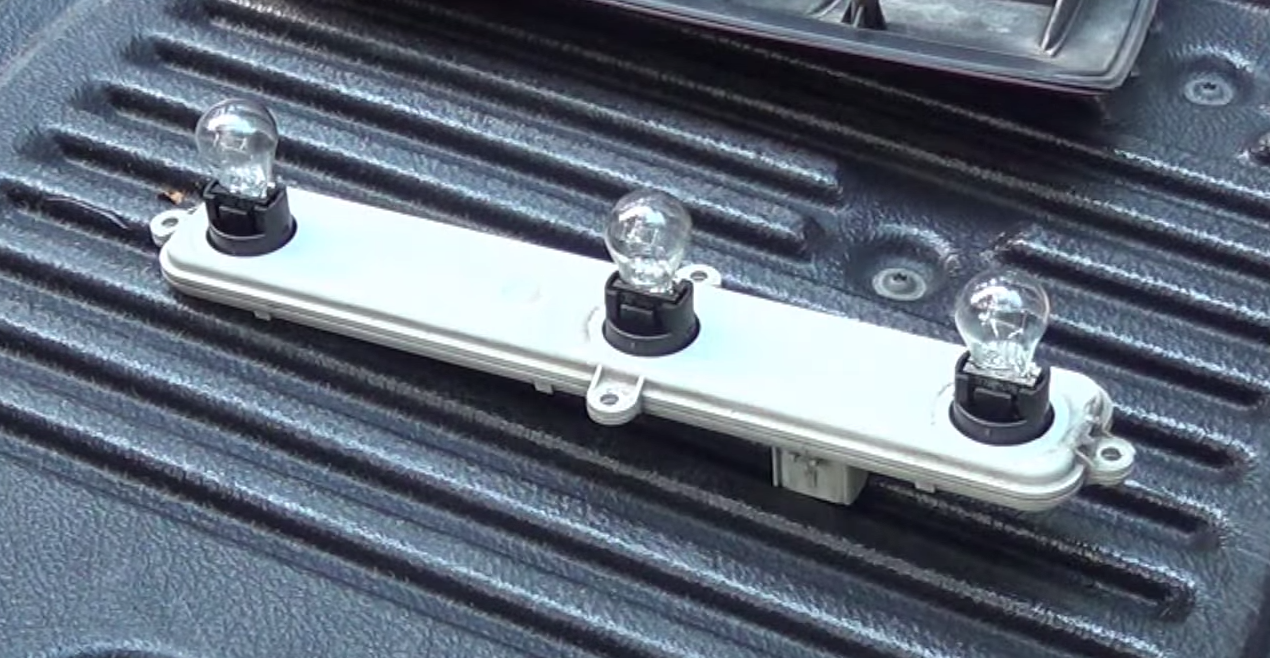
Figure 3. Just pull the bulb to remove it.
Warning
Be careful when handling the bulbs just after driving the truck because they can get very hot when they've being used.