

Timing belt tips

Thread Starter
|
Professional
Joined: Jul 2013
Posts: 129
Likes: 0
I am going to tackle the belt in the next few days. I have the complete kit with the water pump and tensioners. Any advice or tips would be appreciated. I'm more concerned about possible mistakes that people have made in the past so that I can avoid them.
Thread Starter
|
Professional
Joined: Jul 2013
Posts: 129
Likes: 0
Thanks. I have a bad memory. As I type, I am half way through the process. What a major pain this project is. I ruined one of the cam seals trying to install it on the head near the firewall. Luckily my dad had and extra from years past. Getting the water pump off of the transfer pipe took a half hour with two pry bars and a lot of force. I am glad that Bad Venge recommended the full kit because it comes with cam and crank seals. My cam seal near the firewall was bad. It was starting to leak really bad. I will try to post some pics of the project tomorrow. I noticed the alternator is cramped in a tight space. How would you get it out if it went bad?
Thread Starter
|
Professional
Joined: Jul 2013
Posts: 129
Likes: 0
So far,so good. We spent Christmas day finishing the project. It started up and ran perfectly. I have one warning to give. The cam seals have no stop in the head. I pushed one side in too far and had to scrap the seal. I have some pics to post below. I wish that I had more, but my hands were so filthy that I took them when my hands were clean.
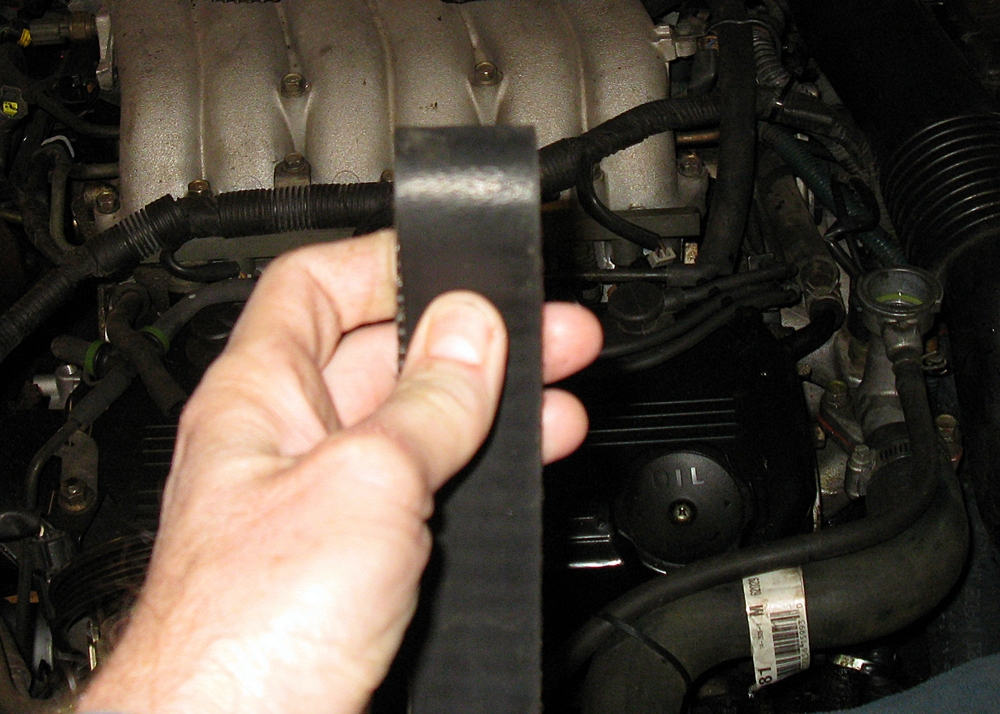
Belt with hairline cracks.
Started reassembly. Water pump and tensioner.

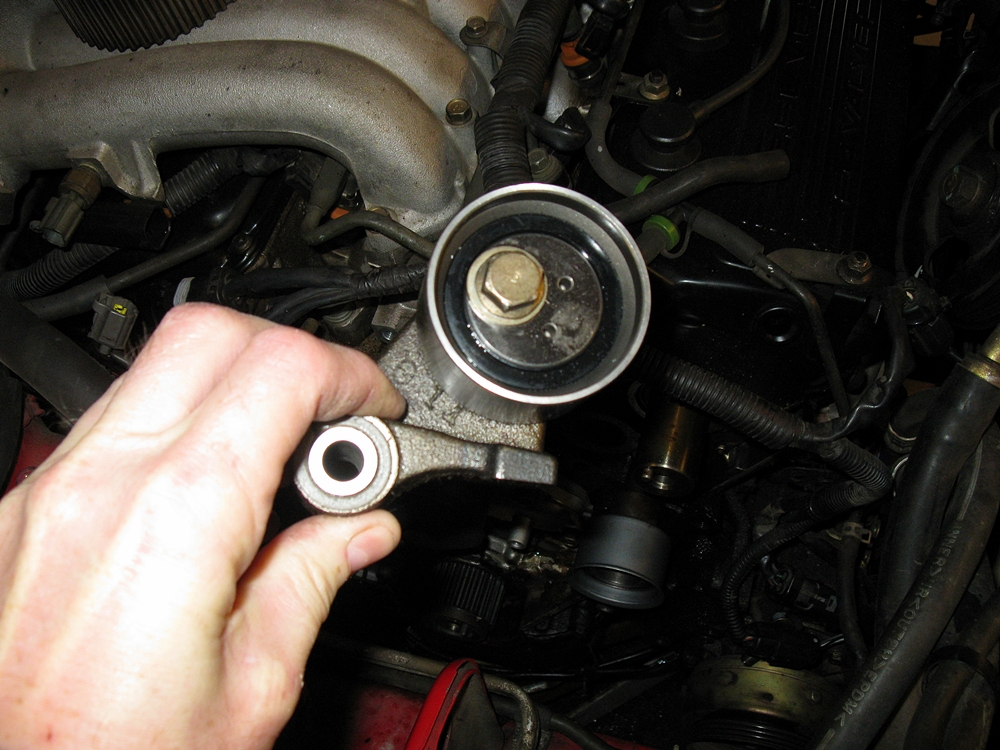
Close up of belt tensioner.

Other half of the tensioner.
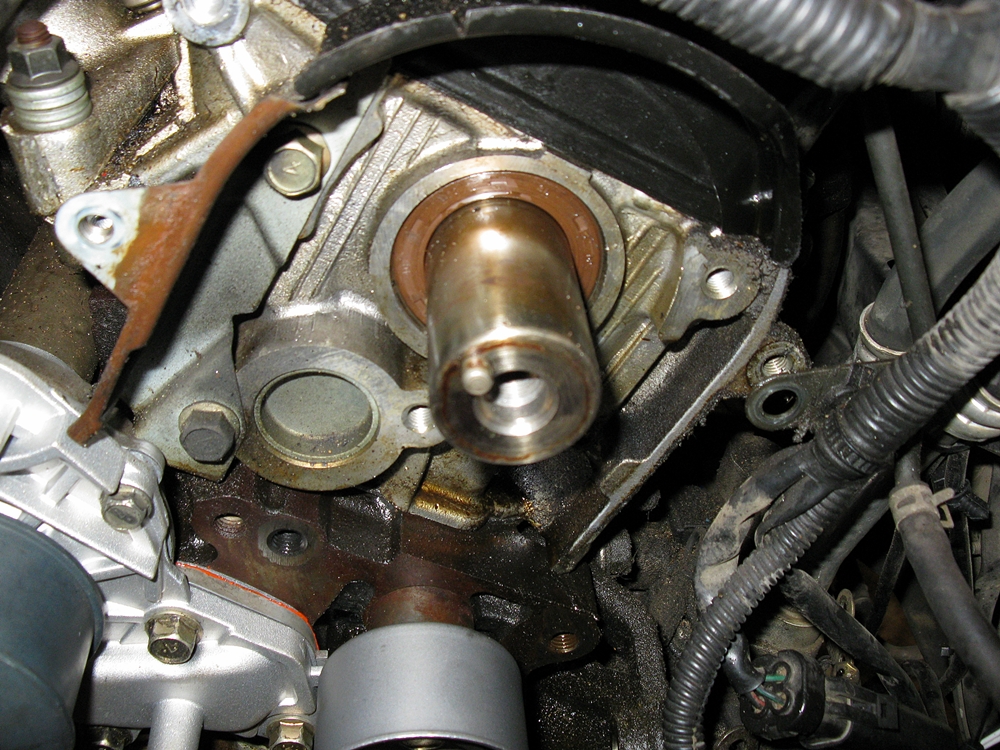
Cam seal.
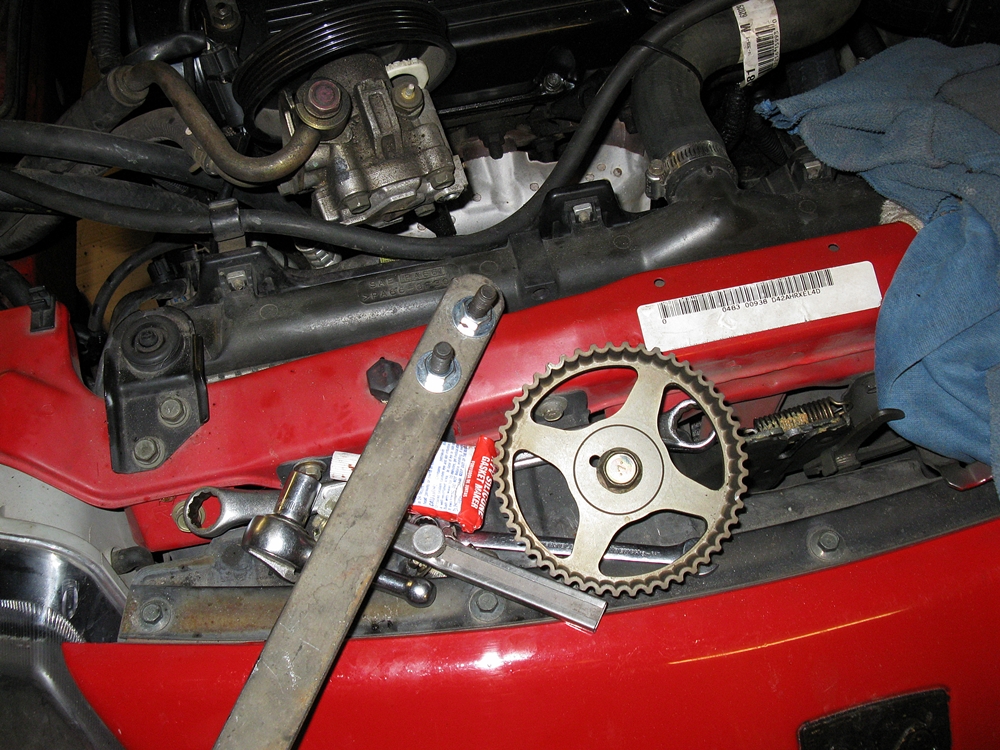
Homemade tool for timing sprockets.
I finally got the belt on.

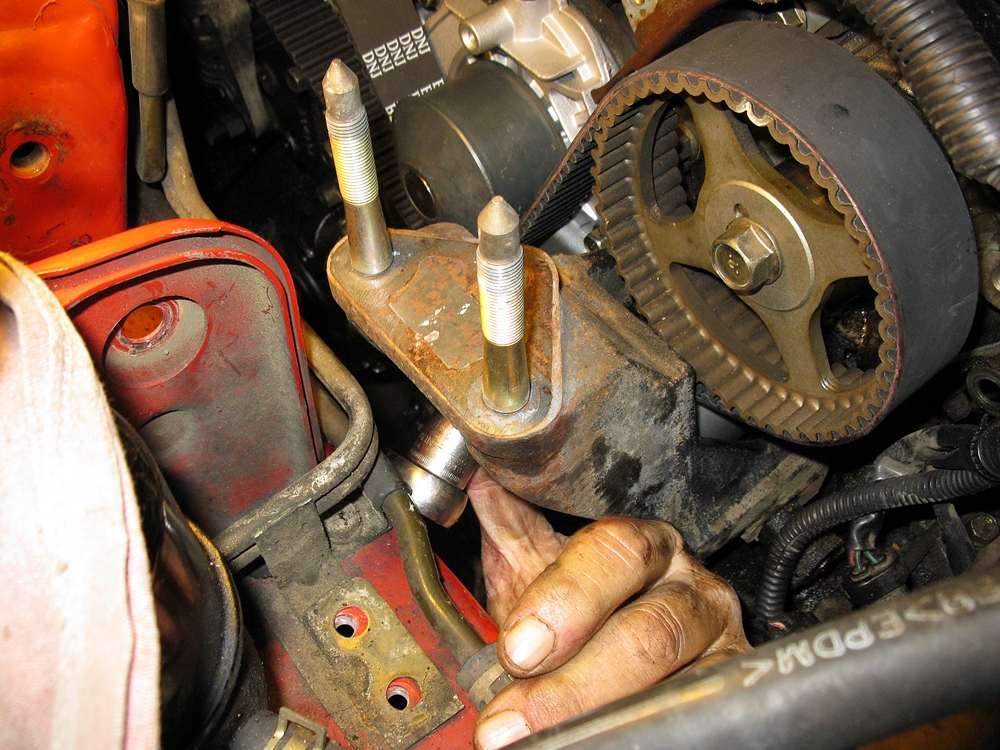
Installing the mount.
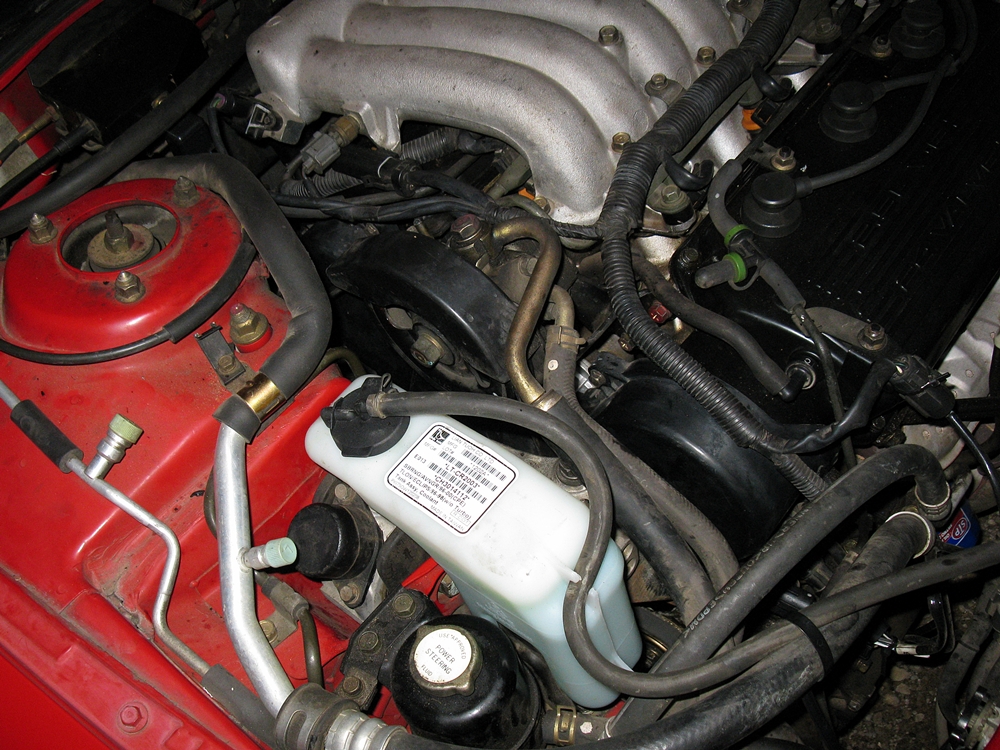
Job complete.
Belt with hairline cracks.

Started reassembly. Water pump and tensioner.

Close up of belt tensioner.

Other half of the tensioner.

Cam seal.

Homemade tool for timing sprockets.

I finally got the belt on.

Installing the mount.

Job complete.
