When you click on links to various merchants on this site and make a purchase, this can result in this site earning a commission. Affiliate programs and affiliations include, but are not limited to, the eBay Partner Network.
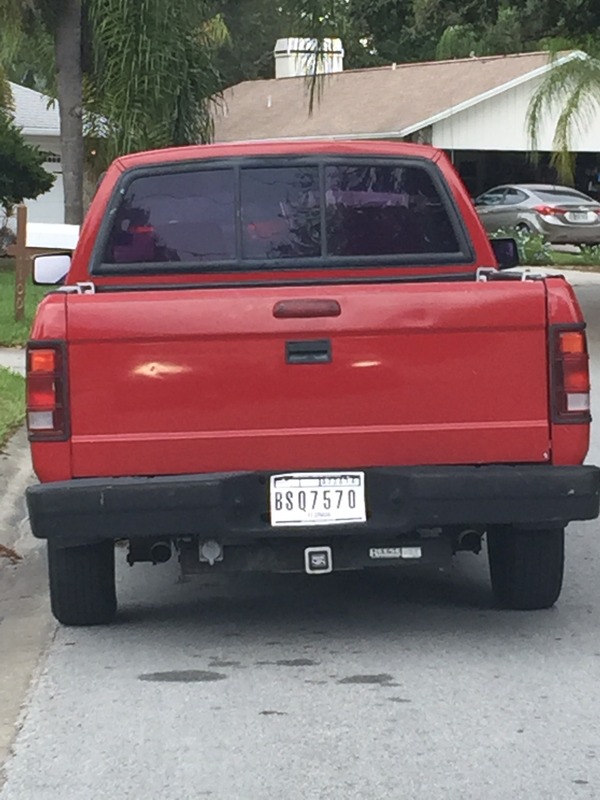
I picked up this 1994 Dakota RCSB 5.2L/A4 last summer to build for/with my kids. It was pretty rough but almost completely rot free. Which is surprising based on what I found during the initial teardown. IIRC, I got the price down to $1350
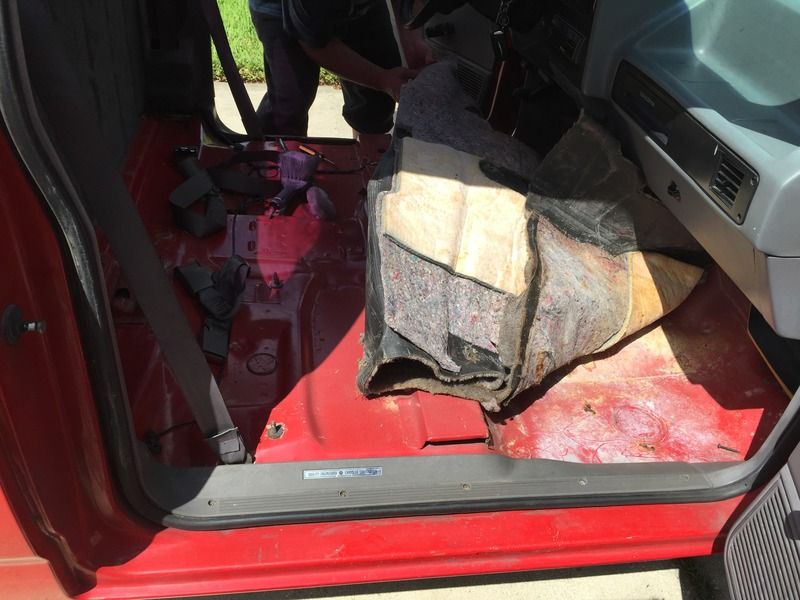
Found some wet carpet so began the quest of sealing it up.
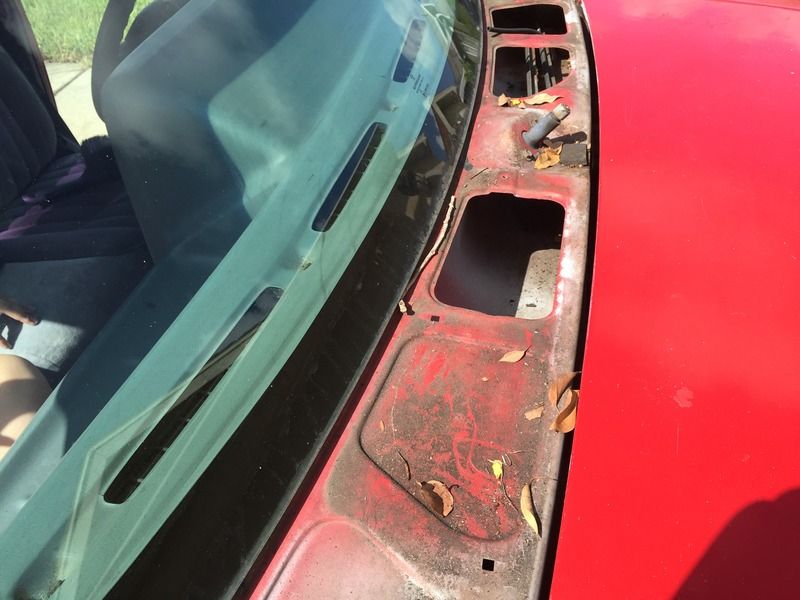
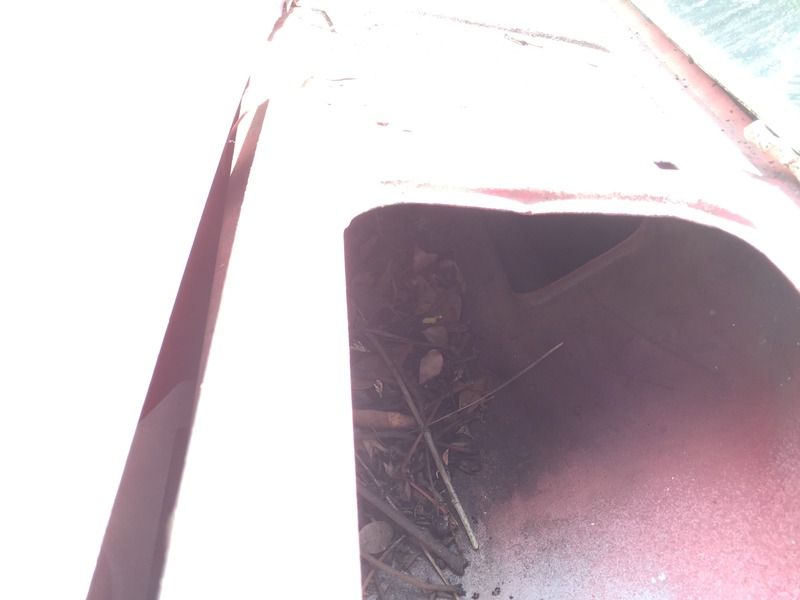
First, the wiper cowl. It was loaded with leaves not allowing water to drain, subsequently backing up into the fresh air intake, then running down the interior side of the firewall behind the dash.
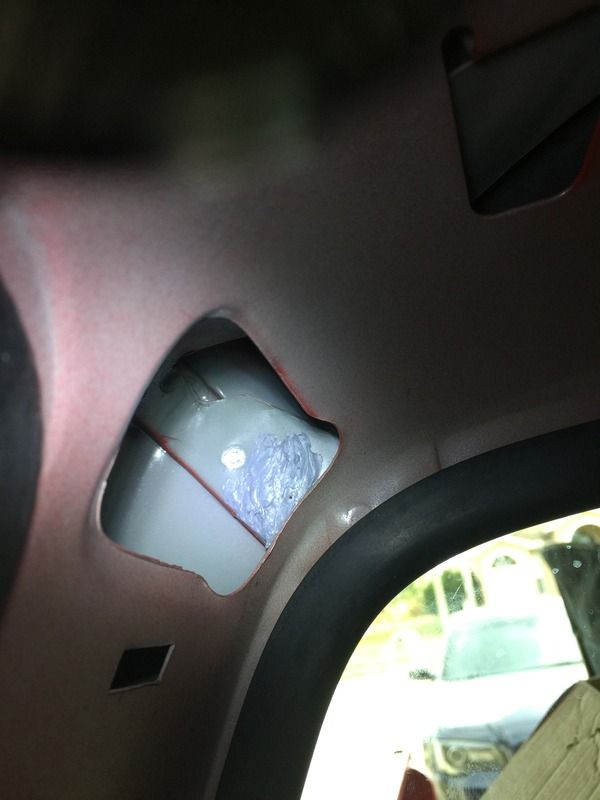
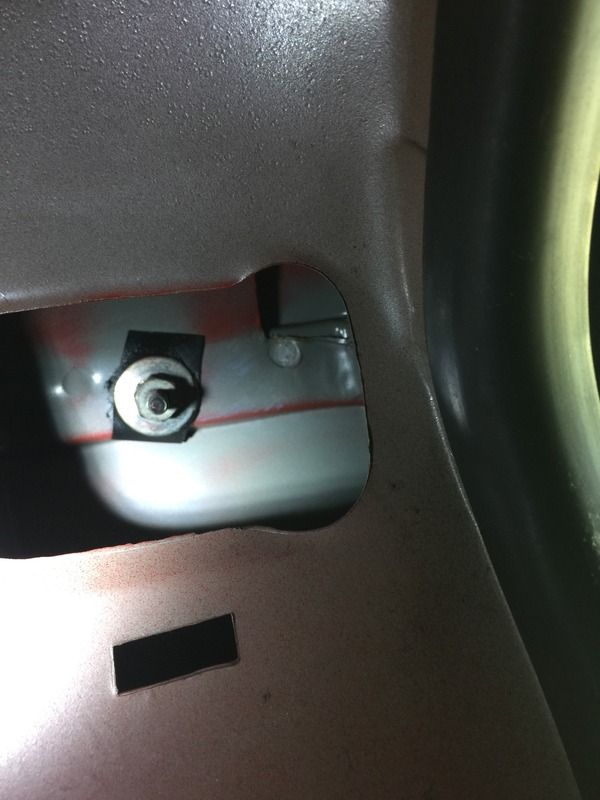
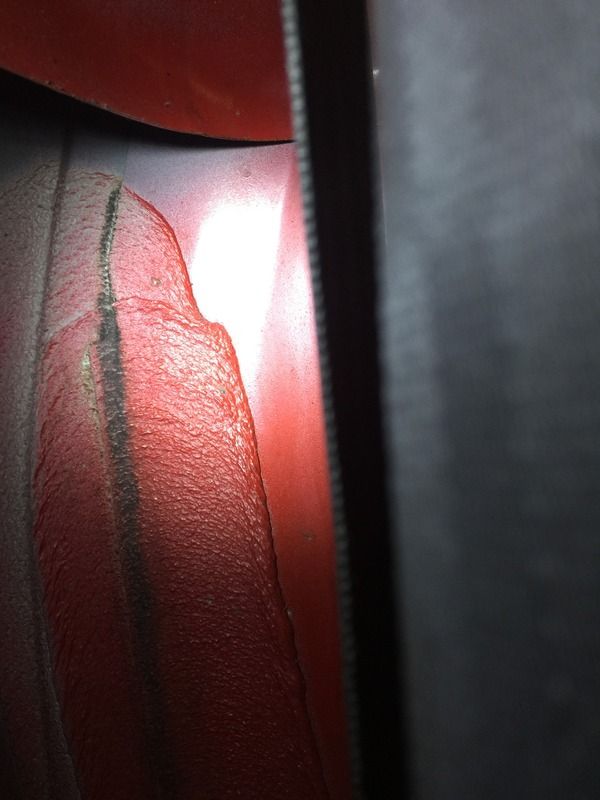
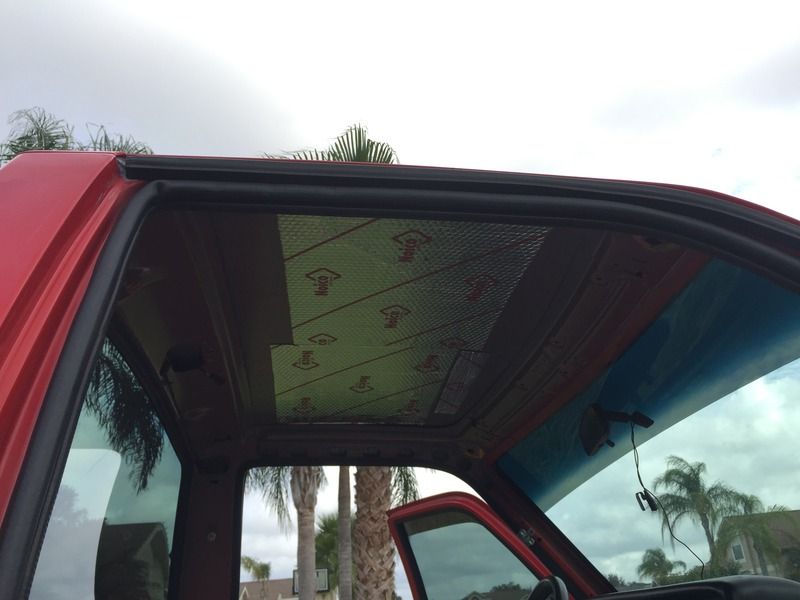
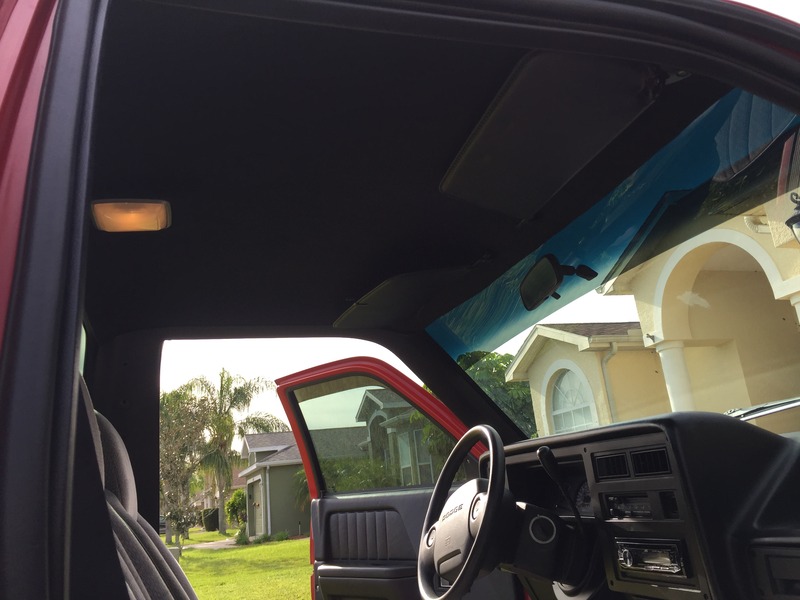
Next was the roof body seam. It had a loose mounting bolt on the passenger side which seemed to have been stripped during an earlier respray. Gooped some body seam filler in the old hole for the time being. I have since located a pair of roof seam caps in case I need 'em. More on why in a later post.
Used a bicycle tire patch kit to help seal the remaining roof seam nuts as they had long since lost their rubber gasket coating.
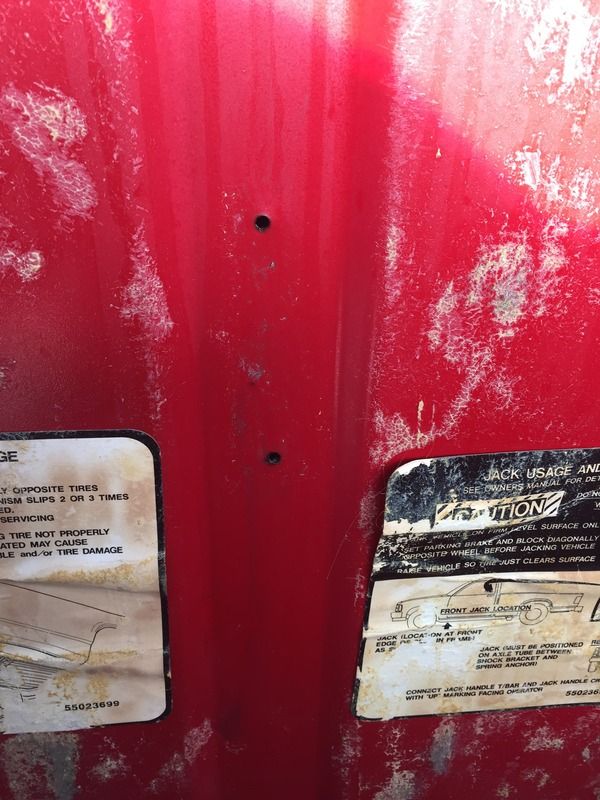
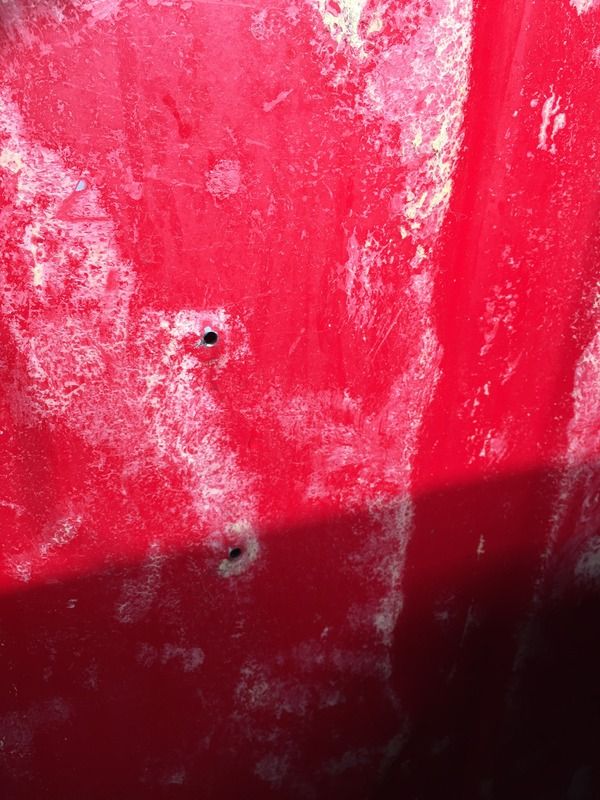
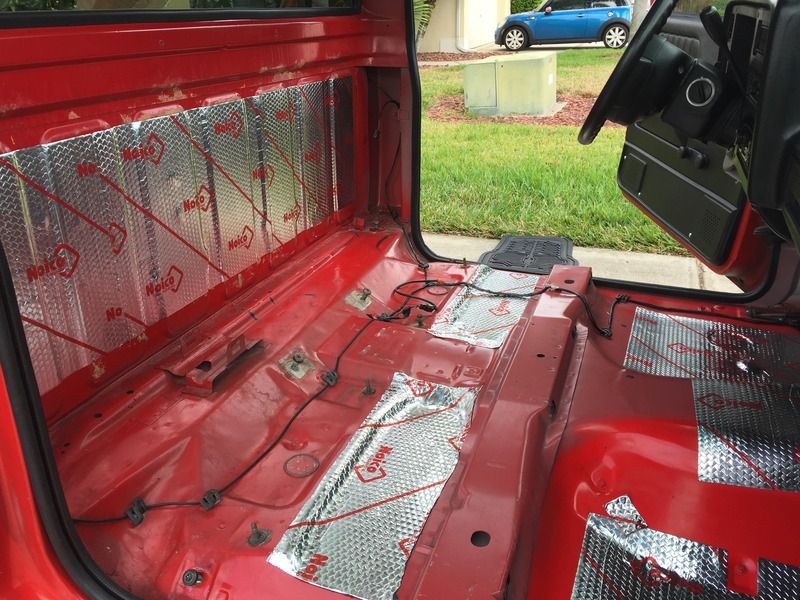
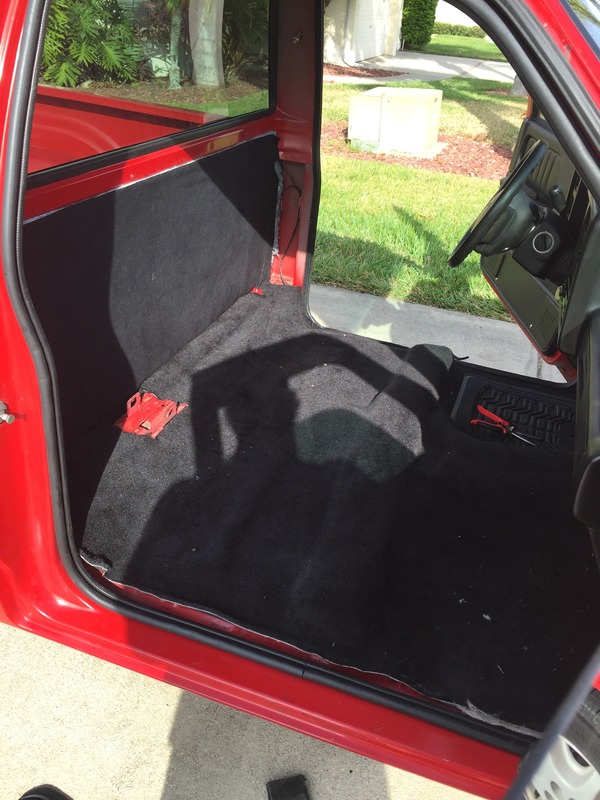
I removed the ratty carpet that had been (excessively) glued to the back of the cab and found some body seams and holes in the back that were leaking as well.
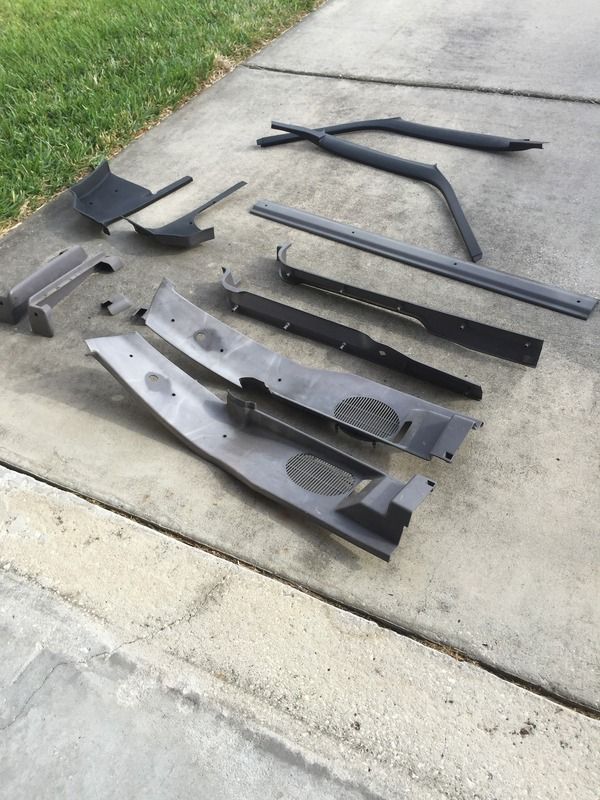
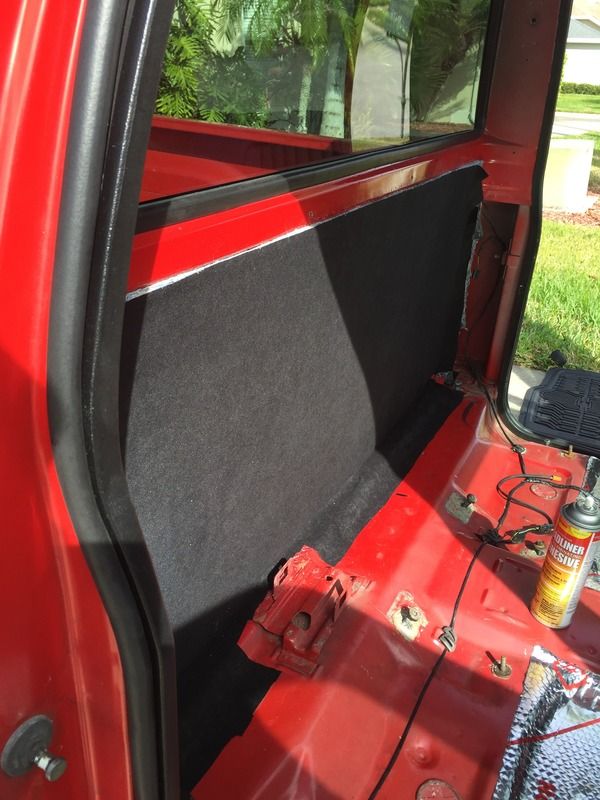
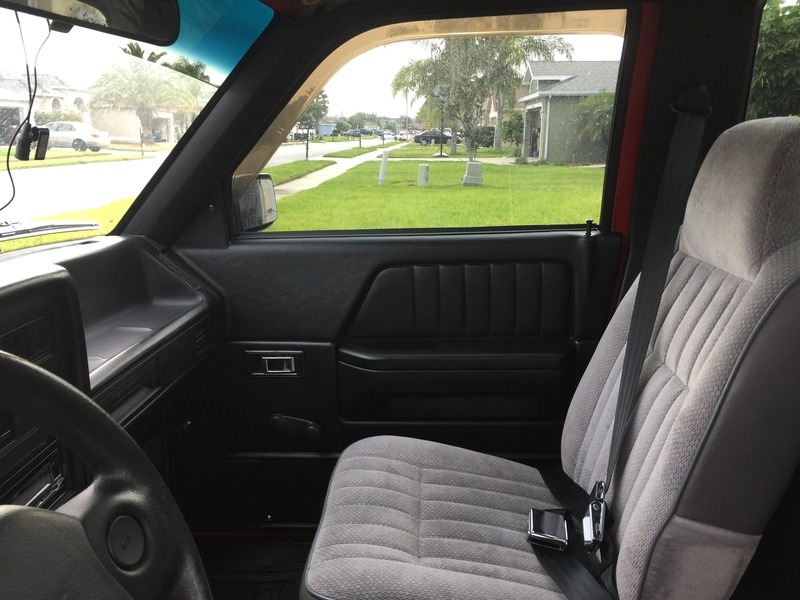
Once it was all sealed up, I started on the interior with some 50mil Noico sound deadening and some radiant barrier denim insulation. Also did Noico inside the doors and denim insulation under the door panels, just no pics.
fake suede from JoAnne fabrics over denim insulation
Last edited by Snowman451; Mar 22, 2017 at 09:10 AM.
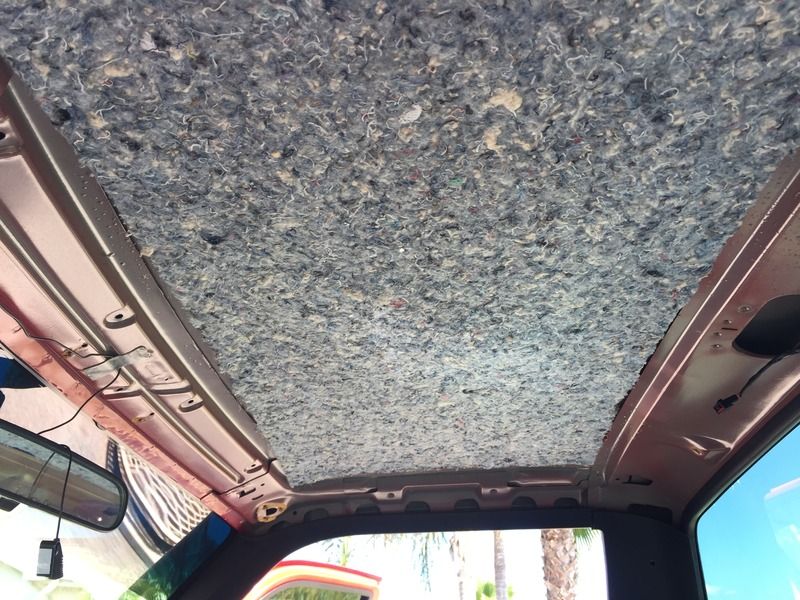
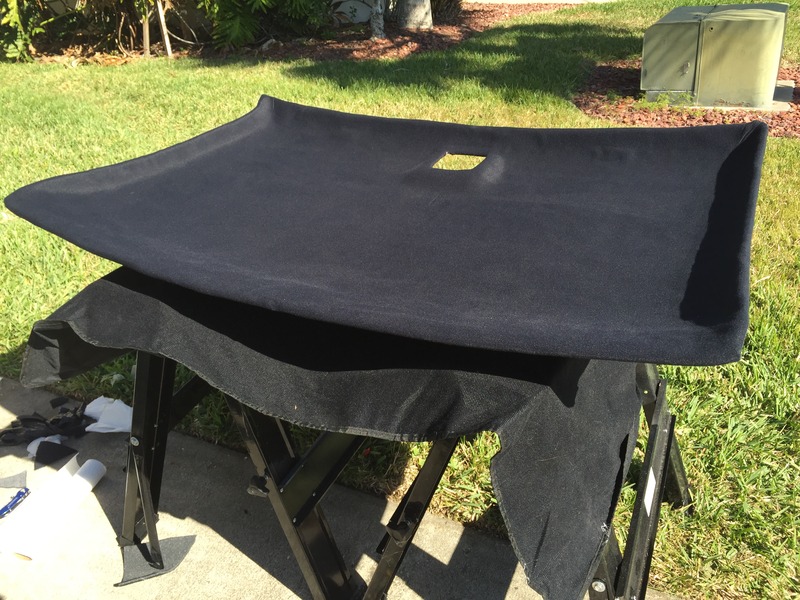
Headliner wasn't black so it got done too. Backing board was in rough shape and needed replacement. I seached local JYs for a about 6 weeks with no luck before deciding to use a quart of fiberglass resin to bind it all together. Came out ok. I also tucked in the new stereos wireless phone mic. Wouldnt you know it, no sooner than the resin cured and 2 RC daks showed up at the closest yard to my work. Go figure...
Last edited by Snowman451; Mar 22, 2017 at 09:32 AM.
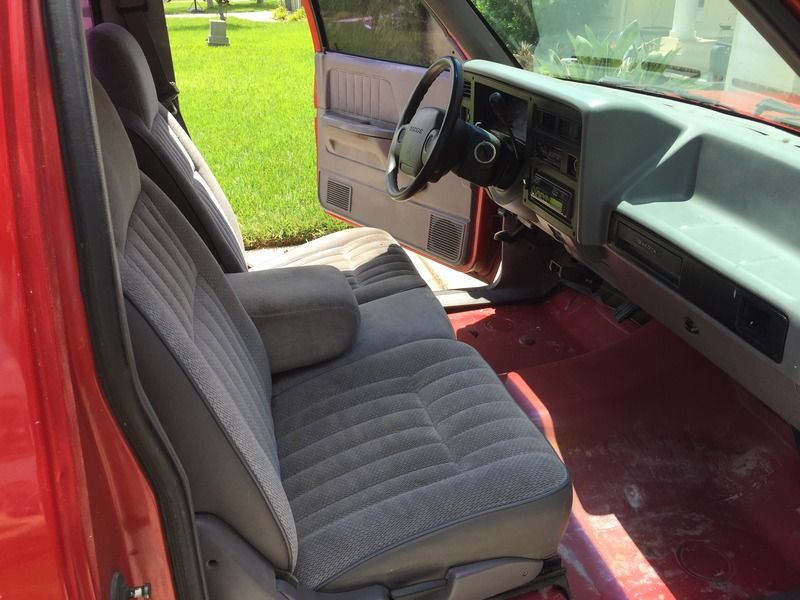
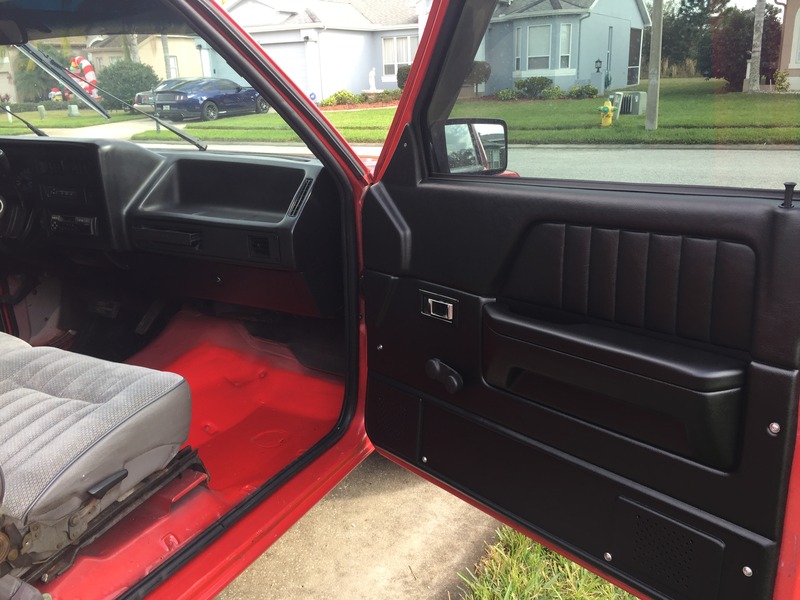
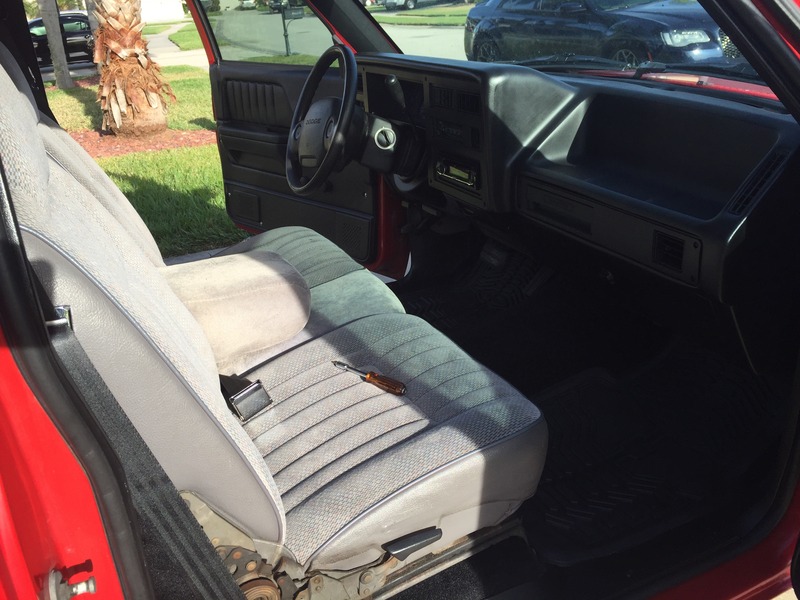
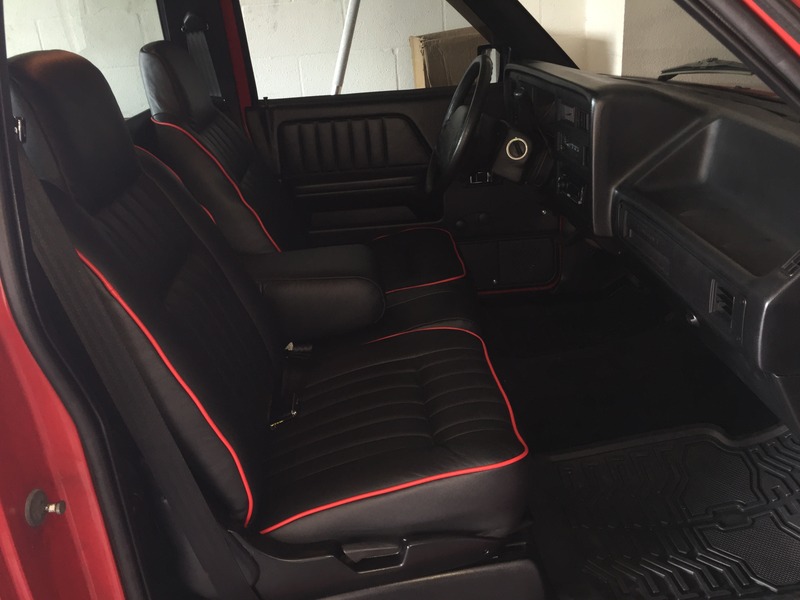
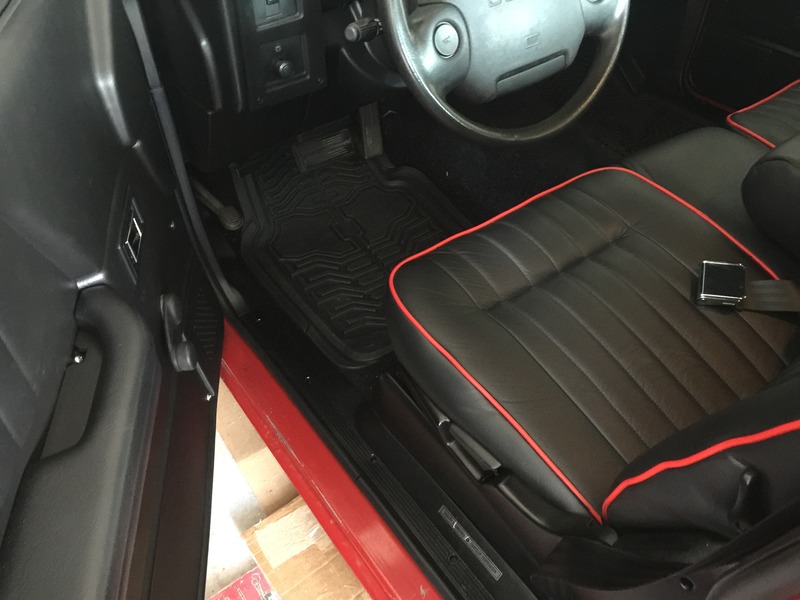
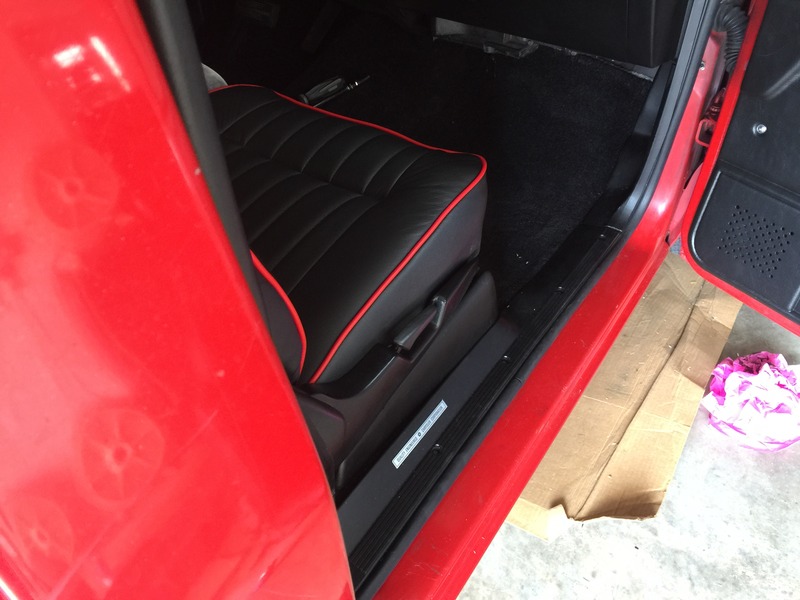
The new interior deserved more than the 23 yo gray seat. So, I picked up a spare one at a local JY in much better shape (spring and latch wise) and had it done in black leather from a local upholstery shop. ColorBond Ford Black (119) was used on the seat plastic. Saved me a few bucks at the Upholsterer by doing it myself.
Last edited by Snowman451; Mar 22, 2017 at 09:46 AM.
3m 1080 Gloss Dragon Fire Red Vinyl for the white tailgate and a front shot after some touch up on the grille and lower valance.
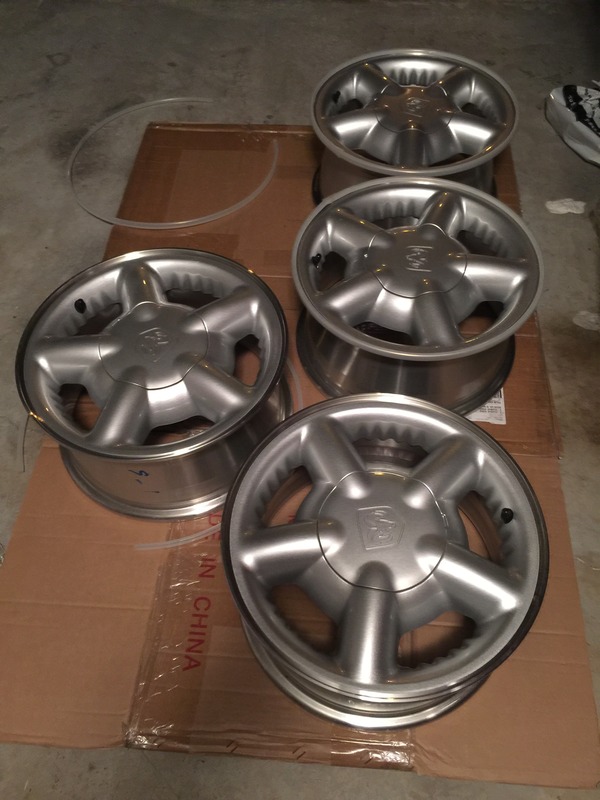
Picked this set up for $50 on CL from a guy who took them off his 1997 when it was 2 weeks old. He had kept them boxed in his attic since then. Going to throw them on with some 235/75/15 Grabber At2 after I redo the front end.
Last edited by Snowman451; Dec 12, 2017 at 08:12 AM.