

1989 Dakota Electric Fan Install

Thread Starter
|
Captain

Joined: Oct 2010
Posts: 579
Likes: 1
From: Florida
Typical statement: I assume no resposibility to the following literature. If you get hurt, die, cause death, or indirectly cause death by action or inaction, do not bug me about it. This is a generic thread on my installation of a cheap fan to cool a 4 row aluminum radiator post 360 install. Any questions?
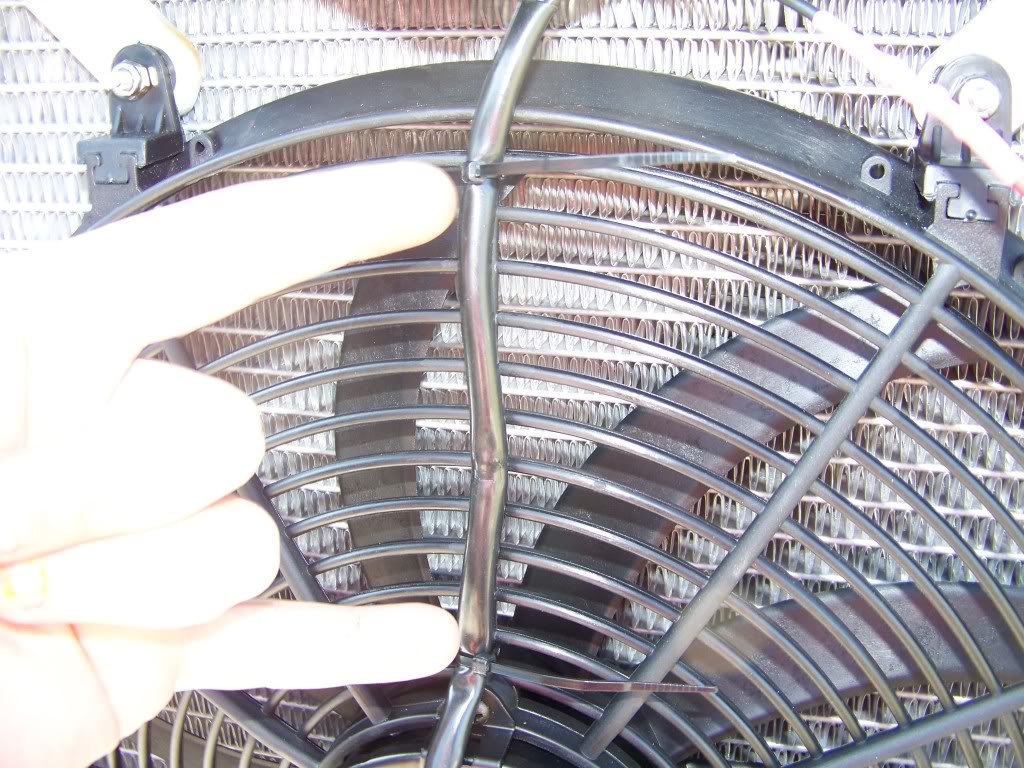
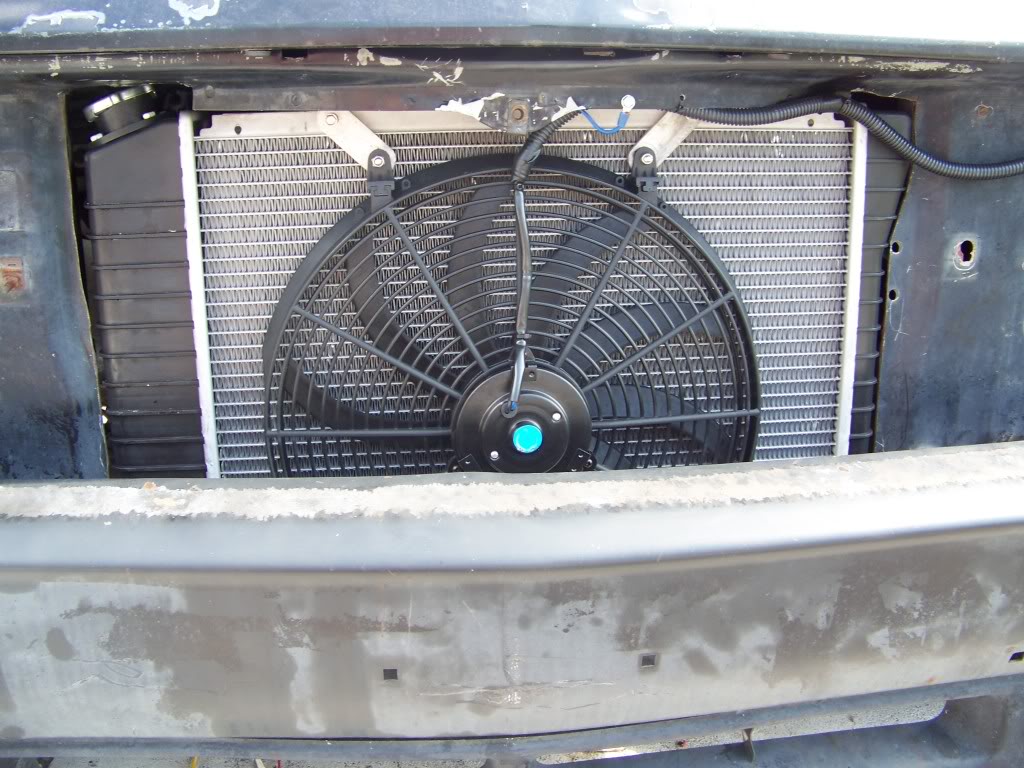
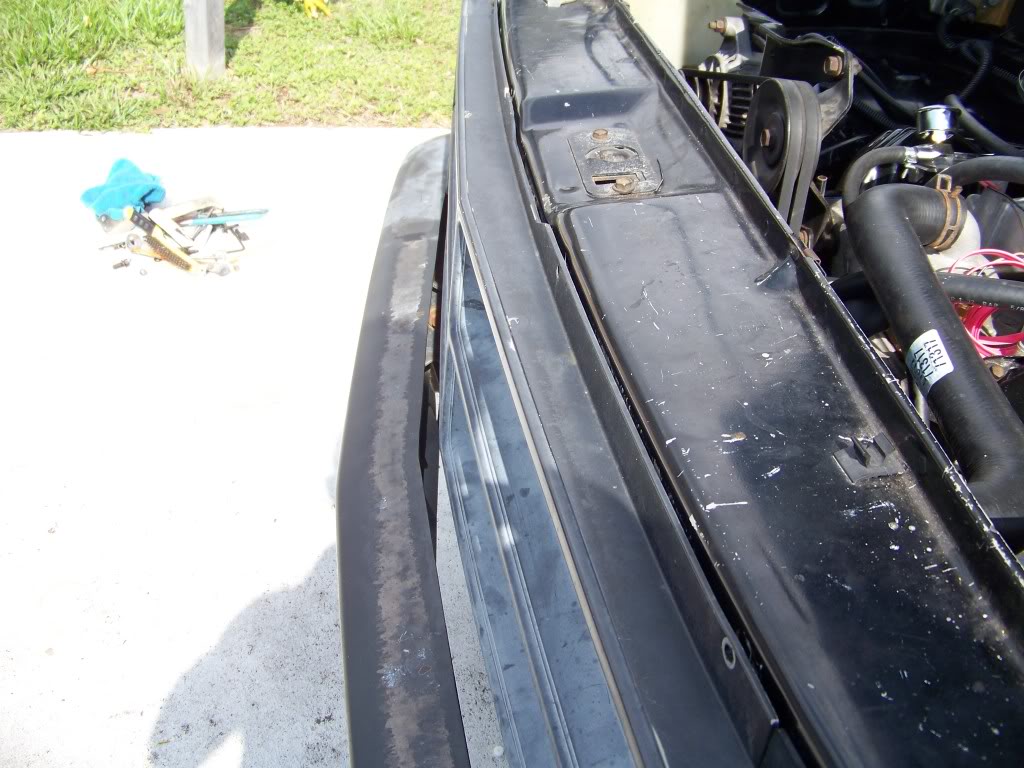
Being the cheap/frugal individual I am, I purchased a 120 watt (subjective, and noted as being 9-10 amp) E-bay S-style electric fan to help cool the cruiser. This is the first set of pics. It is important to note that the shroud is 1/4" off the radiator. At the bottom of the shroud I used nylon spacers, at the top I used some aluminum stock I had lying around. The top is secured with bugal style bolts and lock nuts.
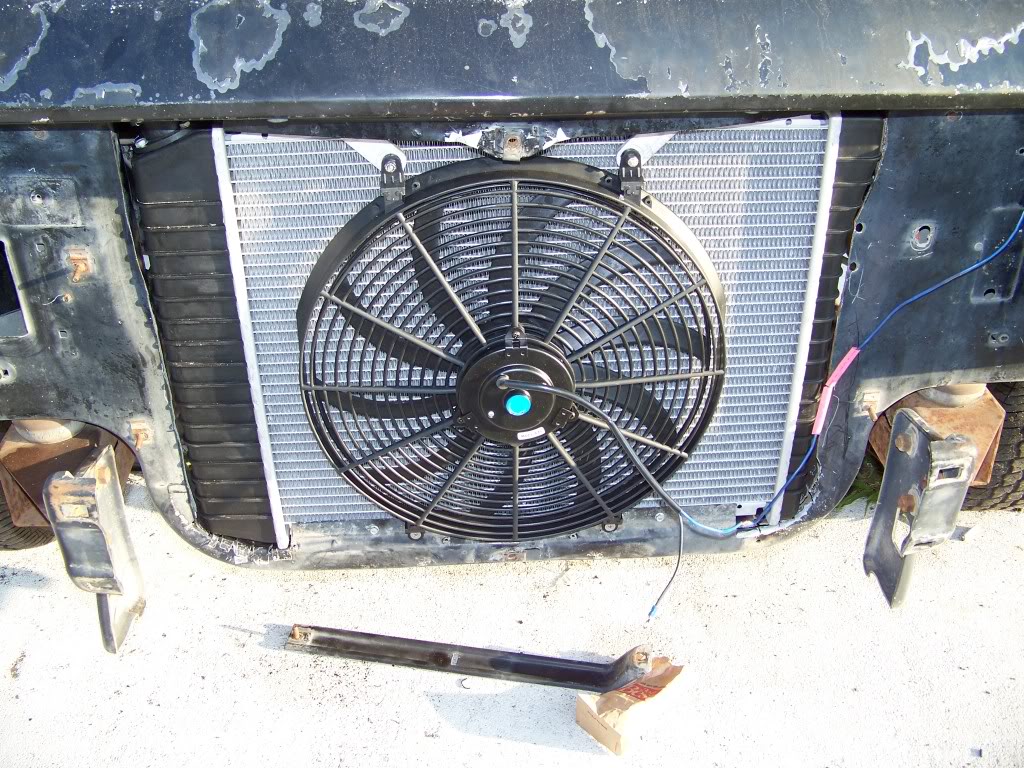
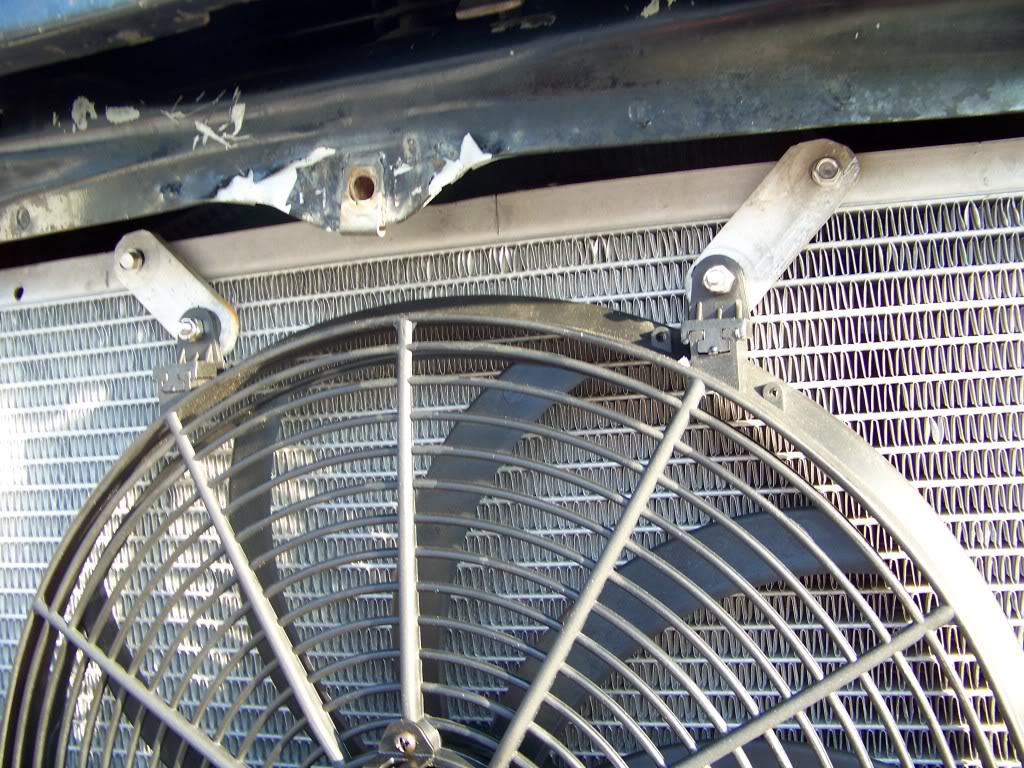
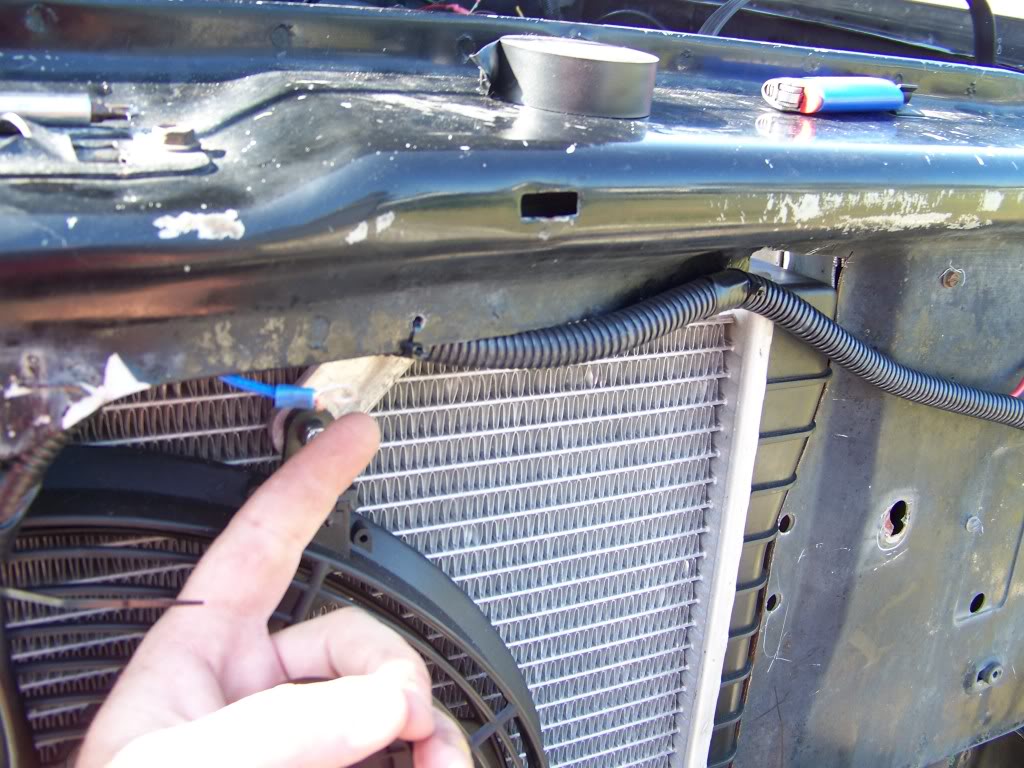
Now when I start the body work, I will readdress the radiator mounting method. I am using 10 gauge wiring, even though the fan has 14 gauge wiring at the motor. It should be noted that this is a 3 1/4" deep fan that is considered a 16" rated for 2000 cfm. Since I do not own a windtunnel, I used the hand behind the radiator method, and found it "probably sufficient". In the event I overheat, I will post results at that time. Also note the judiscious use of the sawz-all (r) to accomodate the radiator. I will finish it with rubber piping later to "hide" the imperfections.

Being the cheap/frugal individual I am, I purchased a 120 watt (subjective, and noted as being 9-10 amp) E-bay S-style electric fan to help cool the cruiser. This is the first set of pics. It is important to note that the shroud is 1/4" off the radiator. At the bottom of the shroud I used nylon spacers, at the top I used some aluminum stock I had lying around. The top is secured with bugal style bolts and lock nuts.
Now when I start the body work, I will readdress the radiator mounting method. I am using 10 gauge wiring, even though the fan has 14 gauge wiring at the motor. It should be noted that this is a 3 1/4" deep fan that is considered a 16" rated for 2000 cfm. Since I do not own a windtunnel, I used the hand behind the radiator method, and found it "probably sufficient". In the event I overheat, I will post results at that time. Also note the judiscious use of the sawz-all (r) to accomodate the radiator. I will finish it with rubber piping later to "hide" the imperfections.
Last edited by siggie30; Apr 23, 2011 at 07:10 PM.
Thread Starter
|
Captain
Joined: Oct 2010
Posts: 579
Likes: 1
From: Florida
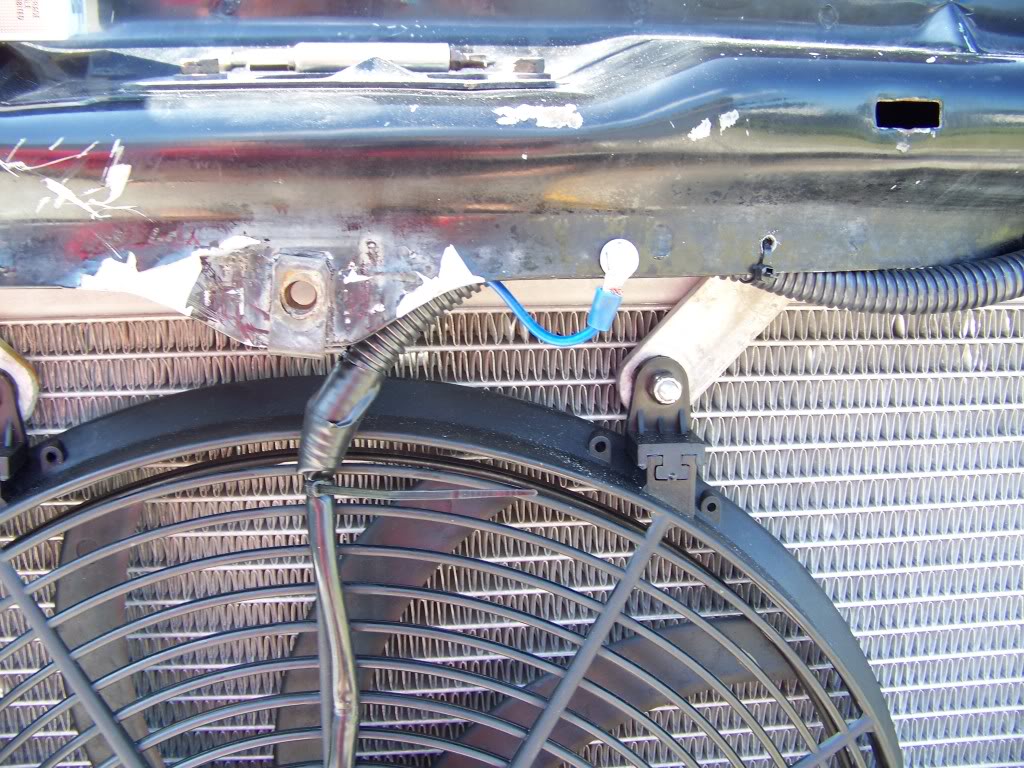
This fan was initially wired as a puller, but simply changing the wires around will allow it to become a pusher type.
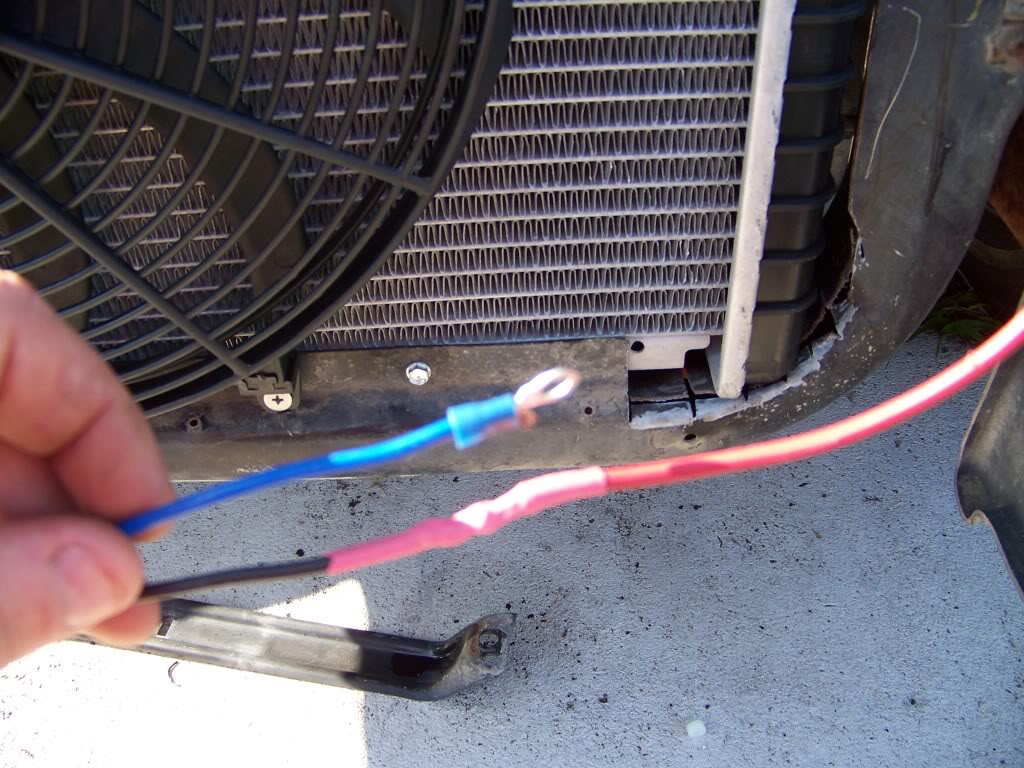
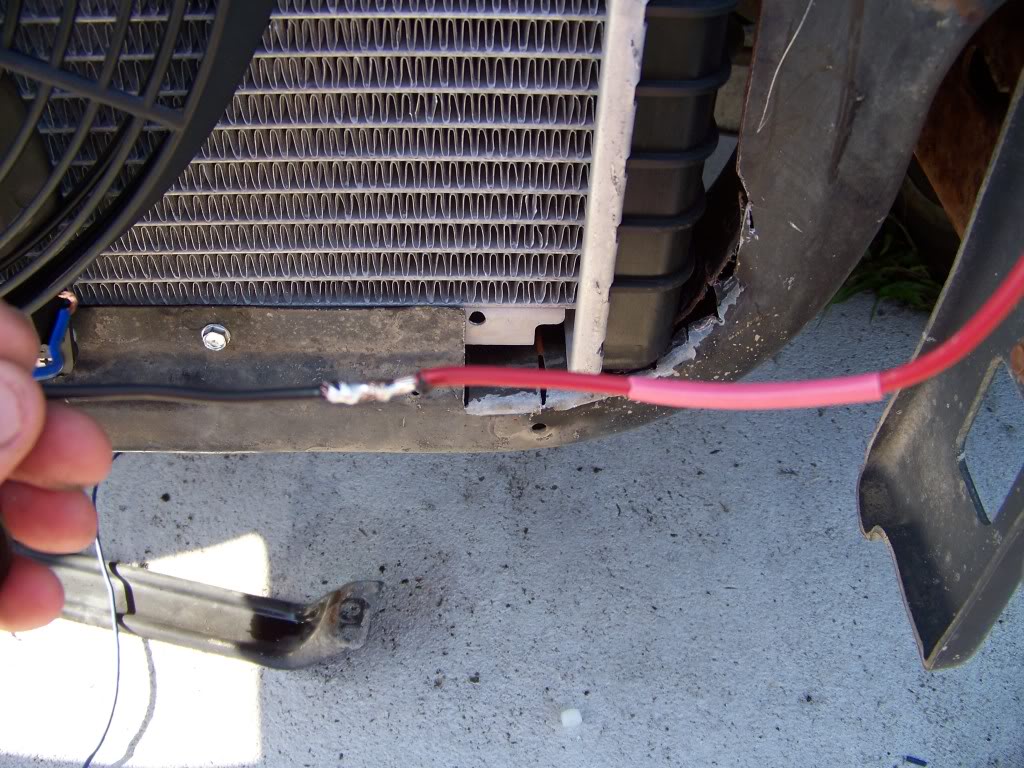
Use of solder and shrink tubing is highly recommended to prevent electric failure.
I used zip ties to clean up wire routing.
I drilled a few hole to allow zip ties to be used to anchor the loom.
Chassis grounding. It will be concealed behind the grill.
Relay to battery.

Relay to sensor
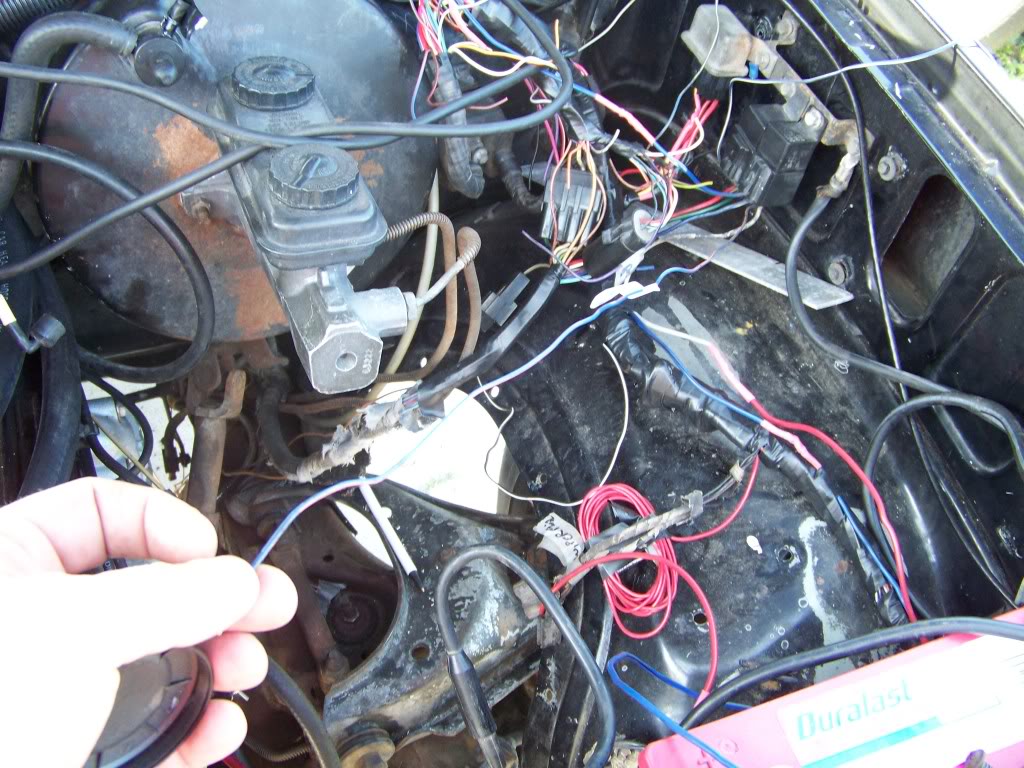
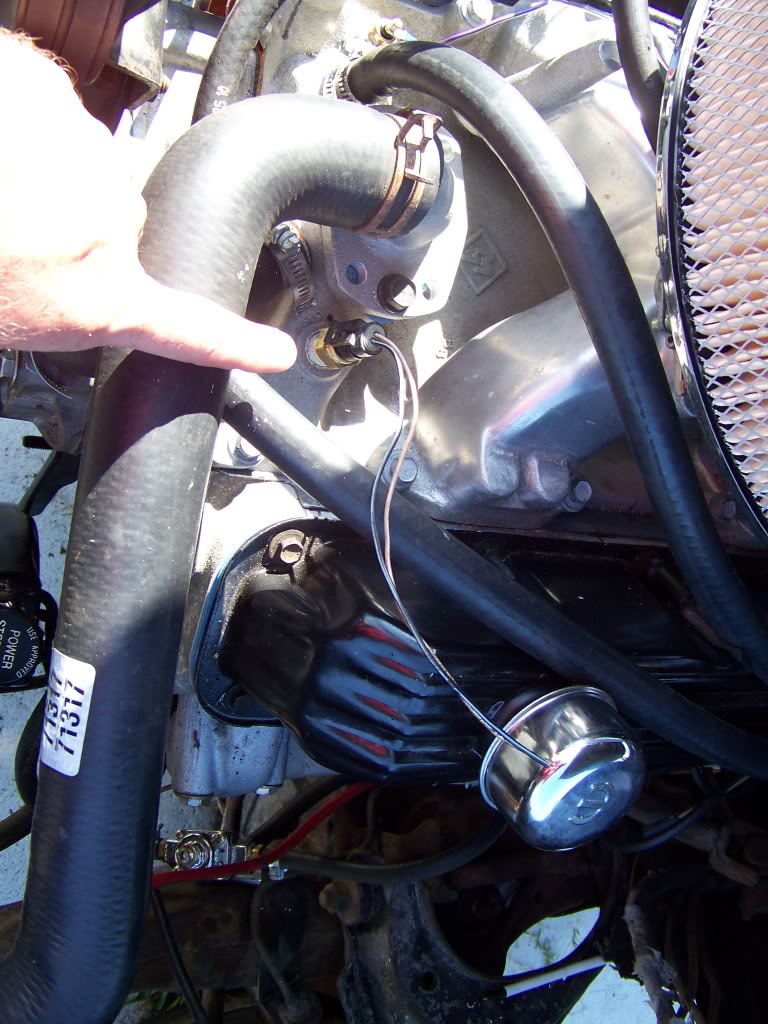
One wire to a switched power source. One wire to the battery. One wire to the fan (I chose to put a 20 amp fuse on this wire). One wire to the sensor.
Use of solder and shrink tubing is highly recommended to prevent electric failure.
I used zip ties to clean up wire routing.
I drilled a few hole to allow zip ties to be used to anchor the loom.
Chassis grounding. It will be concealed behind the grill.
Relay to battery.
Relay to sensor
One wire to a switched power source. One wire to the battery. One wire to the fan (I chose to put a 20 amp fuse on this wire). One wire to the sensor.
Thread Starter
|
Captain
Joined: Oct 2010
Posts: 579
Likes: 1
From: Florida
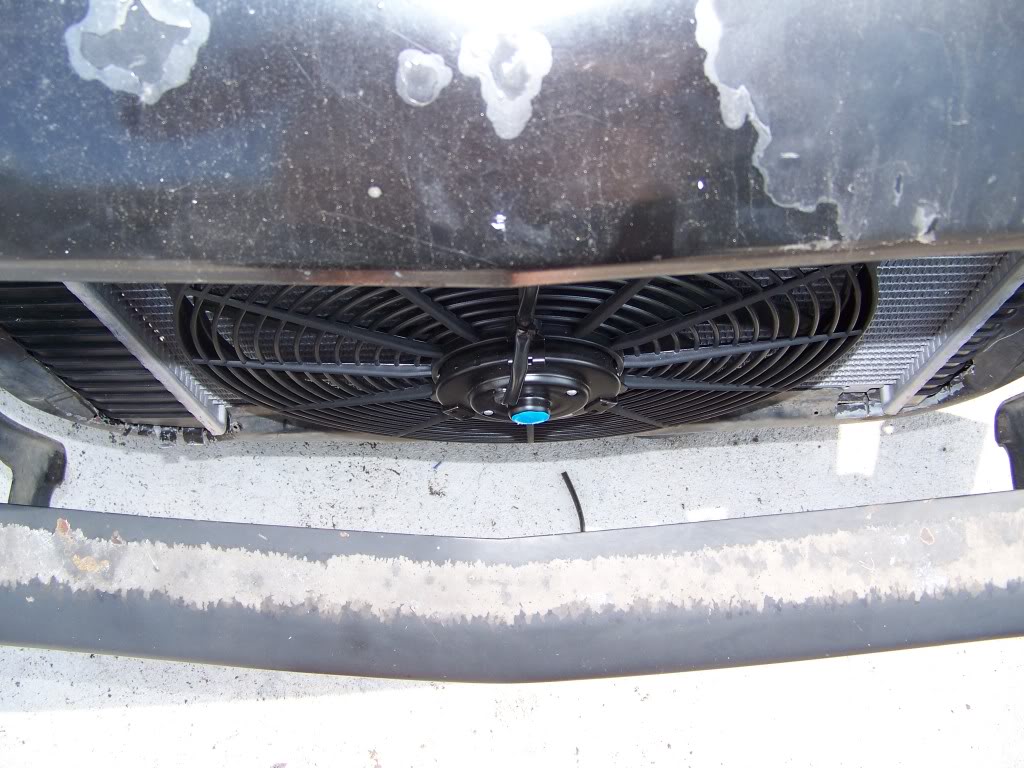
I put the grill on so you could see the clearance.
Bumper on, not bolted.
Vertical of same.
Lateral view of clearance behind grill.
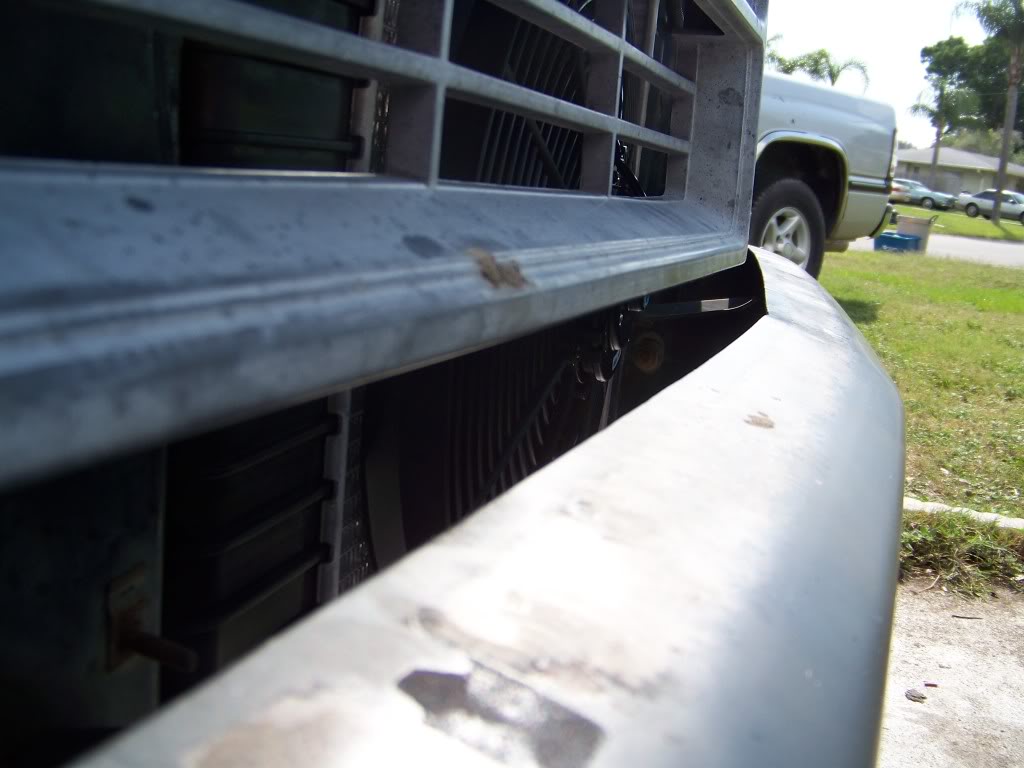
Showing the grill clearance at the seam.
There is a plastic wedge at the bottom of the radiator that is not shown, which should channel more air toward the radiator at speed.
Bumper on, not bolted.
Vertical of same.
Lateral view of clearance behind grill.
Showing the grill clearance at the seam.
There is a plastic wedge at the bottom of the radiator that is not shown, which should channel more air toward the radiator at speed.
nice. when i installed my dual electric fan i had a 1/4" of clearance between the end of the ps pully bushing and the fan itself. after 2months i opened the hood to inspect and found slight rubbing, but not enough to worry me.