

Modifying the stupid fan shroud! (Pics)


Thread Starter
|
Rookie


Joined: Sep 2010
Posts: 53
Likes: 4
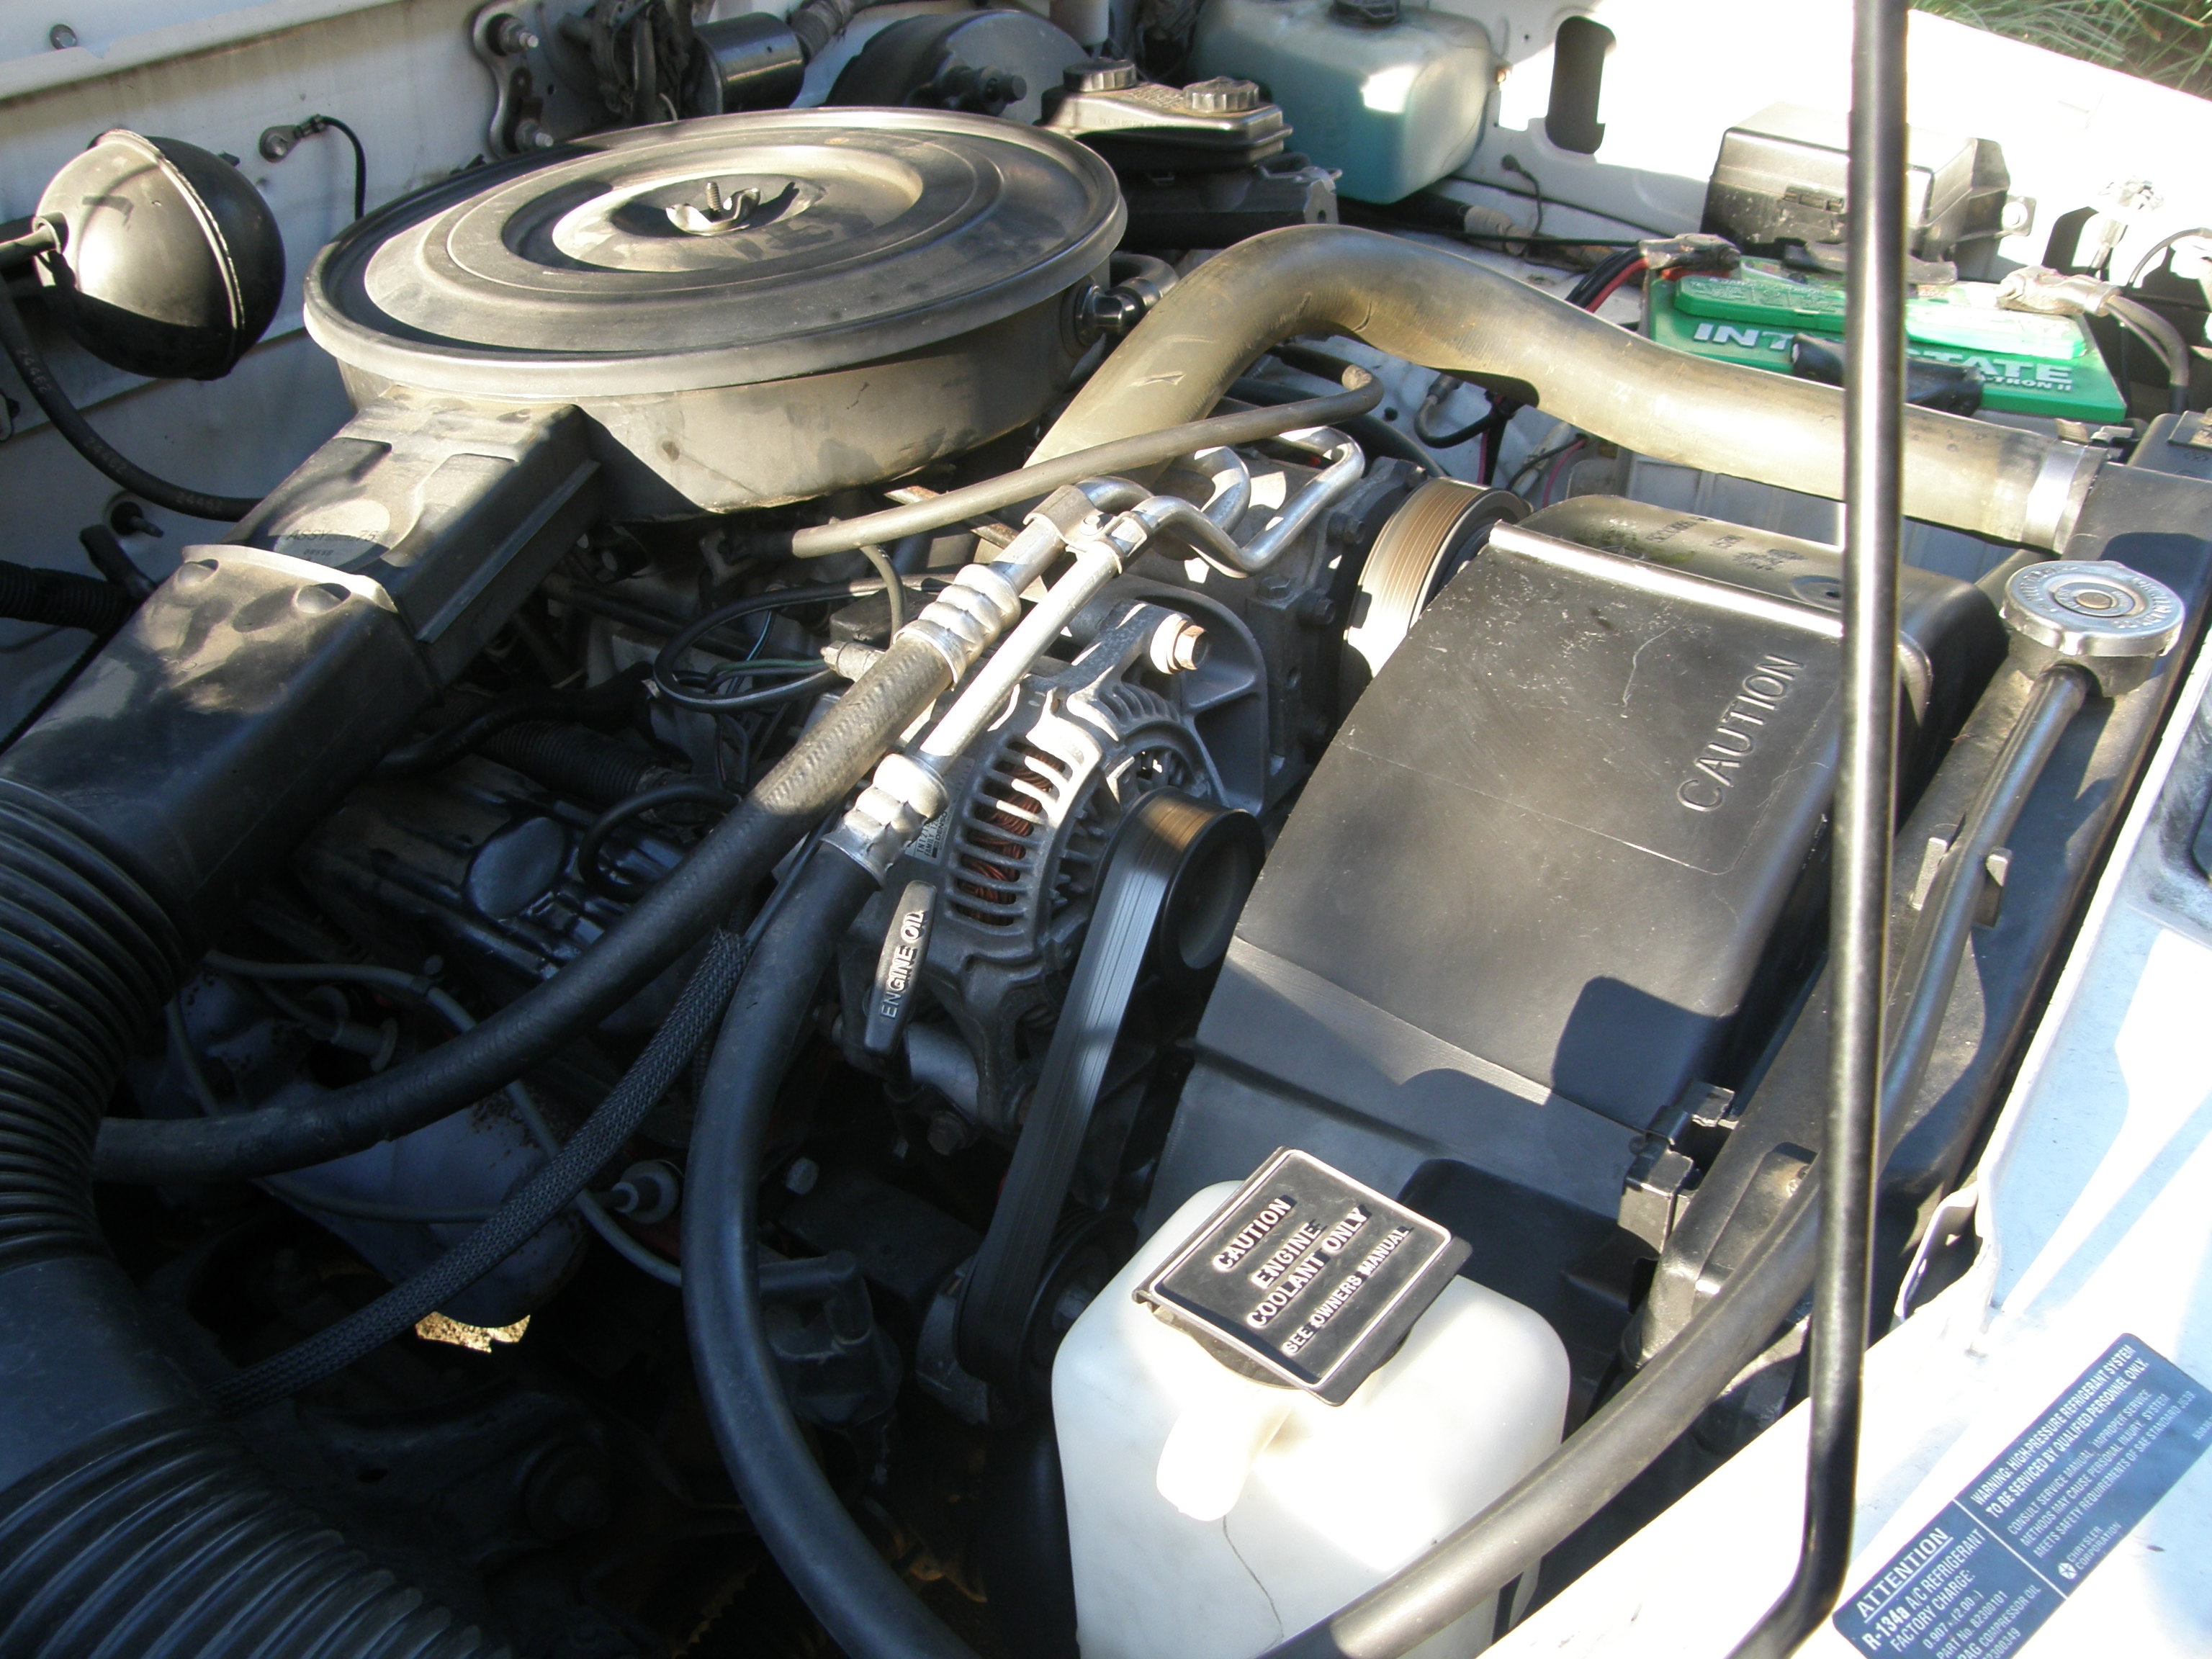
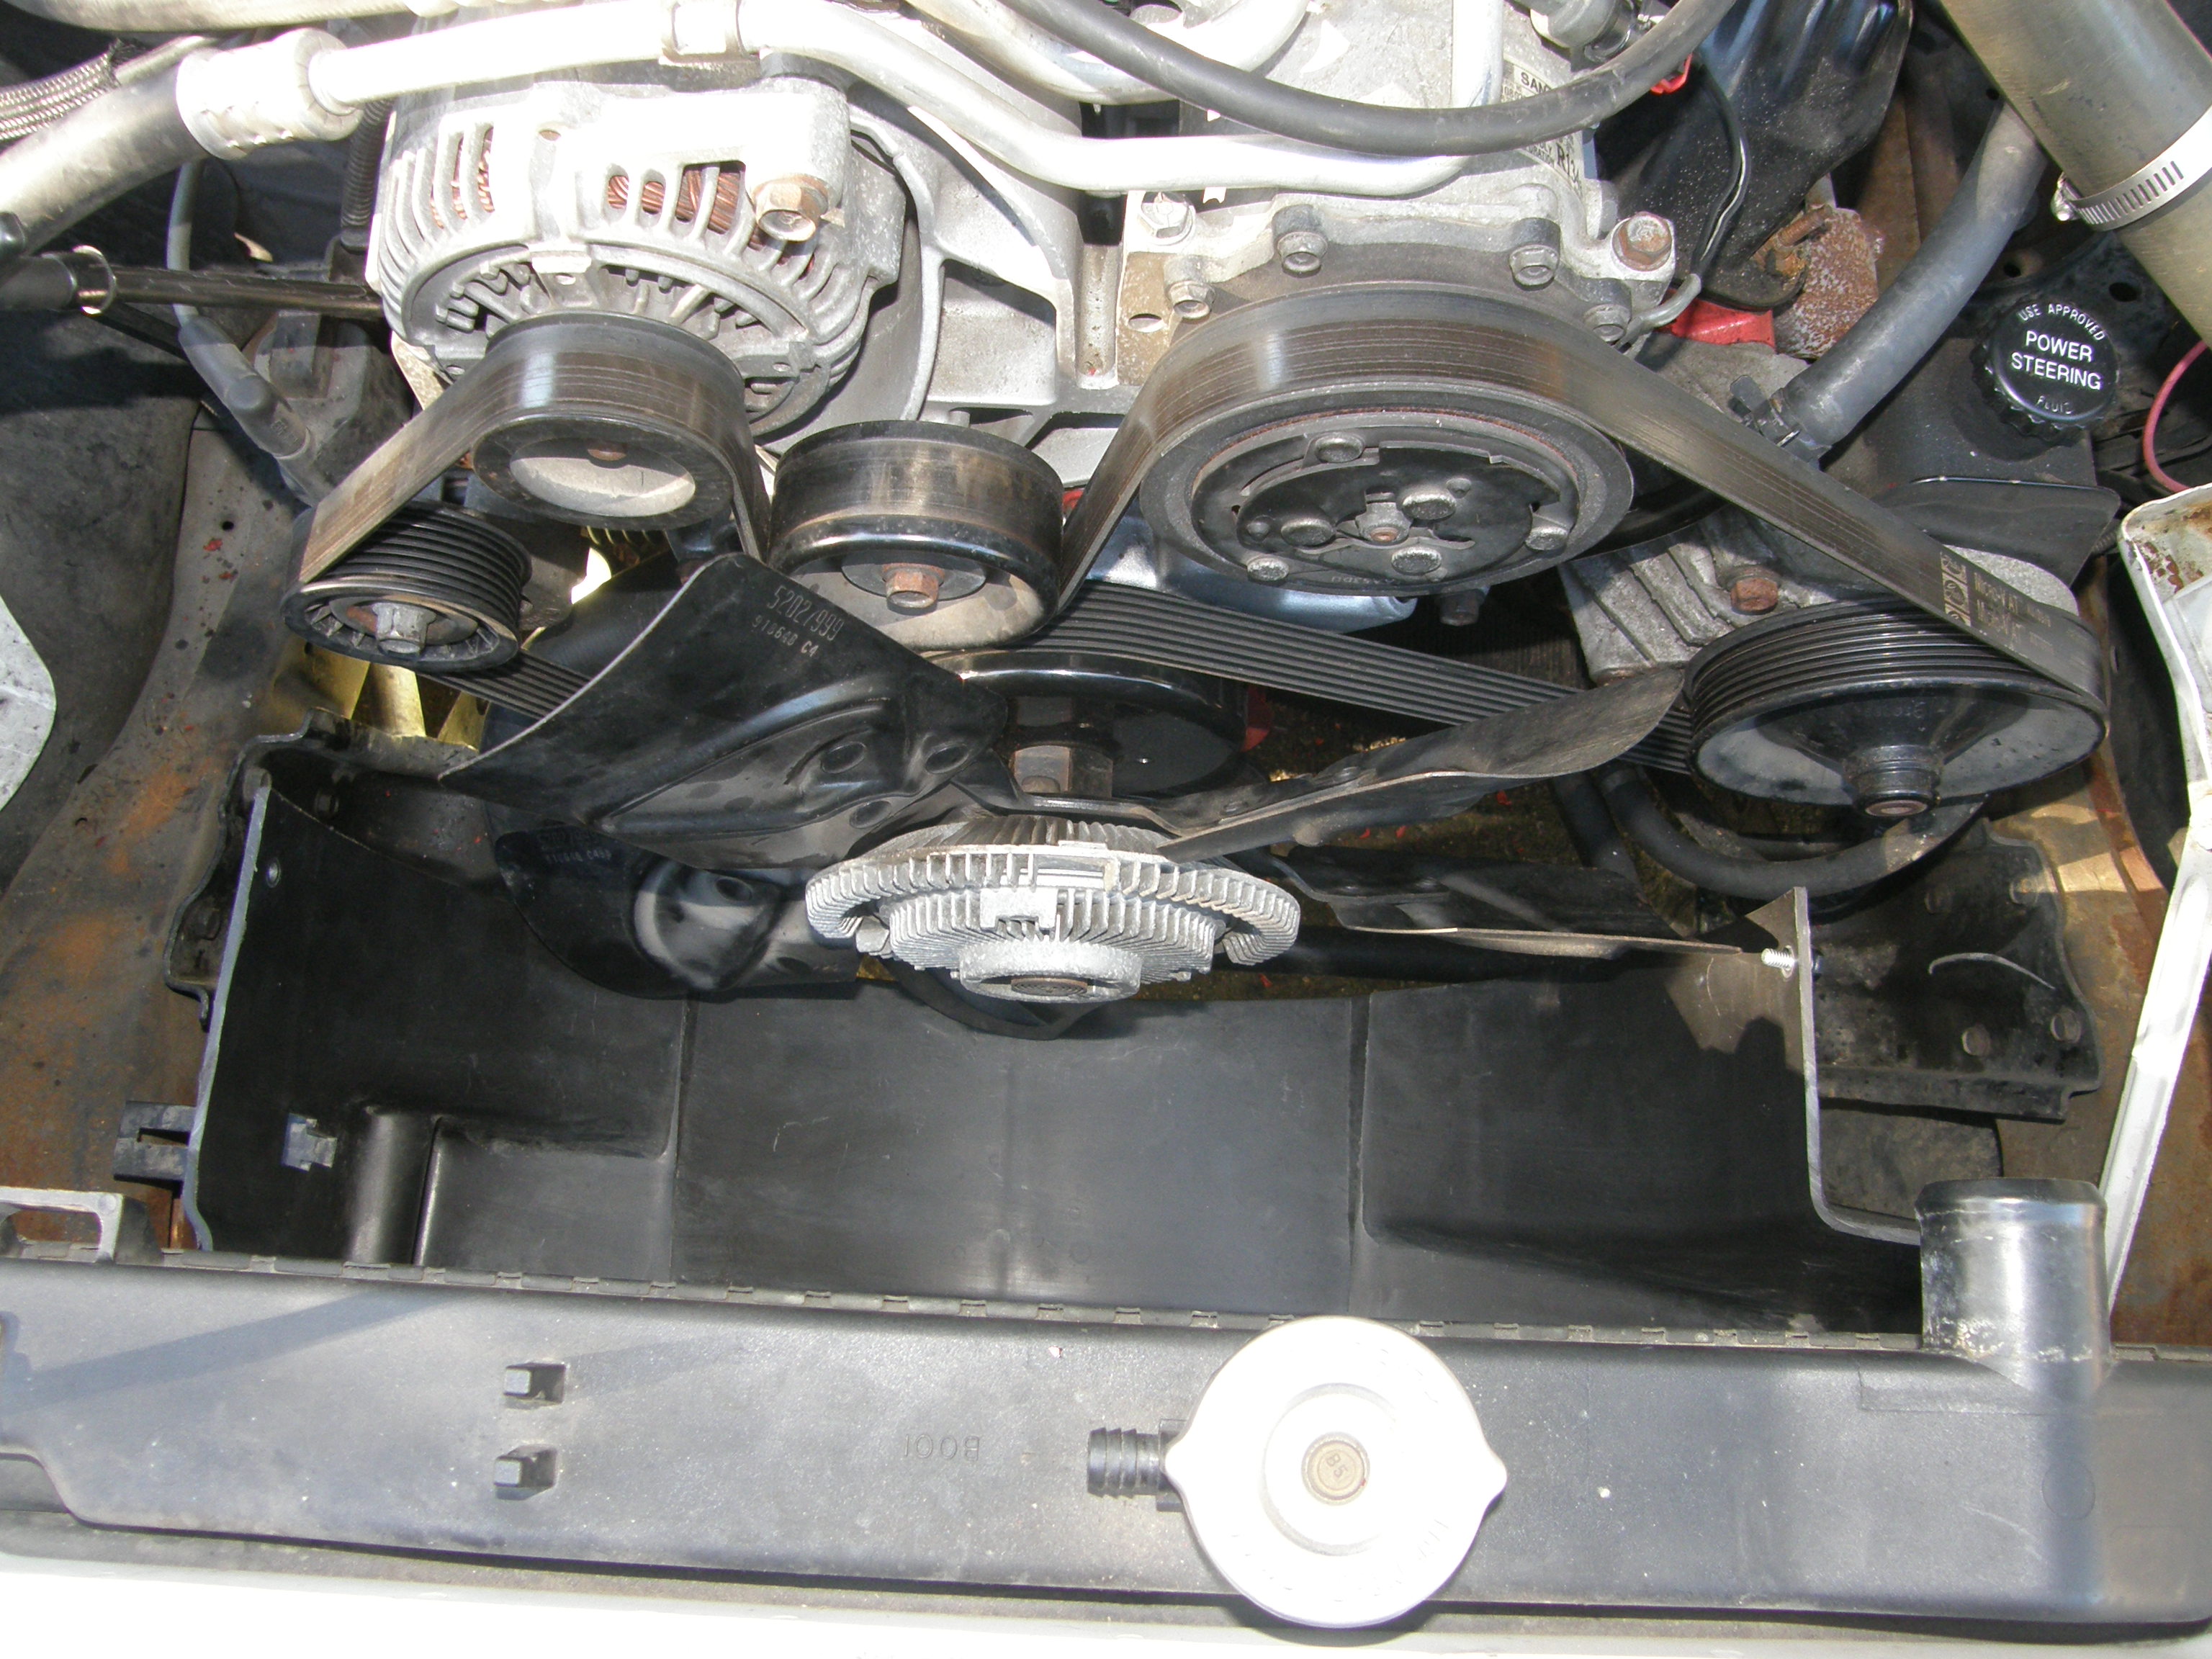
Should have done this years ago! Just replaced the water pump on my '95 3.9 V6...............that was fun. The only way to get the shroud off is to remove the radiator or remove the fan. Removing the viscous fan with the shroud in the way is a giant PITA! Once I had it off I vowed I would never go through that again!
My solution:
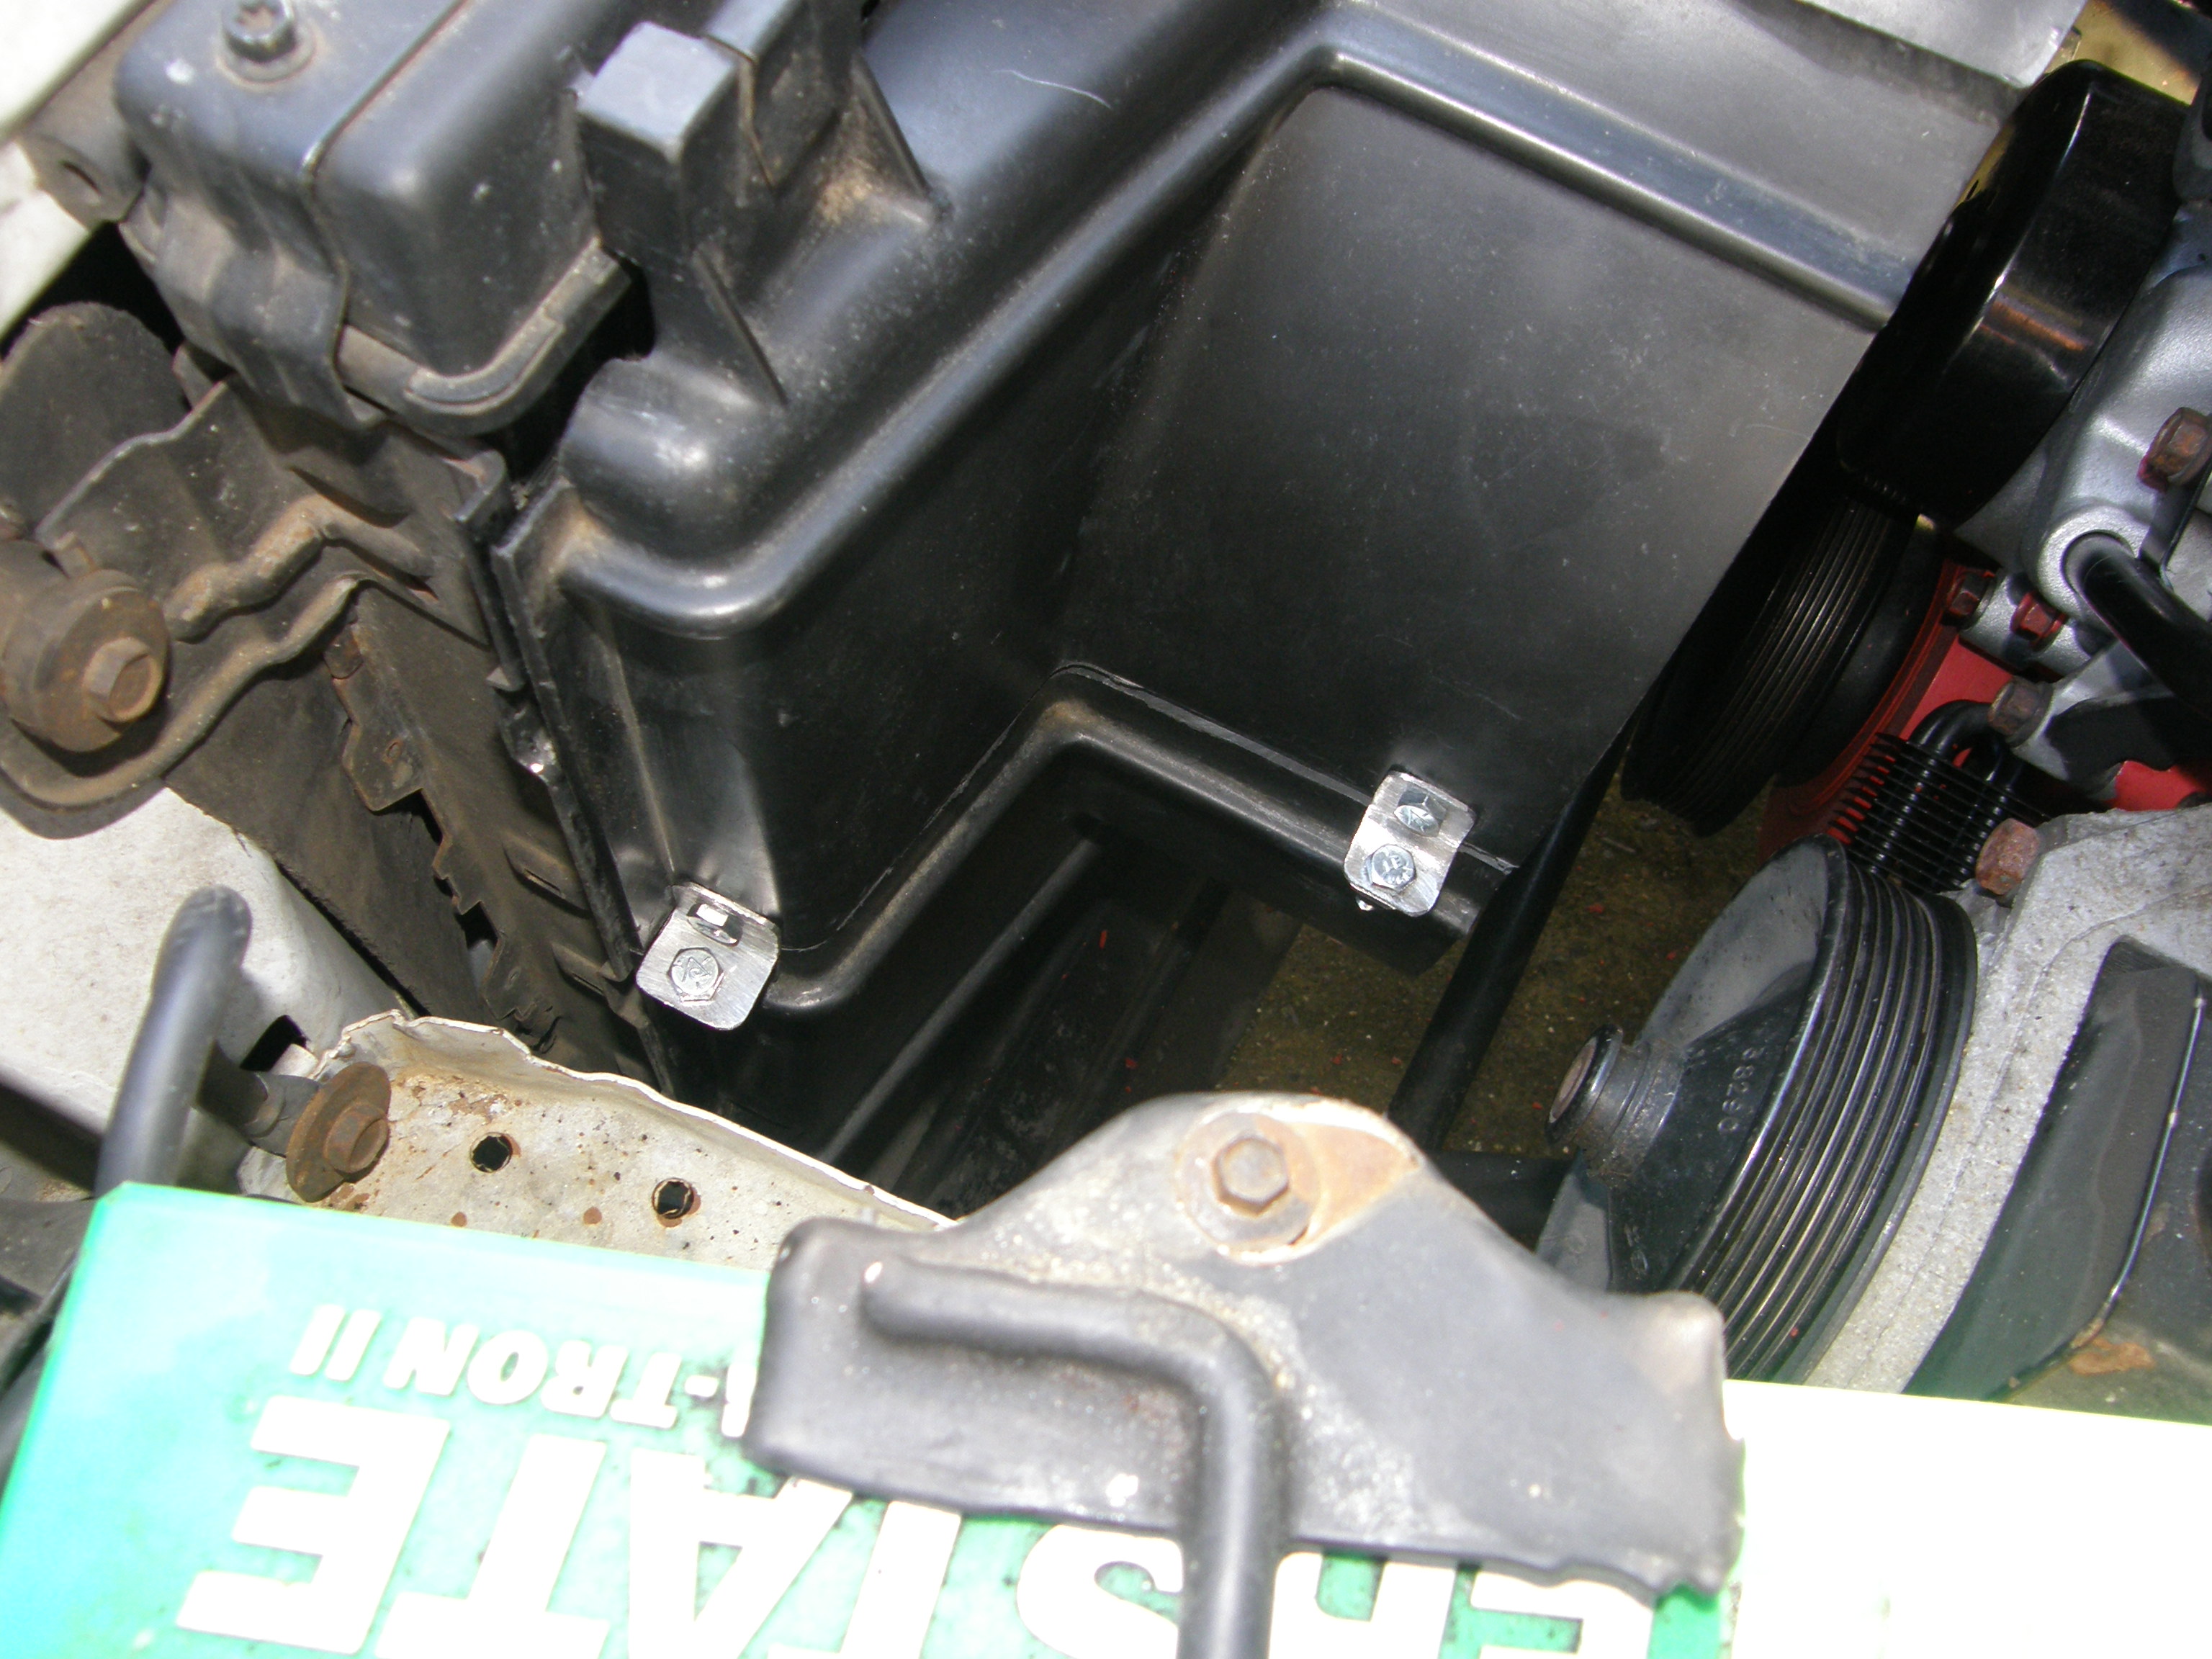
Cut the shroud in half and attach it back together with a couple of tabs.
I cut some 1" sections of 1/8" angle iron, drilled some holes and welded a nut to the underside.
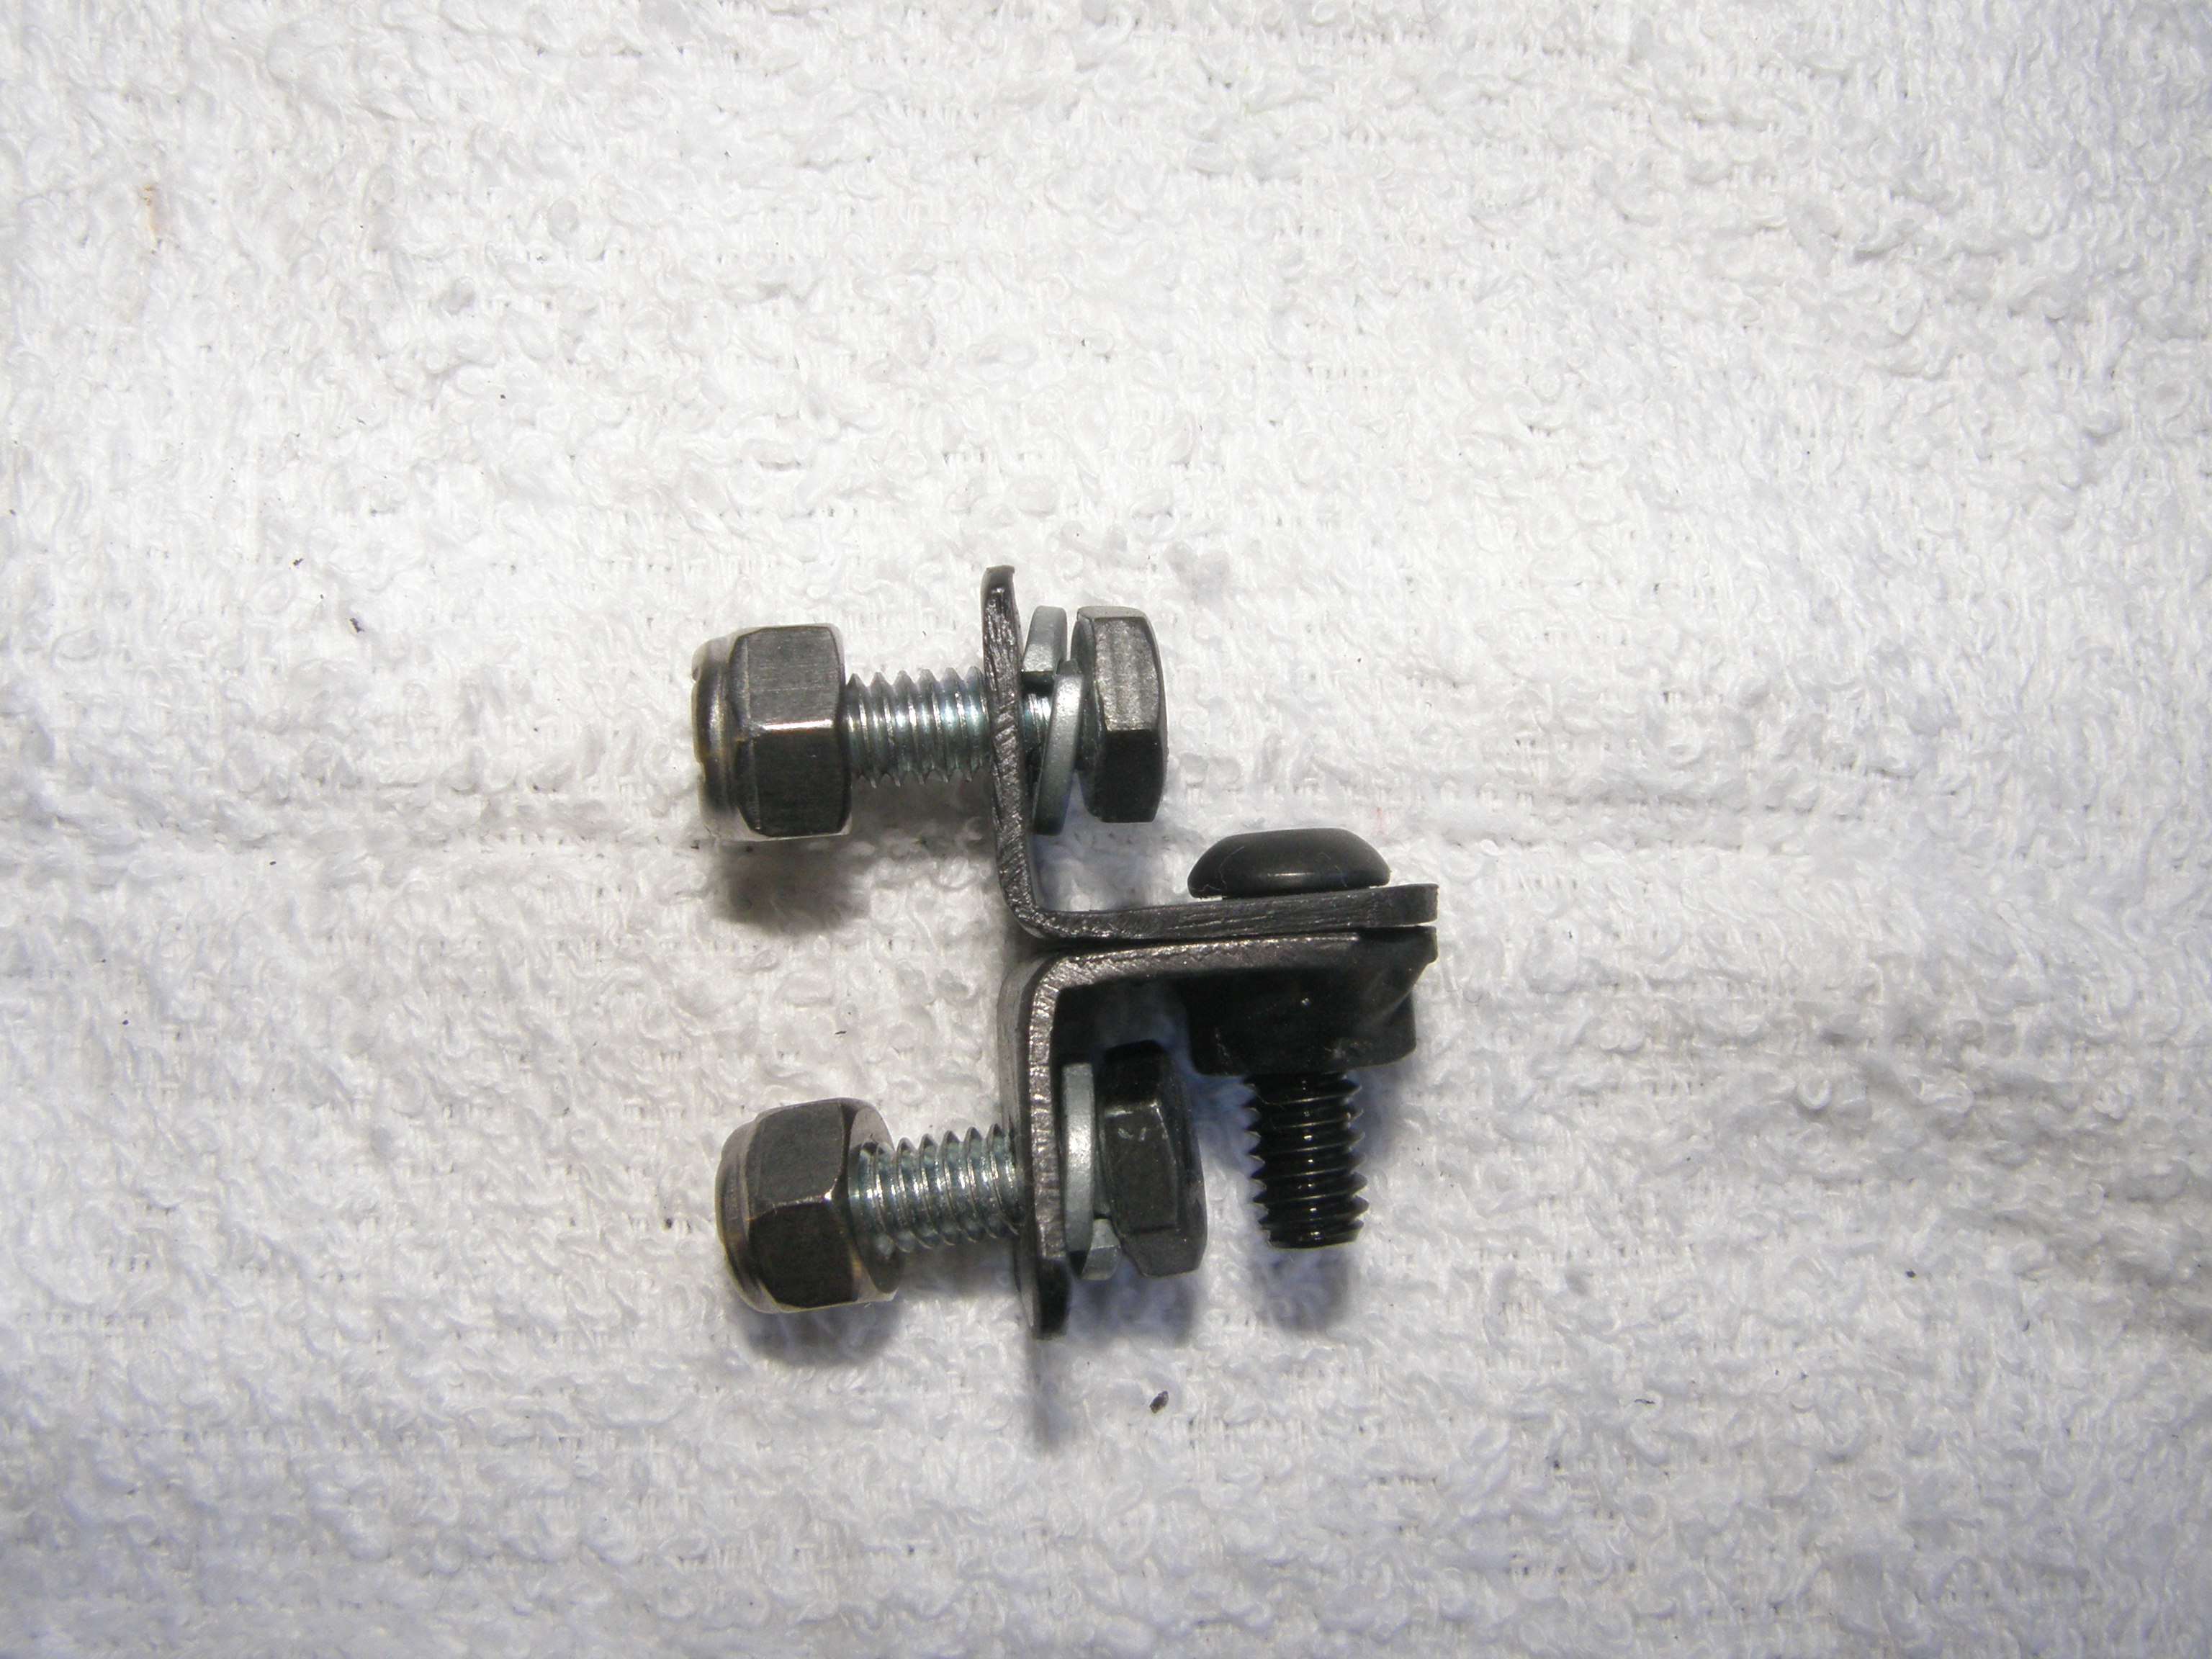
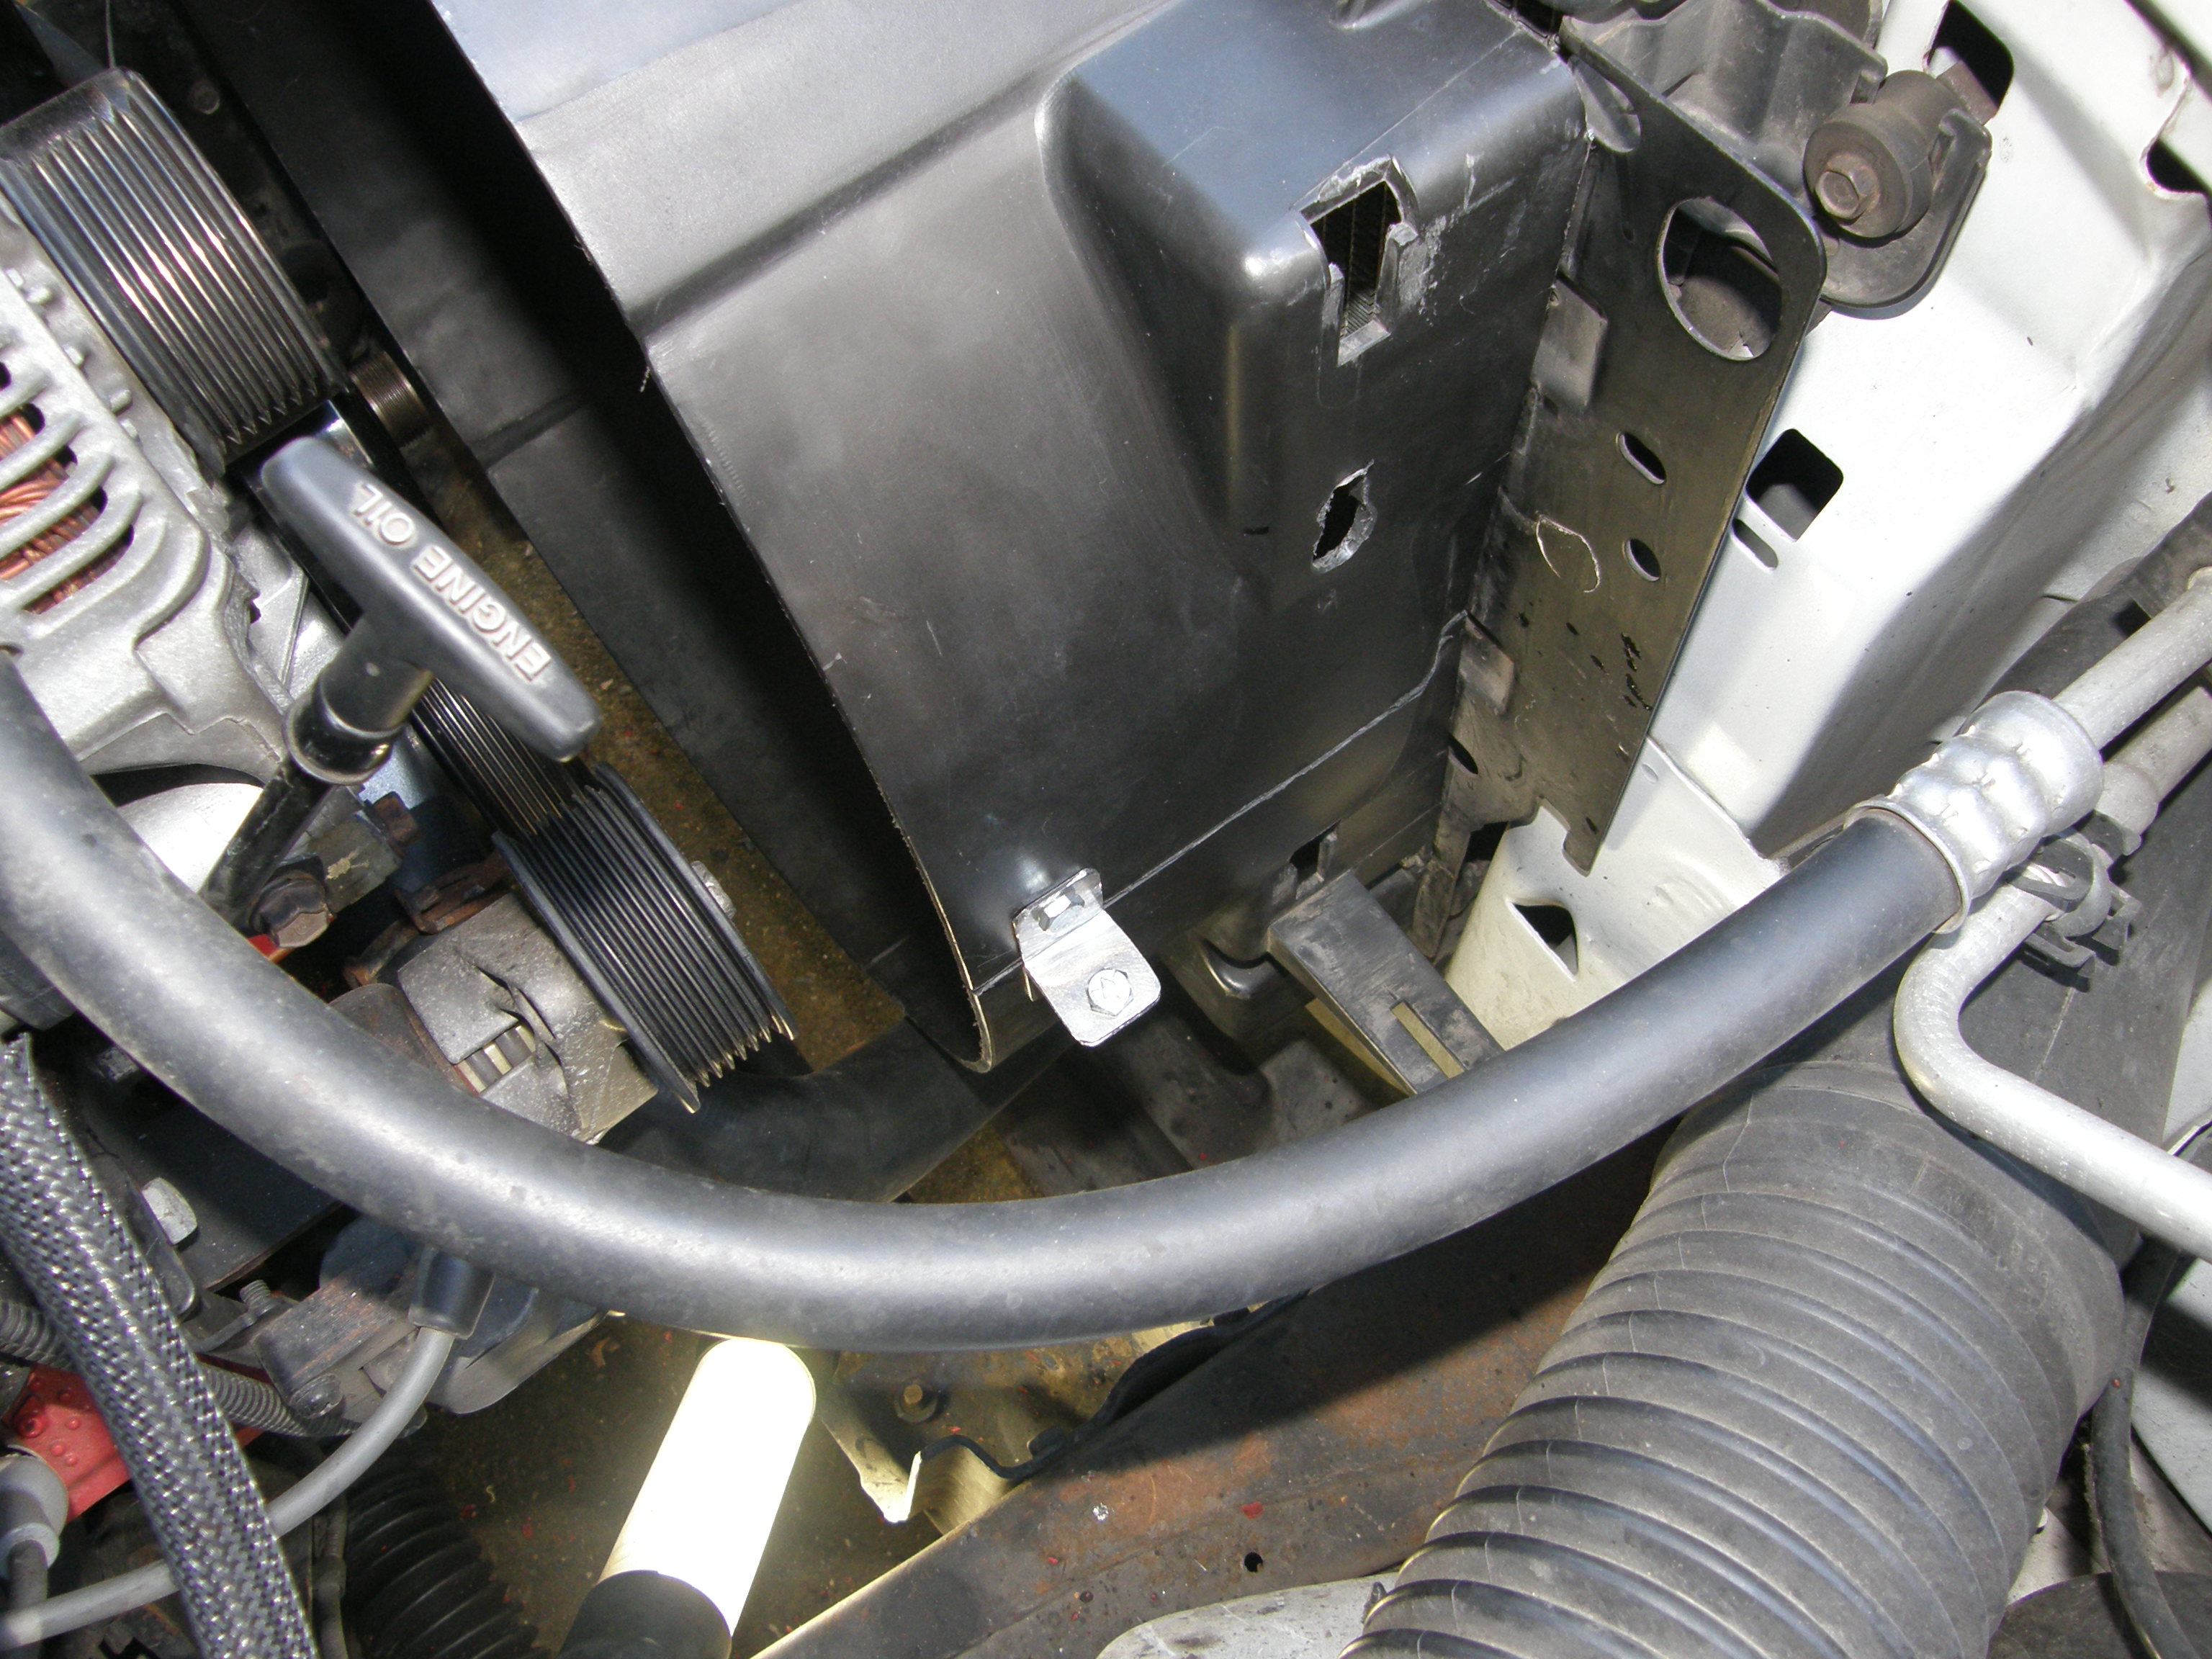
I cut the shroud in half and bolted the lower tabs to the bottom half of the shroud. I used 2 tabs on the left side and 1 on the right. The overflow bottle helps hold it together on the right side too. The bottom half of the shroud is factory bolted to the radiator with two 3/8" screws, also.
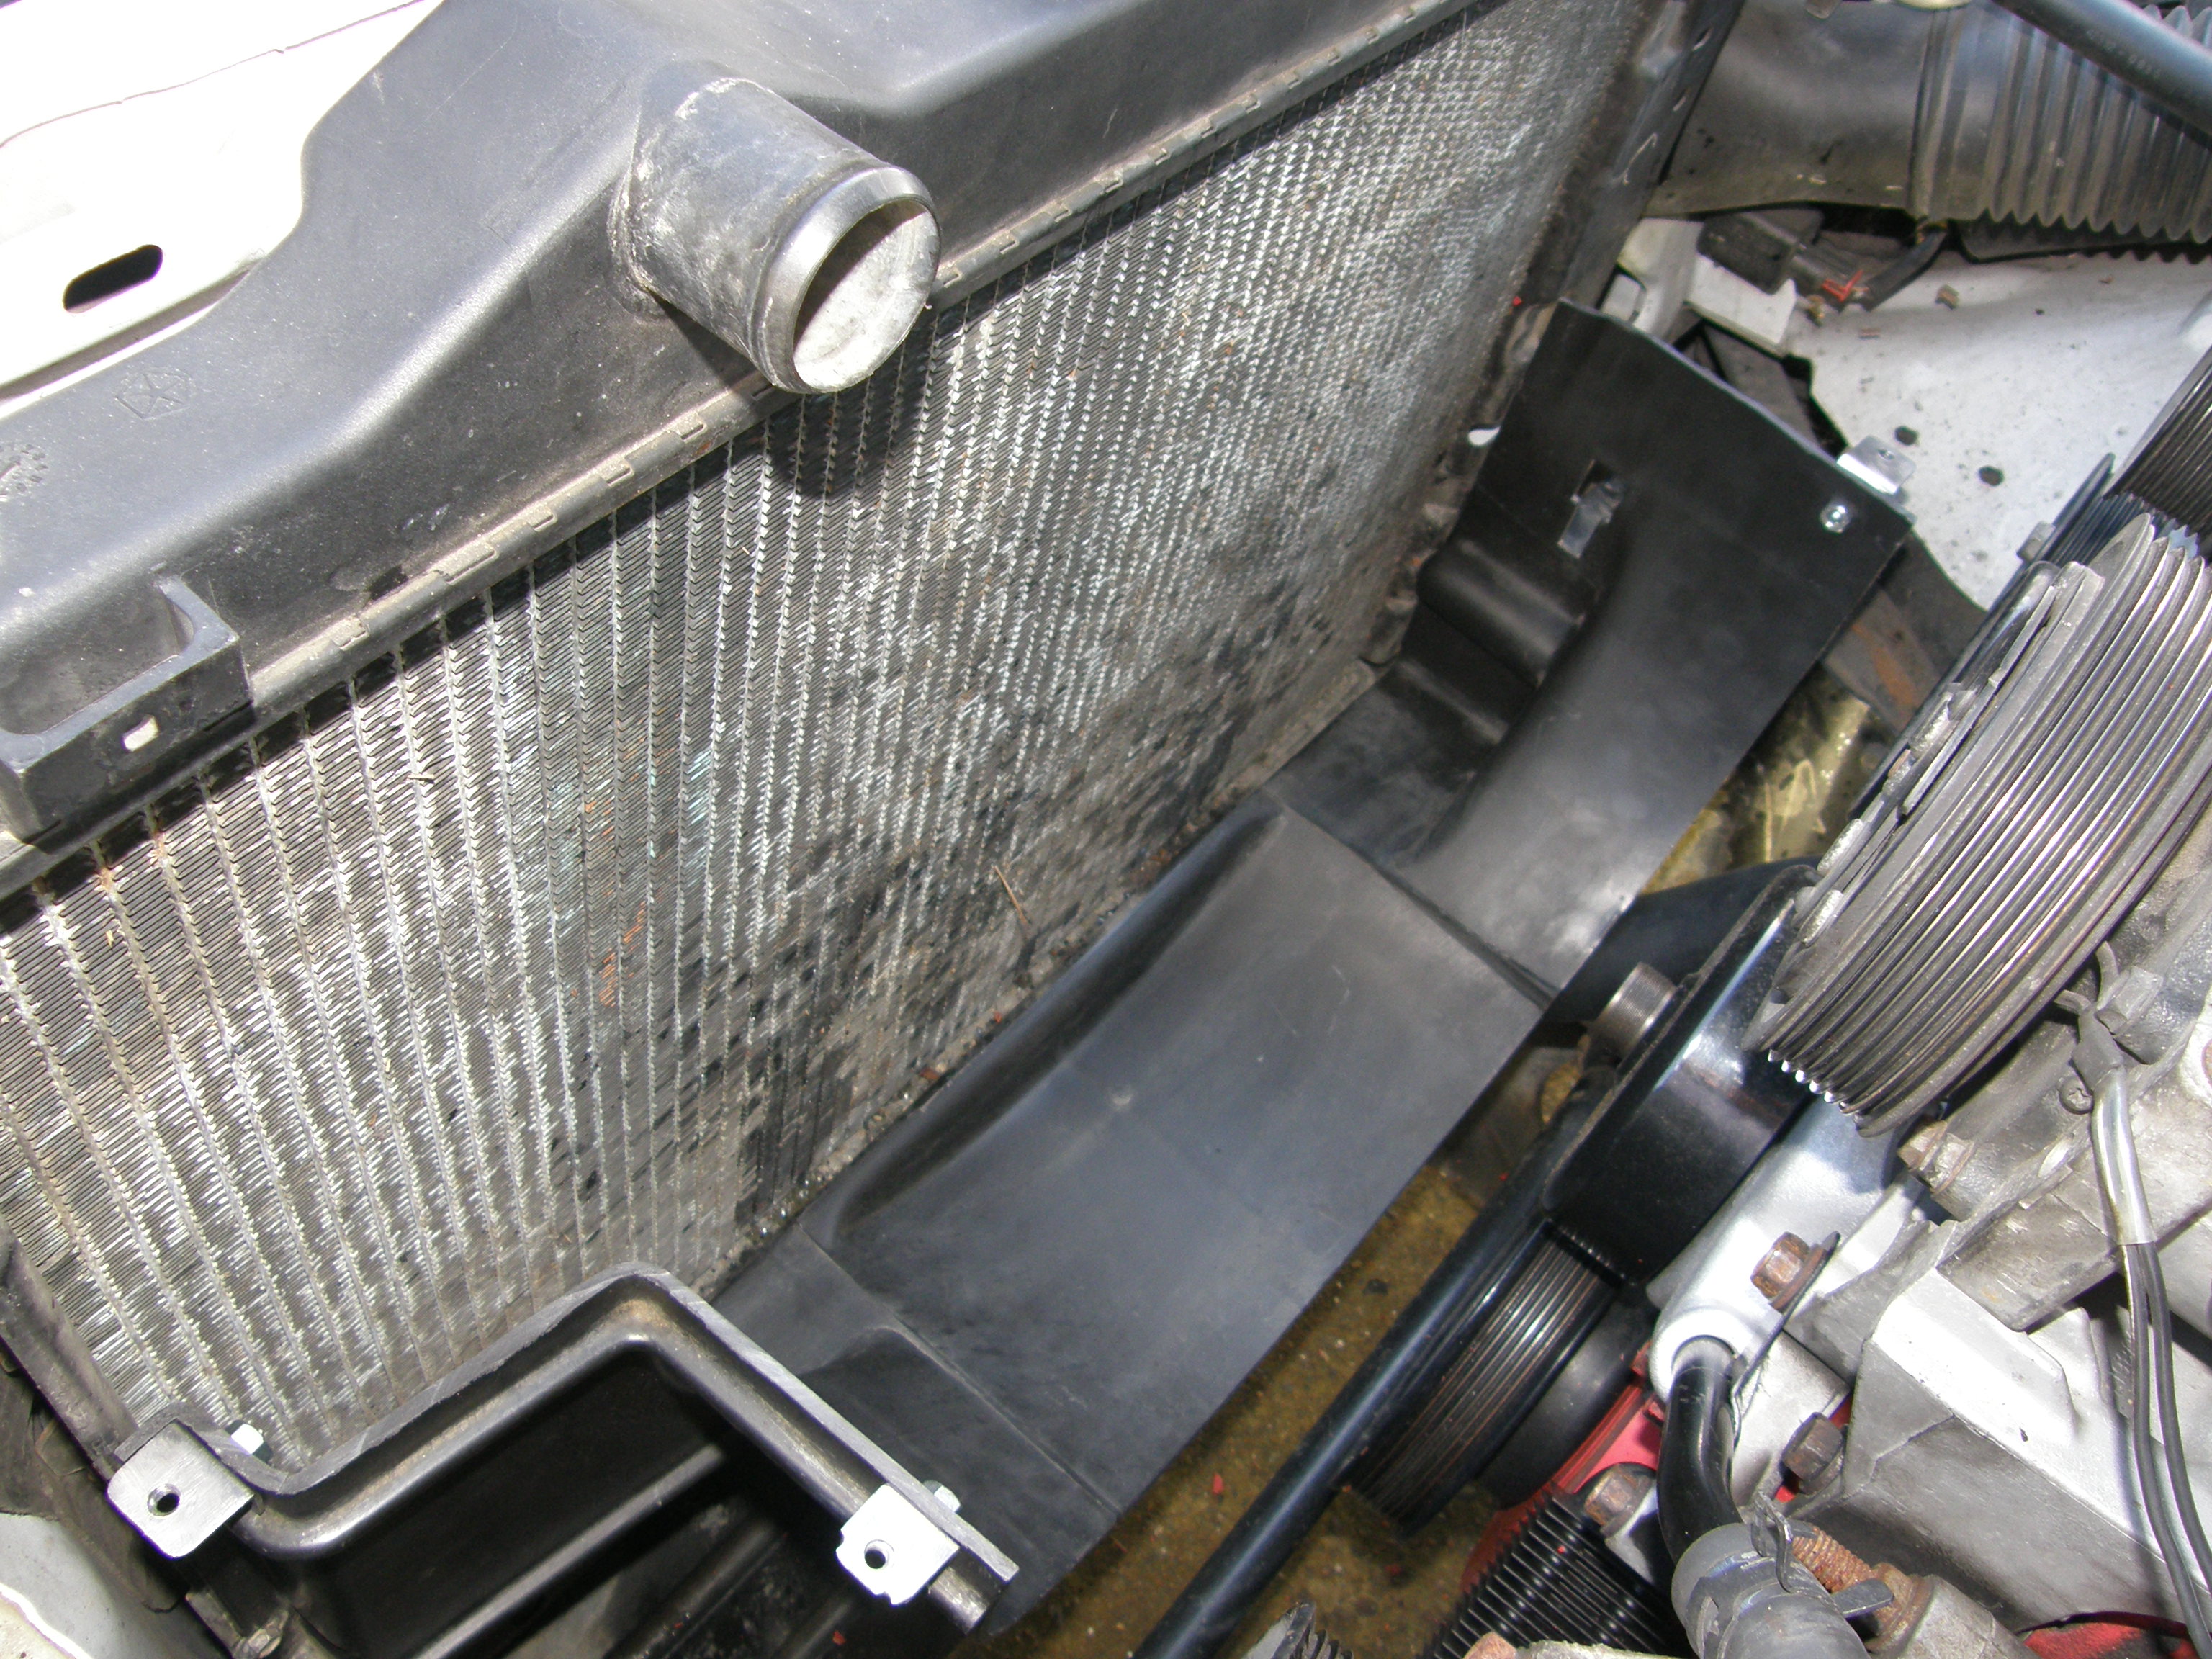
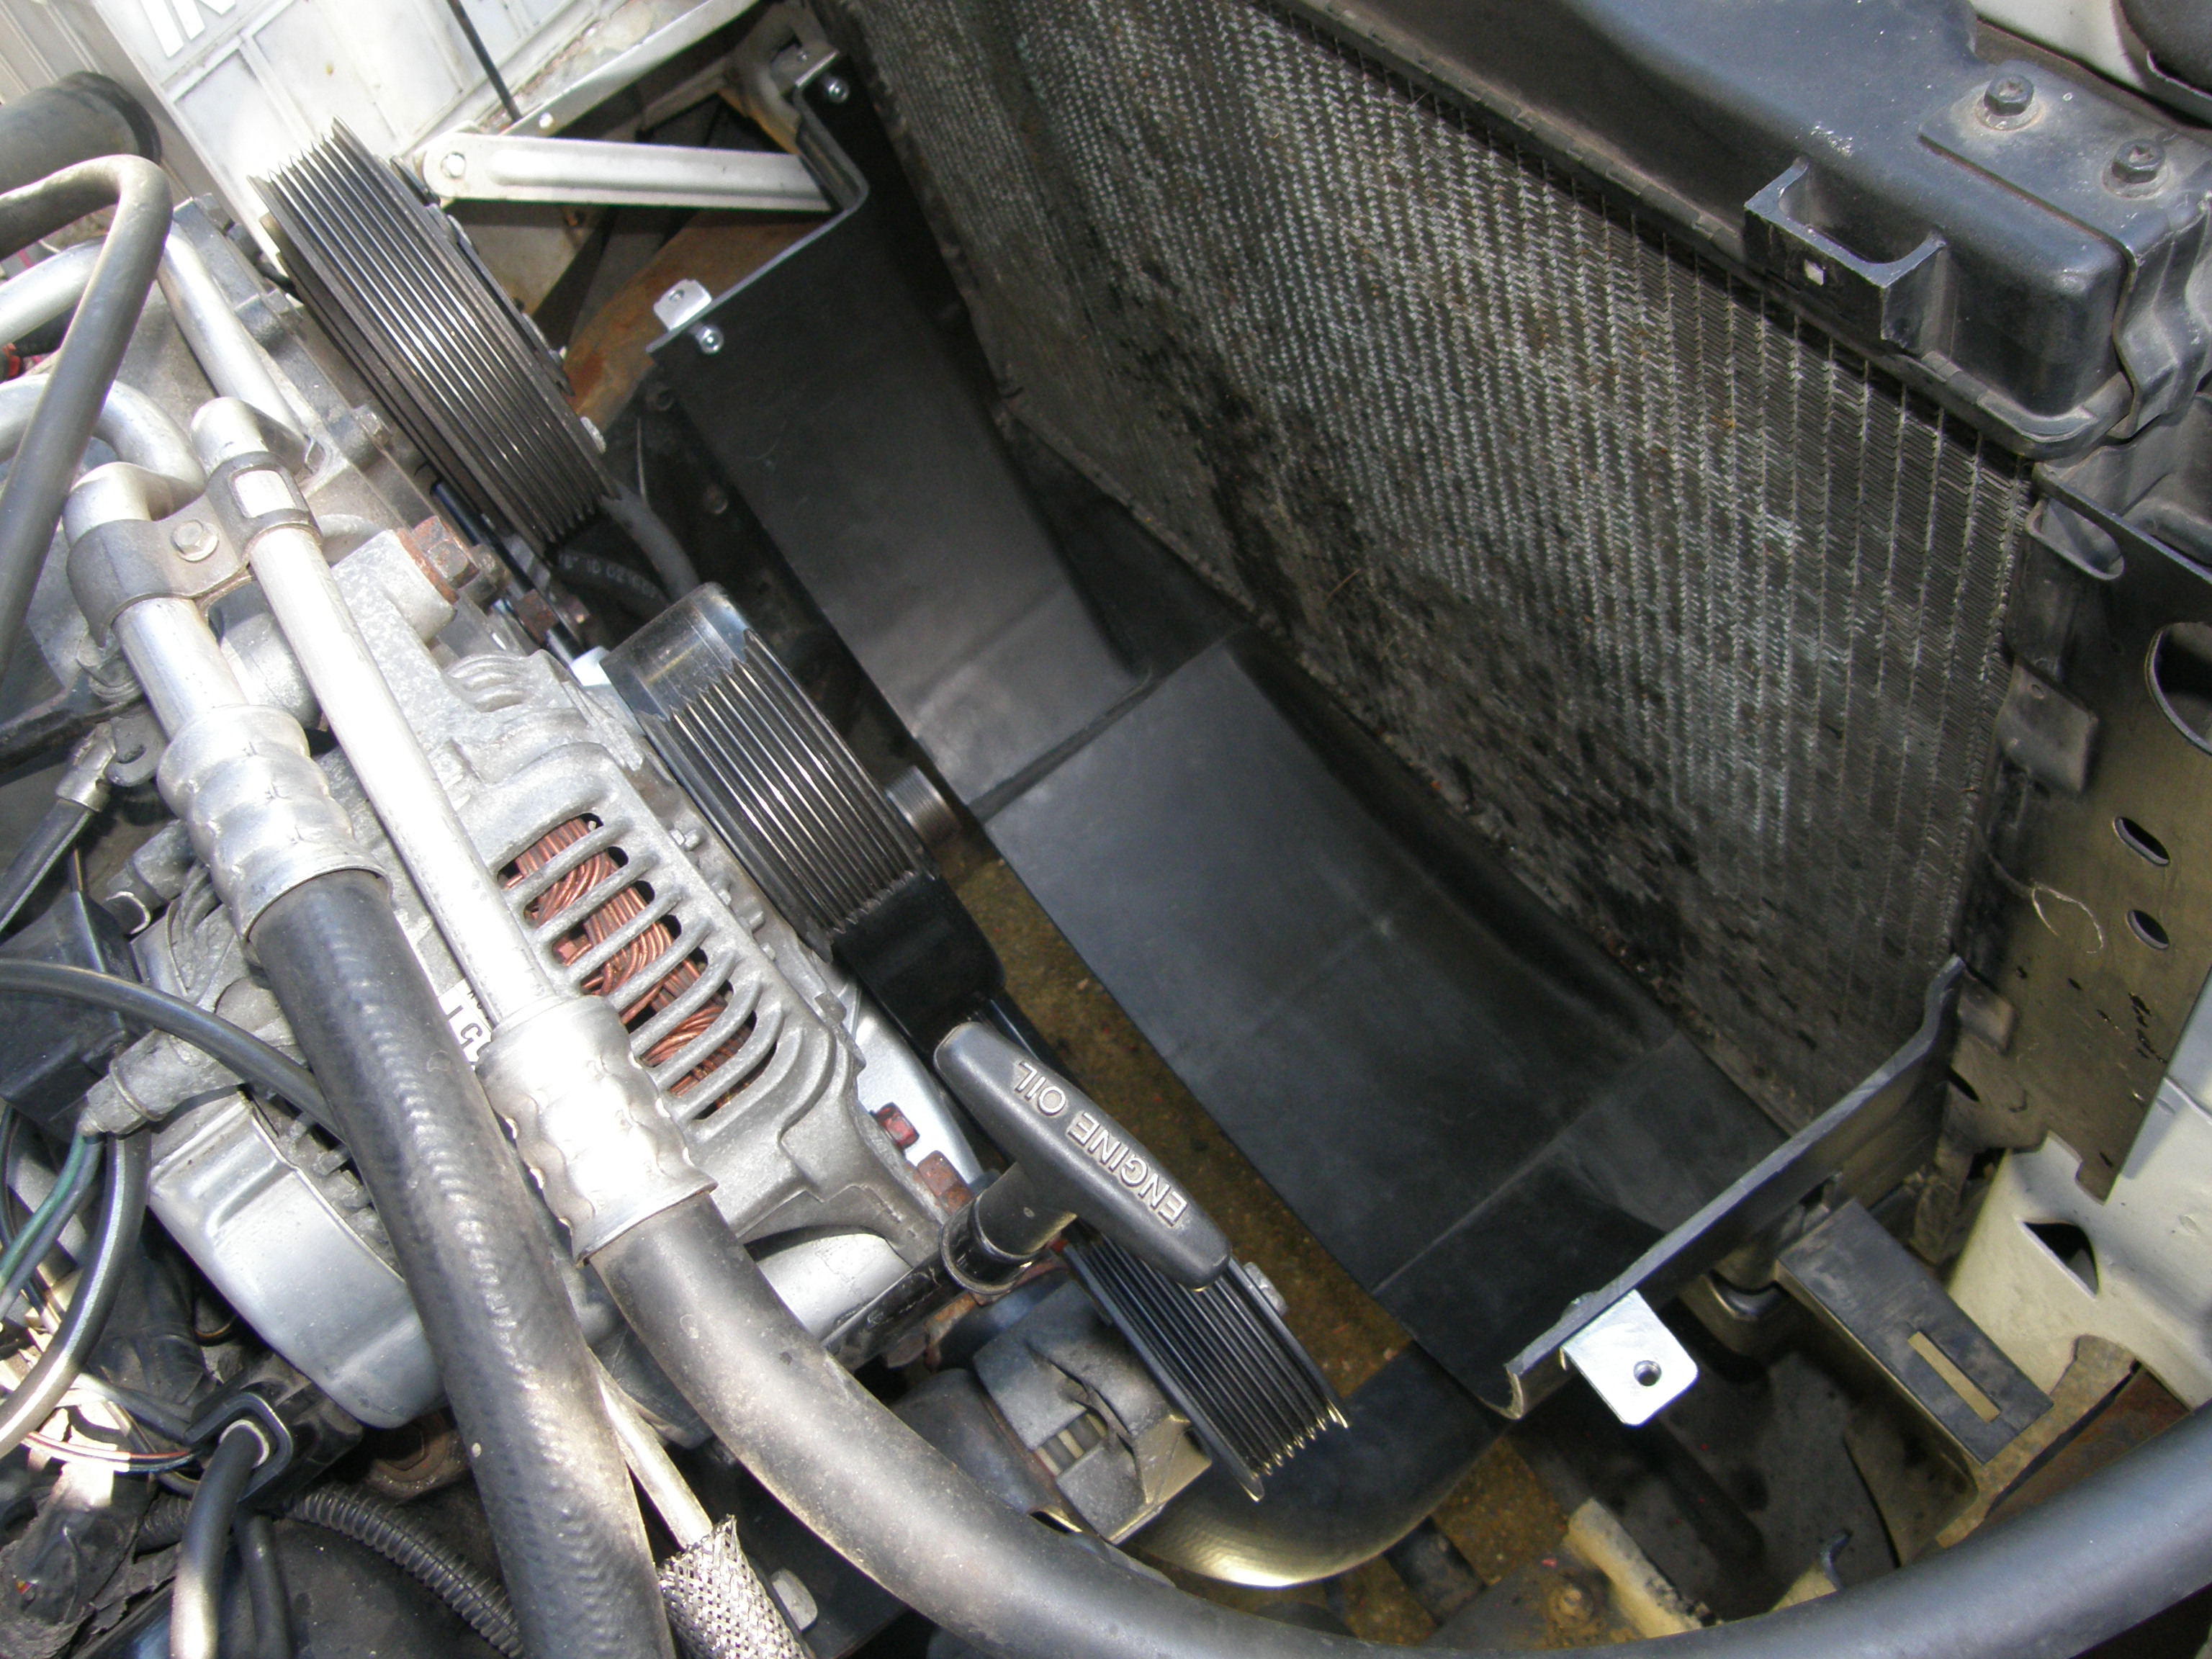
Check out the room that's available with the top half of the shroud out of the way!
All that's left is to throw the top half of the shroud on! It factory clips to the top of the rad. I bolted the upper tabs to the top half of the shroud and connected the two halves with some 1/4"x20 bolts threaded into the welded on nuts on the lower tabs.
Simply remove 3 bolts and you have total access to the front of your motor! I makes life soooo much simpler.

My solution:
Cut the shroud in half and attach it back together with a couple of tabs.
I cut some 1" sections of 1/8" angle iron, drilled some holes and welded a nut to the underside.

I cut the shroud in half and bolted the lower tabs to the bottom half of the shroud. I used 2 tabs on the left side and 1 on the right. The overflow bottle helps hold it together on the right side too. The bottom half of the shroud is factory bolted to the radiator with two 3/8" screws, also.


Check out the room that's available with the top half of the shroud out of the way!

All that's left is to throw the top half of the shroud on! It factory clips to the top of the rad. I bolted the upper tabs to the top half of the shroud and connected the two halves with some 1/4"x20 bolts threaded into the welded on nuts on the lower tabs.


Simply remove 3 bolts and you have total access to the front of your motor! I makes life soooo much simpler.

Amateur
Joined: Jun 2014
Posts: 25
Likes: 0
Thought of that a long while back but decided that it would be better to leave the shroud intact. (Each to his own - yours is definitely a great improvement). To that end I fashioned a "wrench" - 1/4 x 2 flat stock and long - with dowels strategically located to engage the holes in the "sheave" on the water pump. That, and a large adjustable wrench, will get the fan off the front of the pump pronto. I figure that removing the radiator is not a strategic decision since you will lose coolant anyway when you take the pump off. AND - after you do this job a couple of times - it becomes second nature & automatic which task in the sequence must be done next. BTW, your tabs look to me like they might actually be sheet stock cut & bent. Is that correct?


Site Moderator-Dodge Tech
Joined: Sep 2010
Posts: 3,724
Likes: 22
From: Nashville, Tennessee
The way every fan shroud in history should have been done. That radiator core has seen better days though hehe.
The only thing I would do different would be 2 on each side. Add some rigidity to the seams.
The only thing I would do different would be 2 on each side. Add some rigidity to the seams.
Last edited by TNtech; Mar 10, 2017 at 09:41 PM.