

Siggie30- 89' vert build
#41
 12-30-2010, 11:49 PM

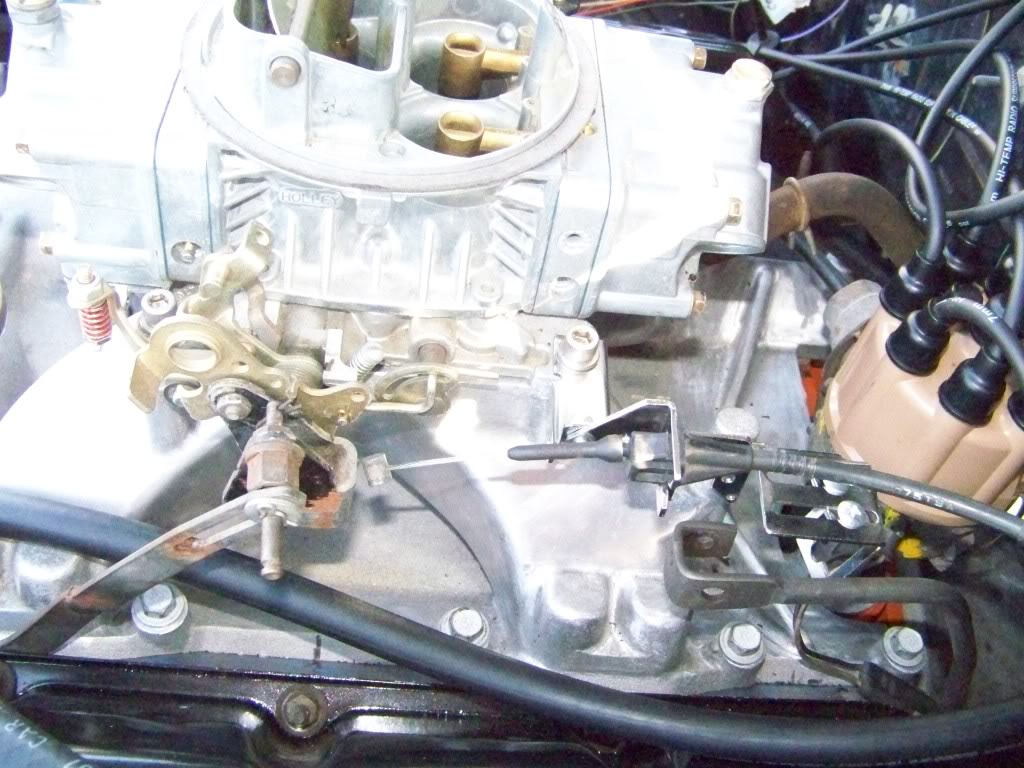
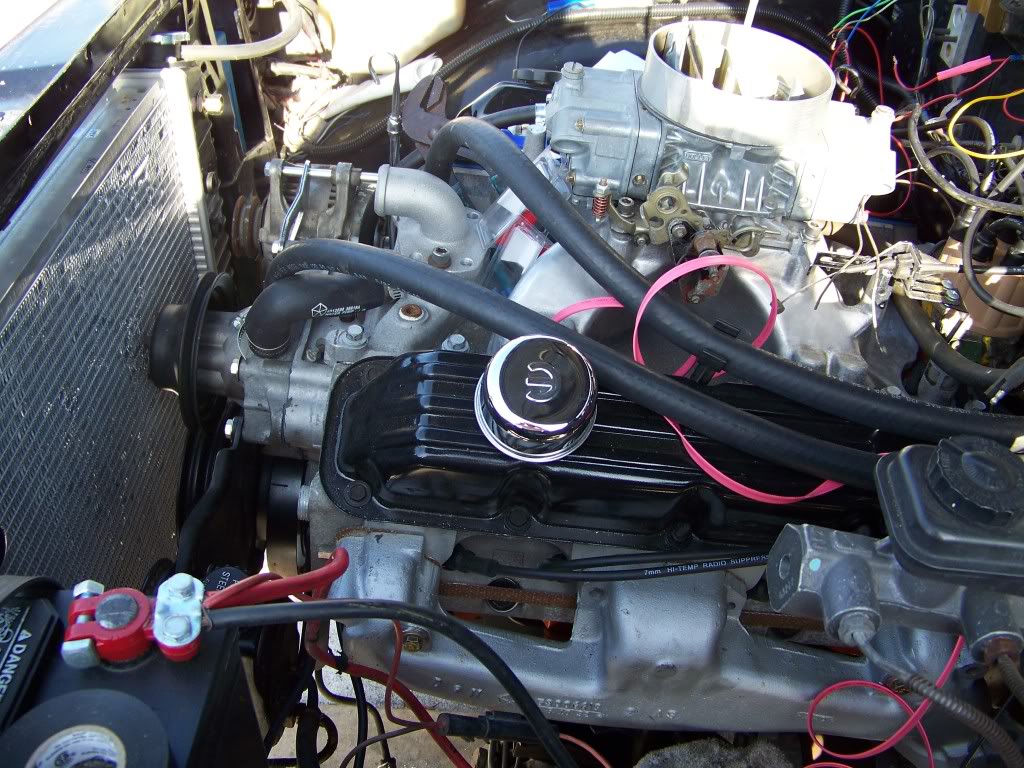
The carb is a holley avenger. It was a direct bolt on with out any issues, with exception of the linkage. I will probably just get the cable from the dak I have been raping at the yard. I did "massage" the opening a bit to balance the carb butterflies. I opted to plumb the brake booster to the carb port and plug the intake. There are two other ports as well, the vacuum advance port and PCV port. The carb does require an throttle adapter, seen in the pic as the "blackened/ chipping" throttle extension. The bracket allows a "more correct" pressure for the transmission during acceleration. I chose the double pumper, because it is just plain cool to say "yea, I got a Holley double pumper". Plus, most people today really do not appreciate the "hit" that the double pumper provides, although mileage suffers greatly during these episodes.
#42
01-02-2011, 08:45 PM
Record Breaker
#43
01-02-2011, 11:44 PM
Okay, had some rain this week, and working on other things, so I started on the "aesthetics" of the wiring.
Prewrap routing of pass light assemblies:
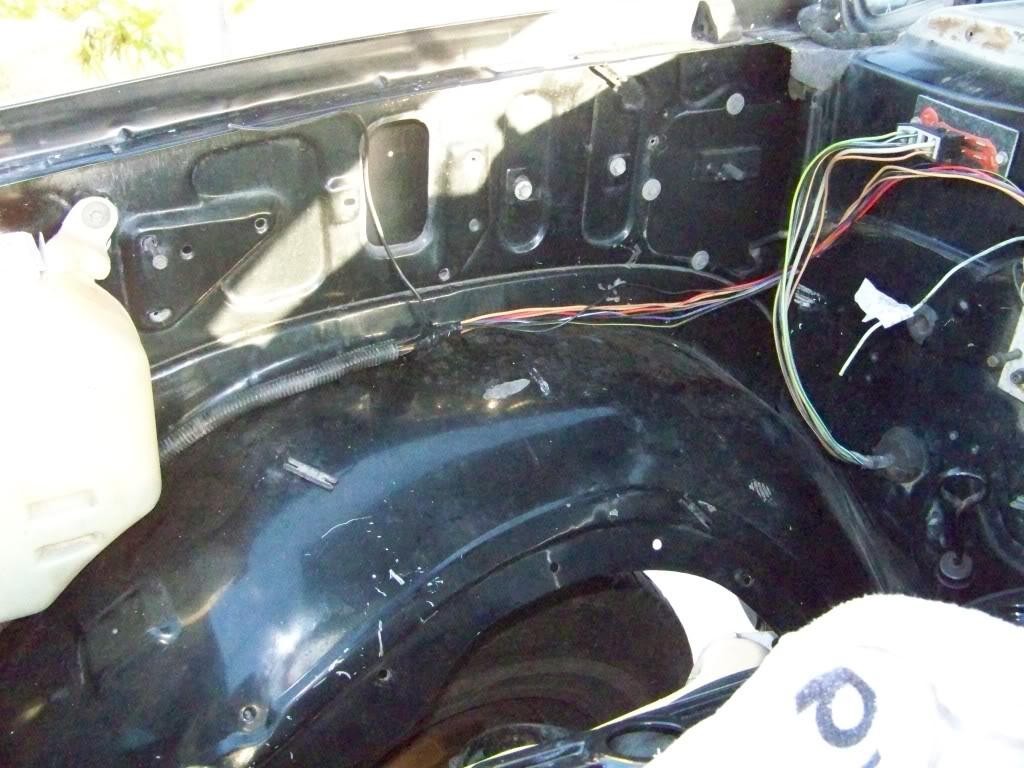
Firewall with associated ignition (Note: the VR is not installed yet due to an issue with the alternator mounting)

Throttle cable with "Summit bracket". I will have to change the end of the cable to a fisheye type. It is on the todo list. The KD linkage will be deleted.
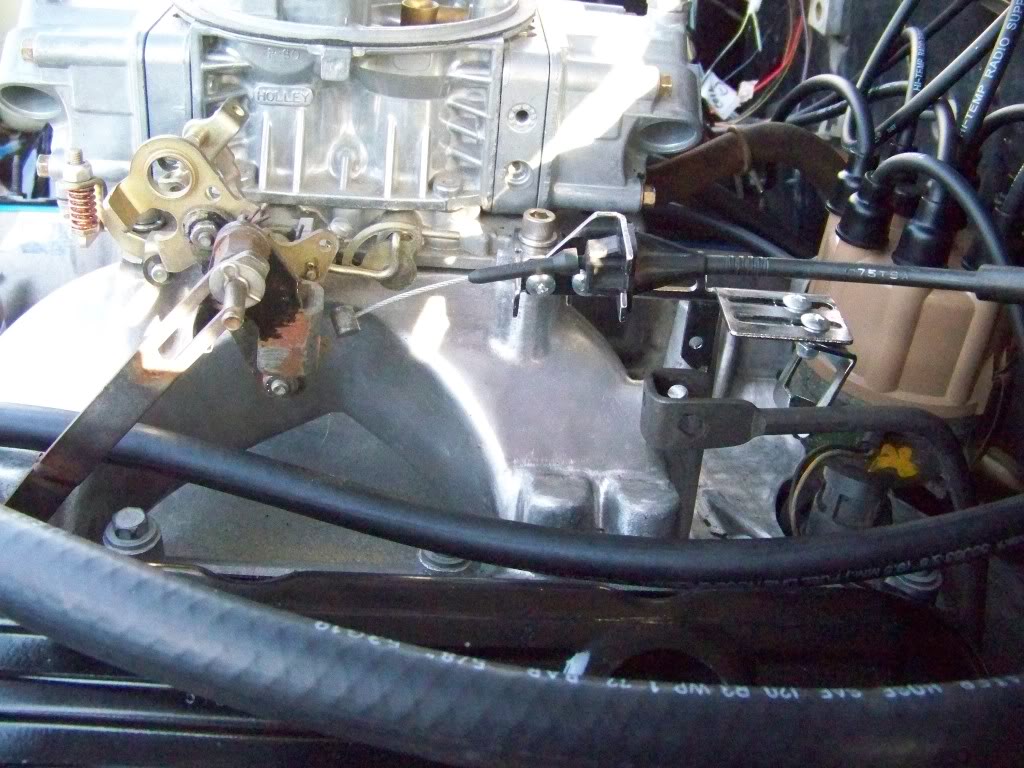
Top view:
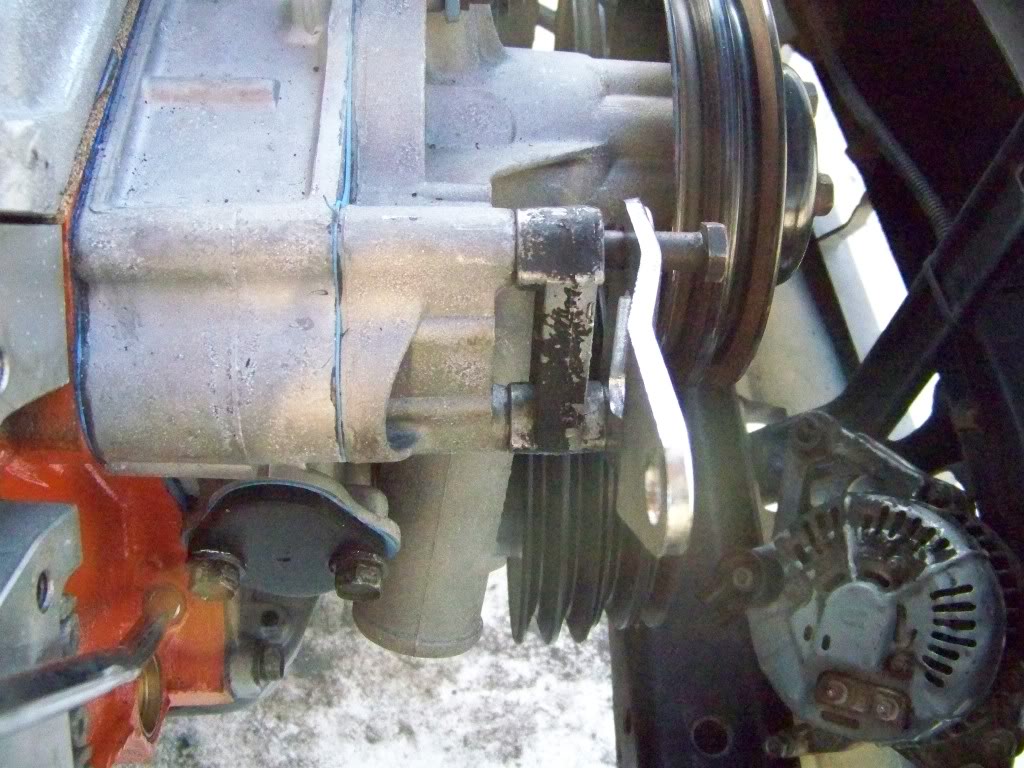
Here is an interesting change. To use the NP alternator, I used the Vacuum pump to space out the old style alt bracket. As it sits, only one pulley lines up, but when I mount to the front of the bracket, both will line up. There is a missing spacer washer for the "double bracket" side which has not been installed.
Prewrap routing of pass light assemblies:
Firewall with associated ignition (Note: the VR is not installed yet due to an issue with the alternator mounting)
Throttle cable with "Summit bracket". I will have to change the end of the cable to a fisheye type. It is on the todo list. The KD linkage will be deleted.
Top view:
Here is an interesting change. To use the NP alternator, I used the Vacuum pump to space out the old style alt bracket. As it sits, only one pulley lines up, but when I mount to the front of the bracket, both will line up. There is a missing spacer washer for the "double bracket" side which has not been installed.
Last edited by Crazy4x4RT; 01-03-2011 at 12:05 AM.
#44
01-02-2011, 11:54 PM
#45
01-11-2011, 09:39 PM
Trying to finish up the wiring, but my reference pics do not show the Alternator wiring. I have an extremely long (about 6 feet) 8 ga wire that has a female end coming off a fusible link from the Battery (+) "tree". Does that plug to the alternator or somewhere else? I have plugged in a 8 ga to battery ( a different one), so now I am thinking either I cut and run a new one or use this one, but just in case it may power something I may be missing????? I will probably run a 4 ga off the alt, for future alt upgrade (and delete this one), but awaiting this answer. Thanks in advance.
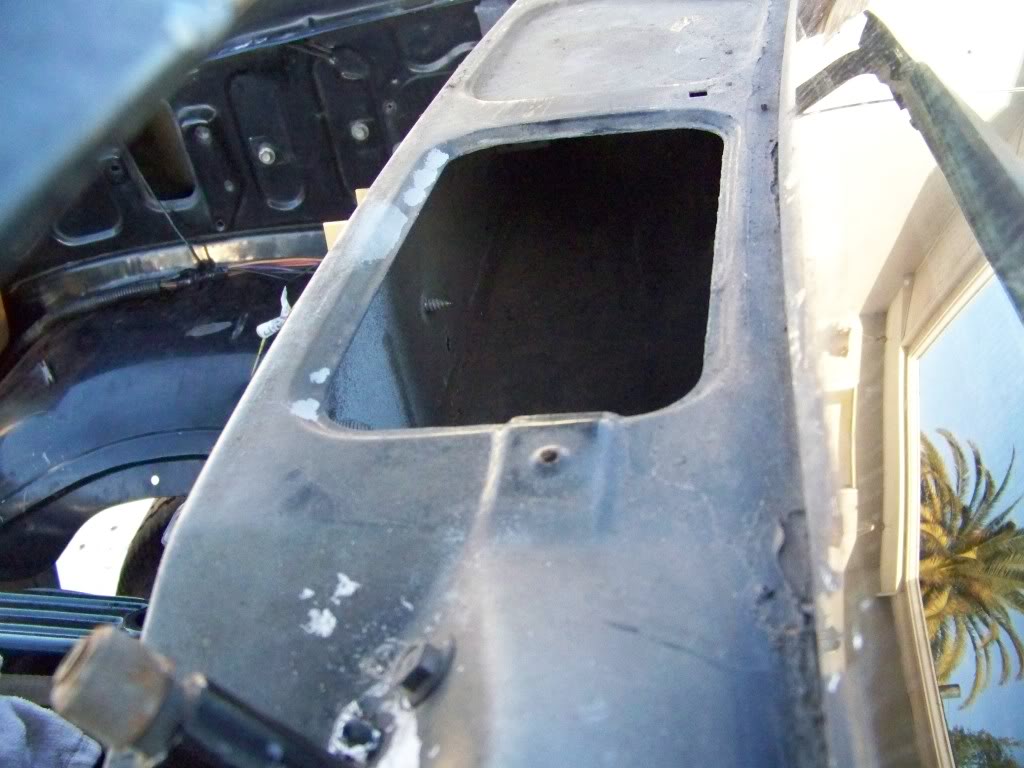
In reference to running the nitrous solenoids below the cowl: I tried to mount them, but space is limited to turn the fuel lines and mount them on the engine side. I could mount them upside down, but do not favor that. I am contemplating cutting the firewall and making a "box" for ease of maintenance. Since I have located the alternator inline with the other pulleys, I have to have an alternator shop cut in a "sleeve" for the 6" bolt spacing. I have read about problems mounting the NP alternators to the V belt drive setups. I think I may have worked a solution using the LA alt bracket (no a/c), although the stock bolts do not work (need 3- 6" versus 5").
This is the mount thus far:
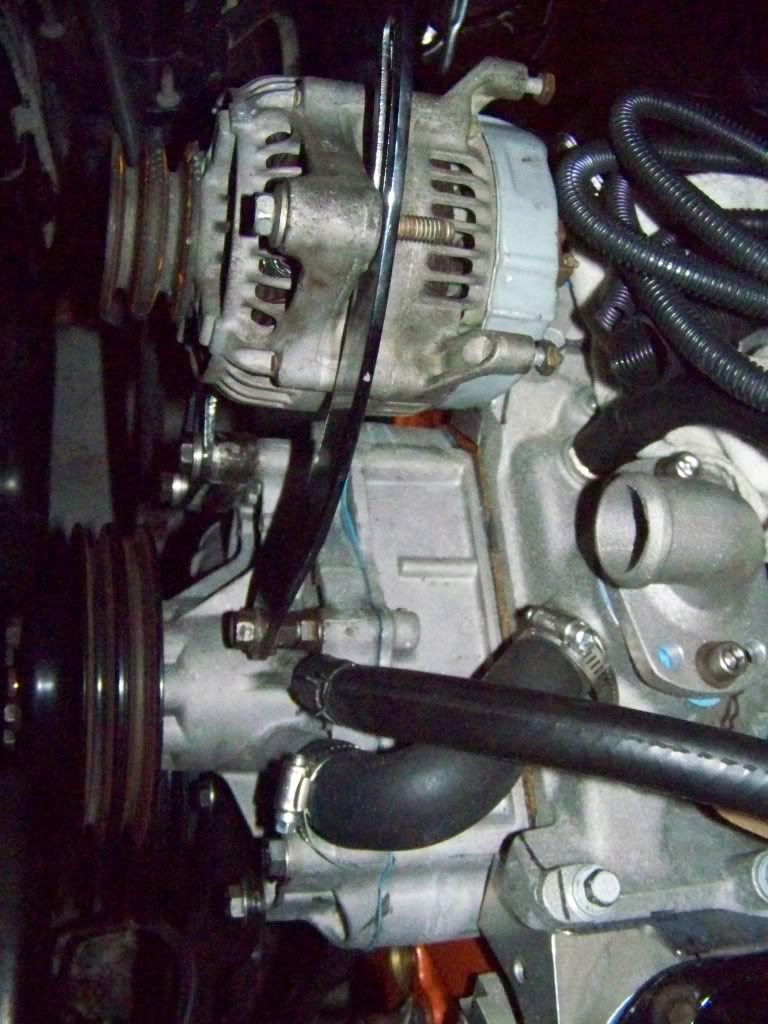
Note the smog pump bracket between the lower alt bracket and the water pump, I did mill the "longer" side flush with the "lower" side.
In reference to running the nitrous solenoids below the cowl: I tried to mount them, but space is limited to turn the fuel lines and mount them on the engine side. I could mount them upside down, but do not favor that. I am contemplating cutting the firewall and making a "box" for ease of maintenance. Since I have located the alternator inline with the other pulleys, I have to have an alternator shop cut in a "sleeve" for the 6" bolt spacing. I have read about problems mounting the NP alternators to the V belt drive setups. I think I may have worked a solution using the LA alt bracket (no a/c), although the stock bolts do not work (need 3- 6" versus 5").
This is the mount thus far:
Note the smog pump bracket between the lower alt bracket and the water pump, I did mill the "longer" side flush with the "lower" side.
Last edited by siggie30; 01-11-2011 at 09:53 PM.
#46
03-01-2011, 07:31 AM
Updates:
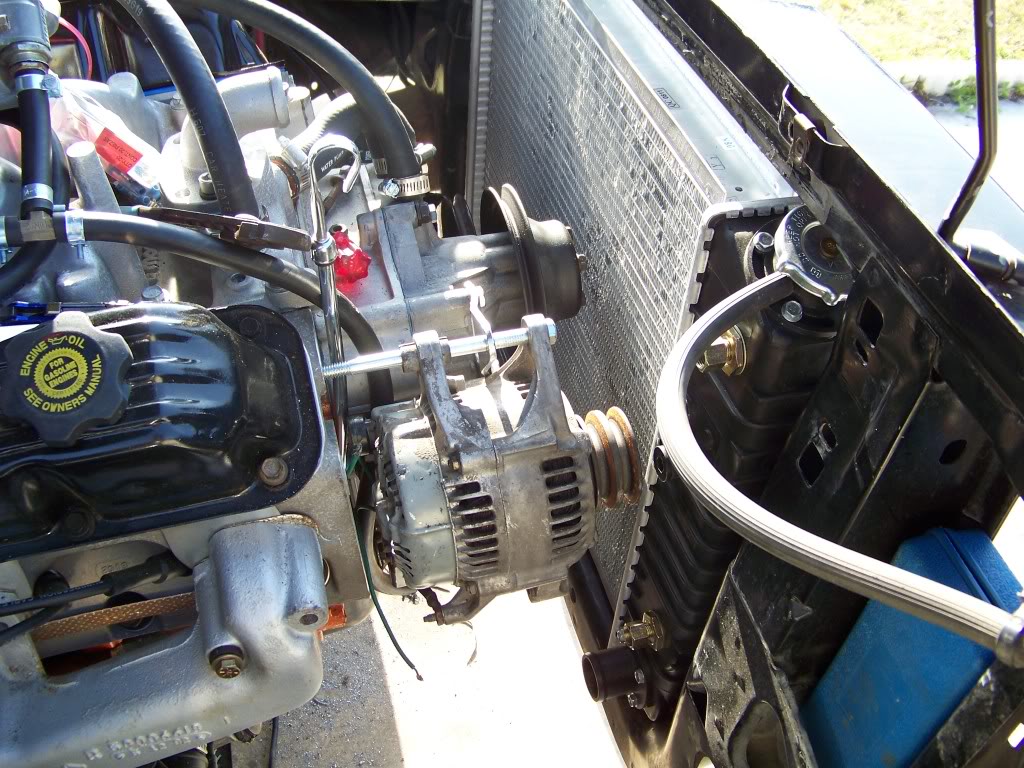
Fuel is "almost" done (2 fuel connectors). Wiring moved forward a bit, and is now down to wiring the gauges. I bought the V8 radiator, but I am now in the same situation as I was with the V6 radiator... not enough clearance. I am starting to think that the engine mounts are side specific. ie left and right, as there seems to be a little bias with them. Anybody want to take a shot at why the radiator is still hitting? I also pulled the waterpump off to see about clearing for it, but nogo there as well.
Fuel is "almost" done (2 fuel connectors). Wiring moved forward a bit, and is now down to wiring the gauges. I bought the V8 radiator, but I am now in the same situation as I was with the V6 radiator... not enough clearance. I am starting to think that the engine mounts are side specific. ie left and right, as there seems to be a little bias with them. Anybody want to take a shot at why the radiator is still hitting? I also pulled the waterpump off to see about clearing for it, but nogo there as well.
#47
03-01-2011, 09:30 AM
Hall Of Fame
#48
03-01-2011, 06:48 PM
Yes, I have the old stuff. I am not wanting to update the front, even though I know it would technically look cooler, but it would be a foul with the convertible option (to me). I am not a purist, but I would like to maintain the older look as the lights are cheaper to upgrade, and it is allready there. Perhaps I should look into a sunken radiator with a 45 degree corner or one that has an angle.
#49
03-22-2011, 06:02 PM
Just an update. I have been behind due to recovery, but am getting closer. May start it this week. 

Seriously considering updating to the newer front, but if I can find a low clearance pusher rad fan, then I will keep it as is. Also, the V6 y pipe is not going to work so a V8 y-pipe is on the todo list. I cut down the B+ plastic piece on the backside of the Denso alternator to clear the aluminum head (which is 3/4" more to the front), and now it is underslung. It is time to clean it, and I haven't even started it.
"That is all"
Last edited by siggie30; 03-22-2011 at 06:08 PM.
#50
03-22-2011, 07:00 PM
Record Breaker