

4x4 Shift Lever Rebuild: How to....


Thread Starter
|
Amateur
Joined: Aug 2007
Posts: 41
Likes: 0
Sorry to start another thread but i didnt want this to get lost in my previous thread, Basically my shift linkage for my transfer case had froze, (i don't use 4 wheel drive often and the truck has been sitting for 2 yrs) not allowing me to put the truck into 4 wheel drive. The dealer does not sell just the bushing, only the whole assembly. I did find the part number in the factory parts manual, but it is still not the correct bushing. So i decided to rebuild this myself, please bear with me as this is my first how to.
The first thing i did was tear the shifter apart, this only required heat and some muscle, make sure you take everything apart, when you take the bushing out make sure you get the inner race and outer race off, mine was rusted on, so for the inner i just heated and melted the plastic spacer and it slid right off. For the outer i had to use a hacksaw and cut a "slit" in the race then use a small chisel to bend the race until it came out. Sorry for the lack of photo's but i didnt think about doing a write up until after the fact.
Now for the rebuild, I bought all the parts for under $10.00 at my local "Tractor Supply Co" the parts you need are:
2- 3/4 x 1-3/8 flanged radial bearing PN# 838627
2- 1-1/8OD x 11/16ID Rubber Grommets PN#836948 These are needed to add resistance when the lever is moved, also to absorb some vibration.
Some all purpose grease, I used general purpose grease
A dremel tool with a metal cutting bit or a curved hand file will work as well
80 grit sand paper
I also used a hand grinder with a sanding disc to clean the rust off of the shifter shaft.
Safety Glasses
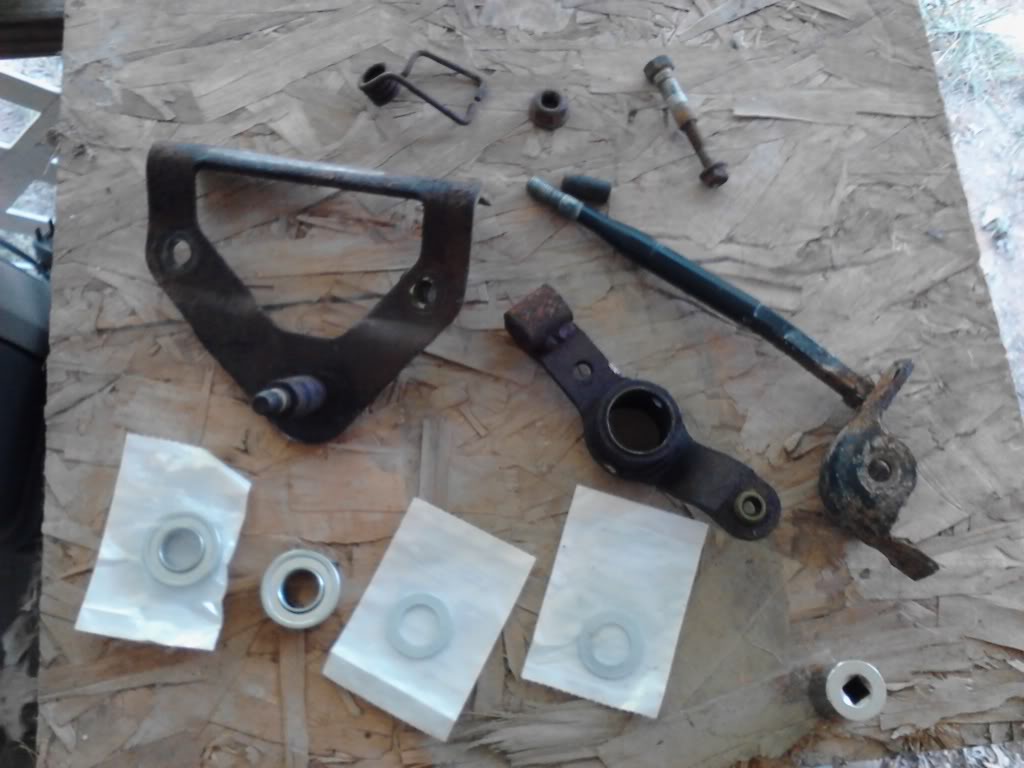
Here is a pic of the shifter tore down and parts. Note: I did not have to use the washers in the pic.
Step 2: You will need to widen the outer linkage hole a little bit, i used the dremel tool to make the opening bigger, i dont have measurements, i just ground a little then test fitted until i had a snug fit. Note: I drilled a hole into the side, in my attemps to free the stuck parts with PB Blaster before i did the rebuild, i will probably install a grease fitting there.
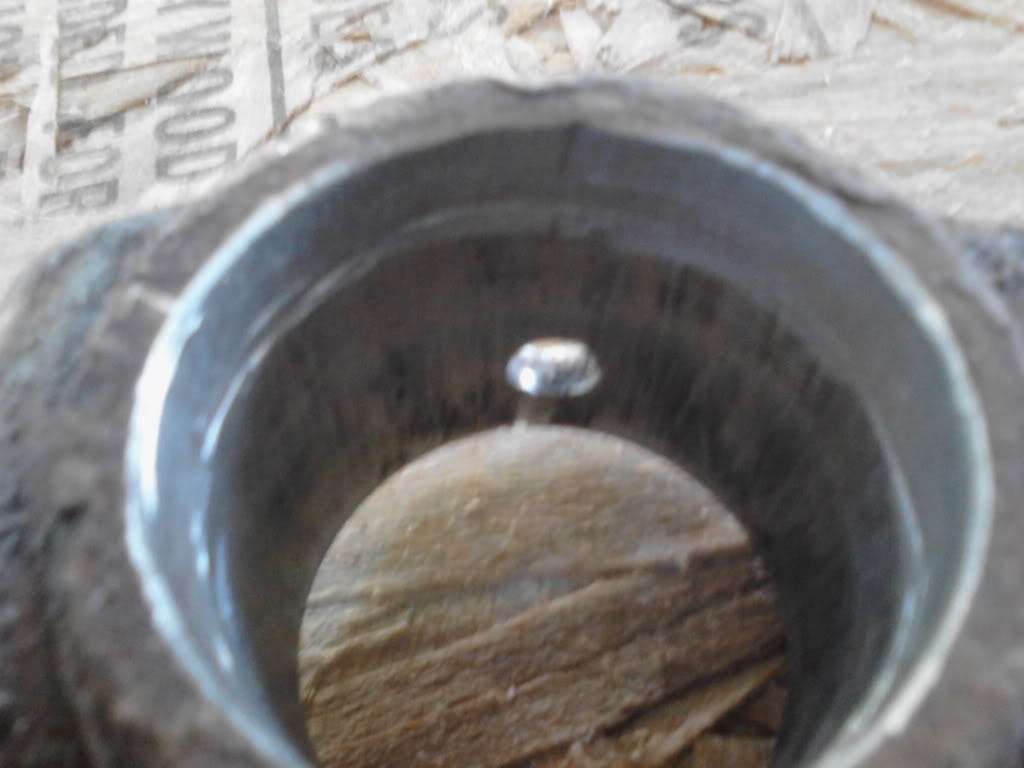
Step 3: Install the rear bearing first, I used a socket and a hammer to tap the bearing in, you want the socket to be the same OD as the bearing or you will damage it.
Step 4: Clean the shaft of the shifter, i used the grinder with the sand paper wheel as it was really rusted and corroded, sand paper could also be used. Sorry no pic of this step.
Step 5: Install the outer piece of the shifter onto the inner part of the shifter. Sorry no pic of this either i didnt realize i forgot to take a pic of this step, but basically put the part with the rear bearing into the shaft of the part the bolts to the transmission.
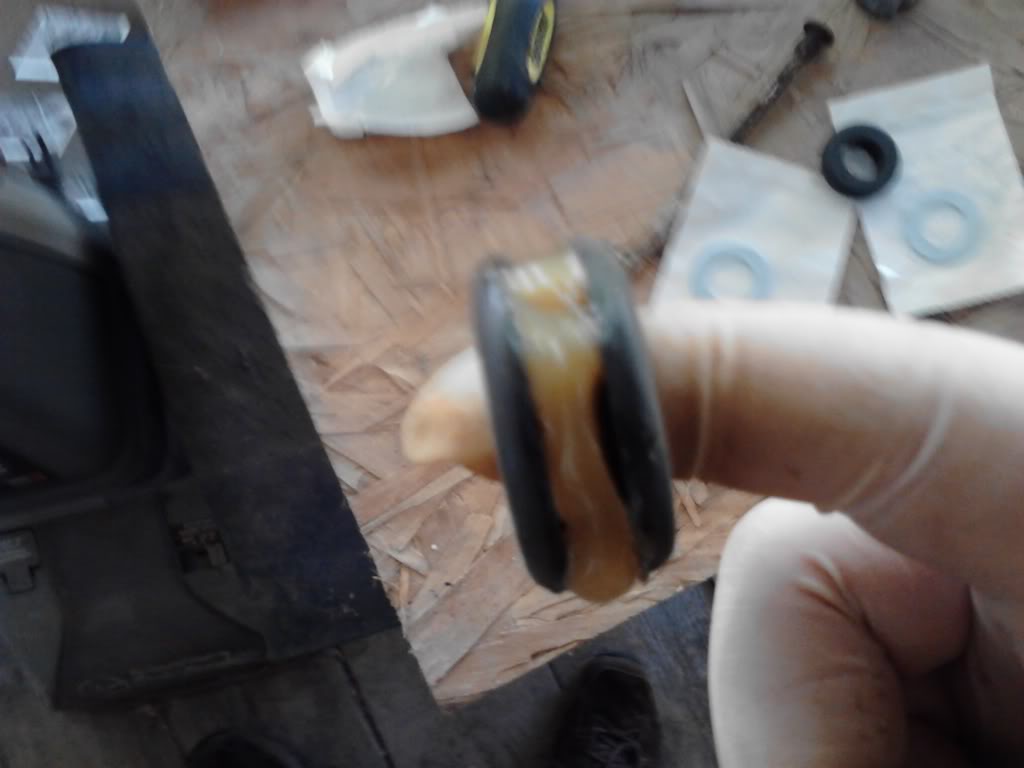
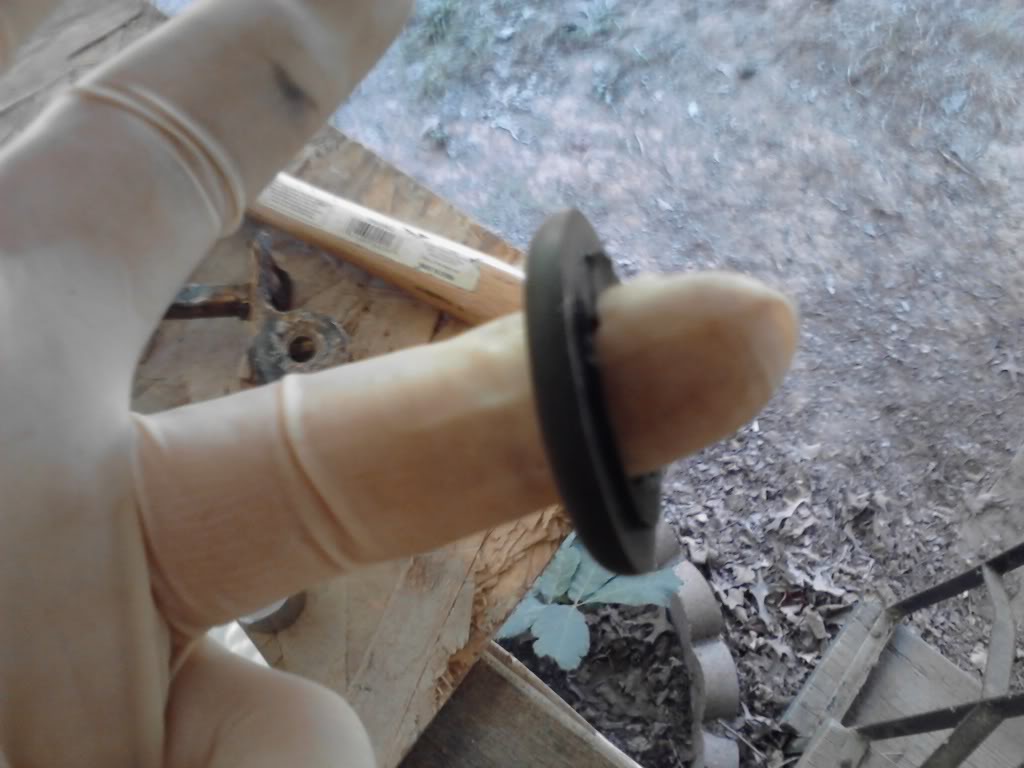
Step 6: Take one rubber grommet, and fill the outer groove with grease, and a little on the inside also. Place it into the shaft and use a socket to press it over and into the hole.
Step 7: Take the 2nd rubber grommet and cut the lip off of one side, and press it into the hole as well.
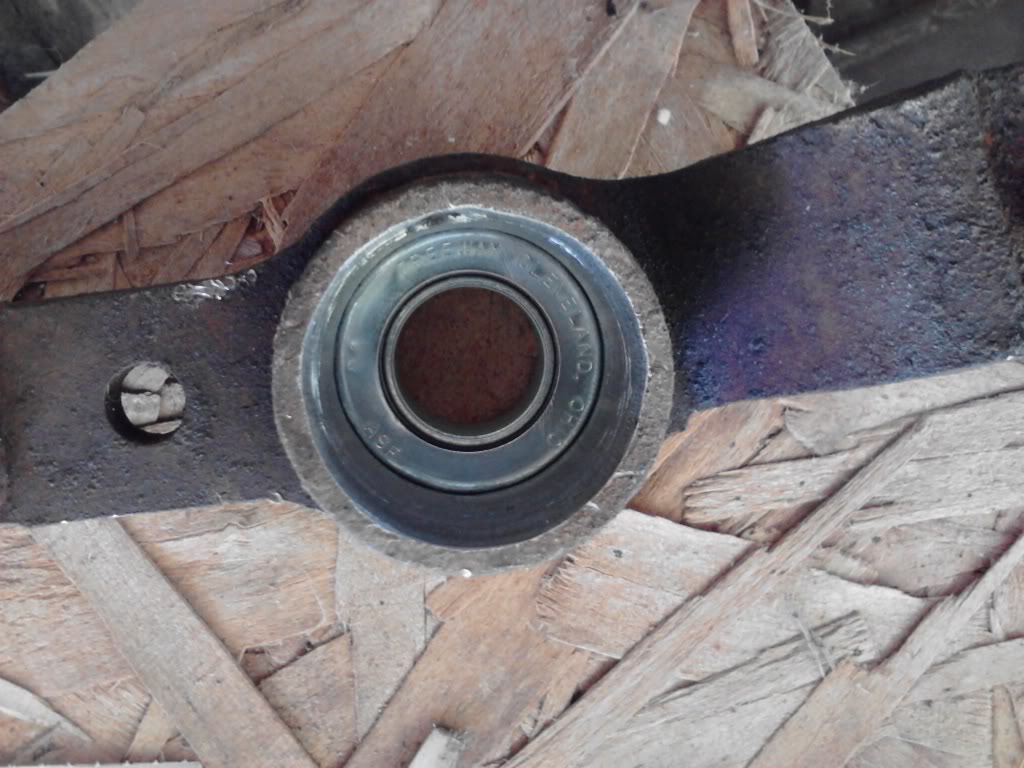
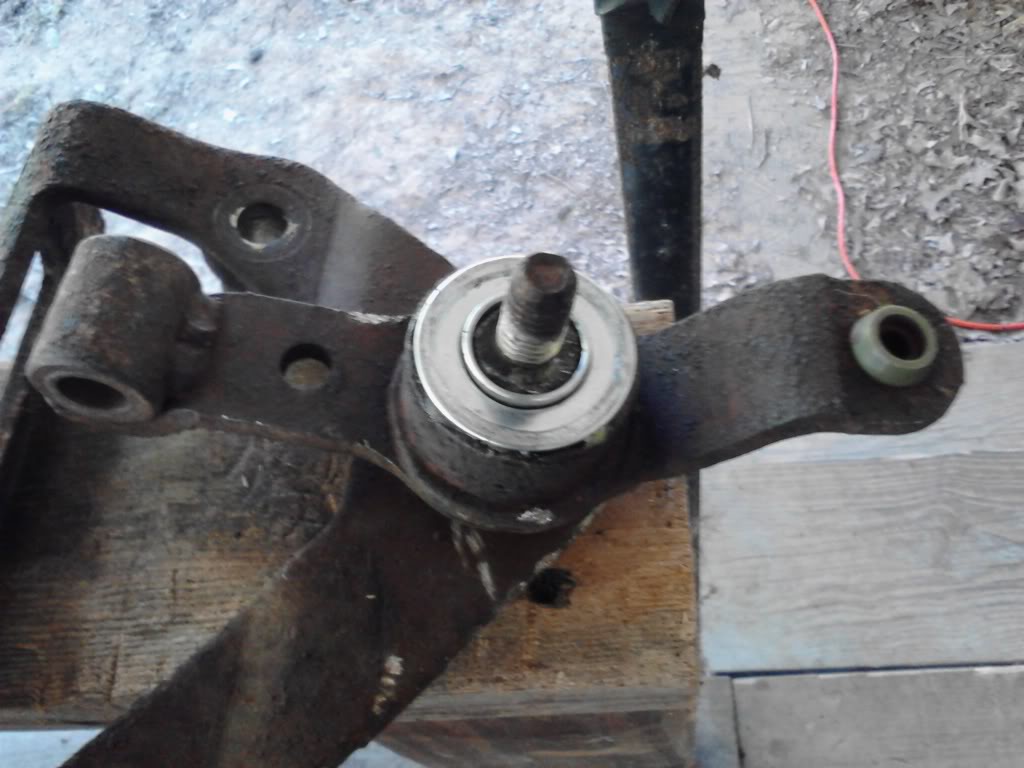
Step 8: Intall the 2nd bearing onto the front of the assembly, again using a socket to press it into place.
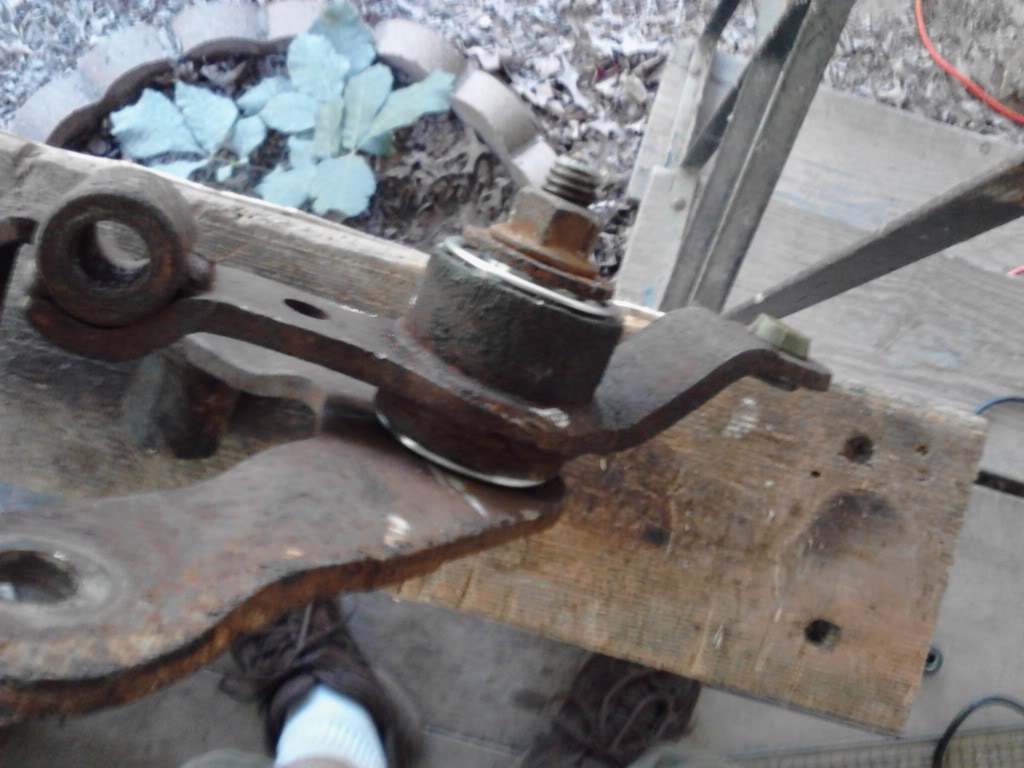
Step 9: Reinstall the original washer and nut and tighten until snug, do not over tighten you want it just snug enough it wont loosen.
I know this had been a little "over built" and will problably last longer then the life of the truck, and that this problem has not been an issue with many, but someone out there may run into the same problem and may need some help as i did. Hope this will help someone in some point. Thanks for looking.
The first thing i did was tear the shifter apart, this only required heat and some muscle, make sure you take everything apart, when you take the bushing out make sure you get the inner race and outer race off, mine was rusted on, so for the inner i just heated and melted the plastic spacer and it slid right off. For the outer i had to use a hacksaw and cut a "slit" in the race then use a small chisel to bend the race until it came out. Sorry for the lack of photo's but i didnt think about doing a write up until after the fact.
Now for the rebuild, I bought all the parts for under $10.00 at my local "Tractor Supply Co" the parts you need are:
2- 3/4 x 1-3/8 flanged radial bearing PN# 838627
2- 1-1/8OD x 11/16ID Rubber Grommets PN#836948 These are needed to add resistance when the lever is moved, also to absorb some vibration.
Some all purpose grease, I used general purpose grease
A dremel tool with a metal cutting bit or a curved hand file will work as well
80 grit sand paper
I also used a hand grinder with a sanding disc to clean the rust off of the shifter shaft.
Safety Glasses
Here is a pic of the shifter tore down and parts. Note: I did not have to use the washers in the pic.
Step 2: You will need to widen the outer linkage hole a little bit, i used the dremel tool to make the opening bigger, i dont have measurements, i just ground a little then test fitted until i had a snug fit. Note: I drilled a hole into the side, in my attemps to free the stuck parts with PB Blaster before i did the rebuild, i will probably install a grease fitting there.
Step 3: Install the rear bearing first, I used a socket and a hammer to tap the bearing in, you want the socket to be the same OD as the bearing or you will damage it.
Step 4: Clean the shaft of the shifter, i used the grinder with the sand paper wheel as it was really rusted and corroded, sand paper could also be used. Sorry no pic of this step.
Step 5: Install the outer piece of the shifter onto the inner part of the shifter. Sorry no pic of this either i didnt realize i forgot to take a pic of this step, but basically put the part with the rear bearing into the shaft of the part the bolts to the transmission.
Step 6: Take one rubber grommet, and fill the outer groove with grease, and a little on the inside also. Place it into the shaft and use a socket to press it over and into the hole.
Step 7: Take the 2nd rubber grommet and cut the lip off of one side, and press it into the hole as well.
Step 8: Intall the 2nd bearing onto the front of the assembly, again using a socket to press it into place.
Step 9: Reinstall the original washer and nut and tighten until snug, do not over tighten you want it just snug enough it wont loosen.
I know this had been a little "over built" and will problably last longer then the life of the truck, and that this problem has not been an issue with many, but someone out there may run into the same problem and may need some help as i did. Hope this will help someone in some point. Thanks for looking.