1st Gen Durango 1998 - 2003 Durango's

Front Universal Joints

Thread Tools
 
Search this Thread
 
Old Mar 23, 2010 | 05:35 PM
  #11  
Dman98's Avatar
Dman98
Thread Starter
|
Professional
Joined: Oct 2006
Posts: 128
Likes: 1
Default

Originally Posted by shrpshtr325
try using a photobucket to upload the pictures to and the post em here using the [img] [/img] tags
Thanks
Name:  P3120035.jpg
Views: 41
Size:  67.1 KB
Name:  P3120036.jpg
Views: 48
Size:  52.2 KB
Name:  P3120037.jpg
Views: 53
Size:  68.4 KB
Name:  P3120039.jpg
Views: 56
Size:  47.1 KB
Name:  P3130041.jpg
Views: 54
Size:  60.0 KB
Name:  P3130042.jpg
Views: 74
Size:  40.9 KB
Name:  P3170047.jpg
Views: 38
Size:  49.2 KB
 
Reply
Old Mar 23, 2010 | 05:45 PM
  #12  
Dman98's Avatar
Dman98
Thread Starter
|
Professional
Joined: Oct 2006
Posts: 128
Likes: 1
Default

Originally Posted by hydrashocker
Remember to put the grease Zerk in a place when you install them you can grease them and not be pinched off.
Originally Posted by Dman98
I used the 280, which have the fitting screwed into the cap. The 369 has the fitting screwed into the body of the u joint. The fitting for the 280 has a flat head, which makes it level with the yoke so there's no chance of it breaking off.

Originally Posted by hydrashocker
Never heard of those before but they sound GREAT!
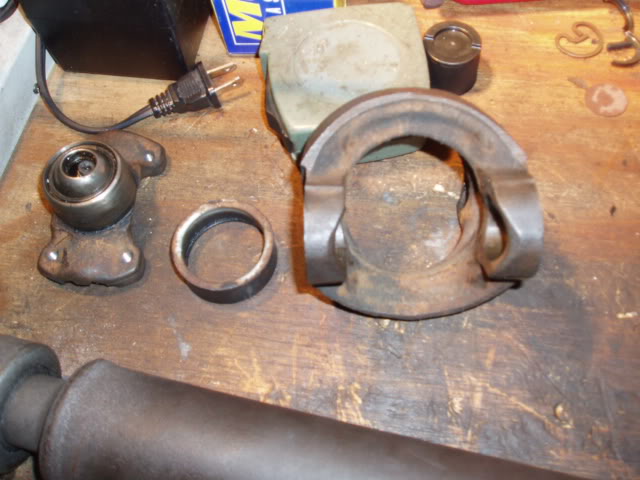
Here's pics of the type I used
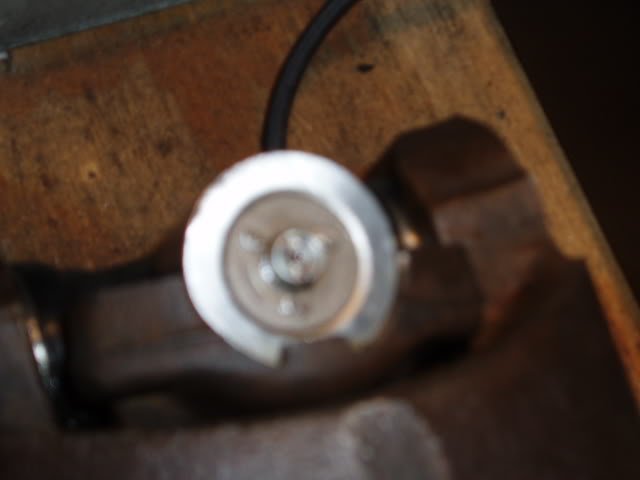
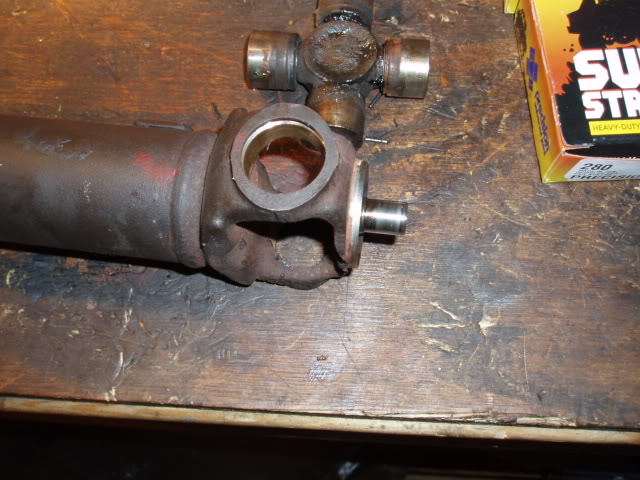
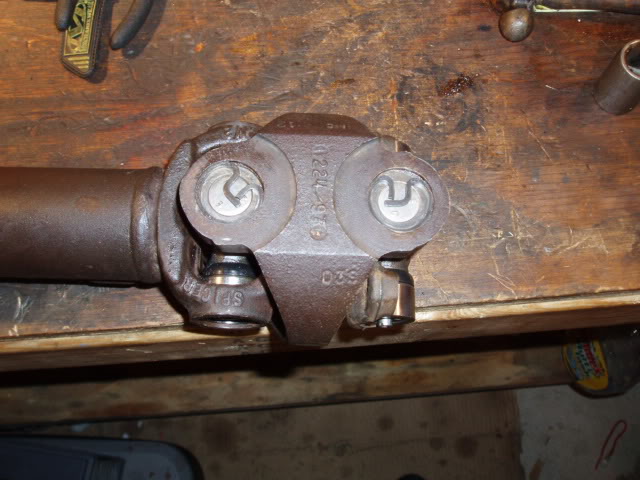
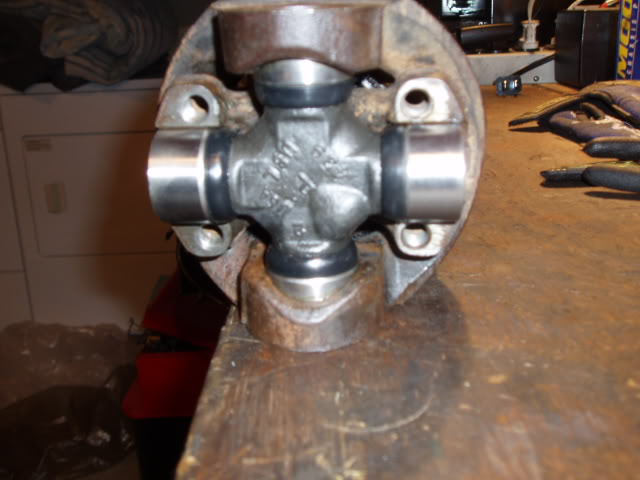
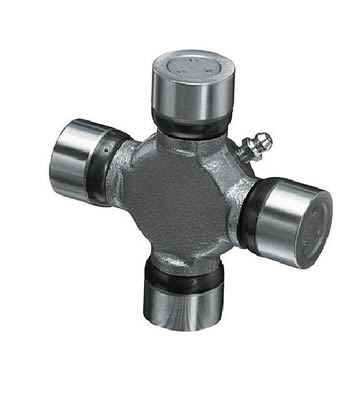
Name:  P3170049.jpg
Views: 53
Size:  23.7 KB
Name:  Percision280ujoint.jpg
Views: 65
Size:  9.2 KB
The other style:
Name:  Percision369ujoint.jpg
Views: 42
Size:  11.2 KB
 
Reply
Old Mar 23, 2010 | 05:51 PM
  #13  
Dman98's Avatar
Dman98
Thread Starter
|
Professional
Joined: Oct 2006
Posts: 128
Likes: 1
Default

Originally Posted by Dman98
Replaced the drive shaft and some leaking transmission lines.
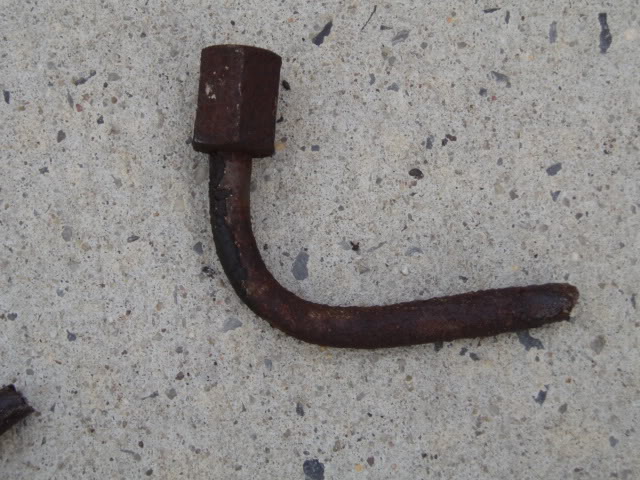
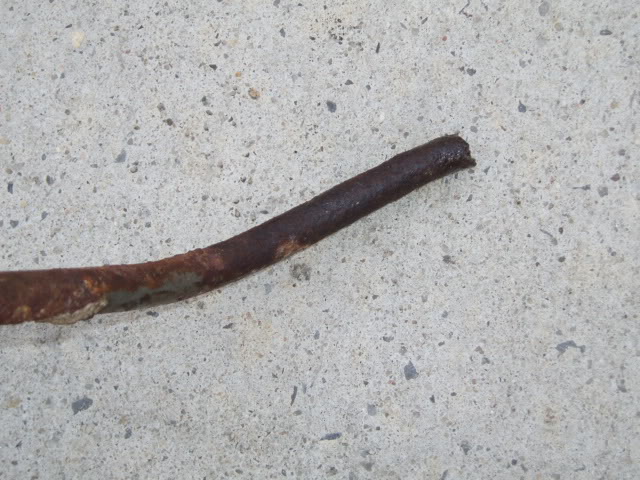
Here's a pic of the tranny line, still have to replace the other which isn't as bad. I was surprised to see so much rust on the line near the transmission and not at the radiator.
Name:  P3210052.jpg
Views: 45
Size:  80.4 KB
Name:  P3210053.jpg
Views: 53
Size:  83.2 KB
Name:  P3210054.jpg
Views: 49
Size:  49.6 KB
 
Reply
Old Mar 23, 2010 | 07:18 PM
  #14  
hydrashocker's Avatar
hydrashocker
Hall Of Fame
20 Year Member
Photogenic
Photoriffic
Shutterbug
Joined: Jun 2005
Posts: 14,228
Likes: 19
From: Riverton, UT
Default

Did you change the pilot bearing?

Name:  P3120036.jpg
Views: 39
Size:  52.2 KB
Name:  P3120037.jpg
Views: 54
Size:  68.4 KB
 
Reply
Old Mar 24, 2010 | 05:42 AM
  #15  
Dman98's Avatar
Dman98
Thread Starter
|
Professional
Joined: Oct 2006
Posts: 128
Likes: 1
Default

I did an inspection after cleaning it and it looked new. So I greased it and re-installed everything. The job was easier than I thought it would be.
 
Reply
Old Mar 25, 2010 | 12:06 AM
  #16  
hydrashocker's Avatar
hydrashocker
Hall Of Fame
20 Year Member
Photogenic
Photoriffic
Shutterbug
Joined: Jun 2005
Posts: 14,228
Likes: 19
From: Riverton, UT
Default

Good!


The only shop I found that would tell me what it was and how to replace it was www.sixstates.com and they had all the parts for cheap.
 
Reply


All times are GMT -4. The time now is 08:03 AM.