

DIY - Roll-on bedliner


Thread Starter
|
Banned
Joined: Apr 2009
Posts: 2,816
Likes: 4
From: Los Angeles, CA
I've been wanting to do something about my bed for a long time, but a spray-in was out of the question and unnecessary since I already have a bed mat. I considered buying some Herculiner, but while I was at the AutoZone I came across this competing product from Rust-O-leum.
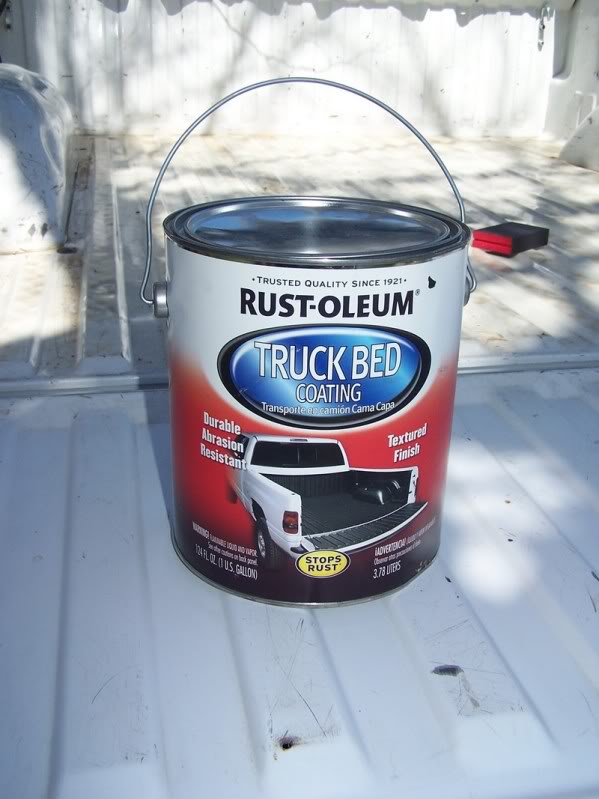
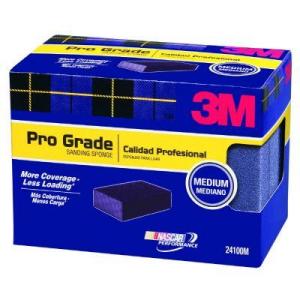
It was half the price ($49.95) of the Herculiner kit ($99.95) and being from Rust-O-leum I figured I couldn't go wrong. It isn't a kit like the HL, but for another $7 I got a cheap brush, a 3" wide roller with refill and a mini paint tray at Home Depot. Another $6 bought me 2 150 grit sanding sponges from 3M. These things are perfect for sanding contours and the uneven surface of a truck bed. They're easier on your hand and wrist, too (6-pack shown).
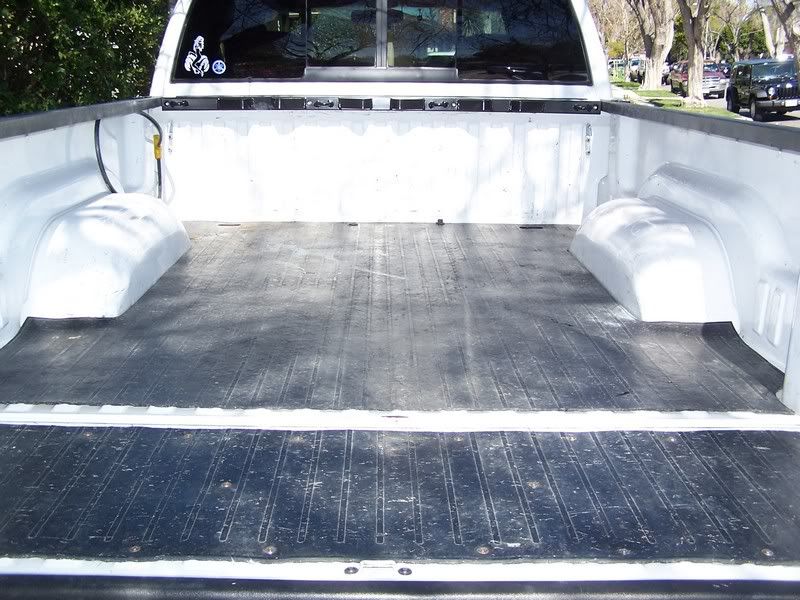
First up was to remove the rubber bed mat. The mat was originally for a long bed, but I cut the excess off and screwed it to the tailgate for extra protection. That needed to come off, too.
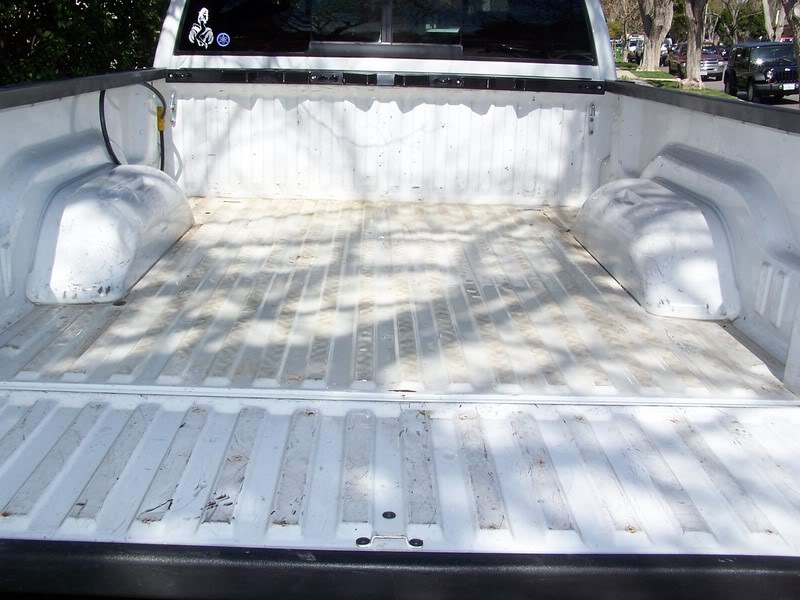
I started by sanding the sides, front and tailgate areas. You don't have to go crazy, just sand enough to remove the gloss from the paint so the bedliner will adhere to it. I only sanded the edges of the floor area because I would be reinstalling the bed mat. I washed the whole bed down with a solution of 30% Simple Green and water and dried it out with my leaf blower (very handy for vehicle washing).
Using a brush I first cut in all the edge areas where a roller won't go. The bed mat will overlap the floor edges. I could have taken the time to remove the wheelwell dents, but it is a truck after all.
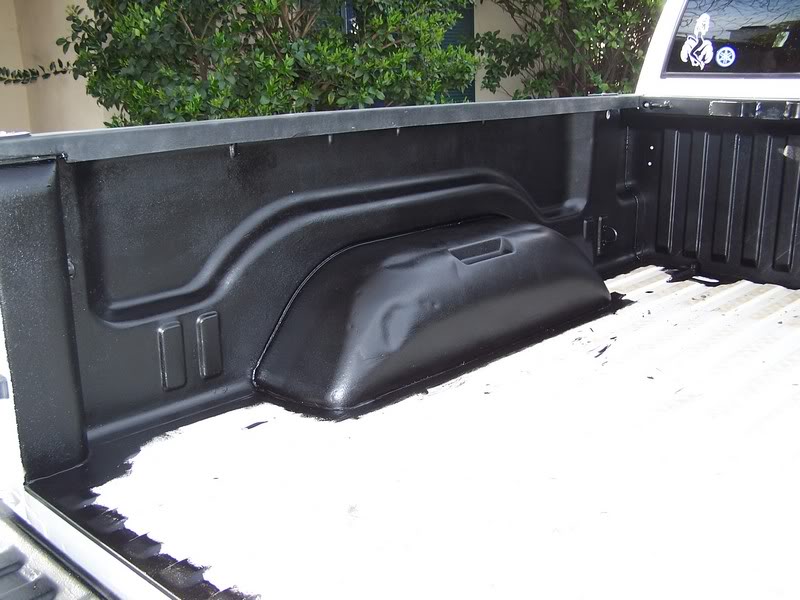
Be sure to paint underneath the bed sides. I was amazed at how thin the factory paint was under there. I could almost see primer. Don't be afraid to put it on thick, but limit your brushstrokes as this stuff gets tacky pretty quick and too many strokes just smears it. You can't see it in this pic, but the first coat will definitely not cover. I decided to do the entire first coat with the brush because it allowed me to put it on thicker.
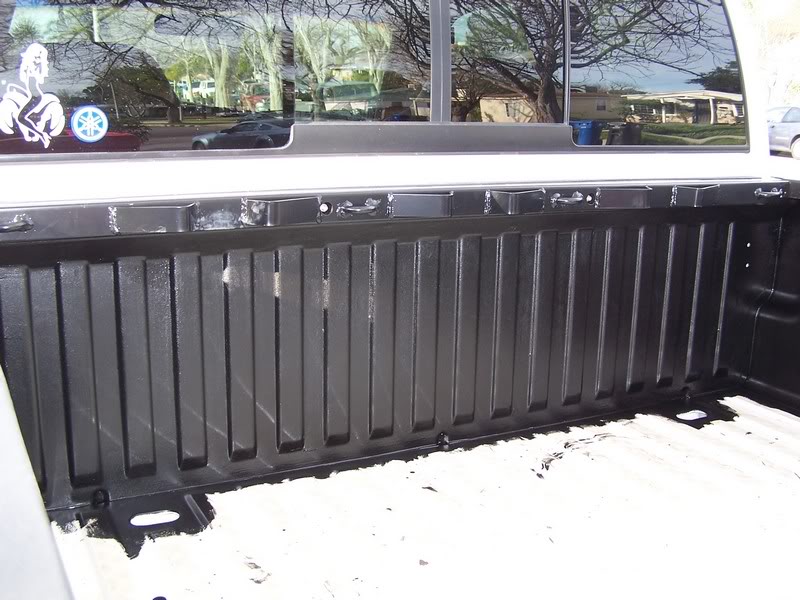
After allowing the first coat to dry for about 90 minutes, I began rolling on the second coat. This provides some texture to the final finish. I still needed a brush to get into the corners, but more of the second coat went on with the roller. The final result looks great!
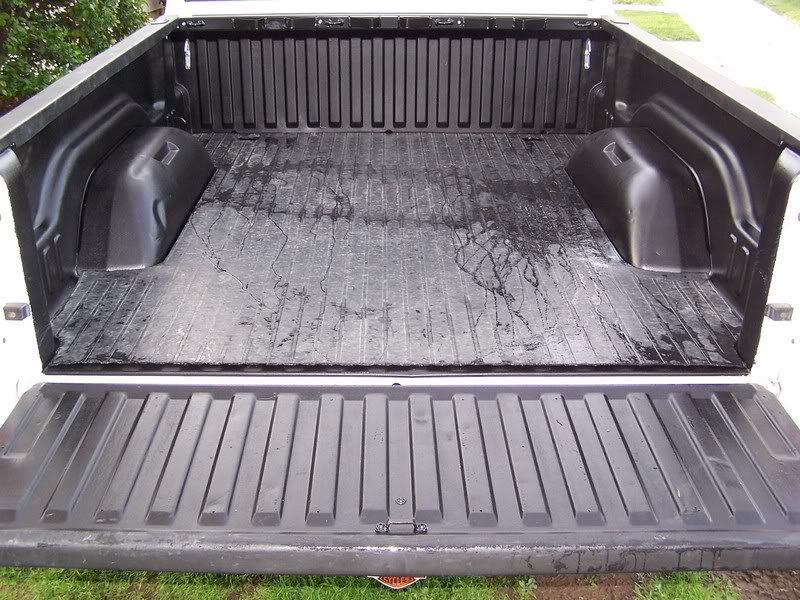
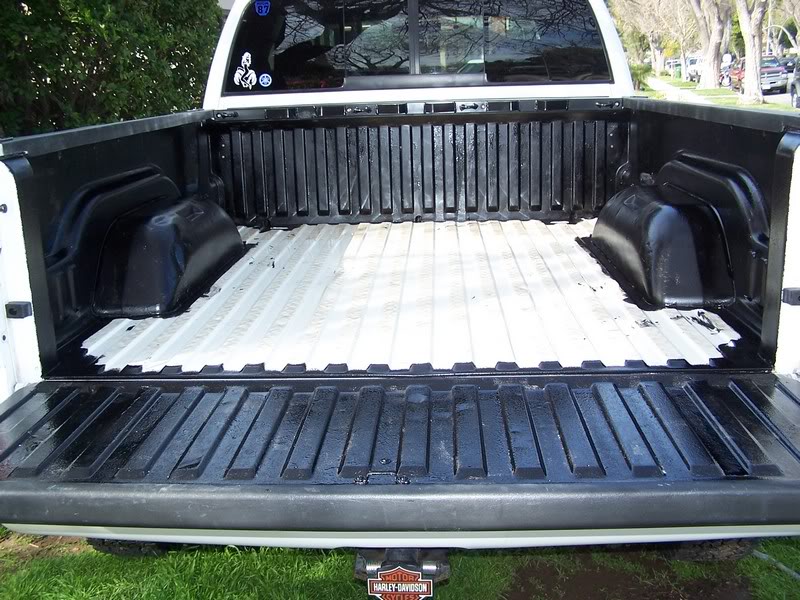
Since I wasn't doing the bed floor I had a lot of product leftover, more than half a can. I could have probably put on more coats and built it up thicker, but I think that would make it softer and easier to damage. It has a somewhat semi-gloss appearance to it, not dull like others I've seen and the texture is light, not gritty. I don't see any reason you couldn't add some sand to it to make it more grippy, but that's not what I was looking for and it does have a rubbery feel to it when dry. Is it better than Herculiner? Too early to tell, but at almost half the price I can't complain. All in all it took about 5 hours from start to finish...my knees are aching and my back is screaming, but it was welll worth the effort and savings.
It was half the price ($49.95) of the Herculiner kit ($99.95) and being from Rust-O-leum I figured I couldn't go wrong. It isn't a kit like the HL, but for another $7 I got a cheap brush, a 3" wide roller with refill and a mini paint tray at Home Depot. Another $6 bought me 2 150 grit sanding sponges from 3M. These things are perfect for sanding contours and the uneven surface of a truck bed. They're easier on your hand and wrist, too (6-pack shown).
First up was to remove the rubber bed mat. The mat was originally for a long bed, but I cut the excess off and screwed it to the tailgate for extra protection. That needed to come off, too.
I started by sanding the sides, front and tailgate areas. You don't have to go crazy, just sand enough to remove the gloss from the paint so the bedliner will adhere to it. I only sanded the edges of the floor area because I would be reinstalling the bed mat. I washed the whole bed down with a solution of 30% Simple Green and water and dried it out with my leaf blower (very handy for vehicle washing).
Using a brush I first cut in all the edge areas where a roller won't go. The bed mat will overlap the floor edges. I could have taken the time to remove the wheelwell dents, but it is a truck after all.
Be sure to paint underneath the bed sides. I was amazed at how thin the factory paint was under there. I could almost see primer. Don't be afraid to put it on thick, but limit your brushstrokes as this stuff gets tacky pretty quick and too many strokes just smears it. You can't see it in this pic, but the first coat will definitely not cover. I decided to do the entire first coat with the brush because it allowed me to put it on thicker.
After allowing the first coat to dry for about 90 minutes, I began rolling on the second coat. This provides some texture to the final finish. I still needed a brush to get into the corners, but more of the second coat went on with the roller. The final result looks great!
Since I wasn't doing the bed floor I had a lot of product leftover, more than half a can. I could have probably put on more coats and built it up thicker, but I think that would make it softer and easier to damage. It has a somewhat semi-gloss appearance to it, not dull like others I've seen and the texture is light, not gritty. I don't see any reason you couldn't add some sand to it to make it more grippy, but that's not what I was looking for and it does have a rubbery feel to it when dry. Is it better than Herculiner? Too early to tell, but at almost half the price I can't complain. All in all it took about 5 hours from start to finish...my knees are aching and my back is screaming, but it was welll worth the effort and savings.
Last edited by Miami_Son; Feb 28, 2010 at 09:21 PM.