

DIY - 2wd Ball Joint Replacement

Thread Starter
|
Champion
Joined: Mar 2008
Posts: 3,363
Likes: 1
From: ohio
1995 dodge 2wd ram ball replacement
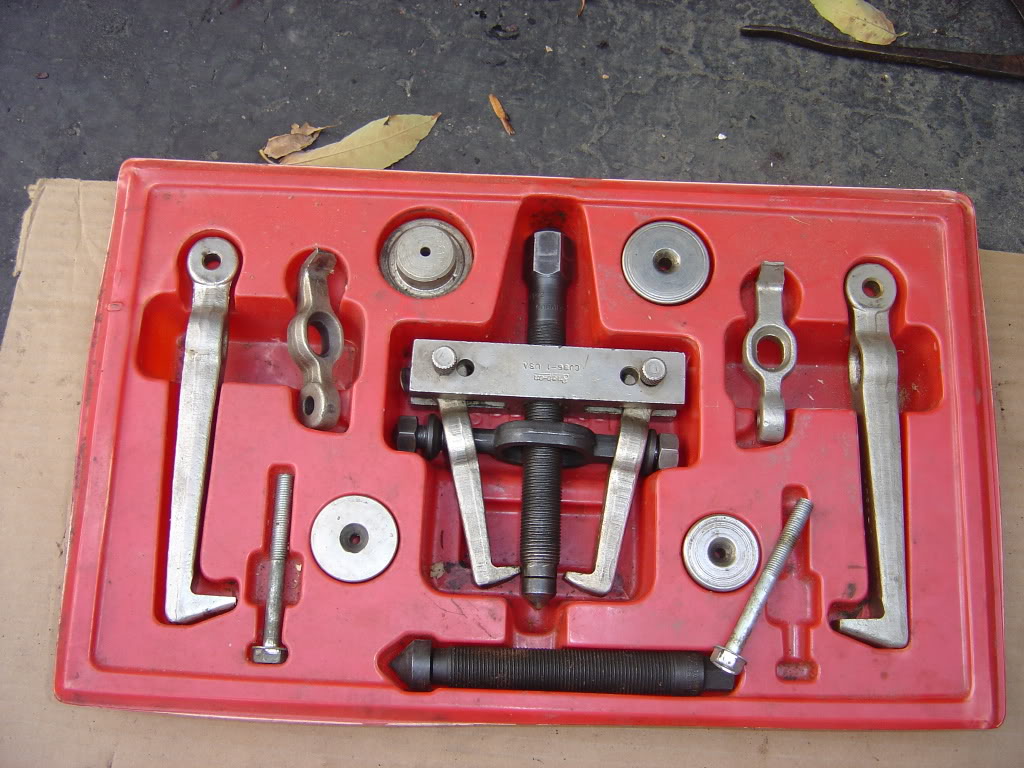
tools "i" used
ball joint press, get the one from advance auto ( i bought one )
puller
hammer
standard screwdriver
pry bar
wrenches, 13/16 , 15/16
allen wrench, 3/8
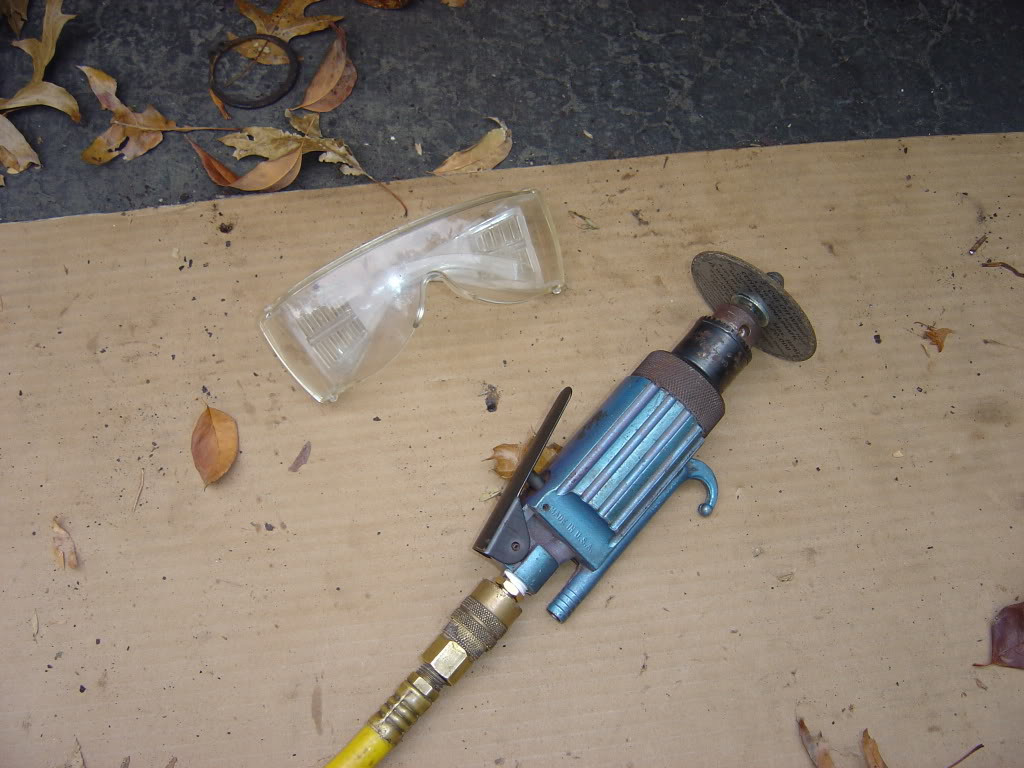
air cut off tool, 4'' disc
channel lock, the biggest one you can get
plyers
crescent wrench
ball joint fork
( you don't need the spring compressors)

puller
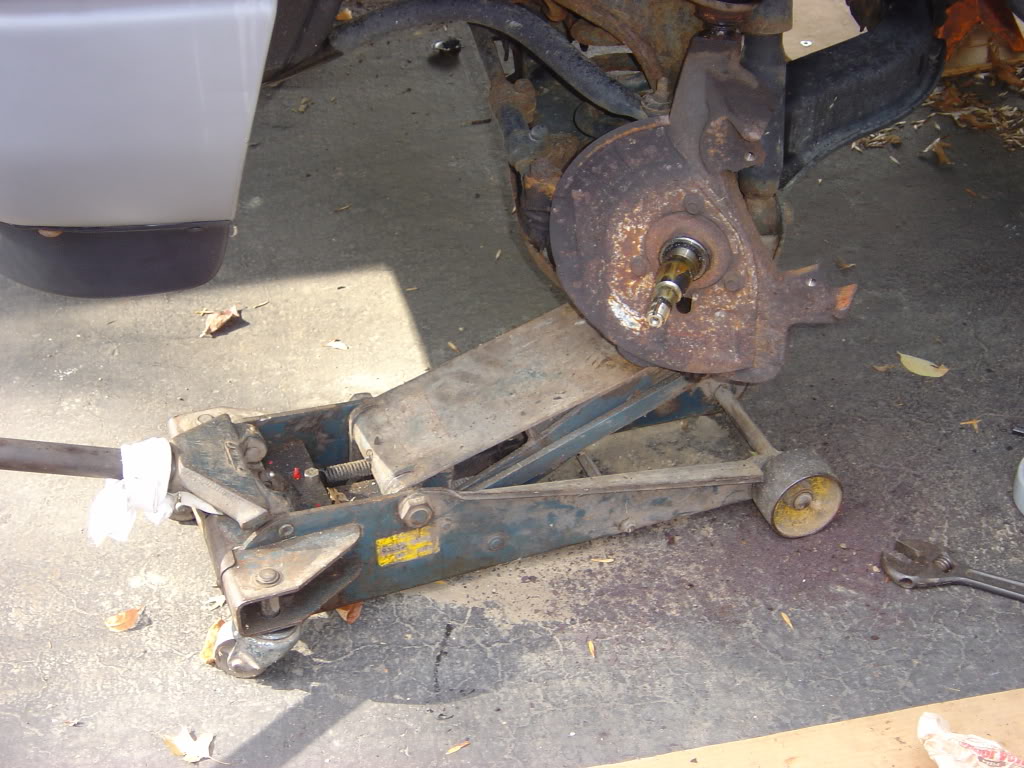
wheel

wheel off

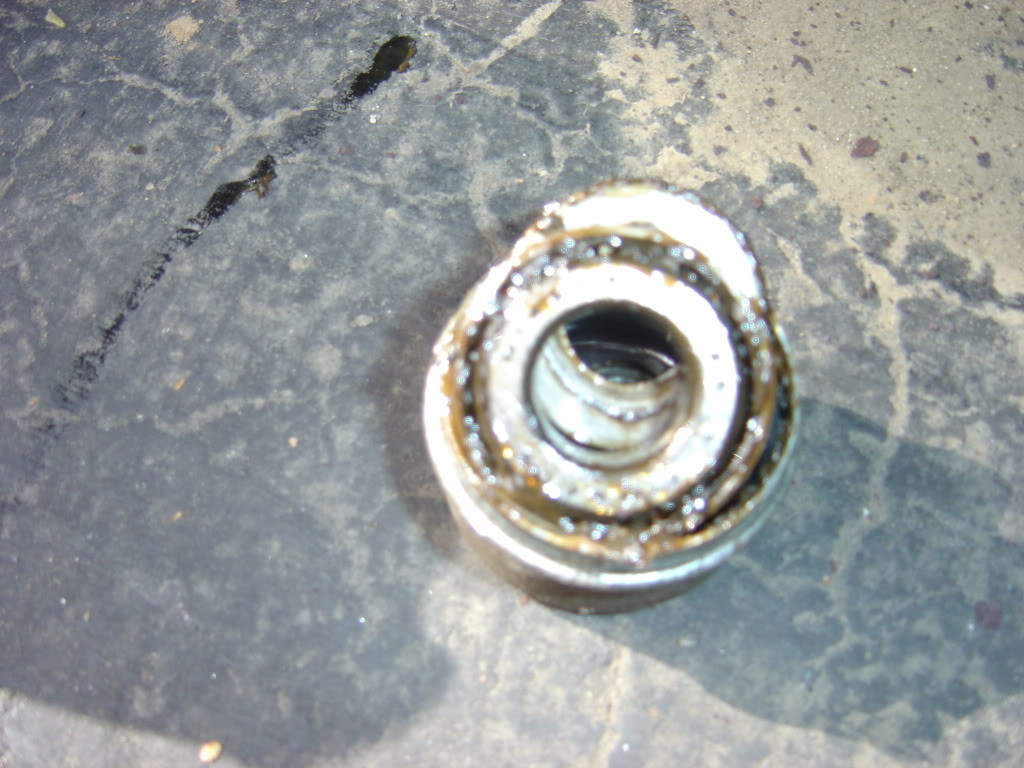
(option take off rotor< i was going to repack my wheel bearings>)
pop of master cap
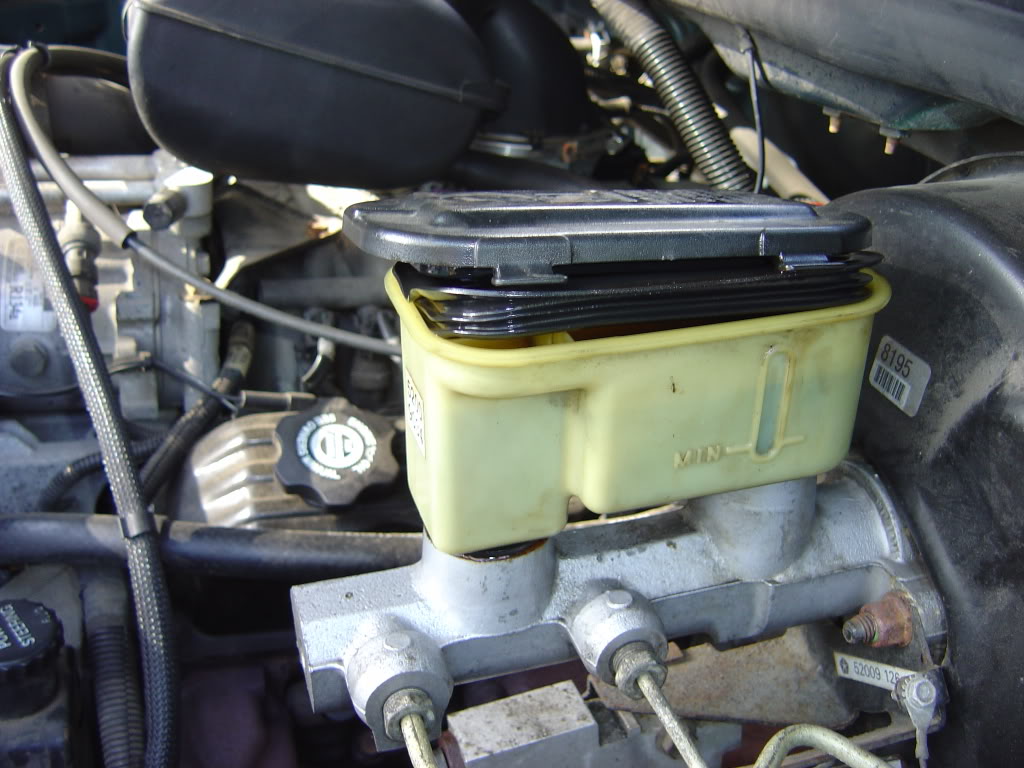
press in piston
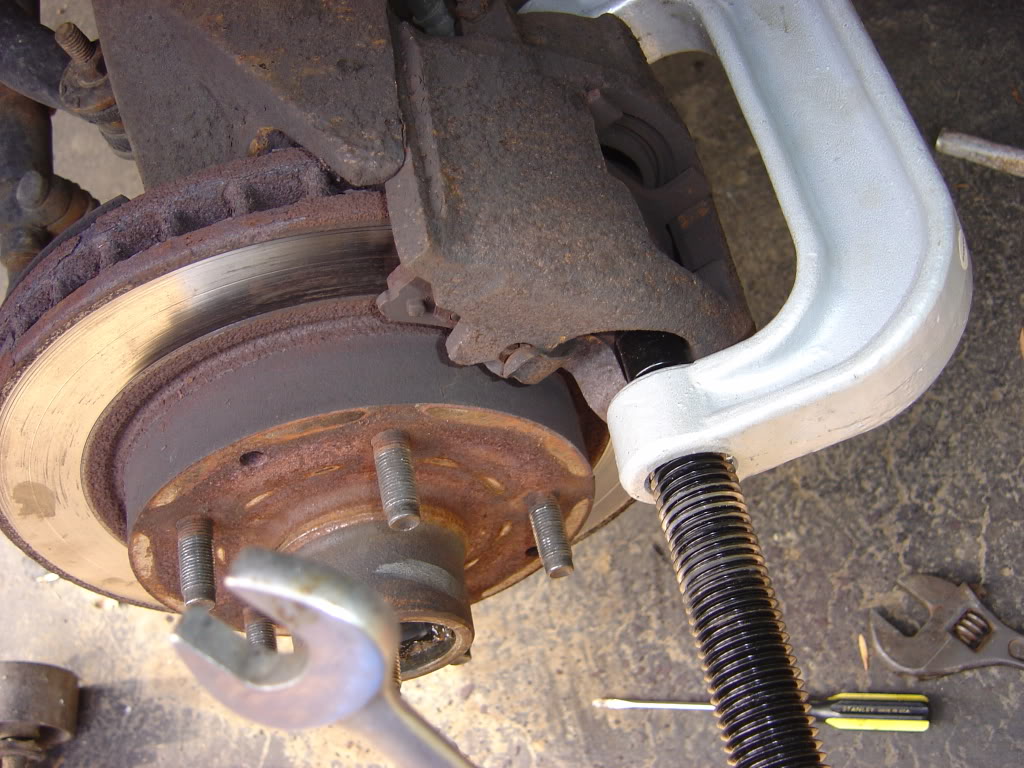
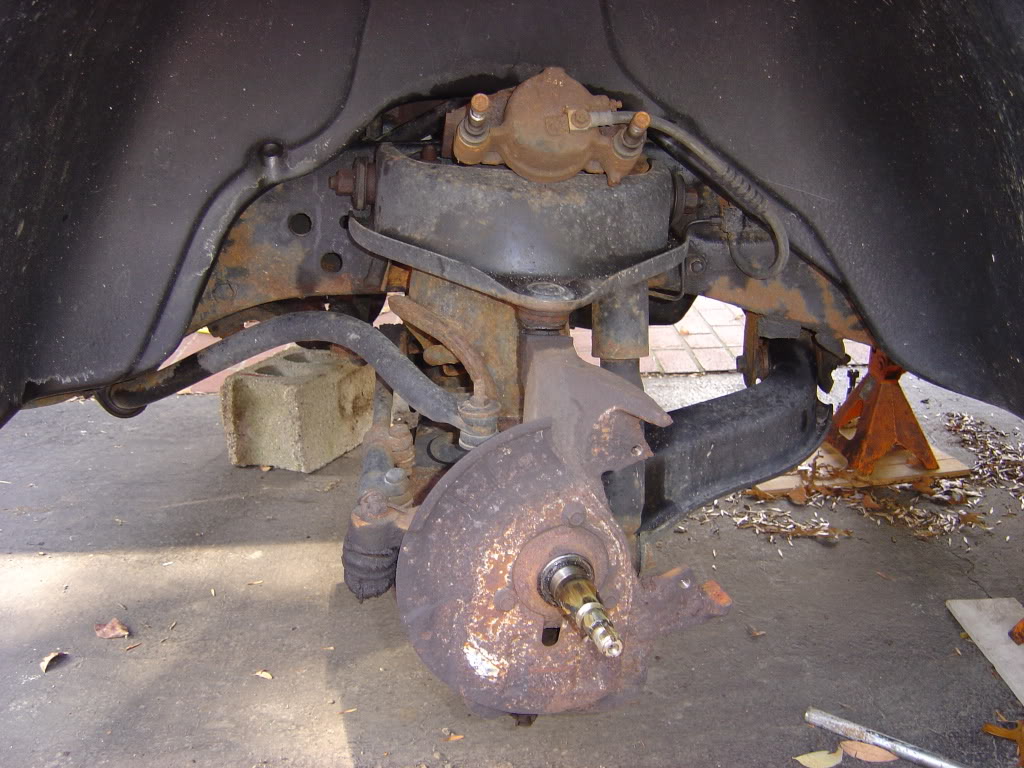
removing caliper 3/8in allen, then take it off (may need pry bar) sit caliper on top of control arm
take off cap
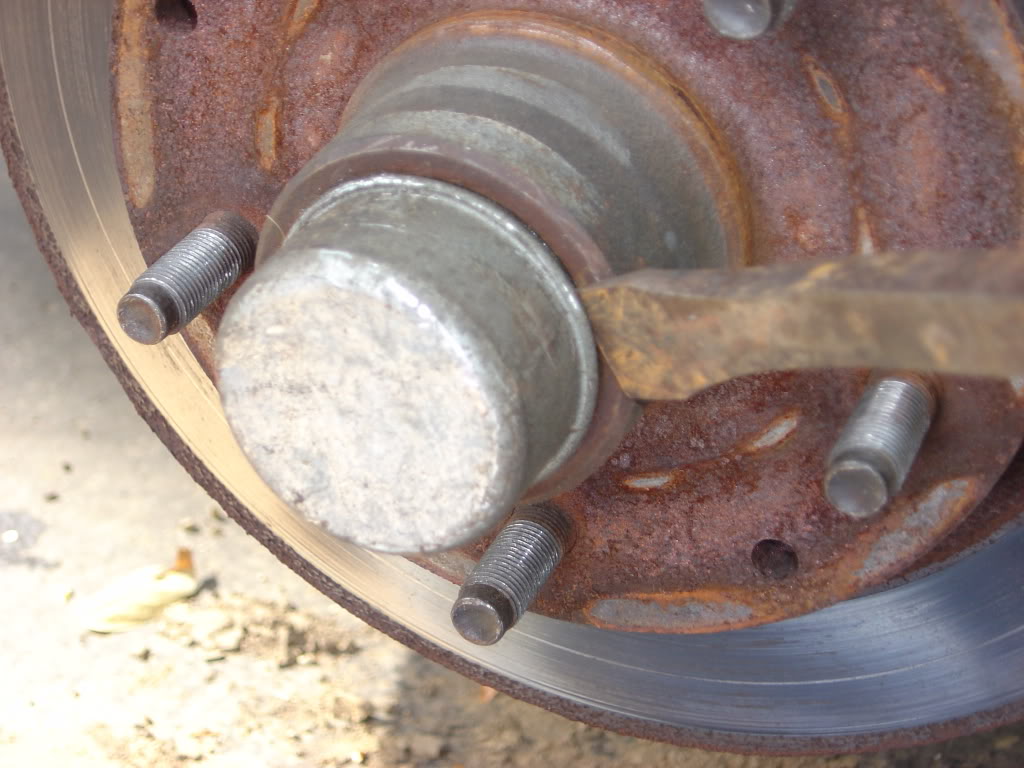
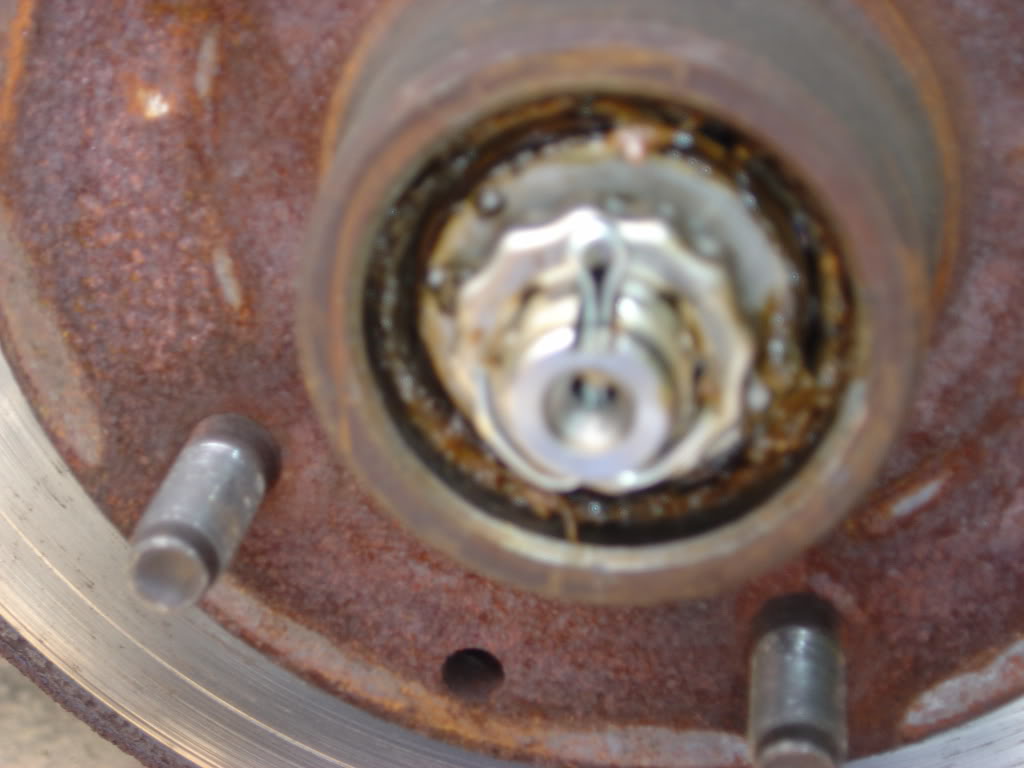
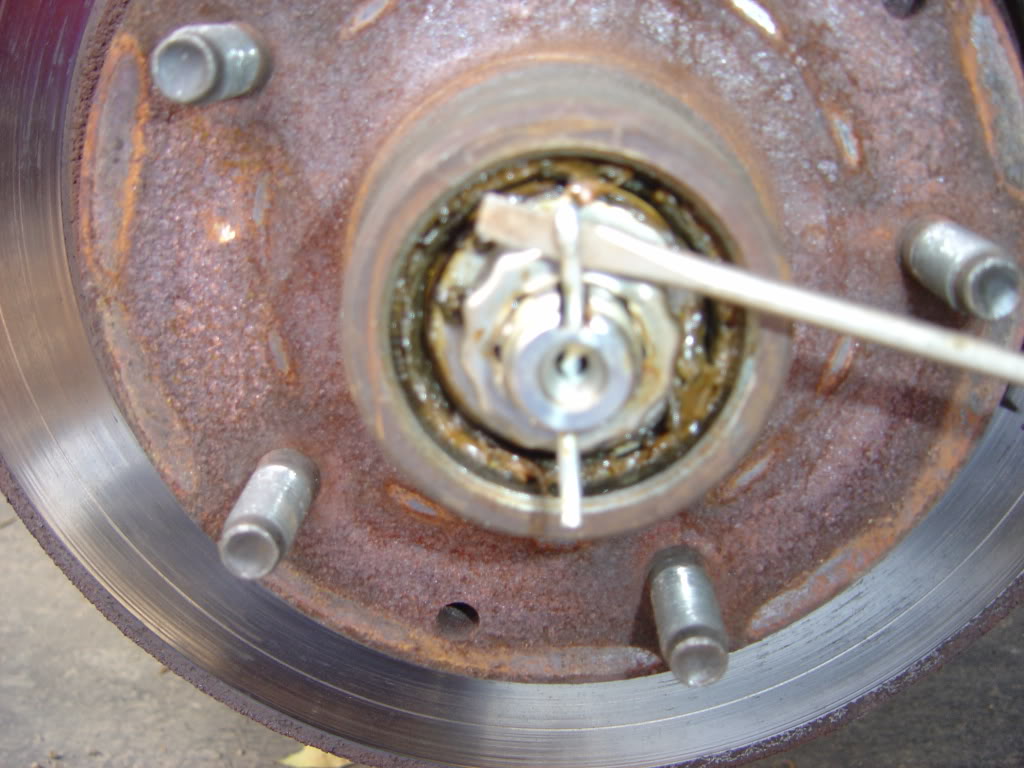
now take off this nut
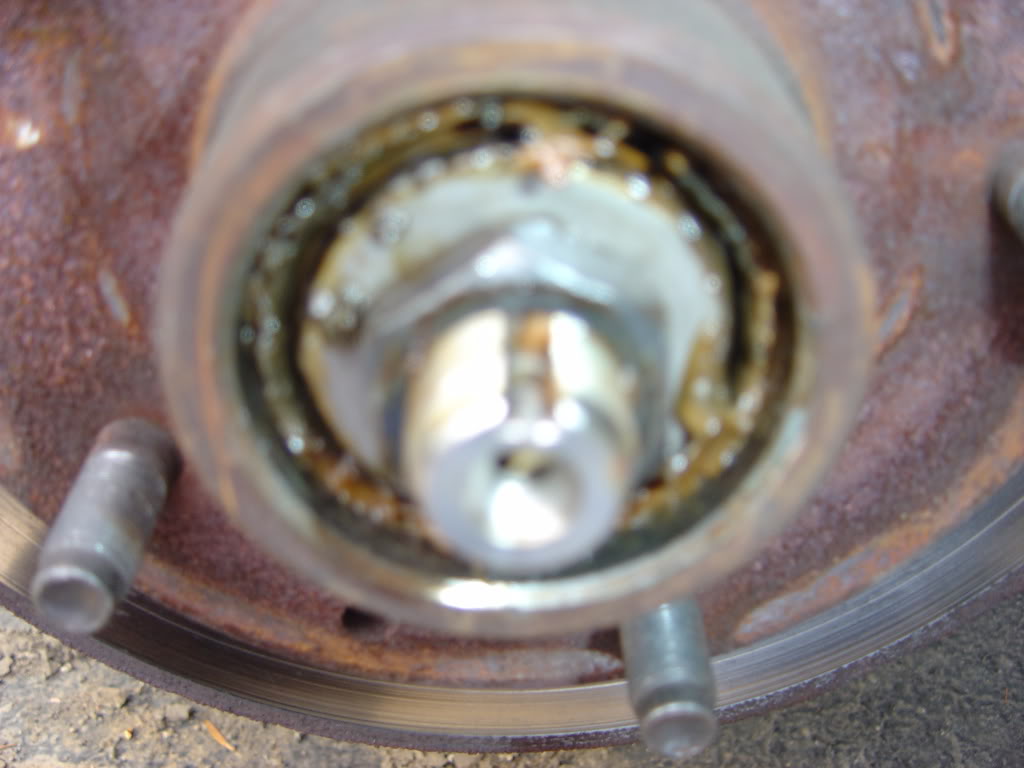
side bearing out
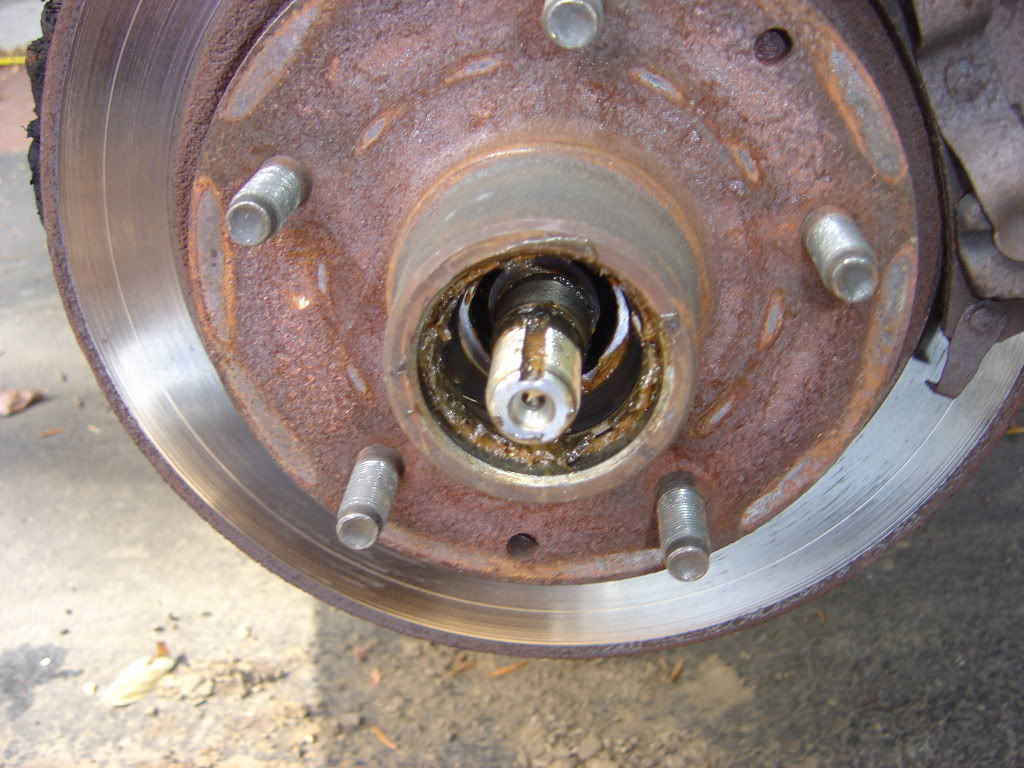
now you can slide the rotor off
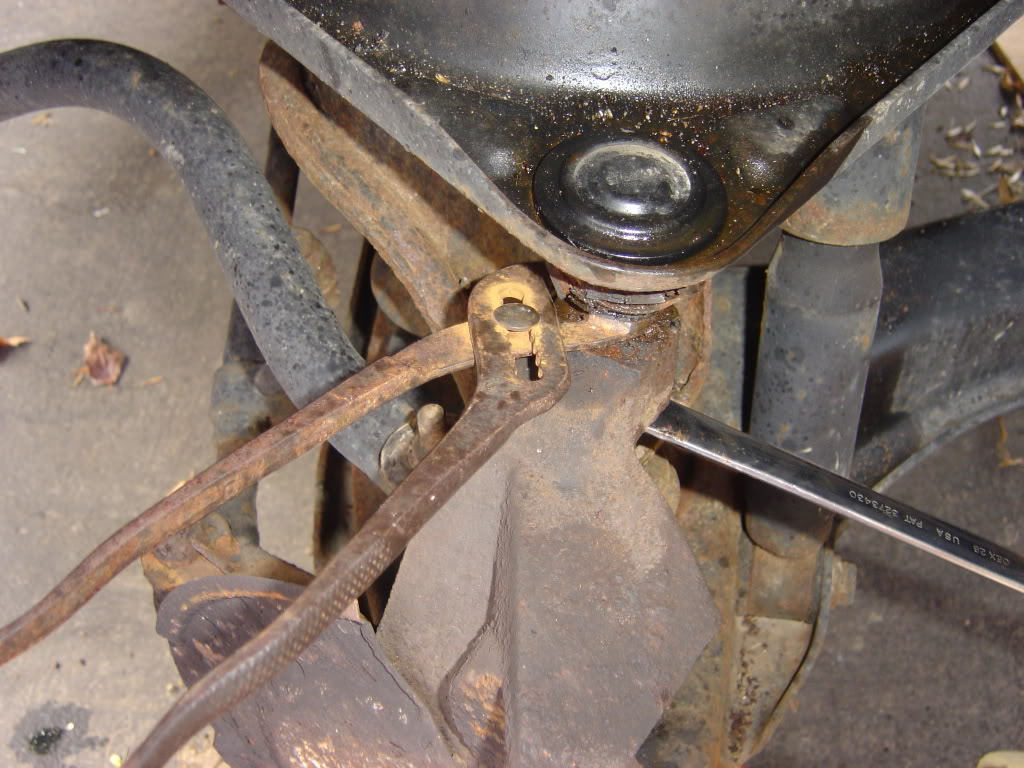
upper joint take out pin
back off the nut on upper joint 13/16 wrench
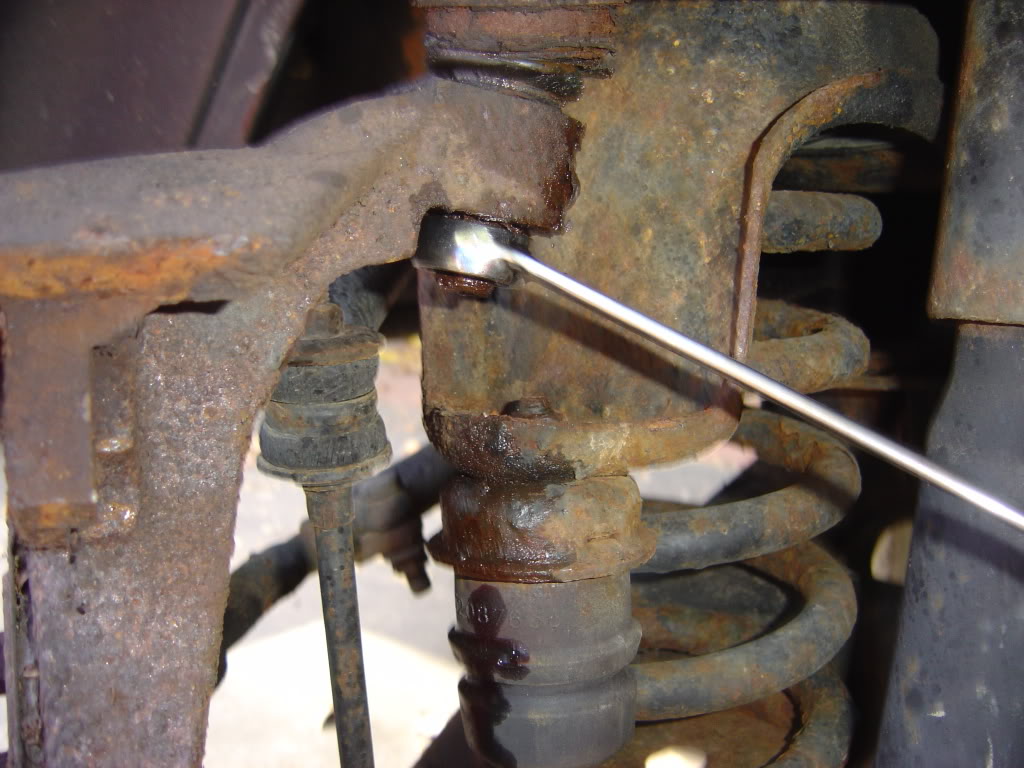
support lower control arm with jack (it shouldn't no no were because of the shock but safe first)
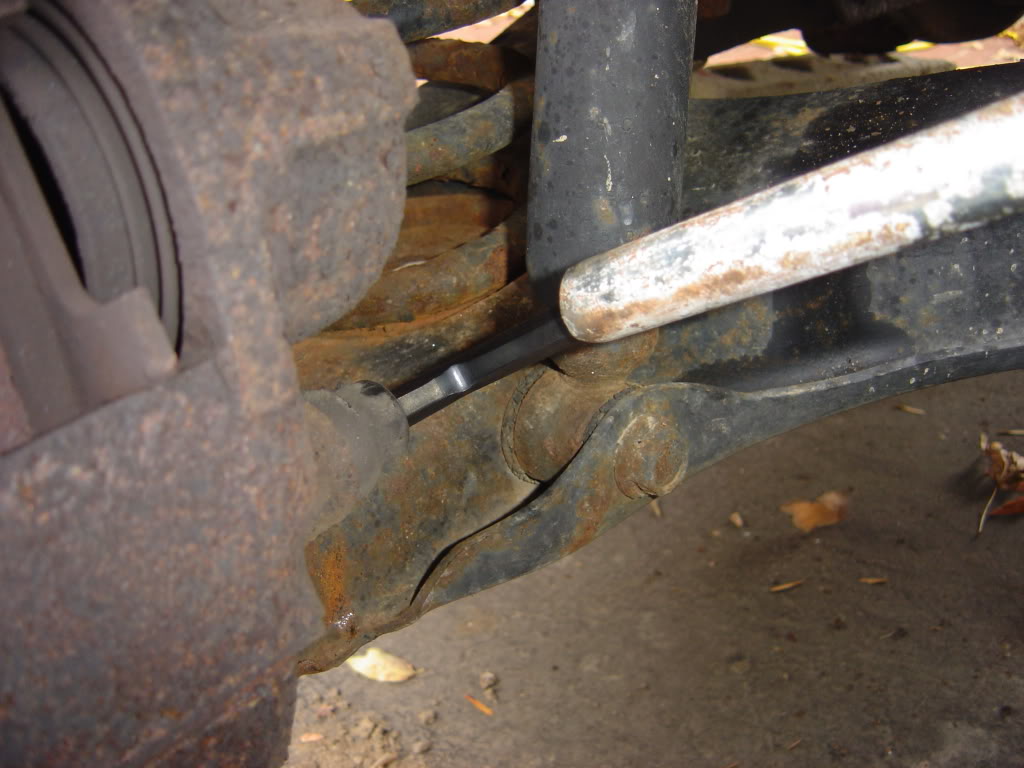
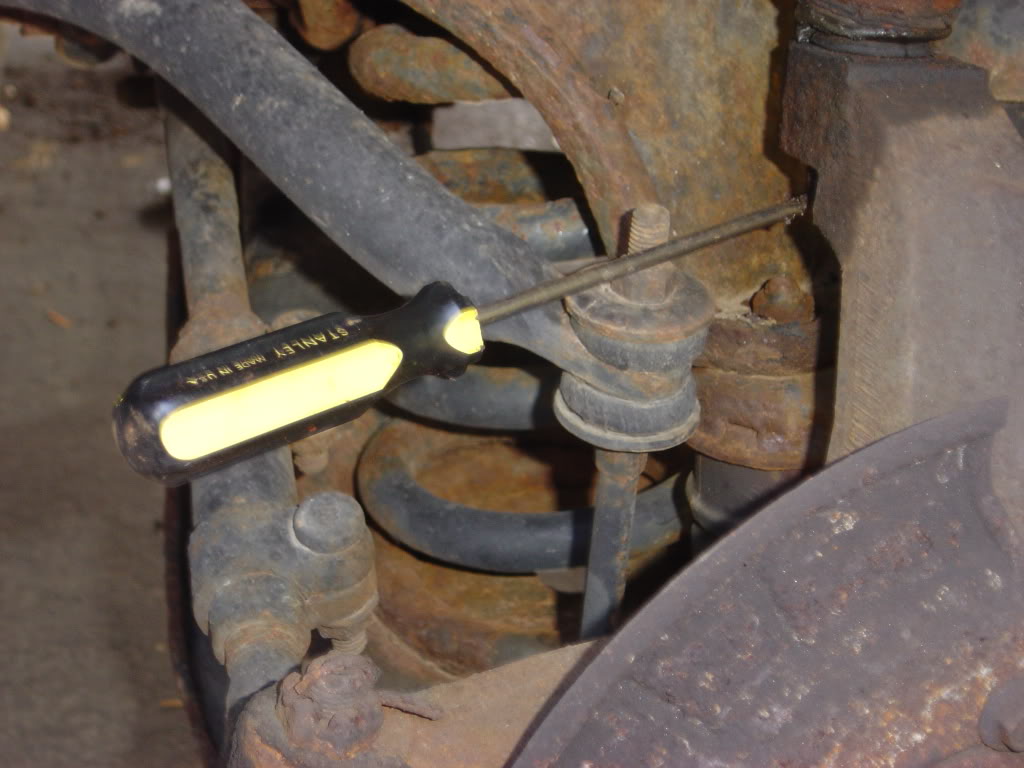
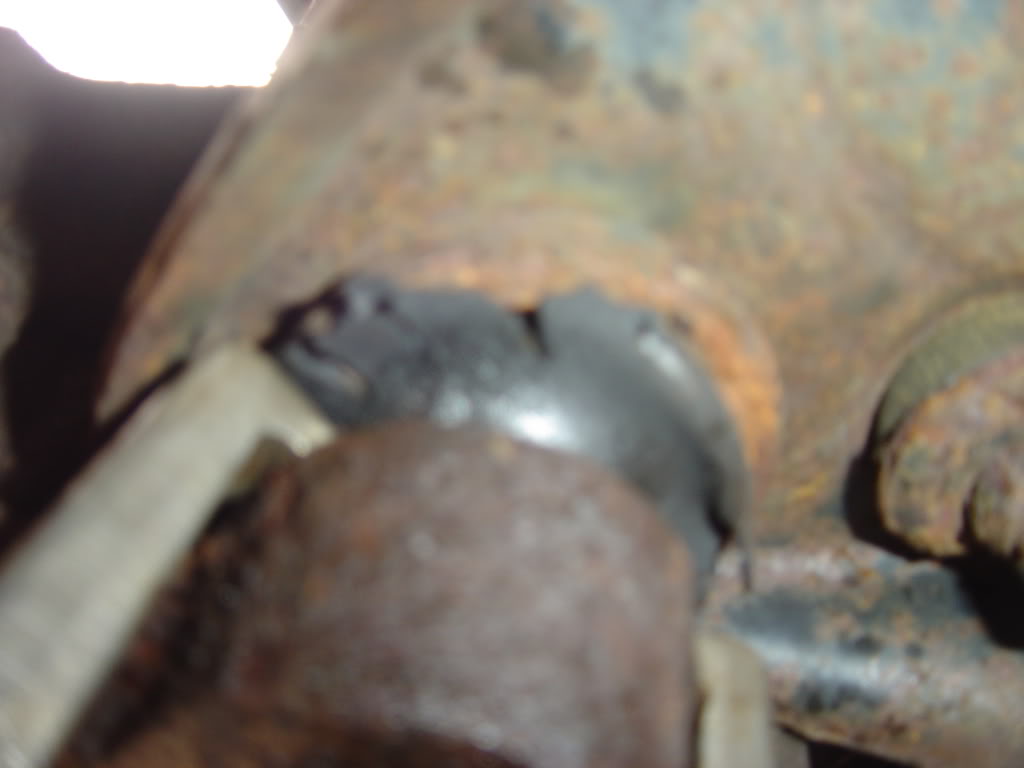
put in ball joint fork,and hit it
ball joint was so loose i had to use a channel lock
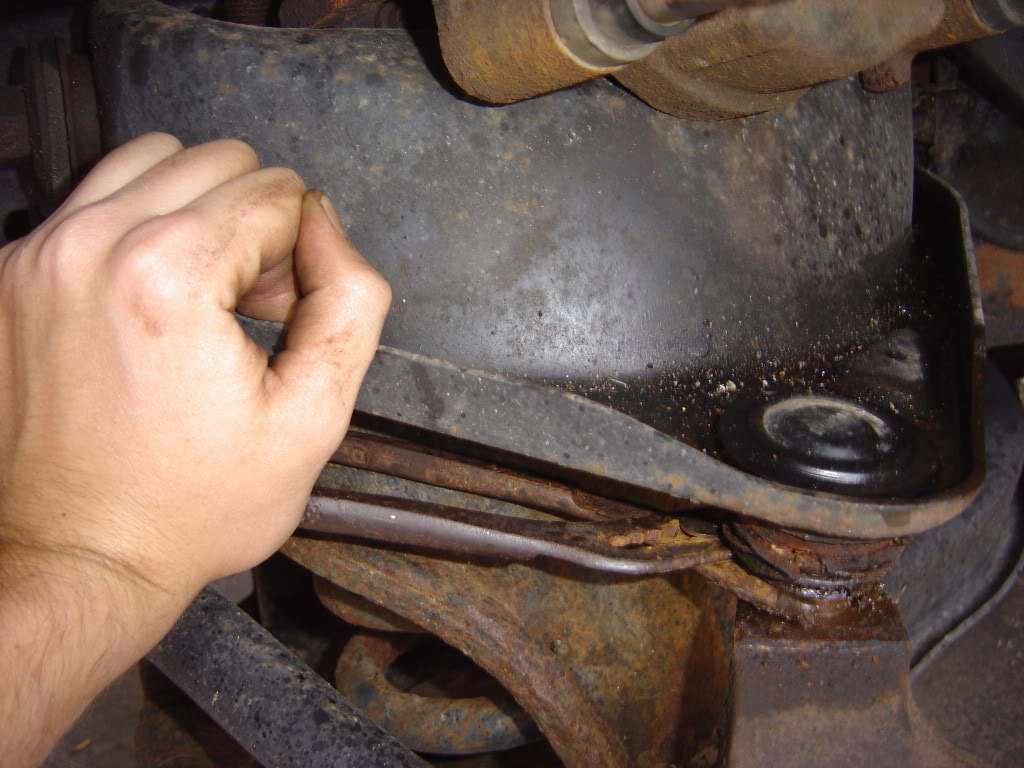
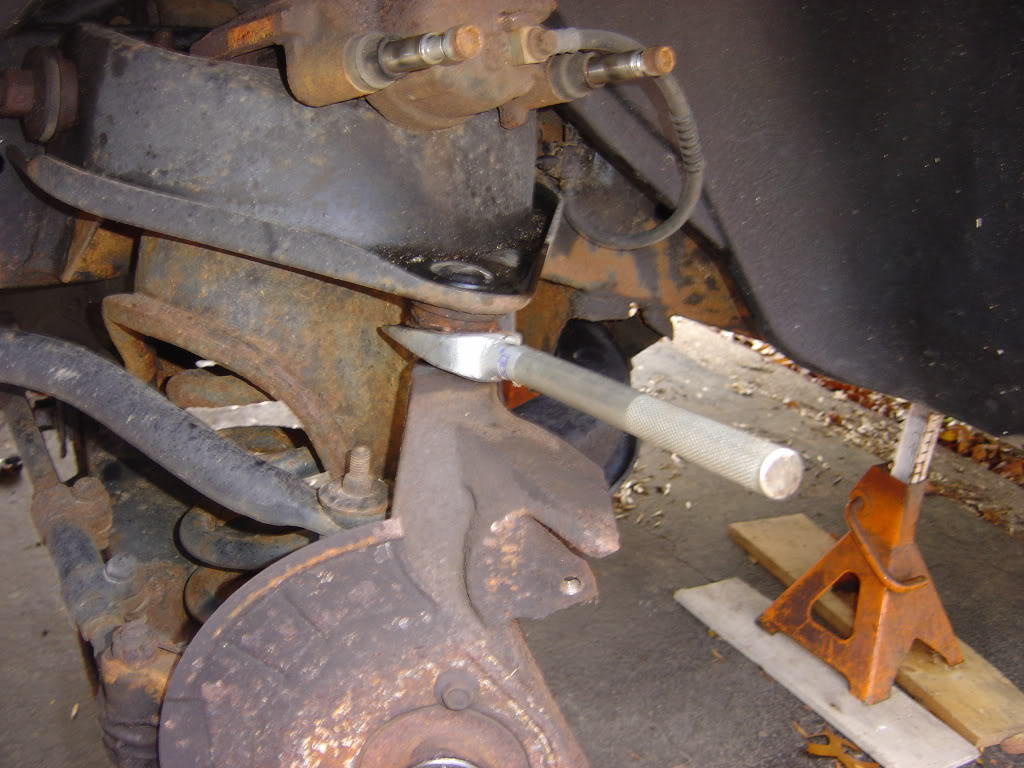
do the same with the bottom, pull pin out...ect
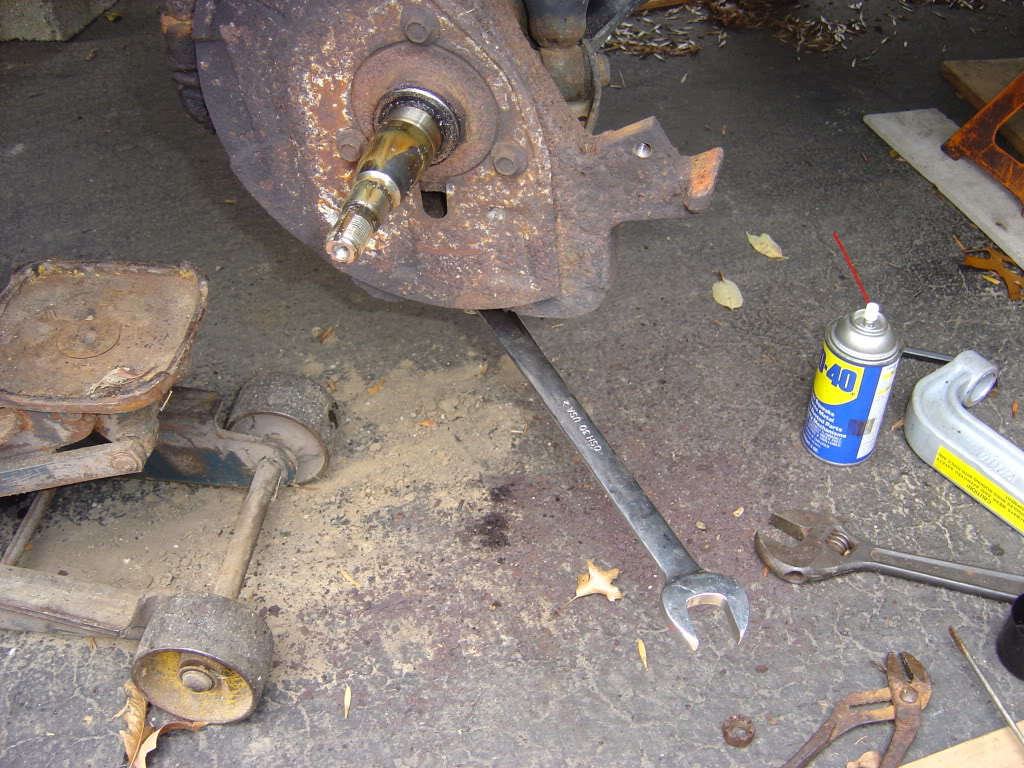
undo the nut sum and put the puller on
now take off the nut and then remove the spindle
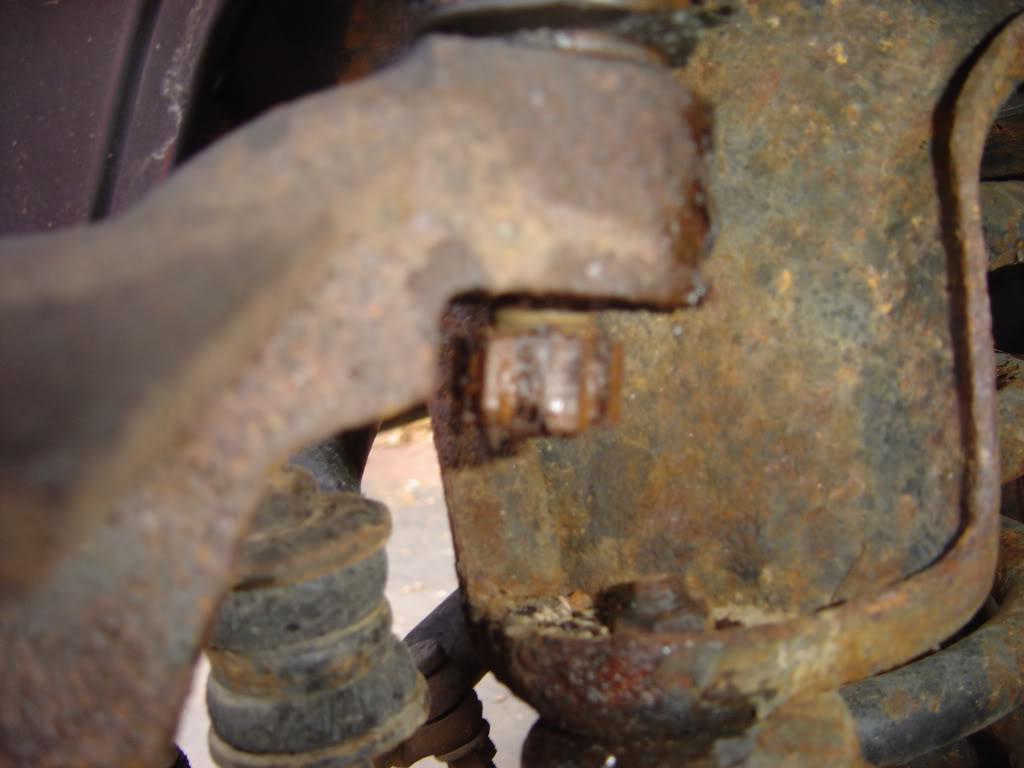
now on my 95 there are little tack welds
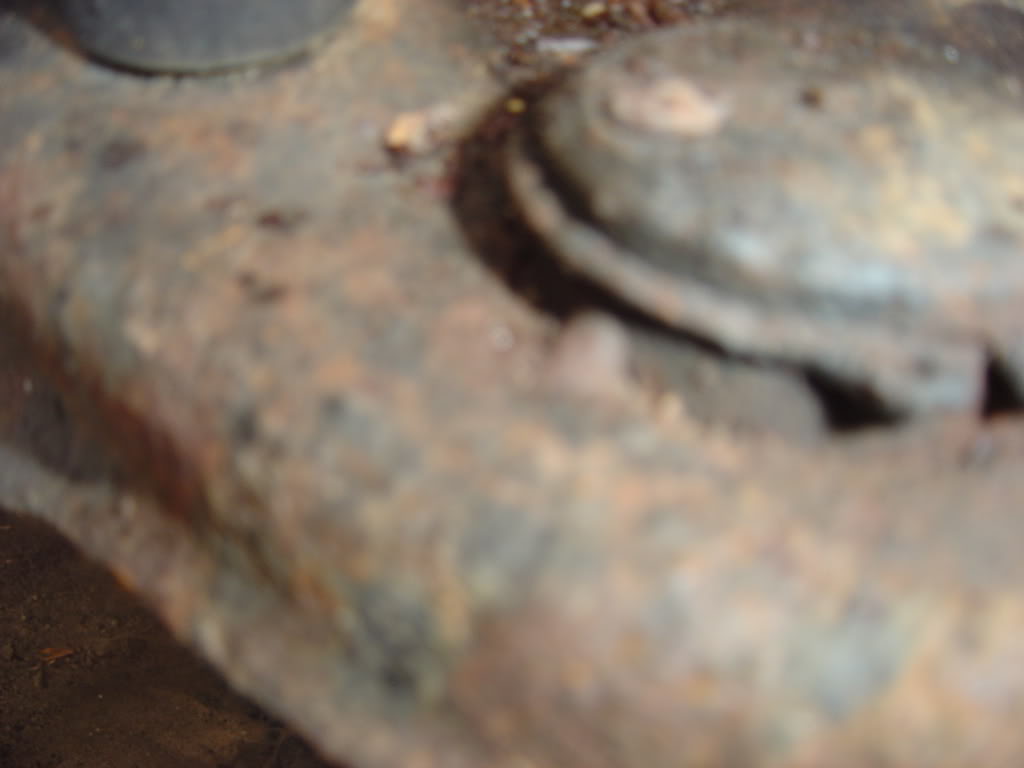
cut out tool can handle that
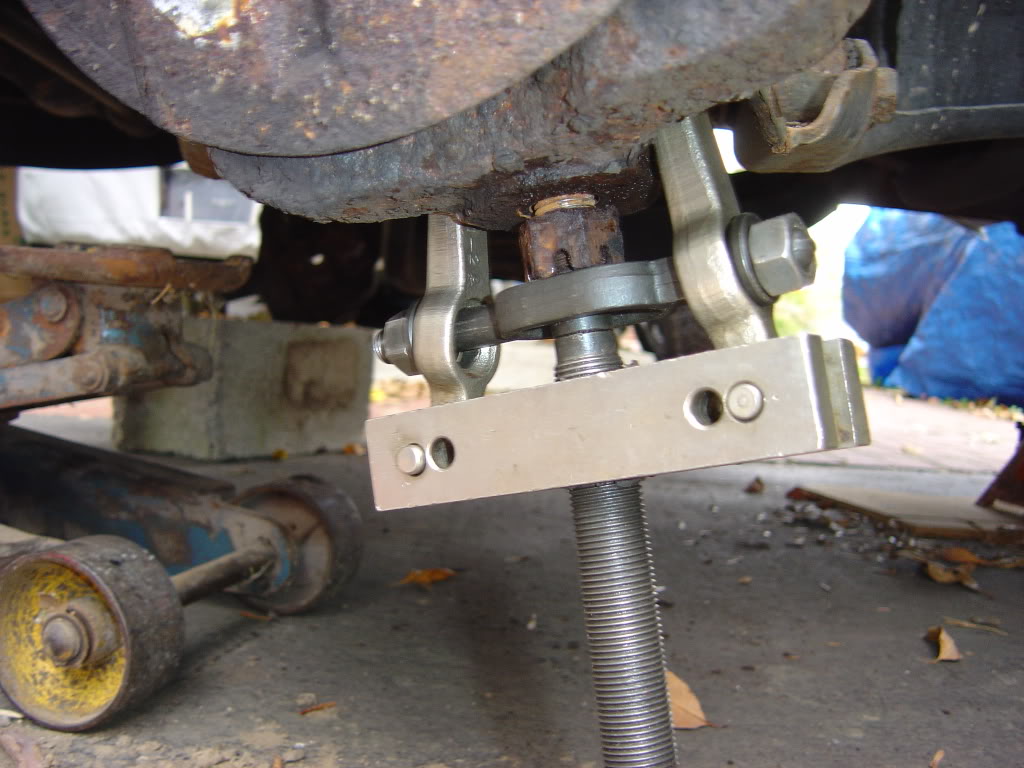
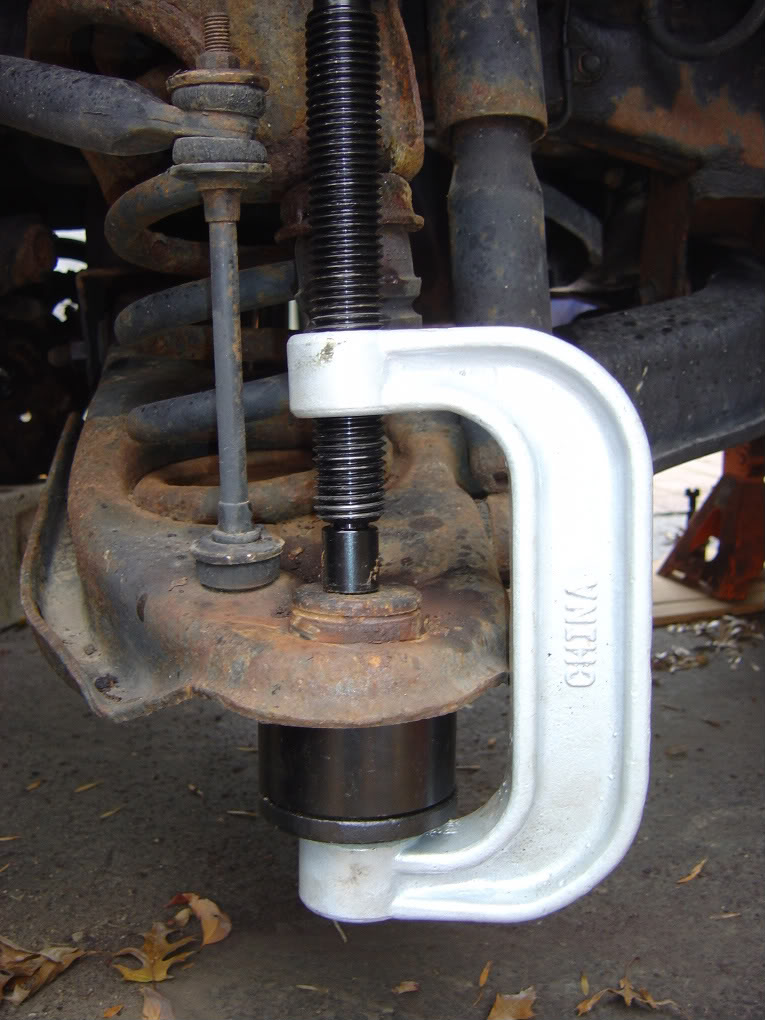
now press out the old new ball joint
the top joint is the same idea( sorry i forgot a pic)
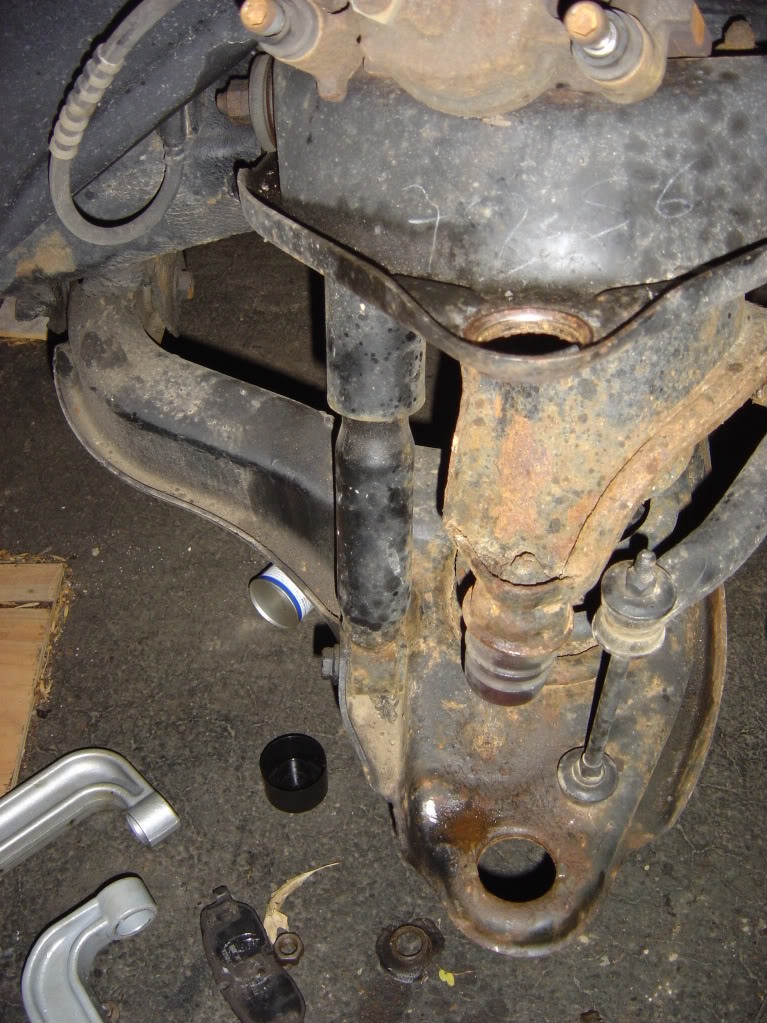
both top and bottom out
top new joint going in..... pressing down
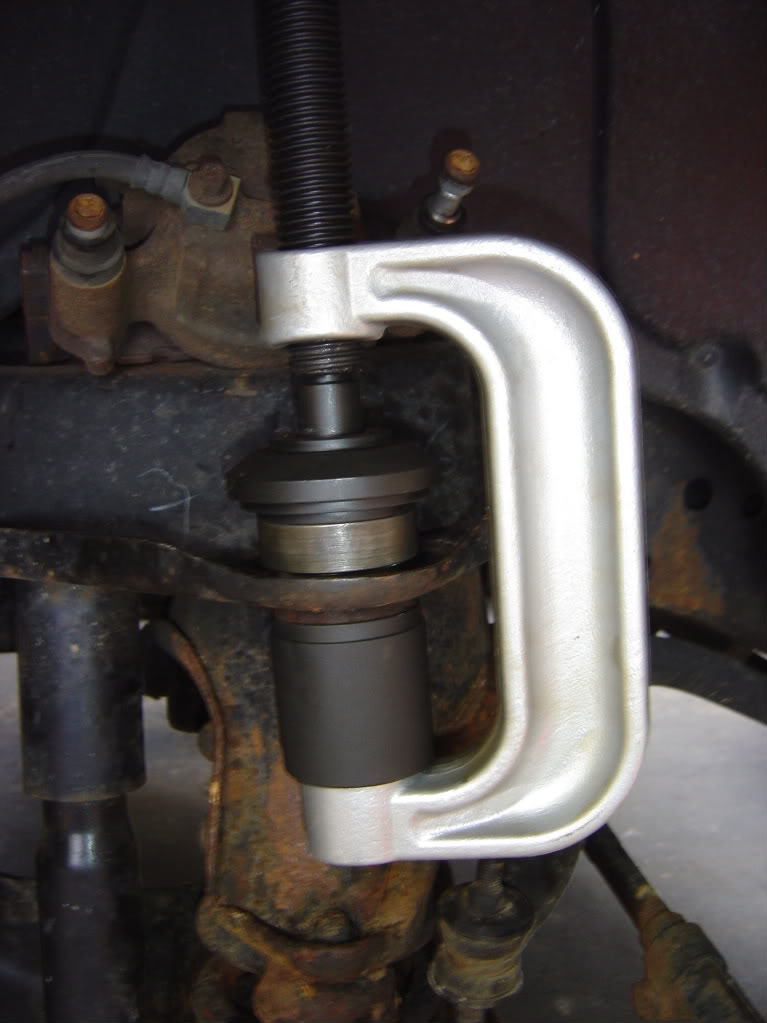
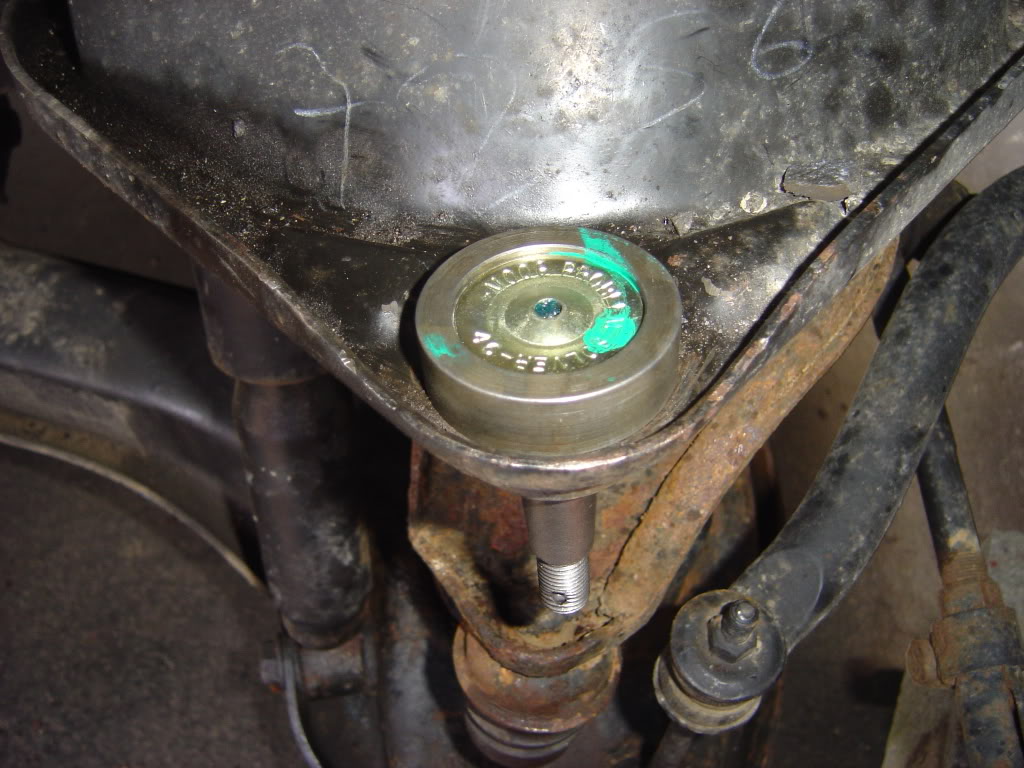
last pic is what i think to be the cup configuration to get the lower joint in... this joint is pressed up
after that you need to put the boots on, easyer to use of the cups to press the boot on the joint.
then put the grease nipples on
put the spindle back on, bolts on joint and castle pins
(option take off rotor part)
then rotor if you took it off( good time to repack wheel bearings)
then put caliper back on also cap on master
then wheel and lugs
hope this helps
tools "i" used
ball joint press, get the one from advance auto ( i bought one )
puller
hammer
standard screwdriver
pry bar
wrenches, 13/16 , 15/16
allen wrench, 3/8
air cut off tool, 4'' disc
channel lock, the biggest one you can get
plyers
crescent wrench
ball joint fork
( you don't need the spring compressors)
puller
wheel
wheel off
(option take off rotor< i was going to repack my wheel bearings>)
pop of master cap
press in piston
removing caliper 3/8in allen, then take it off (may need pry bar) sit caliper on top of control arm
take off cap
now take off this nut
side bearing out
now you can slide the rotor off
upper joint take out pin
back off the nut on upper joint 13/16 wrench
support lower control arm with jack (it shouldn't no no were because of the shock but safe first)
put in ball joint fork,and hit it
ball joint was so loose i had to use a channel lock
do the same with the bottom, pull pin out...ect
undo the nut sum and put the puller on
now take off the nut and then remove the spindle
now on my 95 there are little tack welds
cut out tool can handle that
now press out the old new ball joint
the top joint is the same idea( sorry i forgot a pic)
both top and bottom out
top new joint going in..... pressing down
last pic is what i think to be the cup configuration to get the lower joint in... this joint is pressed up
after that you need to put the boots on, easyer to use of the cups to press the boot on the joint.
then put the grease nipples on
put the spindle back on, bolts on joint and castle pins
(option take off rotor part)
then rotor if you took it off( good time to repack wheel bearings)
then put caliper back on also cap on master
then wheel and lugs
hope this helps
Last edited by jasonw; Sep 9, 2010 at 11:47 PM.