

My Electric Fan Install

Thread Starter
|
Registered User
Joined: Apr 2017
Posts: 4
Likes: 0
From: Oregon
Hey guys, I'm new to the forum, finally joined since I got this idea to install an electric radiator fan from this forum and thought I'd share my project and show how it turned out. Not really doing a DIY, but most of the installs I found either were a little janky for my liking (zipties... haha no) or all the picture links were broken.
Here we go.
I used my stock fan shroud, ordered a used V8 Jeep Grand Cherokee OEM electric fan from Ebay ($50, and had both sides of the plug, bonus!), I had some scrap sheet aluminum in my shop, a couple steel L brackets, and ordered a Hayden Fan Controller from Amazon (30 something bux). I grabbed some bolts after I got everything mocked up, those cost maybe 5-6 dollars.
My plan was to mount the electric fan to my shroud and I dreamed up using sheet aluminum to mount the fan to, then mount the aluminum to the inside of the round opening on the shroud. I did this all by shooting off the hip and as long as you don't look too close it came out pretty decent and it definitely works, which is awesome. Feels like I've picked up some low/mid range power, MPG's I haven't tested yet and will update once I get a few tanks through it, and the truck warms up quicker for sure without the fan moving air all the time. The fan controller does operate with the a/c as well, but I haven't used it yet.
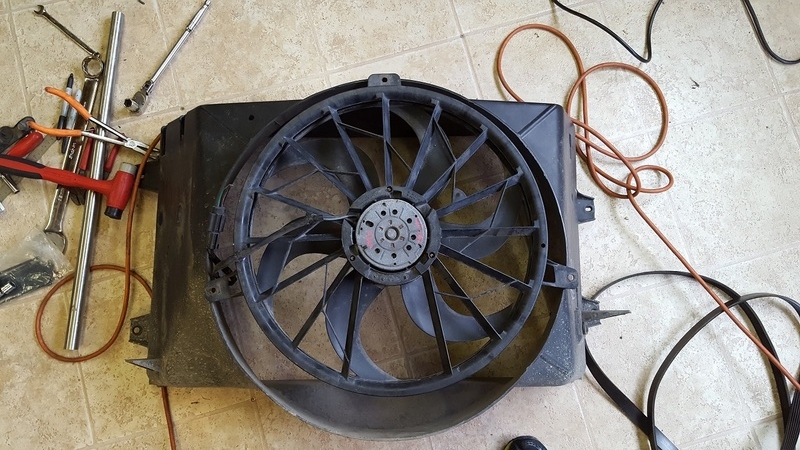
Here's the fan and the stock shroud. The stock opening is about 22" and the Jeep fan is 19.5", but the 3 mounting tabs are wider and the lower two will need to be trimmed to make it fit how I want it.
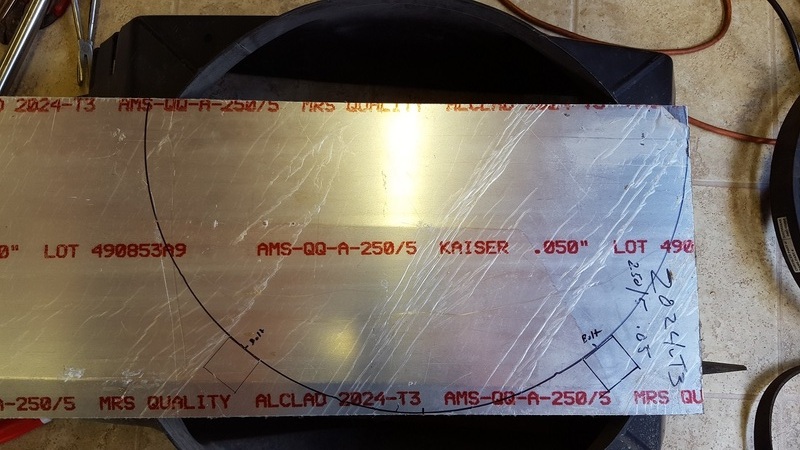
I used two pieces of aluminum and rived them together once they were cut out. I at first planned to cutout and bend tabs at six points around the outside radius so the aluminum mount was one piece. After attempting this I noticed one tab had a crack so I ditched that idea, cut the tabs off and used some steel L brackets I had in the shop (the slots were a little small for the bolts I wanted to use so I opened them up with a carbide bit). The aluminum I used is only .050" thick, so it was probably for the best it cracked so it didn't happen out on the road, the steel bracket route is a much better way to go. If I did it over I would have used maybe .100" or 1/8" thick aluminum for a bit more ridigity.
Once I had the mount all cut and fitted to the shroud, I clamped the L brackets in place and got them all bolted up (6mm bolts). I had to do some trimming on the fan mount tabs, so I used my cut off wheel which chewed through the plastic pretty effortlessly. With the fan mounted using 8mm bolts I decided to punch out a few vent holes around the mount to help free flowing air at higher speeds, then I used some rubber vacuum line that I split down one side and put that around the outside of the mount between the shroud and the aluminum. Hid some some of my mistakes and just dressed it up some.
I didn't take any pics of the controller install as I did it quickly to get my truck back on the road, so it needs some refining. But if anyone is wondering like I was, I needed to find a switched 12 v+ power source (ignition hot) and had to run that wire into the cabin. I found a brown wire on the white connector by the clutch pedal that I tapped in to. It's just a signal wire so the fan doesn't run once the ignition is off. The Hayden kit was pretty simple to install, fairly good instructions, hardest part was finding a mounting spot since the temp prob wires are little on the short side. The prob pushes into the radiator fins near the inlet.
Here's some pics:
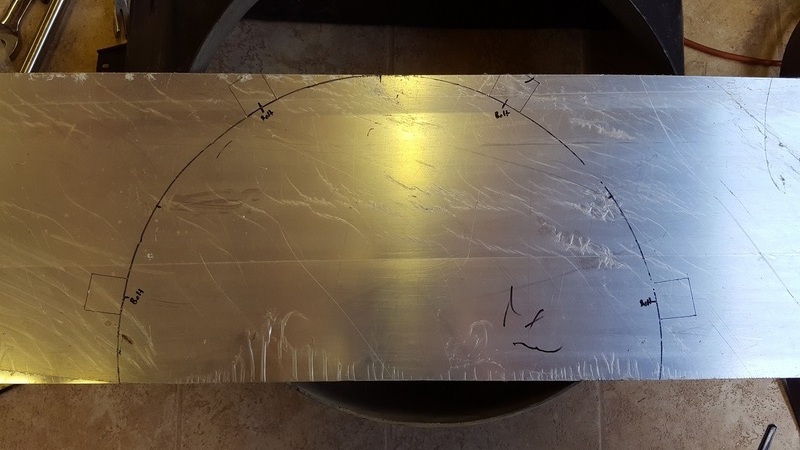
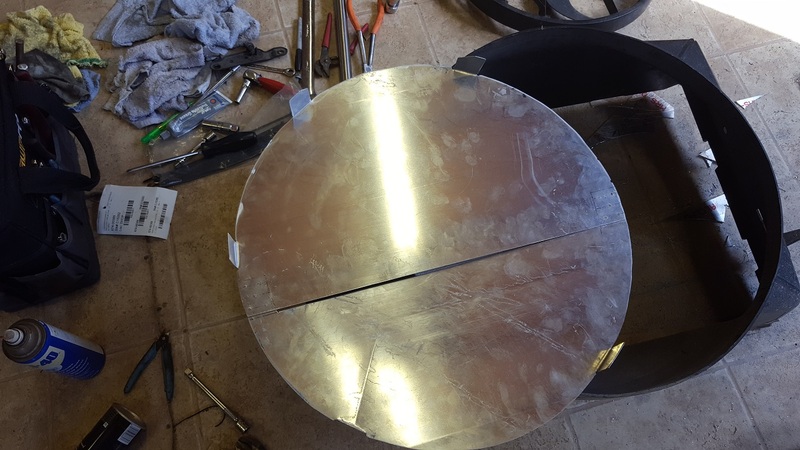
Sheet metal taking shape
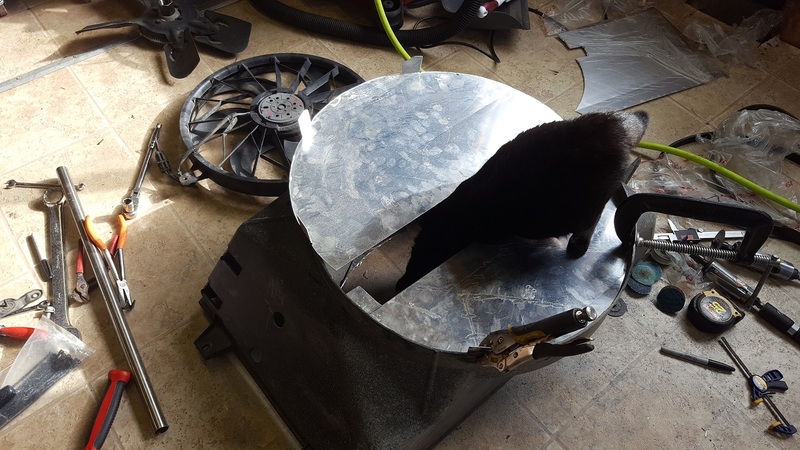
The shop foreman inspecting my progress (my wife's cat has become the Shop Kitty)
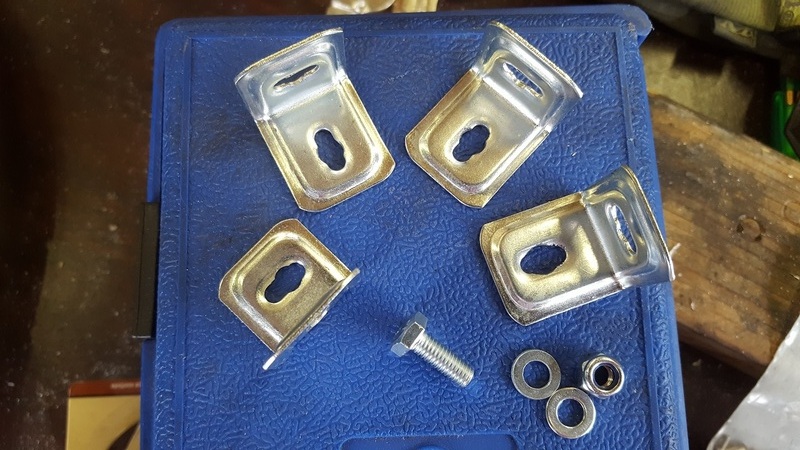
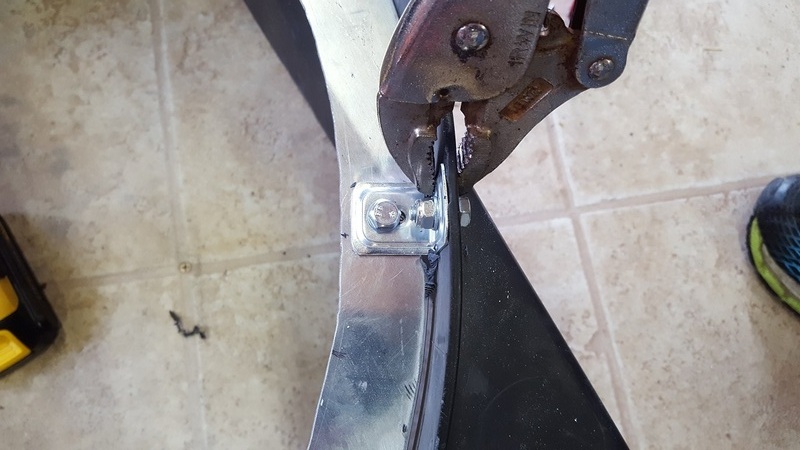
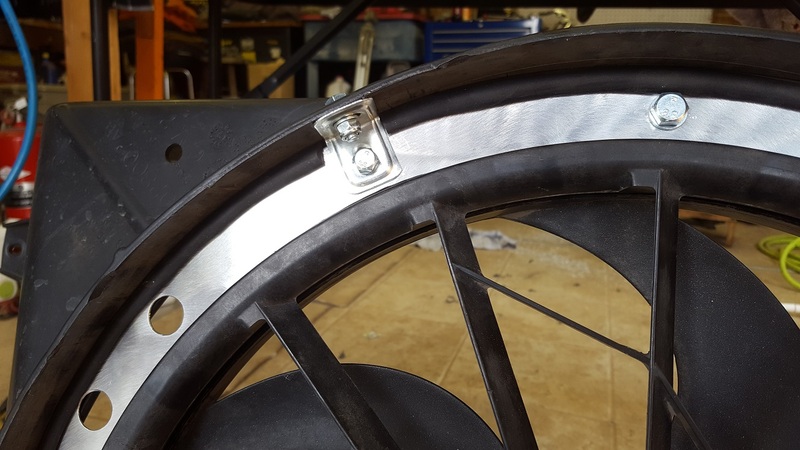
L brackets opened up some to accept the 6mm bolts I chose. In the end I used 5 brackets which supported the fan better, the .050" material was a bit flimsy but it'll be just fine with the extra bracket which stiffened it up a lot.
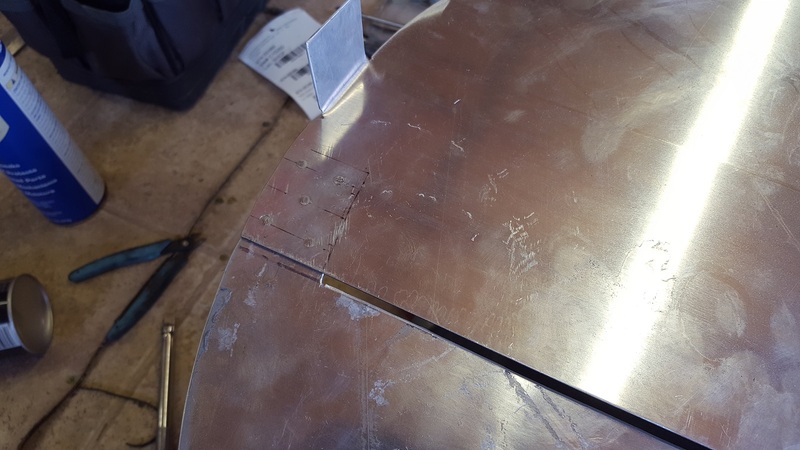
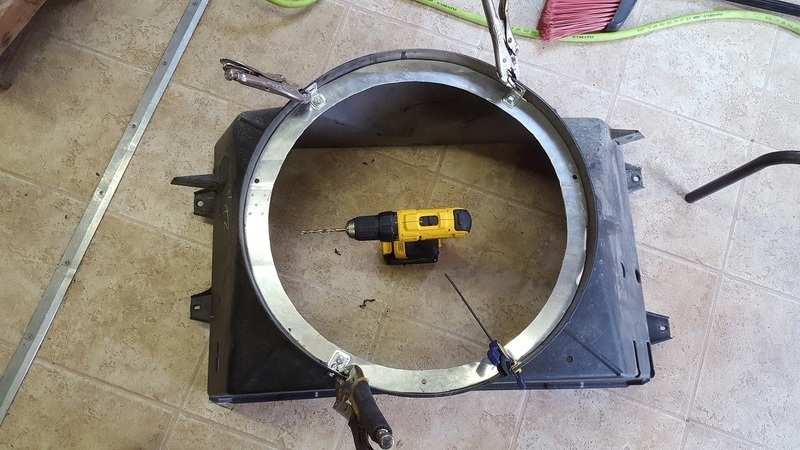
Mounting the aluminum to the shroud.
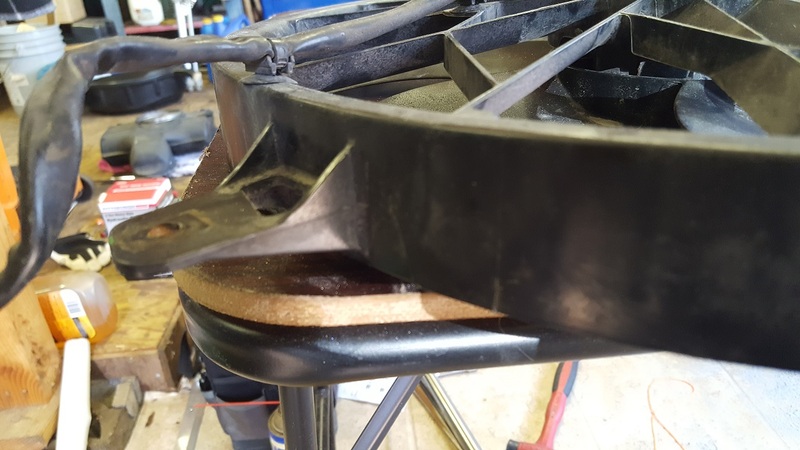
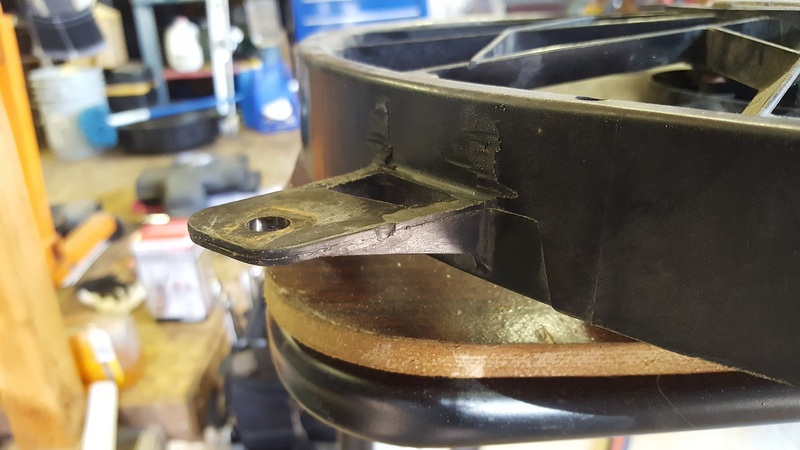
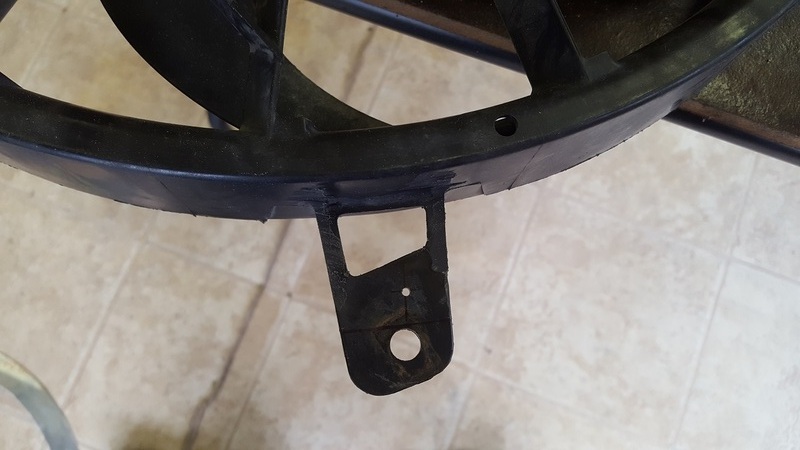
Here's the material that needed to be trimmed away on the fan. I mounted the fan from the front side of the aluminum and so it needed to sit flush and these stiffener pieces were in the way. Also, since I trimmed down the lower two mounting tabs I had to drill new bolt holes.
First bolt up. You can see I repositioned the bottom two brackets closer to the fan mount tabs and then added the bottom 5th mount. Worked much better this way.
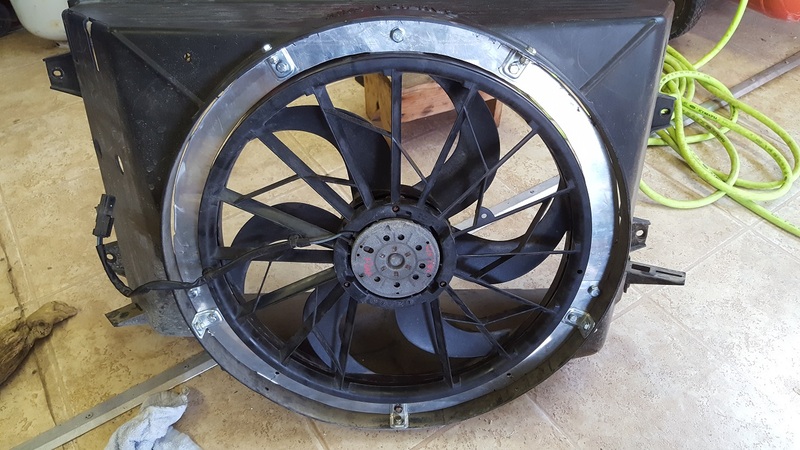
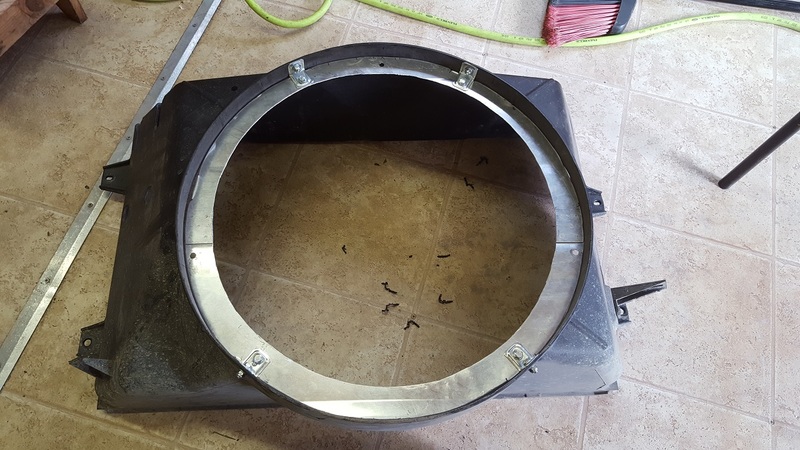
Finished product. Not too shabby for 4 or 5 different designes out of the same material. Also notice the holes I opened up to help with air flow
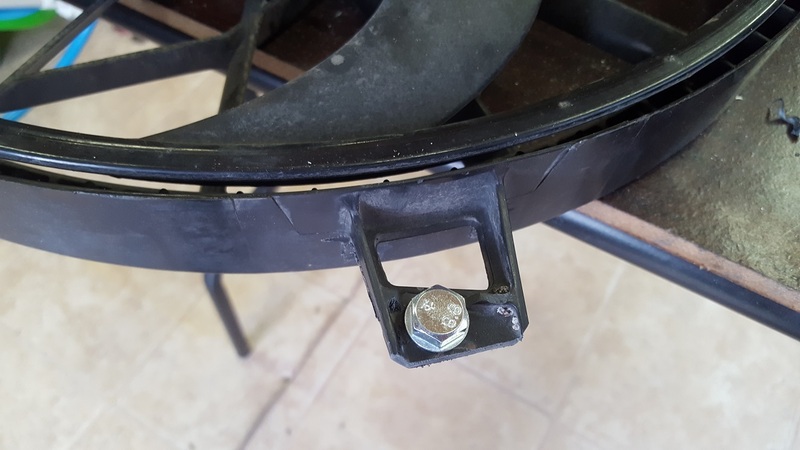
Close up of L bracket, you can see the rubber I added here too.
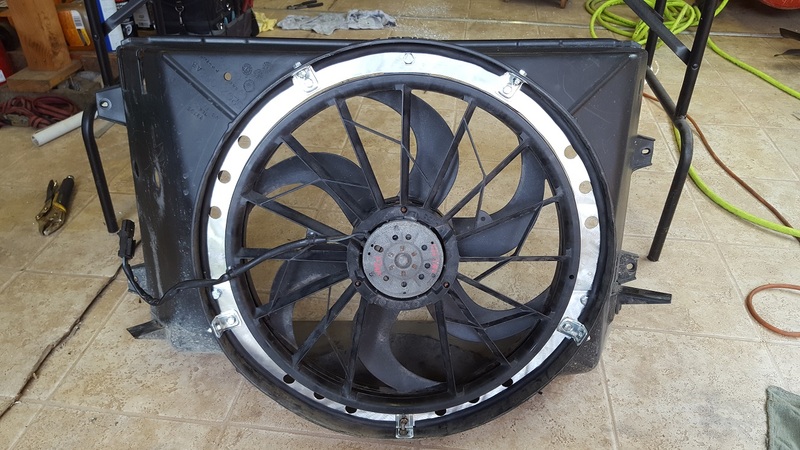
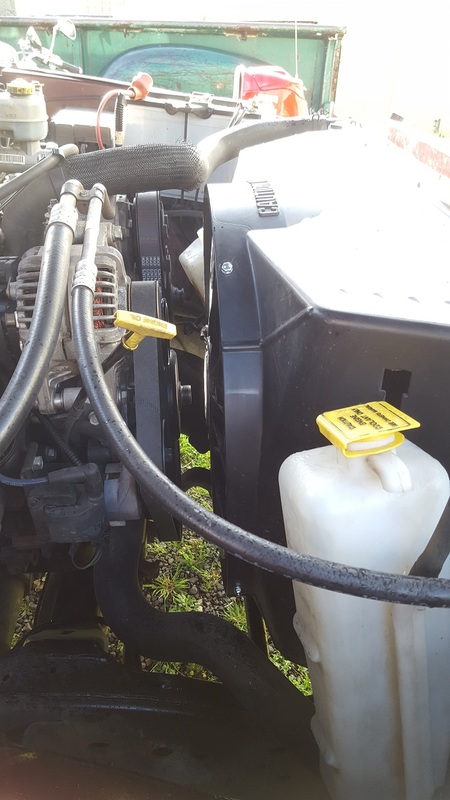
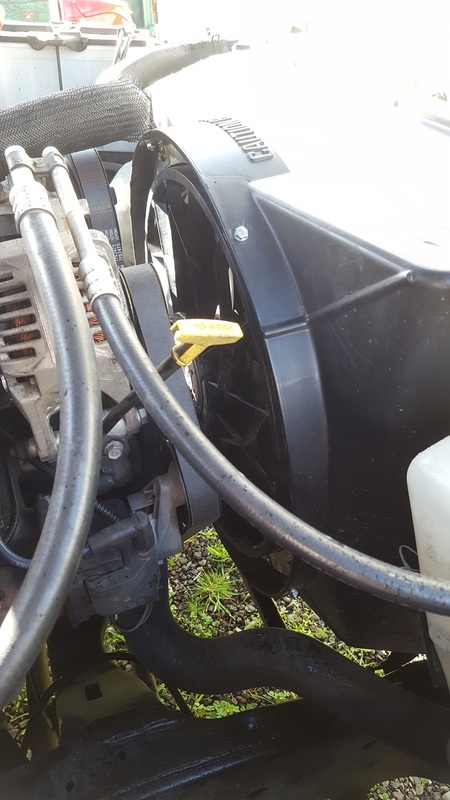
Final install. I recessed the fan into the shroud about 1", this gave more clearance on the water pump pulley and allowed the L brackets to be accessed from the back side rather than through the front of the shroud.
This was a learn as I went project, but it was a good time. I think the end result turned out great and it works fantastic, cools the truck down pretty quick and opened up some low end power since the mechanical fan is gone. Now to button up the wiring portion and get my A/C hooked up to the correct clutch wire. Oops. I didn't find the correct wiring diagram and hooked my A/C signal wire on the controller up to the ground side of the compressor clutch. That doesn't work so well. I'll let you guys know how it does once summer rolls around in Southern Oregon, triple digits will be the ultimate test.
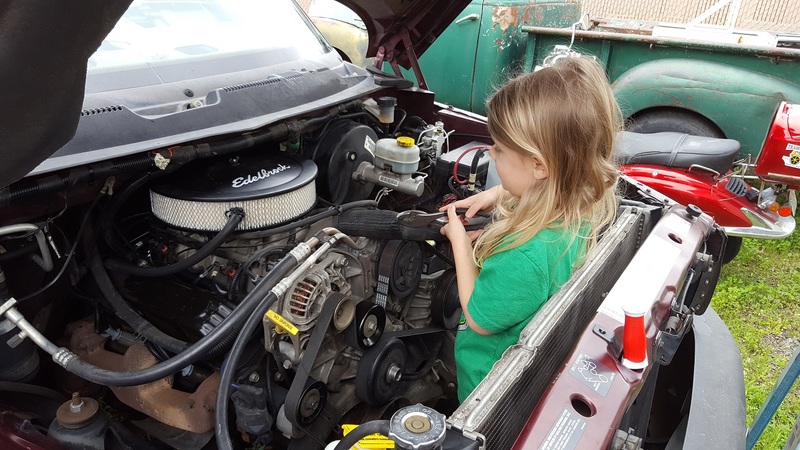
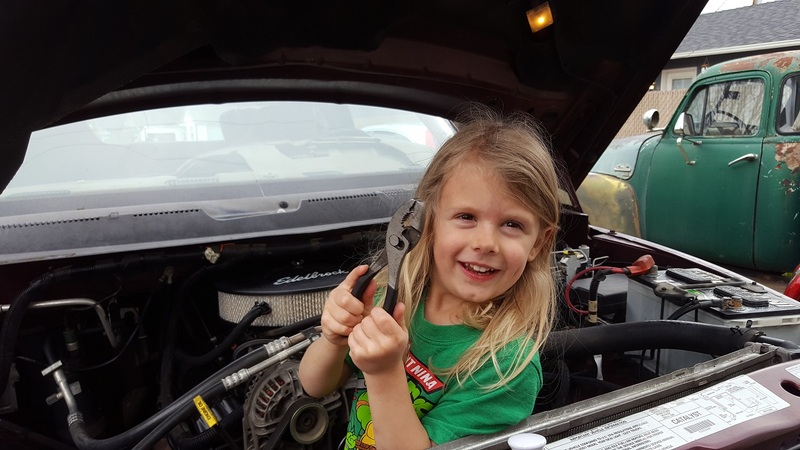
Haha got my son in on the job too. He fits right in there!
Here we go.
I used my stock fan shroud, ordered a used V8 Jeep Grand Cherokee OEM electric fan from Ebay ($50, and had both sides of the plug, bonus!), I had some scrap sheet aluminum in my shop, a couple steel L brackets, and ordered a Hayden Fan Controller from Amazon (30 something bux). I grabbed some bolts after I got everything mocked up, those cost maybe 5-6 dollars.
My plan was to mount the electric fan to my shroud and I dreamed up using sheet aluminum to mount the fan to, then mount the aluminum to the inside of the round opening on the shroud. I did this all by shooting off the hip and as long as you don't look too close it came out pretty decent and it definitely works, which is awesome. Feels like I've picked up some low/mid range power, MPG's I haven't tested yet and will update once I get a few tanks through it, and the truck warms up quicker for sure without the fan moving air all the time. The fan controller does operate with the a/c as well, but I haven't used it yet.
Here's the fan and the stock shroud. The stock opening is about 22" and the Jeep fan is 19.5", but the 3 mounting tabs are wider and the lower two will need to be trimmed to make it fit how I want it.

I used two pieces of aluminum and rived them together once they were cut out. I at first planned to cutout and bend tabs at six points around the outside radius so the aluminum mount was one piece. After attempting this I noticed one tab had a crack so I ditched that idea, cut the tabs off and used some steel L brackets I had in the shop (the slots were a little small for the bolts I wanted to use so I opened them up with a carbide bit). The aluminum I used is only .050" thick, so it was probably for the best it cracked so it didn't happen out on the road, the steel bracket route is a much better way to go. If I did it over I would have used maybe .100" or 1/8" thick aluminum for a bit more ridigity.
Once I had the mount all cut and fitted to the shroud, I clamped the L brackets in place and got them all bolted up (6mm bolts). I had to do some trimming on the fan mount tabs, so I used my cut off wheel which chewed through the plastic pretty effortlessly. With the fan mounted using 8mm bolts I decided to punch out a few vent holes around the mount to help free flowing air at higher speeds, then I used some rubber vacuum line that I split down one side and put that around the outside of the mount between the shroud and the aluminum. Hid some some of my mistakes and just dressed it up some.
I didn't take any pics of the controller install as I did it quickly to get my truck back on the road, so it needs some refining. But if anyone is wondering like I was, I needed to find a switched 12 v+ power source (ignition hot) and had to run that wire into the cabin. I found a brown wire on the white connector by the clutch pedal that I tapped in to. It's just a signal wire so the fan doesn't run once the ignition is off. The Hayden kit was pretty simple to install, fairly good instructions, hardest part was finding a mounting spot since the temp prob wires are little on the short side. The prob pushes into the radiator fins near the inlet.
Here's some pics:
Sheet metal taking shape


The shop foreman inspecting my progress (my wife's cat has become the Shop Kitty)

L brackets opened up some to accept the 6mm bolts I chose. In the end I used 5 brackets which supported the fan better, the .050" material was a bit flimsy but it'll be just fine with the extra bracket which stiffened it up a lot.

Mounting the aluminum to the shroud.


Here's the material that needed to be trimmed away on the fan. I mounted the fan from the front side of the aluminum and so it needed to sit flush and these stiffener pieces were in the way. Also, since I trimmed down the lower two mounting tabs I had to drill new bolt holes.


First bolt up. You can see I repositioned the bottom two brackets closer to the fan mount tabs and then added the bottom 5th mount. Worked much better this way.

Finished product. Not too shabby for 4 or 5 different designes out of the same material. Also notice the holes I opened up to help with air flow

Close up of L bracket, you can see the rubber I added here too.

Final install. I recessed the fan into the shroud about 1", this gave more clearance on the water pump pulley and allowed the L brackets to be accessed from the back side rather than through the front of the shroud.


This was a learn as I went project, but it was a good time. I think the end result turned out great and it works fantastic, cools the truck down pretty quick and opened up some low end power since the mechanical fan is gone. Now to button up the wiring portion and get my A/C hooked up to the correct clutch wire. Oops. I didn't find the correct wiring diagram and hooked my A/C signal wire on the controller up to the ground side of the compressor clutch. That doesn't work so well. I'll let you guys know how it does once summer rolls around in Southern Oregon, triple digits will be the ultimate test.
Haha got my son in on the job too. He fits right in there!

