


Plasti-Dip Question


All Star
Joined: Jan 2013
Posts: 872
Likes: 0
From: JACKSONVILLE, FLORIDA
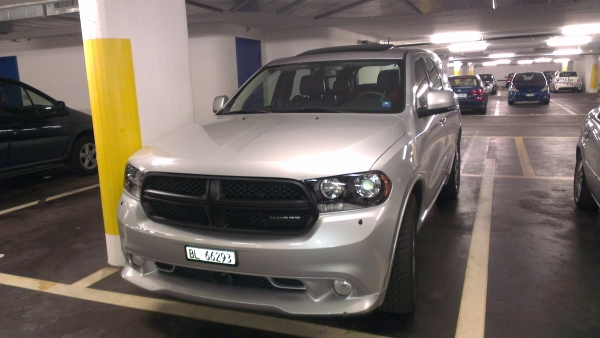
I did see one on the other forum that had all the lower panels blacked out also, it looked pretty good if thats what you were referring to, was white also, very sharp with the mods he had done.
All Star
Joined: Jan 2013
Posts: 872
Likes: 0
From: JACKSONVILLE, FLORIDA
This guy has just the bottom rear done looks sharp.
http://www.dodgedurango.net/forums/a...be-photo-2.jpg
http://www.dodgedurango.net/forums/a...be-photo-2.jpg

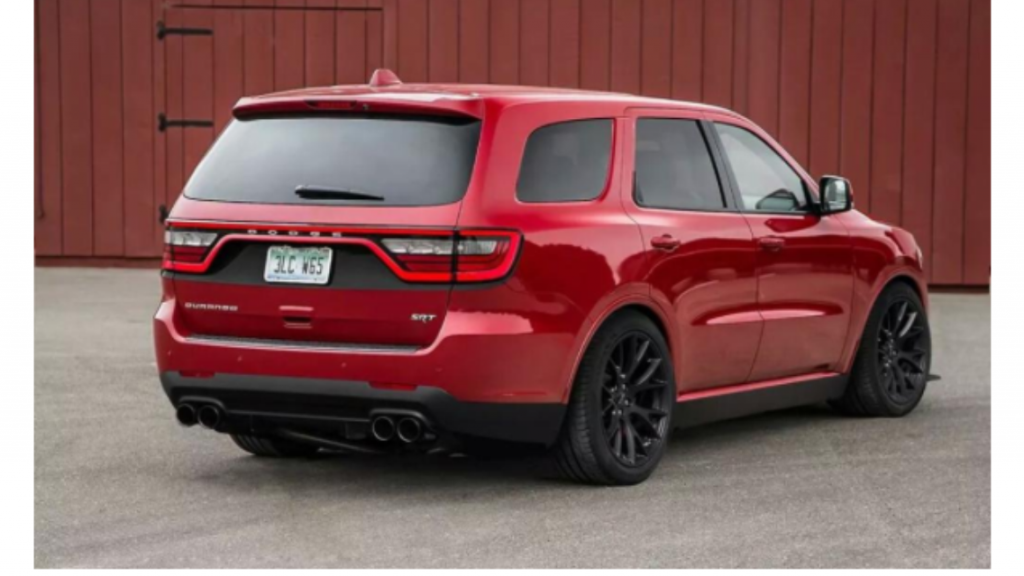
It's also working well for the 2012 models ;-) As long as it is a R/T. The headlights are black too like for the 2014 models. I like it and I'm thinking of doing also other parts with plasti Dip.
I just have one tip. Never wait until it has gone dry if you want to have a seamless line from plasti dip to the car. If it has dry out it could stick to the tape and you will also pull the dip off!!! Also spray enough layers, at least 4 good ones and then pull the tape of. If you have to less coverage and layers you just will pull small parts of the dip op when you want to remove it. I already done a lot with Dip and that's the learning out of it. Whenever you have a decent gap you don't need to mask the headlights etc. of. You can spray over and just pull of the dip from the head lights.... it's really cool stuff :-)
I just have one tip. Never wait until it has gone dry if you want to have a seamless line from plasti dip to the car. If it has dry out it could stick to the tape and you will also pull the dip off!!! Also spray enough layers, at least 4 good ones and then pull the tape of. If you have to less coverage and layers you just will pull small parts of the dip op when you want to remove it. I already done a lot with Dip and that's the learning out of it. Whenever you have a decent gap you don't need to mask the headlights etc. of. You can spray over and just pull of the dip from the head lights.... it's really cool stuff :-)
Thread Starter
|
Professional
Joined: May 2012
Posts: 215
Likes: 0
From: Springboro, OH
I agree, which is why I'm going to do exactly that. I don't think I'd like it all the way down the side of the truck. Plate box and lower "diffuser" look. My plan is to do it this weekend. I'll post pics when I'm done...
Champion
Joined: Mar 2012
Posts: 3,560
Likes: 1
From: Old Bridge,NJ
Nice... I'm looking fwd to pics!