

How to: DIY CAI (Pics included)

Thread Starter
|
Rookie
Joined: Apr 2010
Posts: 93
Likes: 0
From: Rutherfordton NC
Well guys, I have been researching this for a few weeks now and found pictures of completed home made cold air intakes, but never a how-to article or progress pictures. I now know that there are no write ups on how to make one because it's really simple. BUT, for the guys that are still questioning whether to do it or not or want to see my setup, here it is.
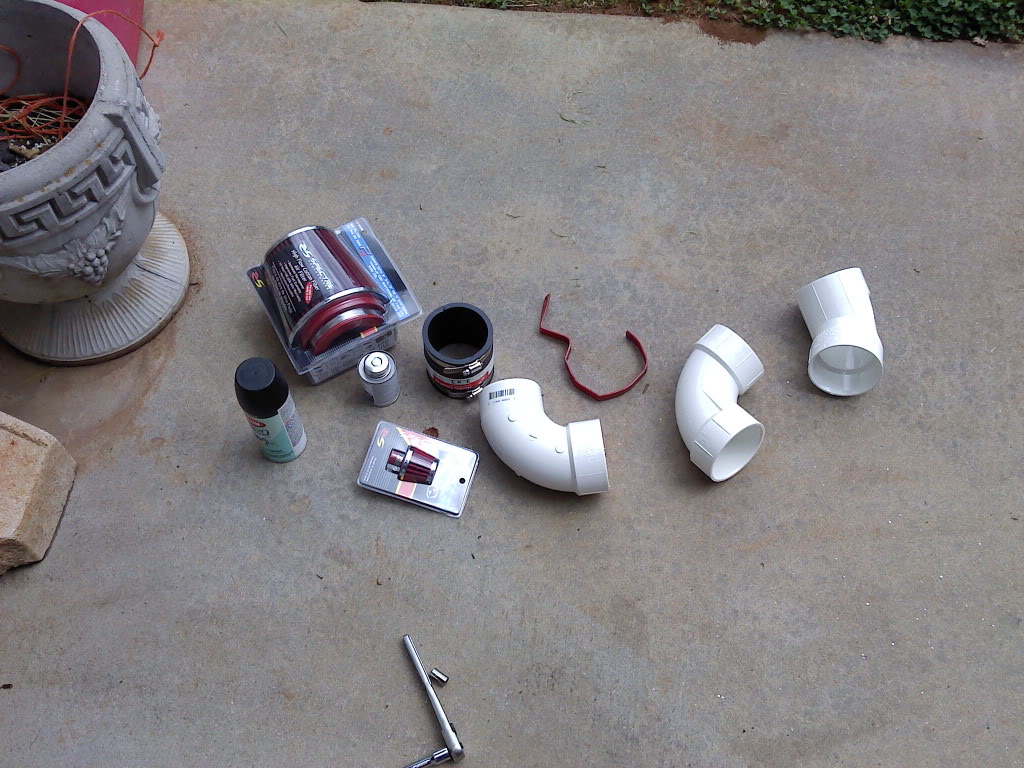
PARTS FOR CAI:
Here is the list of parts I bought at the local hardware store:
-5' section of 3" PVC pipe- $8
-1 90* Street Bend elbow- $3.50
-1 90* Elbow- $2.50
-1 3"-3" Rubber coupler- $6.50
-PVC Glue- $3
Parts at O' Reilly
-Spectre cone air filter- $25
-Spectre mini filter- $10
Parts at Wal-Mart
-1 Can of Krylon Fusion satin black- $4
Made my own brackets out of scrap metal laying around the house.
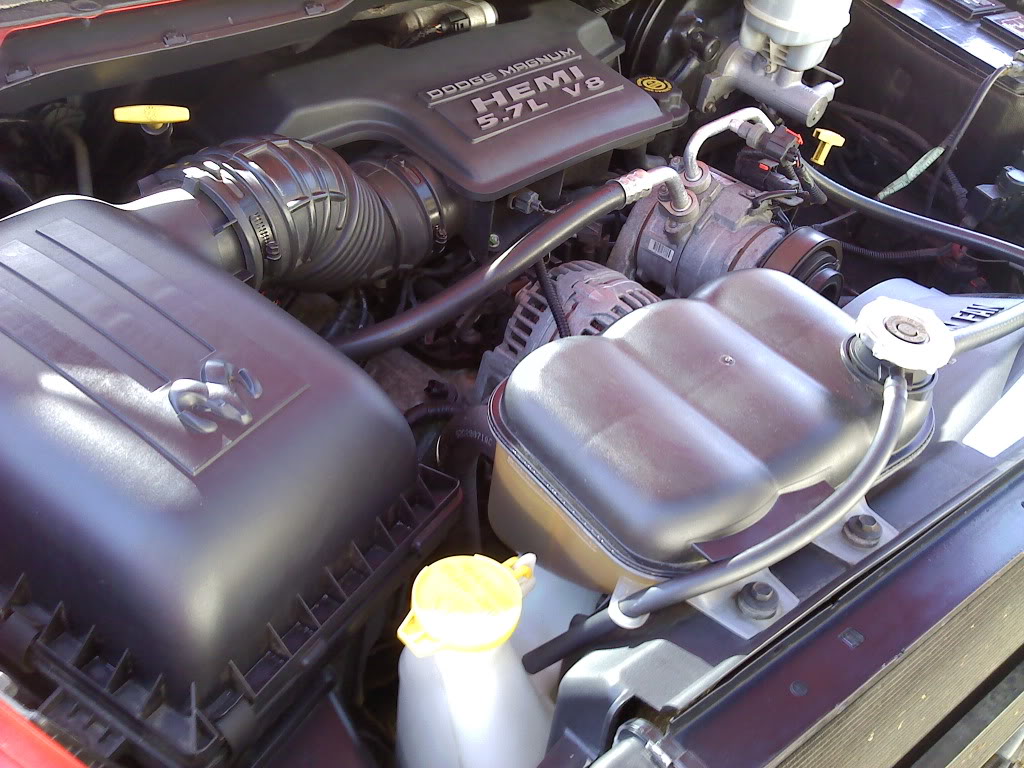
STOCK:
SUPPLIES:
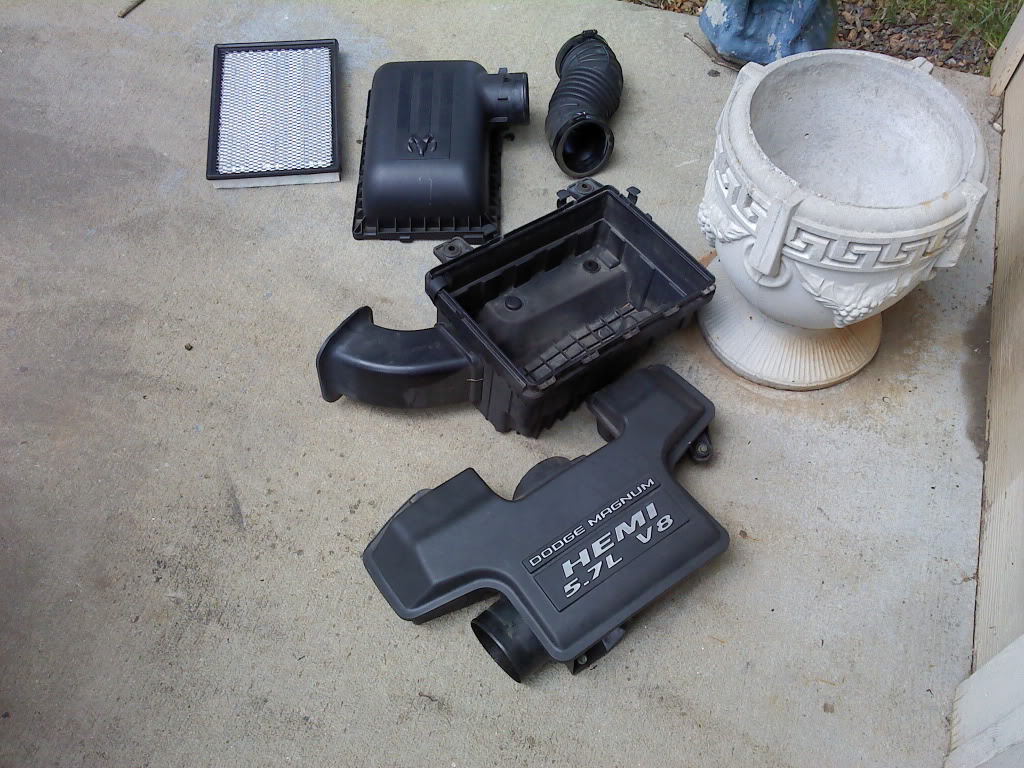
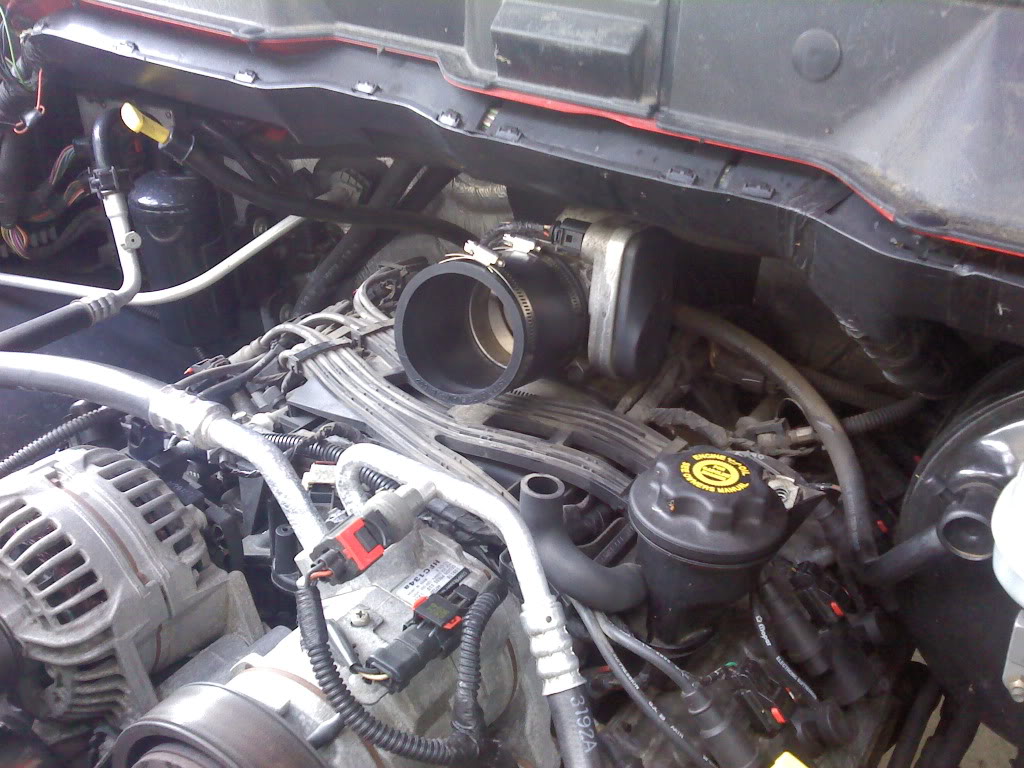
HEMI HAT AND STOCK AIRBOX REMOVED: (Don't worry, I also took my throttle body off and cleaned it)
2 Bolts hold the Hemi hat on, the airbox pulls off, and there are 2 bolts behind the wheel well liner that holds the support for the airbox.
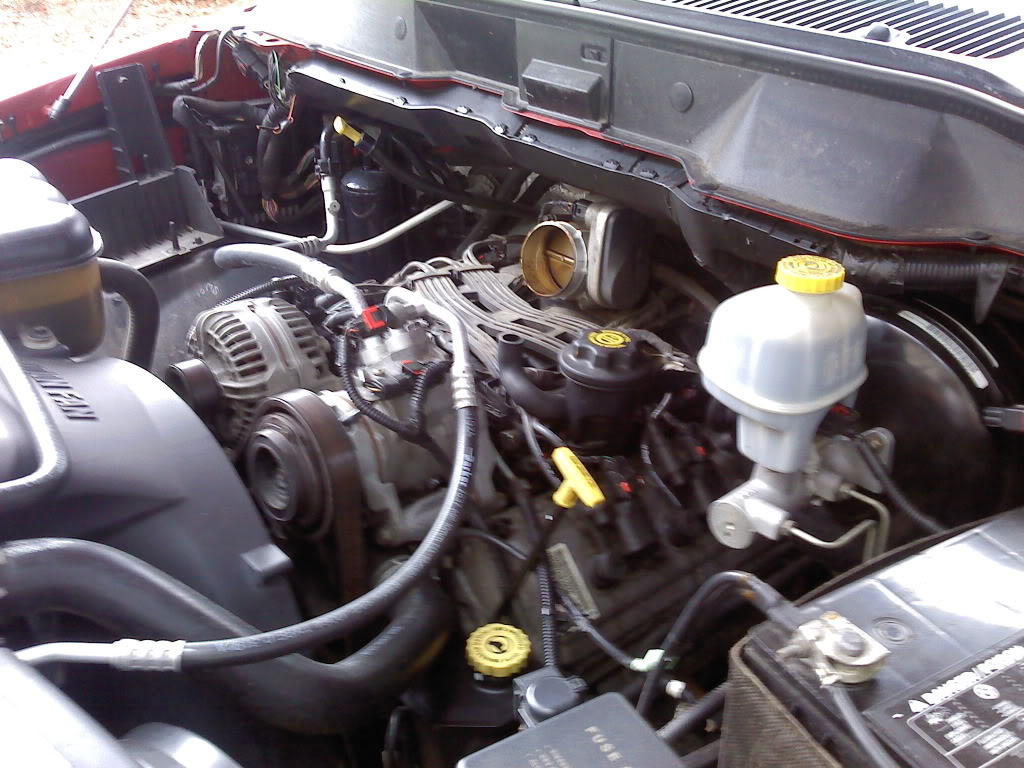
The throttle body was FILTHY.
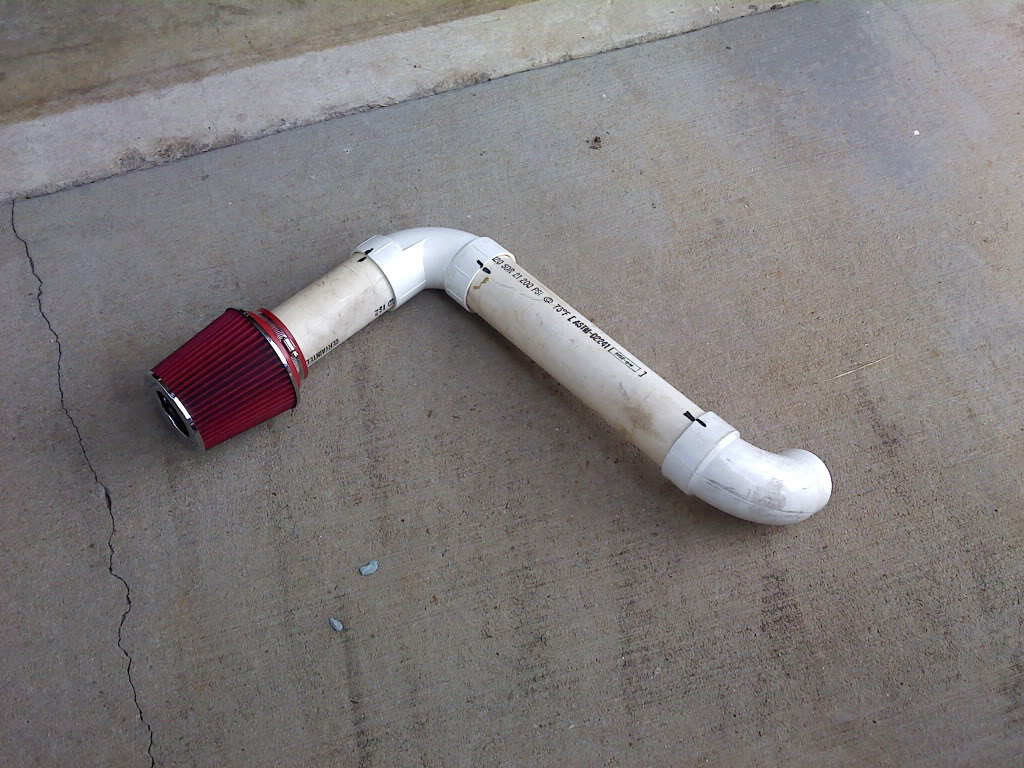
DRY FIT OF INTAKE:
Pieced together after I dry fit and cut the PVC. I used the 90* street elbow to connect to the throttle body. I did this using the 3" to 3" coupler. I then connected it to the PVC pipe and connected the 90* elbow to the other side. I then used another short piece of PVC and attached my filter to the end. This is where you just have to be creative. Figure out where you would like to run your intake and make measurements. Then cut the PVC to the length you would like and cut it. I found that a hack saw works great on the pipe. After the dry fit and installation you are ready to glue your PVC Together.
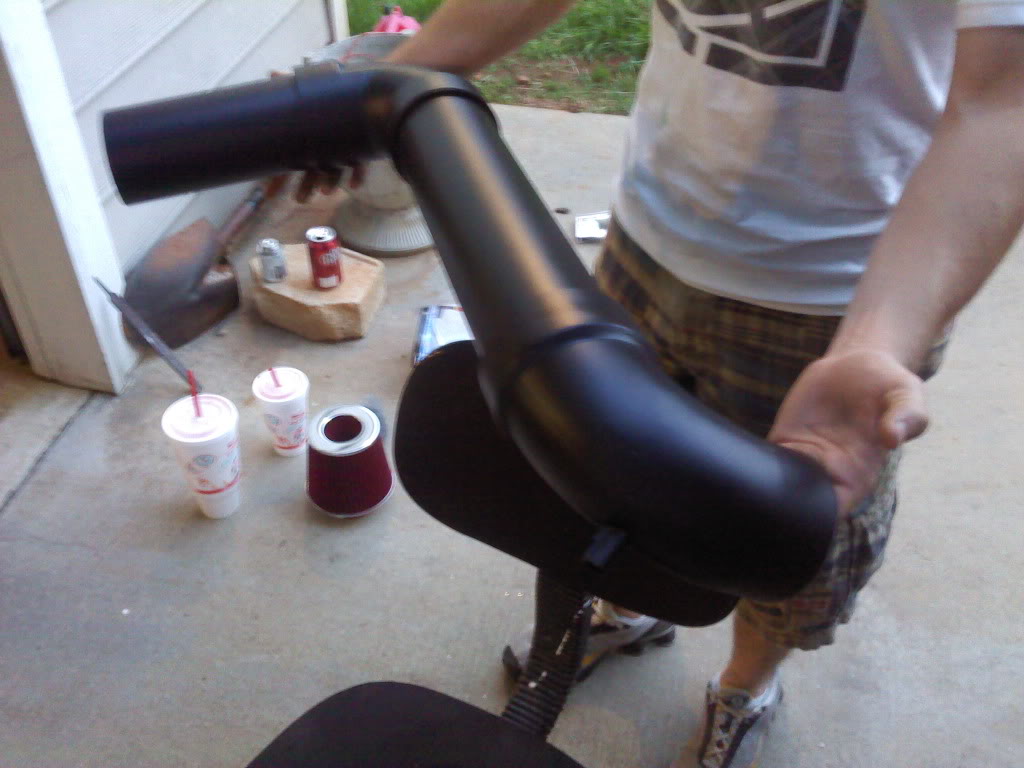
PAINTING:
Prepping for paint took the longest amount of time. I sanded off all of the ridges, numbers, and letters on the PVC pipe. I found that using a razor to cut everything off and then sanding it smooth works the best. Be sure that your pipe is clean before you paint. I used Krylon Fusion satin black to paint my intake. It bonds to the plastic great and had the same sheen as the stock intake.
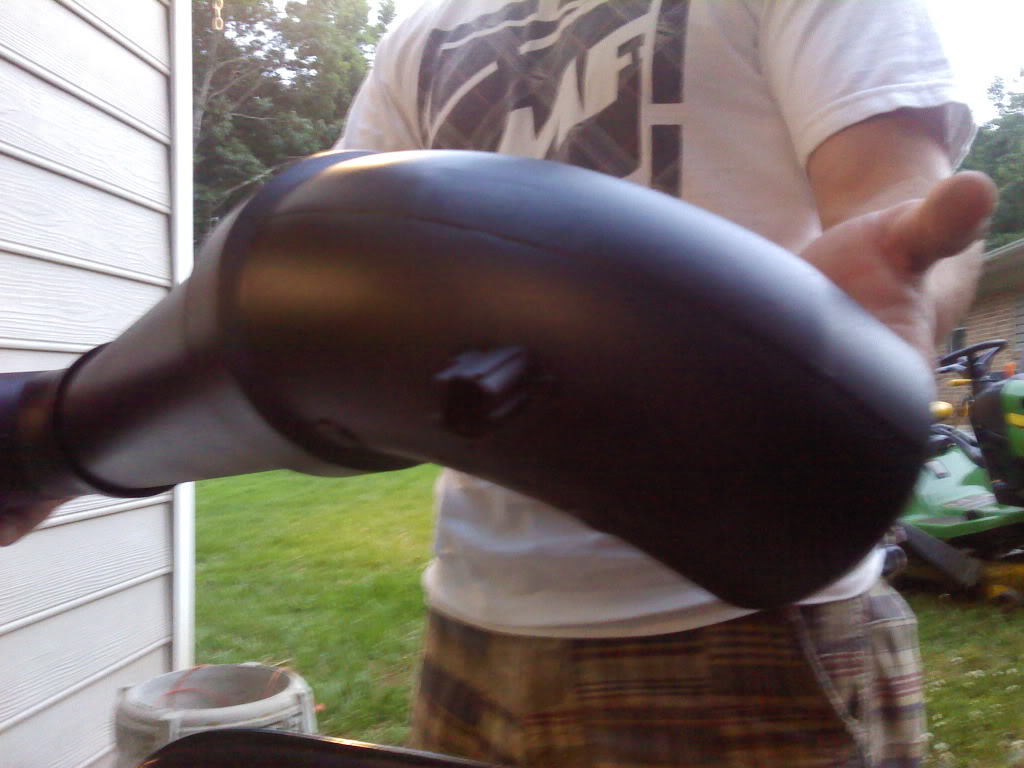
IAT SENSOR:
I drilled a hole in the middle of the 90* street elbow for my IAT sensor. I siliconed the sensor into the hole and it worked fine.
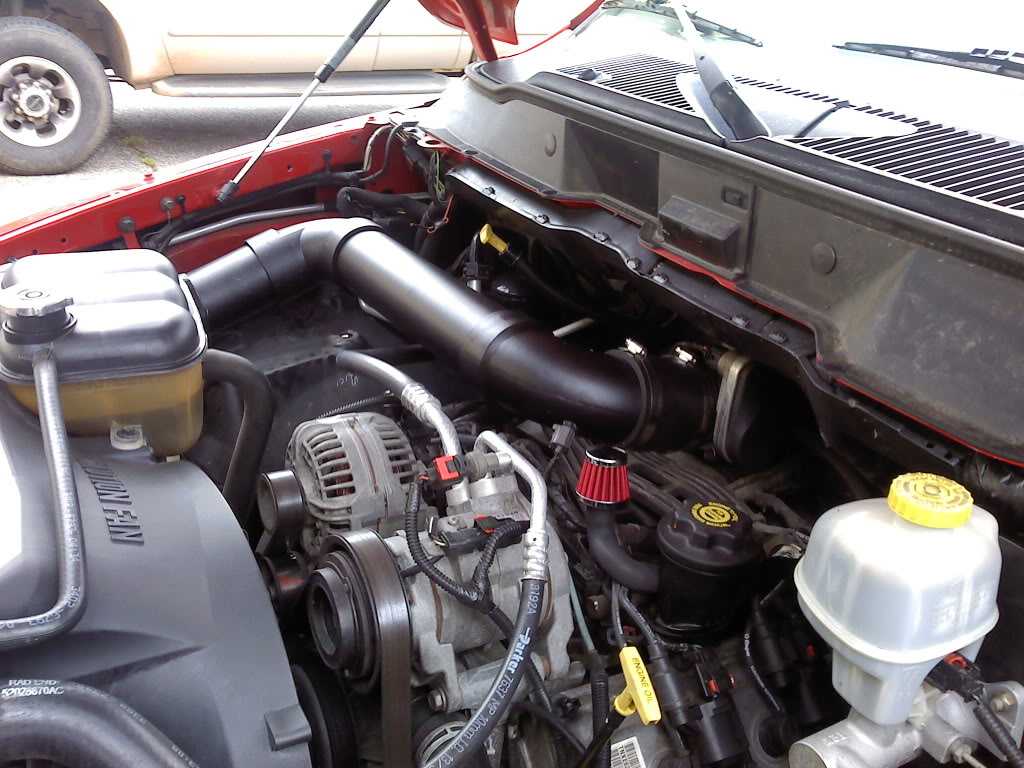
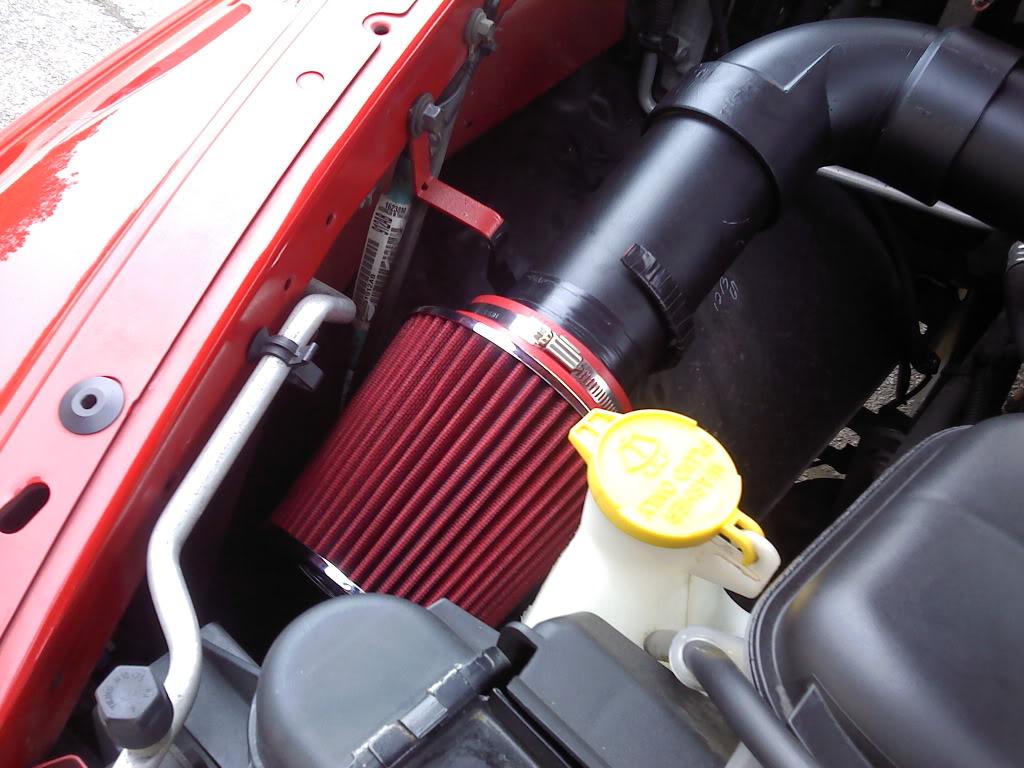
FINISHED PRODUCT:
I made my own bracket to support the intake out of a piece of scrap metal I found in the garage. Once everything was painted and installed it turned out great. Don't forget to install the mini filter onto the vent that came out of the Hemi hat.
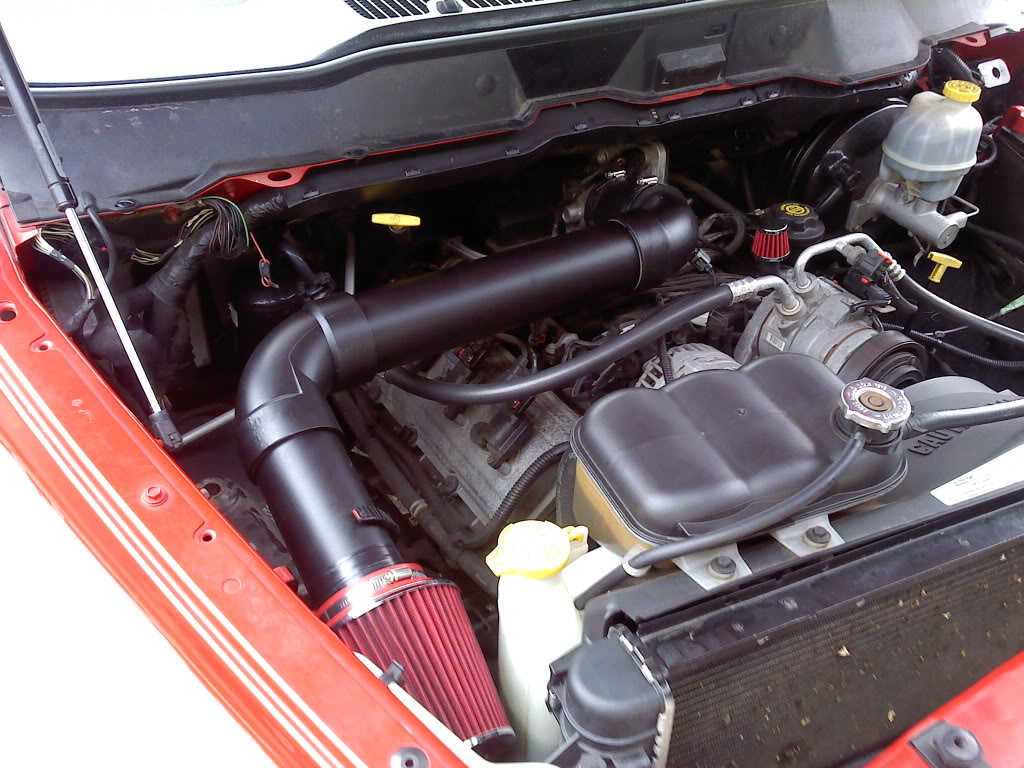
For a grand total of $62.50 I was able to build my own CAI and save the extra money I would have spent for other mods. I hope to buy a tuner soon with the money I saved. As for the performance gains I was supposed to get, I do not know if it helped or not. I cannot tell much of a difference in power, but it sure does sound good. You can definitely hear the Hemi sucking air now. For anyone questioning whether to build one or not, I would definitely recommend it. It gives you a sense of pride knowing that you made your own CAI.
PARTS FOR CAI:
Here is the list of parts I bought at the local hardware store:
-5' section of 3" PVC pipe- $8
-1 90* Street Bend elbow- $3.50
-1 90* Elbow- $2.50
-1 3"-3" Rubber coupler- $6.50
-PVC Glue- $3
Parts at O' Reilly
-Spectre cone air filter- $25
-Spectre mini filter- $10
Parts at Wal-Mart
-1 Can of Krylon Fusion satin black- $4
Made my own brackets out of scrap metal laying around the house.
STOCK:
SUPPLIES:
HEMI HAT AND STOCK AIRBOX REMOVED: (Don't worry, I also took my throttle body off and cleaned it)
2 Bolts hold the Hemi hat on, the airbox pulls off, and there are 2 bolts behind the wheel well liner that holds the support for the airbox.
The throttle body was FILTHY.
DRY FIT OF INTAKE:
Pieced together after I dry fit and cut the PVC. I used the 90* street elbow to connect to the throttle body. I did this using the 3" to 3" coupler. I then connected it to the PVC pipe and connected the 90* elbow to the other side. I then used another short piece of PVC and attached my filter to the end. This is where you just have to be creative. Figure out where you would like to run your intake and make measurements. Then cut the PVC to the length you would like and cut it. I found that a hack saw works great on the pipe. After the dry fit and installation you are ready to glue your PVC Together.
PAINTING:
Prepping for paint took the longest amount of time. I sanded off all of the ridges, numbers, and letters on the PVC pipe. I found that using a razor to cut everything off and then sanding it smooth works the best. Be sure that your pipe is clean before you paint. I used Krylon Fusion satin black to paint my intake. It bonds to the plastic great and had the same sheen as the stock intake.
IAT SENSOR:
I drilled a hole in the middle of the 90* street elbow for my IAT sensor. I siliconed the sensor into the hole and it worked fine.
FINISHED PRODUCT:
I made my own bracket to support the intake out of a piece of scrap metal I found in the garage. Once everything was painted and installed it turned out great. Don't forget to install the mini filter onto the vent that came out of the Hemi hat.
For a grand total of $62.50 I was able to build my own CAI and save the extra money I would have spent for other mods. I hope to buy a tuner soon with the money I saved.
As for the performance gains I was supposed to get, I do not know if it helped or not. I cannot tell much of a difference in power, but it sure does sound good. You can definitely hear the Hemi sucking air now. For anyone questioning whether to build one or not, I would definitely recommend it. It gives you a sense of pride knowing that you made your own CAI.