

Debadging DIY...With/Without Eraser Wheel


Thread Starter
|
Champion
Joined: May 2008
Posts: 4,210
Likes: 0
From: Shreveport, LA
Okay well I decided to make a DIY for debadging today. Its not too pic intensive, but I think pictures and a little bit of guidance will help you guys that are on the edge go ahead and go naked.
You will need:
Fishing Line >10lb
Handle (I used two 4in pieces of broom handle)
Goo-Gone
Plastic razor or Credit Card
wax
microfiber rag
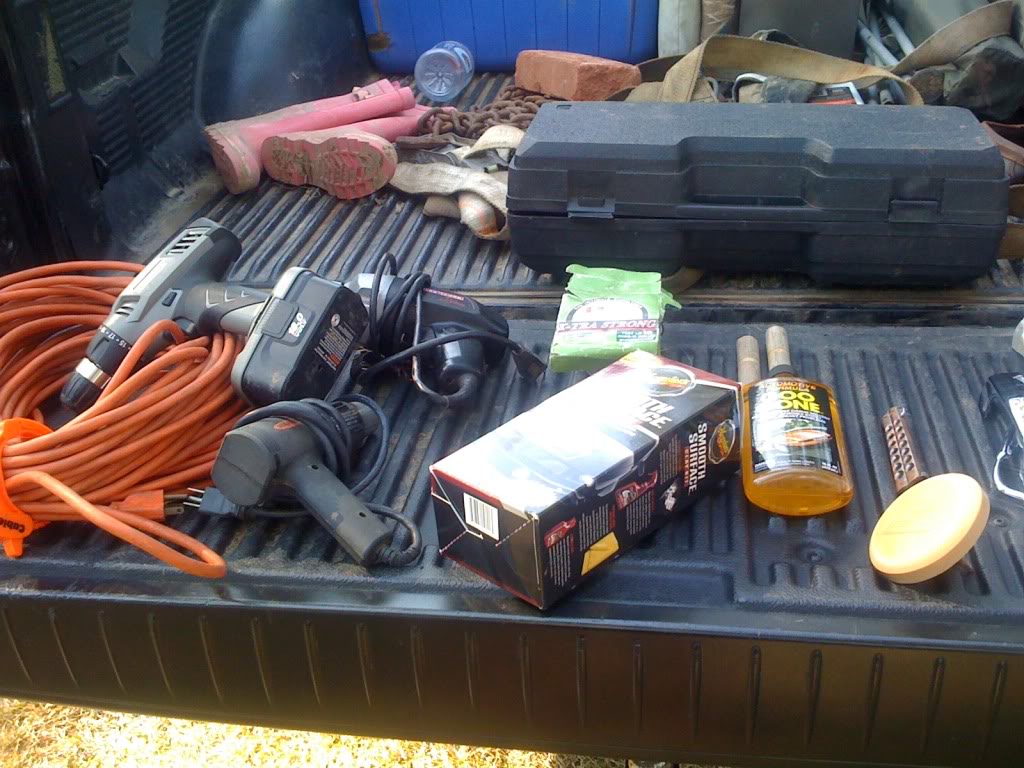
Optional
heat gun
Power drill
claybar kit
eraser wheel
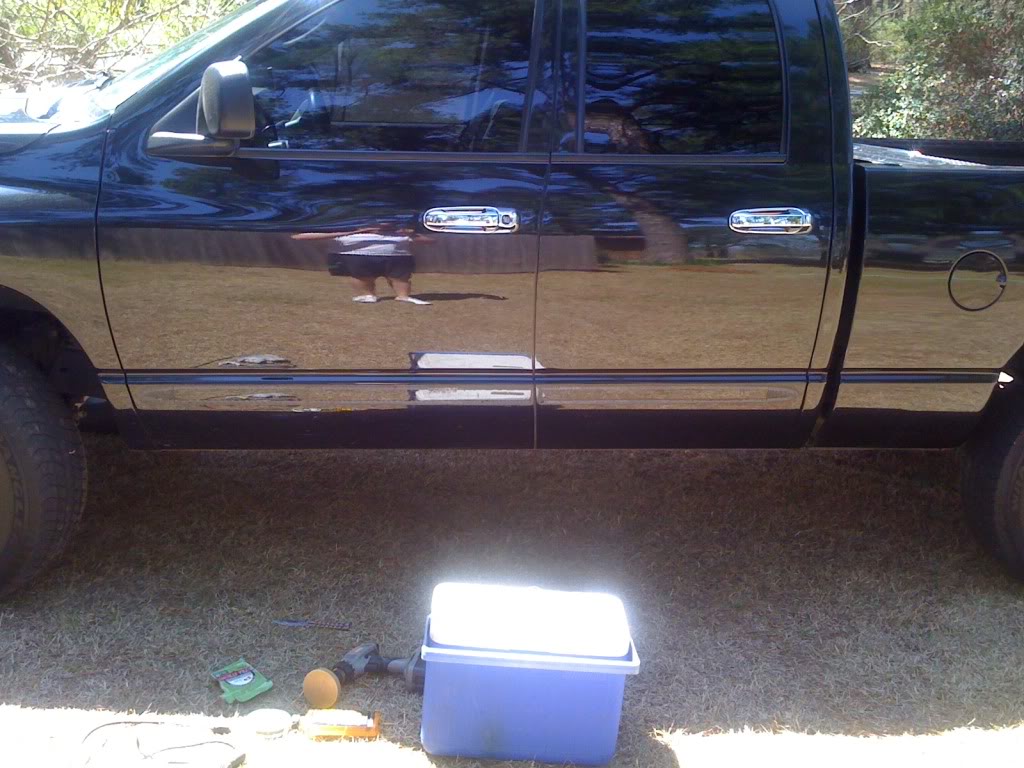
I left my truck out in the sun for a little while, let the metal heat up. You could do this with a heat gun or hairdryer, but its not that big of a deal. Decide what you are wanting to remove. I did the door spears and chrome door handles, as ive already taken everything else off. These were much harder and more labor intensive than the letters/numbers.
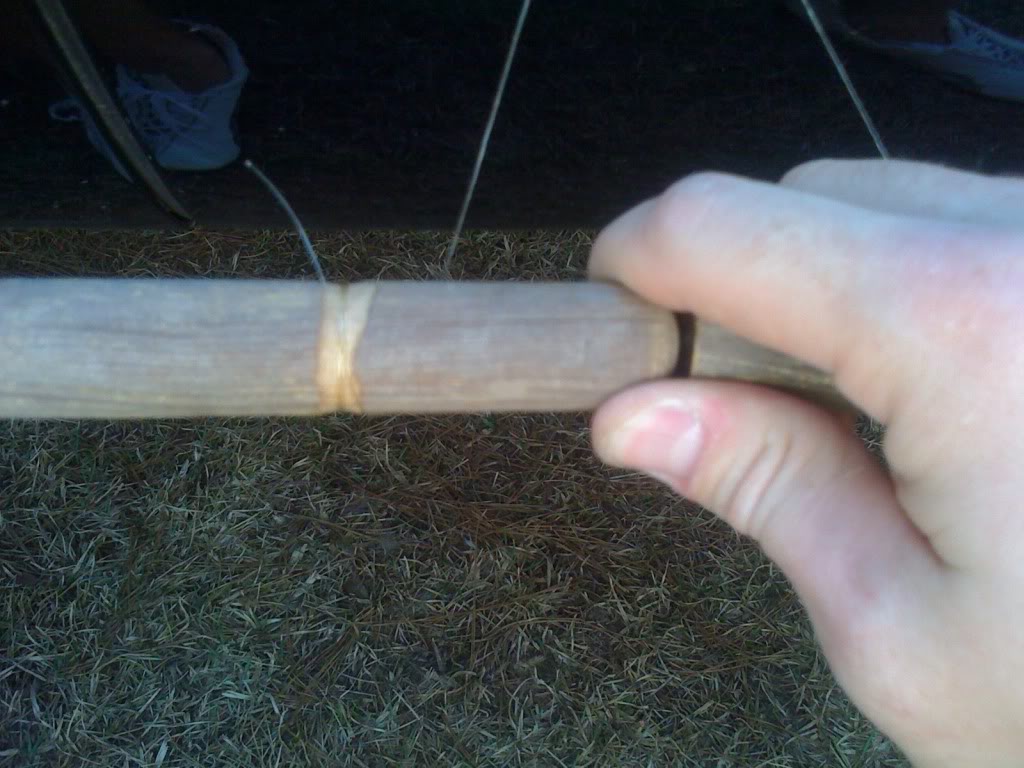
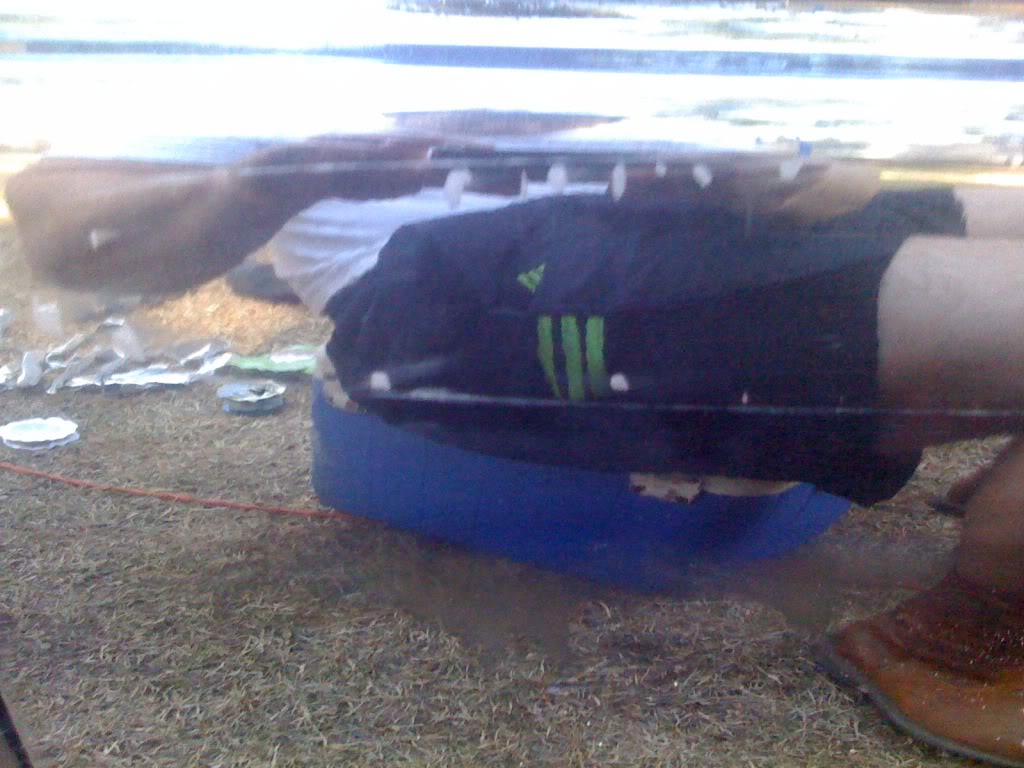
I cut the end of a broom handle off in two 4/5in sections. I cut a little ring in the middle to hold the string, but you could use a screwdriver or w/e else that allows you to hold the fishing line. Cut about two feet of the line, and wrap the end around one of the handles. then make a loop and tie the other end to the same handle. This leaves a loop on the end, just wrap this around your other handle. This makes a two stringed cutting surface.
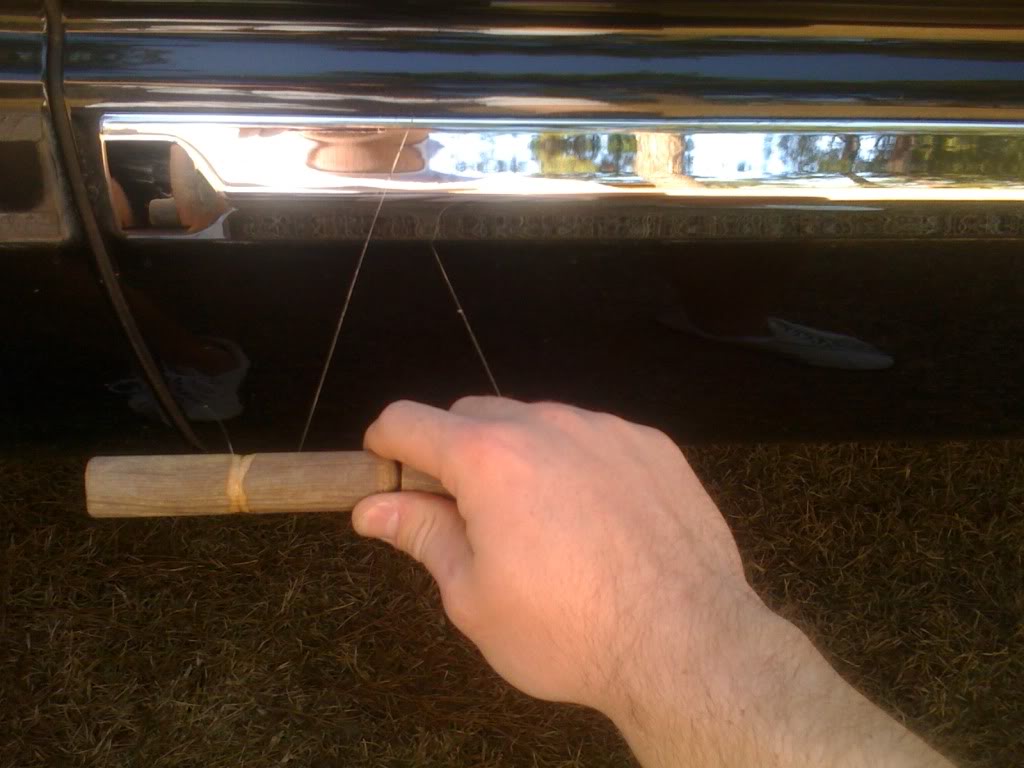
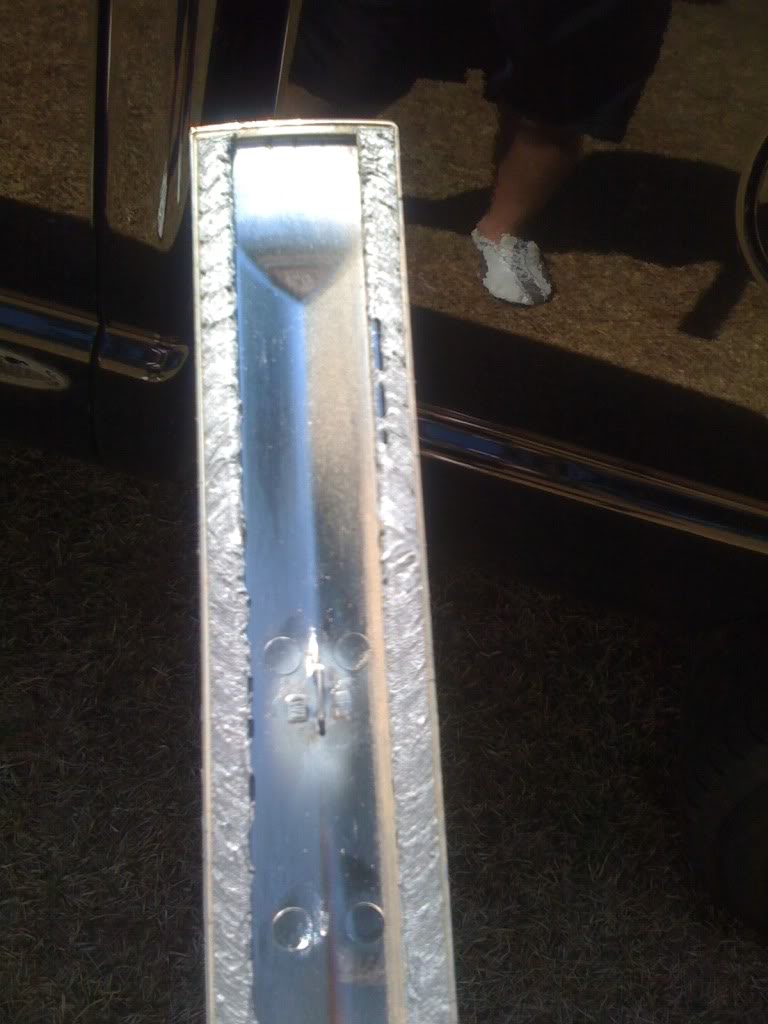
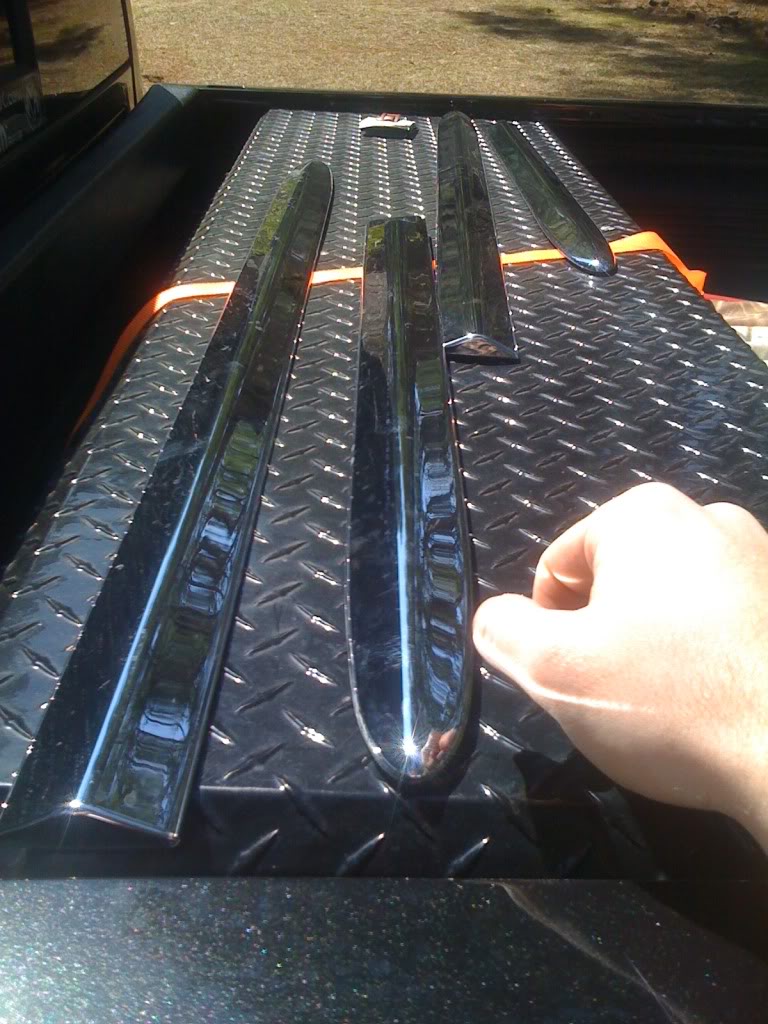
Saw this back and forth, just as you would a hand saw, but gently pulling through the object. I always worked toward the rear of the truck. You will eventually have to change out the fishing line (multiple times) because the glue will begin to stick to it. You will know when the line stops cutting. Once you cut through, grab the edge of the letter/object and pull, while running the line though the glue one more time. This will effectively cut the remaining glue between the two as you pull. This is what the back of a spear looks like
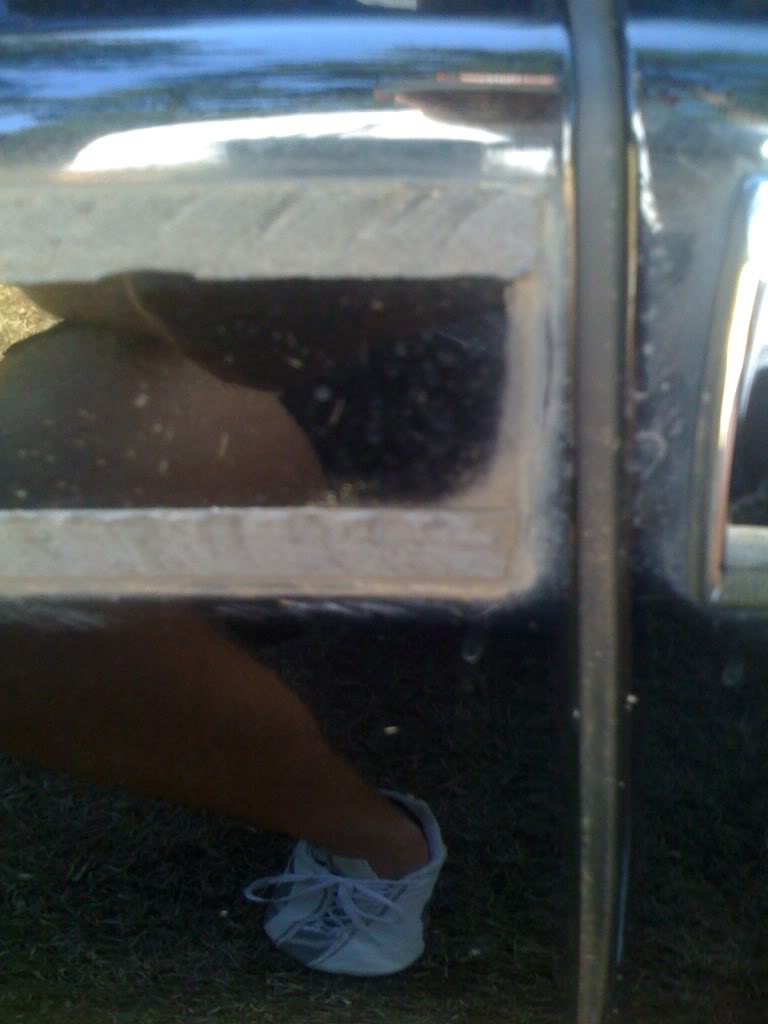
You will be left with the majority of the 3m tape on the truck. It will look like this
This is where you NEED an eraser wheel. This is essentially a free mod. Go spend $11 on an eraser wheel, it helps alot.
http://s294.photobucket.com/albums/m...t=IMG_1027.jpg
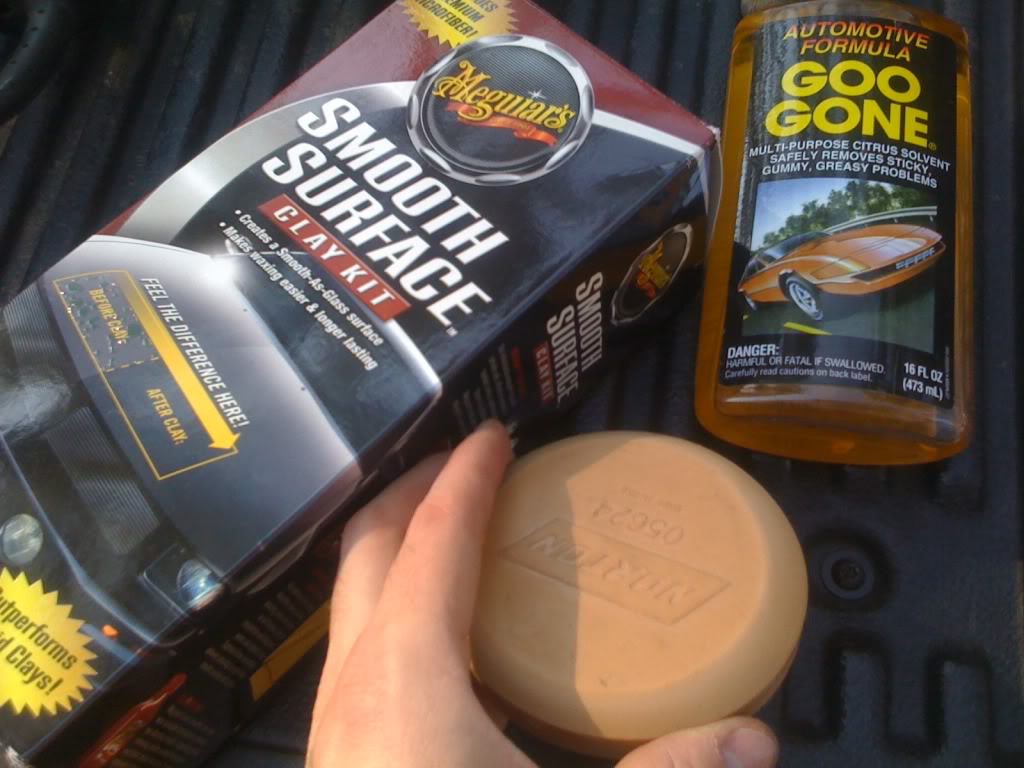
If you were to be a tight-a$$, make sure you have a plastic razor/credit card, goo gone, and a good pencil eraser.
You will need to heat up the glue, whether its your wifes hair dryer or a heat gun (recommended). Put goo gone on it, let it soak, and maybe another coat. Heat up the glue again, and begin to scrape from the smallest edge over. As you scrape, be careful not to scratch your paint (it can happen with plastic). After you get most of it gone using heat/scrape, heat/scrape, over and over, Then take your pencil eraser and rub the warm glue. It will come off eventually. After this, wax and you are done!
ERASER WHEEL
With your eraser wheel in the drill (I had a battery powered one but switched to an electric because of the RPM difference). Clean the area of all grit, and then soak the glue in goo gone. You are going to plug in your drill, put the eraser in the end, and get to scrubbing.
Use the front edge of the wheel, not the flat surface. This will control the bouncing caused by the gyroscopic effect of the turning wheel. Remember, the wheel is turning toward you, so always work towards your body, not away.
Work from the top of the glue down. Go all the way across, then drop 1/2in and do the same. This will assure that you get all the glue, instead of leaving lines of it from the bouncing wheel. Remember to grab the ***** of glue off the bottom edge every little bit
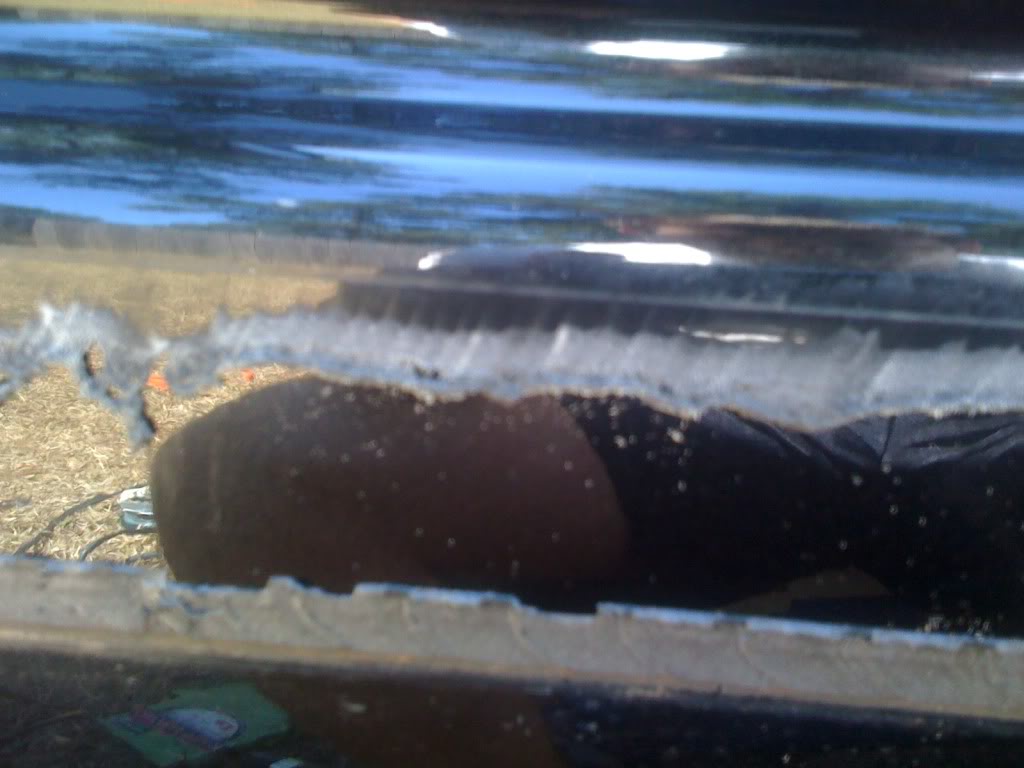

You will be left with a hazy surface. Its not your clear coat, its glue/eraser material.
Take your goo-gone rag and wipe it. It will look practically done. Let the goo gone soak, then take the rag again and rub the remaining glue areas. You will be amazed.
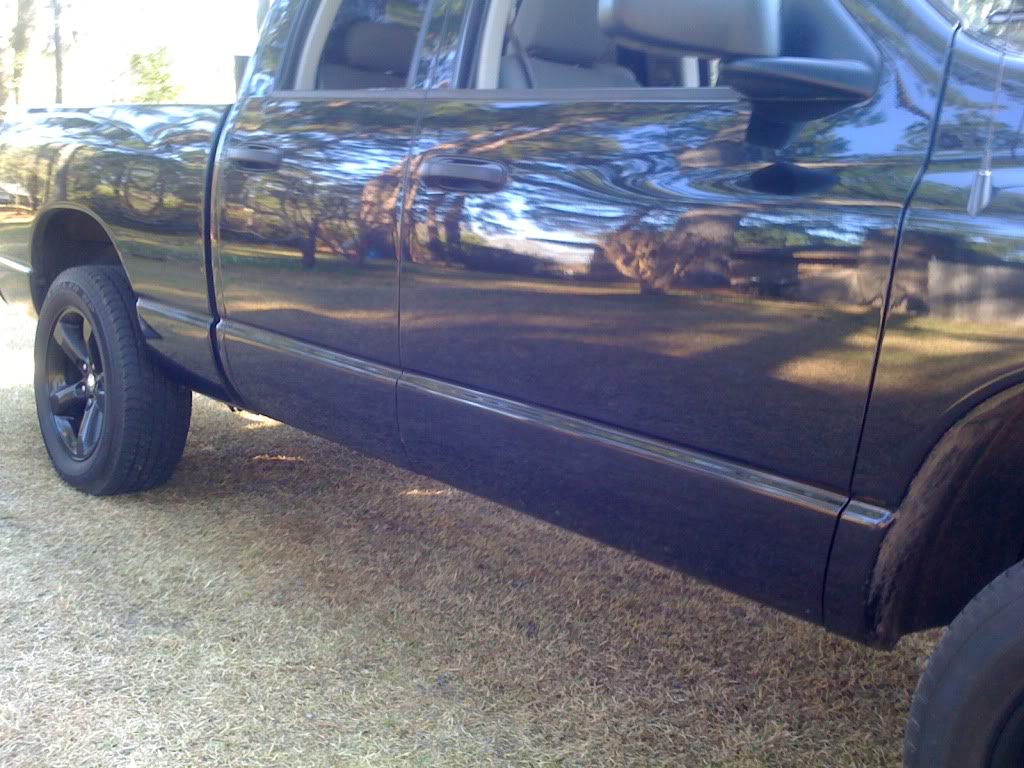
Then take your claybar kit, clay the region you debadged, and then wax it up.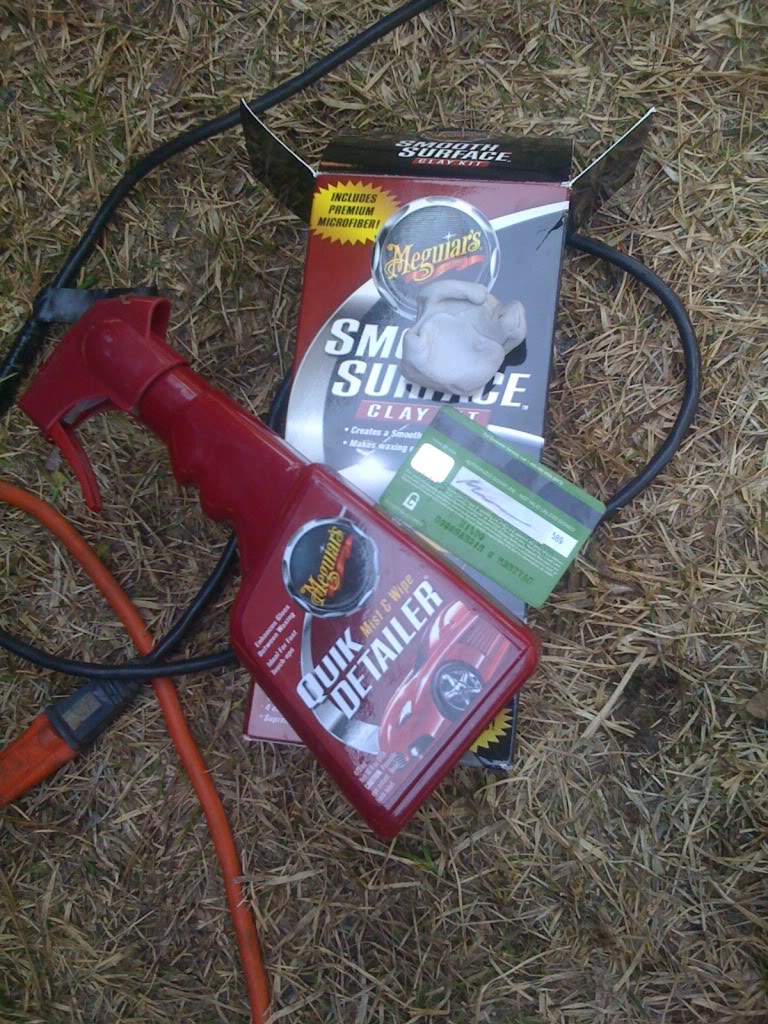
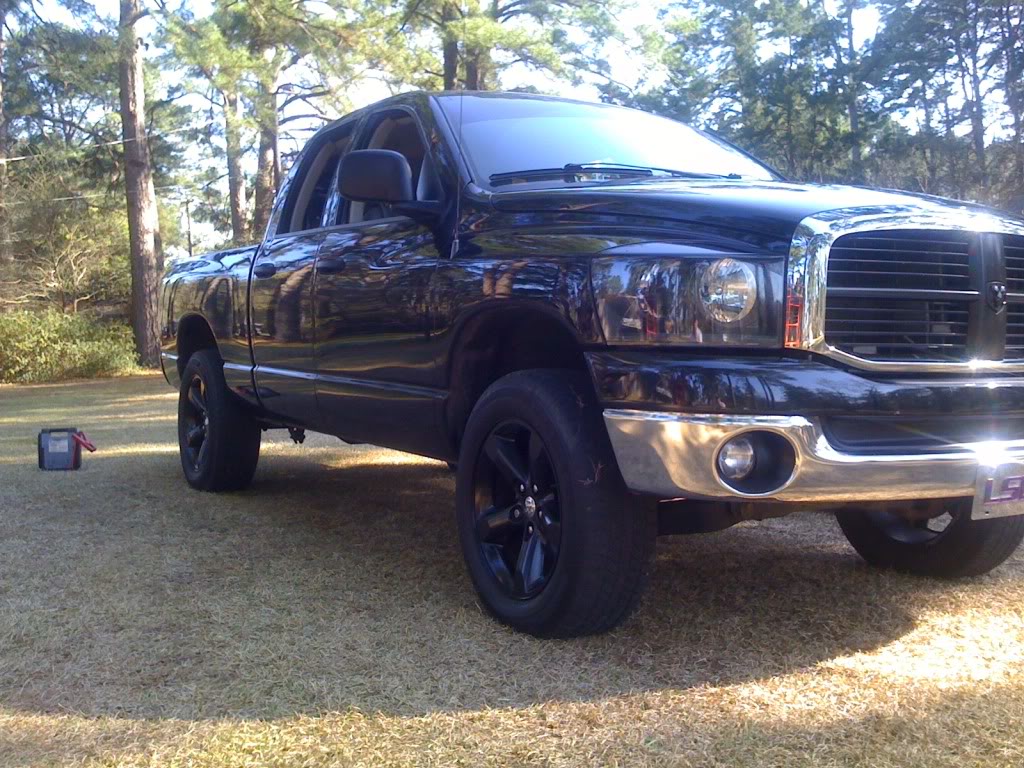
If there is any remaining glue, waxing it hard will remove the rest. Woohoo you are done.
You will need:
Fishing Line >10lb
Handle (I used two 4in pieces of broom handle)
Goo-Gone
Plastic razor or Credit Card
wax
microfiber rag
Optional
heat gun
Power drill
claybar kit
eraser wheel
I left my truck out in the sun for a little while, let the metal heat up. You could do this with a heat gun or hairdryer, but its not that big of a deal. Decide what you are wanting to remove. I did the door spears and chrome door handles, as ive already taken everything else off. These were much harder and more labor intensive than the letters/numbers.
I cut the end of a broom handle off in two 4/5in sections. I cut a little ring in the middle to hold the string, but you could use a screwdriver or w/e else that allows you to hold the fishing line. Cut about two feet of the line, and wrap the end around one of the handles. then make a loop and tie the other end to the same handle. This leaves a loop on the end, just wrap this around your other handle. This makes a two stringed cutting surface.
Saw this back and forth, just as you would a hand saw, but gently pulling through the object. I always worked toward the rear of the truck. You will eventually have to change out the fishing line (multiple times) because the glue will begin to stick to it. You will know when the line stops cutting. Once you cut through, grab the edge of the letter/object and pull, while running the line though the glue one more time. This will effectively cut the remaining glue between the two as you pull. This is what the back of a spear looks like
You will be left with the majority of the 3m tape on the truck. It will look like this
This is where you NEED an eraser wheel. This is essentially a free mod. Go spend $11 on an eraser wheel, it helps alot.
http://s294.photobucket.com/albums/m...t=IMG_1027.jpg
If you were to be a tight-a$$, make sure you have a plastic razor/credit card, goo gone, and a good pencil eraser.
You will need to heat up the glue, whether its your wifes hair dryer or a heat gun (recommended). Put goo gone on it, let it soak, and maybe another coat. Heat up the glue again, and begin to scrape from the smallest edge over. As you scrape, be careful not to scratch your paint (it can happen with plastic). After you get most of it gone using heat/scrape, heat/scrape, over and over, Then take your pencil eraser and rub the warm glue. It will come off eventually. After this, wax and you are done!
ERASER WHEEL
With your eraser wheel in the drill (I had a battery powered one but switched to an electric because of the RPM difference). Clean the area of all grit, and then soak the glue in goo gone. You are going to plug in your drill, put the eraser in the end, and get to scrubbing.
Use the front edge of the wheel, not the flat surface. This will control the bouncing caused by the gyroscopic effect of the turning wheel. Remember, the wheel is turning toward you, so always work towards your body, not away.
Work from the top of the glue down. Go all the way across, then drop 1/2in and do the same. This will assure that you get all the glue, instead of leaving lines of it from the bouncing wheel. Remember to grab the ***** of glue off the bottom edge every little bit
You will be left with a hazy surface. Its not your clear coat, its glue/eraser material.
Take your goo-gone rag and wipe it. It will look practically done. Let the goo gone soak, then take the rag again and rub the remaining glue areas. You will be amazed.
Then take your claybar kit, clay the region you debadged, and then wax it up.
If there is any remaining glue, waxing it hard will remove the rest. Woohoo you are done.