

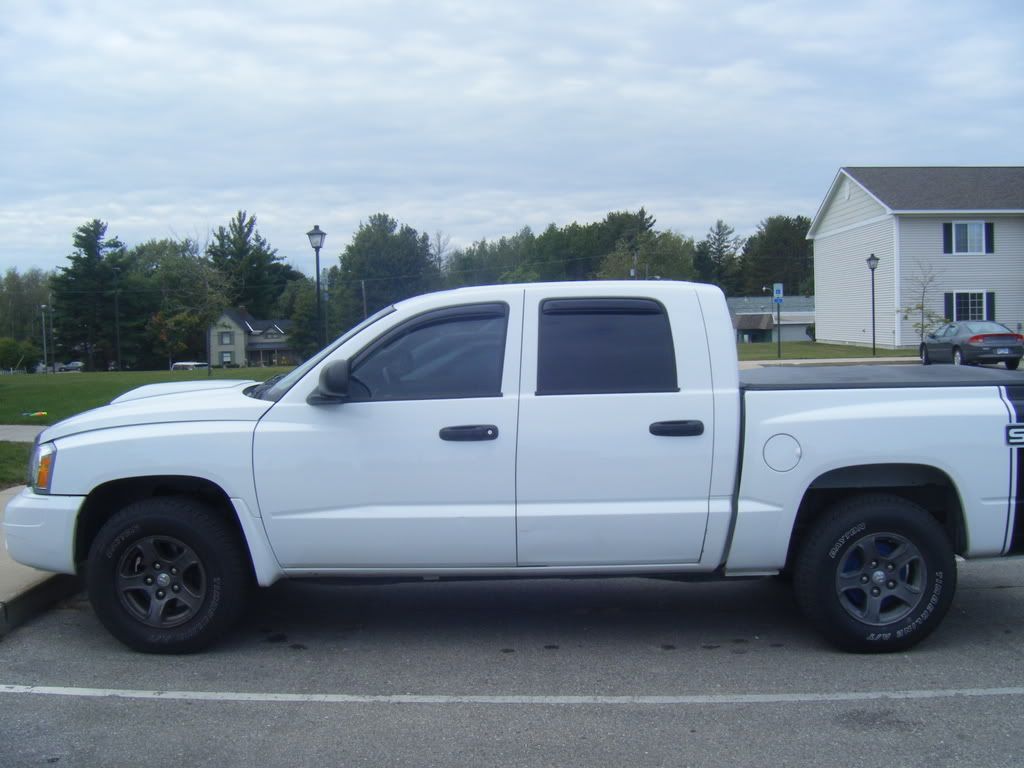
Window Tinting how-to by ericemery

Guest
Posts: n/a
It has been a hot topic as of late, and it really isnt that hard to tint our trucks. If you have patience you can tint a 3rd Gen Dakota.
for the sake of simplicity, go to autozone and get the Gila tint tool pack. It comes with a 3 in 1 tool, lint free cloth, razor knife, and tint application solution... it is only 10 bucks and is cheaper than trying to buy it all separate.
DISCLAIMER: I am not responsible for anything you may ruin in any way while tinting your truck. that should be broad enough.
Tools needed:
Gila tool pack
Roll of paper towel
clear scotch tape
shop towel (not needed, but if you dont want tint spray all over it helps.)
If you run out of tint solution, you can use a drop of baby shampoo to 6 ounces of water. it is the same stuff.
First step:
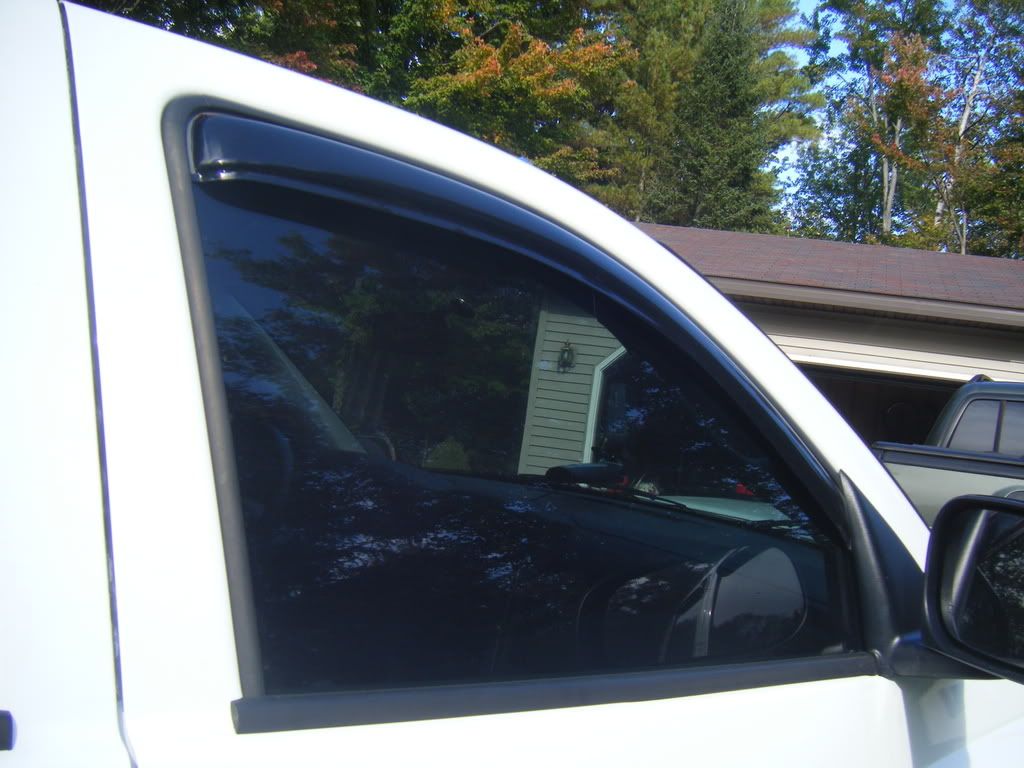
**Take your tint solution and clean the outside of the window. Use the paper towel to wipe the window down after spraying the window. It will look clean, but clean it again, this time dont use the paper towel to wipe it down, but instead use the squeegee to clean up the solution. Now do the same to the inside of the window.
**To clean under the window seals, wrap the papertowel around the 3 in 1 tool and wipe out the seals. keep wiping untill you dont see any dirt coming out on the cloth... there now the window is clean.
Step 2:
**take your tint roll and roll out enough to cover the window you want to tint. Cut the tint off leaving plenty of room, we will trim it down in a minute. Now that you have a square a little larger than the window, take 2 small pieces of tape; roughly 2 inches long, and place them in the upper corner, overlapping a little. We will pull the tape apart to reveal the adhesive side and the film side of the roll. The clear side should be on the outside.
** spray the window with a good amount of solution.
**Place the tint on the window .
**Spray the film with the solution so our squeegee doesnt stick to the film.
**Now take and put the bottom edge of the film about an 8th inch below the edge of the window and squeegee out as much water as you can to hold the film in place. It is best to go from bottom to top, not side to side. (on roll up windows)
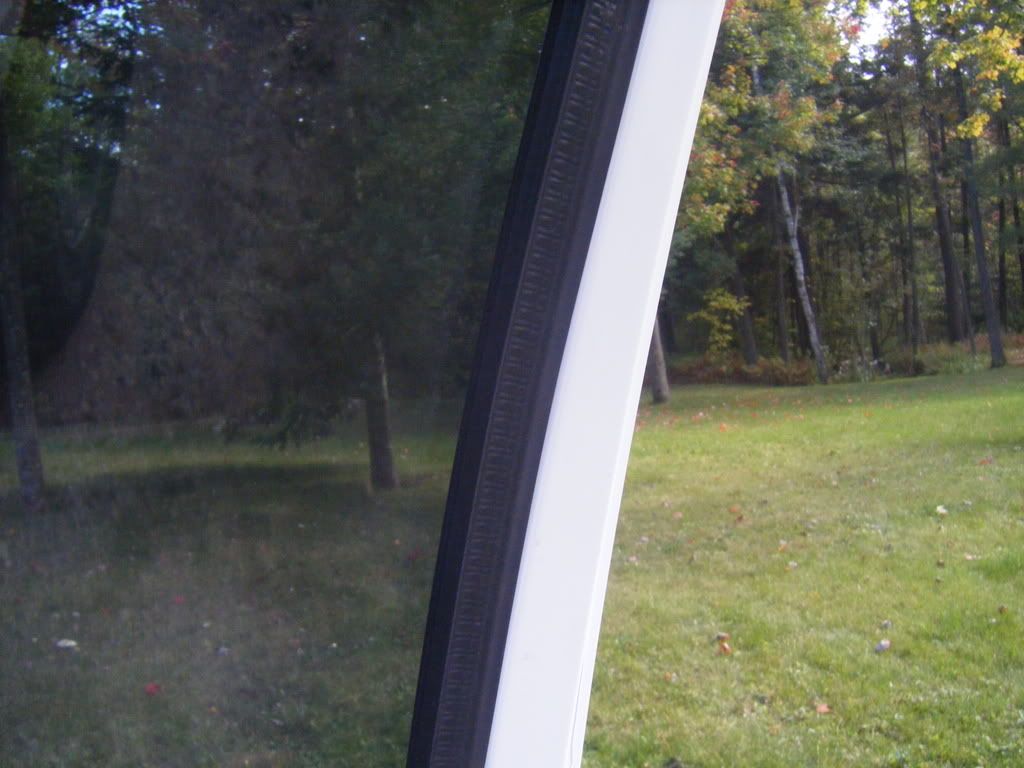
**Now trim the vertical lines, using the window trim as a guide. Dont try to round off corners, just go straight up.
** Squeegee out as much water as you can again.
**Now lift the bottom of the tint off the window and fold it up onto the rest of the tint. we dont want any tint to get dirty, so this will keep the tint from going down onto a dirty body panel when we roll the window down.
**Roll the window down about 2-2 1/2 inches.
** Squeegee again to make sure your edges are all lined up and the tint inst going to move while you cut the top line.
**Take your razor knife and use the top of the window as a guide. It is easy to start on your non-dominant hand side and work to accross. Use the round edges of the top of the window as a quide as well. If you feel the blade not cutting well, break off the used part of the blade so you have a new razor.
** squeegee out as much water as you can, and trim any areas that need it.
**Pull the tint off the window, and roll it up.
There we have our film that we will aplly to the window.
Step 3:
Before you start this step, if you need to take a break do so. you will need to be very very patient from here on out.
**Now go back to the inside and wash the window again.
Pay special attention to the seals on the bottom and sides of the window. any dirt left on the window will leave a bubble in the tint.
**Soak the window with solution.
** Take 2 more pieces of tape and start to seperate the film from the adhesive. Use the spray to keep the tint wet while you seperate it. Pull 3 inches and spray, repeat untill the tint is free.
This will keep static from pulling dust and dirt onto the film as you pull it apart, and keep the tint from sticking to anything that you may accidently touch.
**Spray the window and tint again, we want it soaked.
** Set the tint on the window, taking care not to touch anything with the bottom, top or sides of the film.
** Again we are going to lift the bottom of the tint from the window. make sure everything is good and wet still.
** Roll the window down an inch or so, and line the top line you cut up with the top of the window. pull the tint down, so it is not on the top line, but about a 32nd of an inch from the top.
**Spray the film so our squeege doesnt stick to the outside of the film.
**Squeegee out some water so the tint is held in place. Work from the middle of the film to the top. After you squeege off the top water, wrap your 3 in 1 tool in the lint free cloth and use the hard edge to move the water out from the film. The lint free cloth will absorb water so it doesnt go back under the film..
**After the top is in place and all water is out of the top half, roll the window back up.
**Clean the bottom part of the window again, its better safe than sorry.
**Soak the bottom part of the window again.
** pull the bottom of the tint up a little, so the bottom is lined up with the top edge of the window seal and the area right above that is buldged out toward you. (looks like it is rolled out a little)
**Take your 3 in one tool and use the angled hard edge to pull the seal out. Use one finger to hold teh seal out, and another to push the tint in the seal. It is best to use your non dominant hand to hold the seal out, and your dominant hand to push the tint in. Work from non-dominant side to dominant side.
**Now our tint is in the seal. We are almost done. Work out any bubbles by wrapping the 3 in 1 tool with the lint free cloth and start puching water to the bottom. If you have a problem with the bottom of the tint bubbling up with "finger" like bubbles, take and put paper towel sheets halfway in the seal. this will absorb water that you push out of the film. Keep working the bubbles out... remember to keep a cloth on the 3 in 1 tool. it absorbs water, and keeps the tint from getting scrathced by the card. Dont be afraid to use pressure to get bubbles out.
There, you just tinted your front and back side windows. not too bad huh. now on to the rear window.
Rear window
This is going to be for the solid back window with defroster. the 3 piece window is done the same as the side windows...
We will be working from the out side of the truck and the inside of the truck, so you might need to pull off a bed cover to get to the window
I am explaining how to do this in one piece, so the same size roll of tint that you used on the side windows.
You might also want to get a shop light to make your life a little easier.
**Take your tint solution and clean the outside of the window. Use the paper towel to wipe the window down after spraying the window. It will look clean, but clean it again, this time dont use the paper towel to wipe it down, but instead use the squeegee to clean up the solution.
**Soak the window with solution.
**Roll out your tint so that it is long enough to go from one side to the other. Squeegee as you go to hold the tint up.
**Trim it off so it is easy to work with.
**Squeegee out as much water as you can.
**Now this is the part where the shop light comes in handy. Turn it on so you can see the outline of the window on the inside of the truck. Trim along the outline, use the hard edge of the 3 in 1 tool so your edges are nice and straight. in the curved area, use your finger to carefully make a round edge.
**Squeegee out as much water as you can.
** now look in the top corners of the window and cut out the area where the defroster clip is. Cut this area out as well.
**This step is totally up to you, you can remove the rear seats to allow easy access to the window.
**Clean the inside of the window just like you did the inside of the side windows.
**Now start on your non-dominant hand side and peel the backing off the film, soaking the window and film as you go. Set the tint on the window and pull the backing off while you go. Do not squeegee out a lot of water, we want to be able to move and position the tint still.
**After the backing is off the film, and the film is set on the window, position the notches so the clips for the defroster are inside the notches you made.
**Soak the outside of the tint so the squeegee doesnt stick.
**Start to squeegee out all the solution under the film. A towel might be handy to keep water off the upholstery.
**Work out all bubbles and water.
Your done! the back window is easy once you get it in.
I hope it helps, if you have any questions PM me.
123abc
for the sake of simplicity, go to autozone and get the Gila tint tool pack. It comes with a 3 in 1 tool, lint free cloth, razor knife, and tint application solution... it is only 10 bucks and is cheaper than trying to buy it all separate.
DISCLAIMER: I am not responsible for anything you may ruin in any way while tinting your truck. that should be broad enough.
Tools needed:
Gila tool pack
Roll of paper towel
clear scotch tape
shop towel (not needed, but if you dont want tint spray all over it helps.)
If you run out of tint solution, you can use a drop of baby shampoo to 6 ounces of water. it is the same stuff.
First step:
**Take your tint solution and clean the outside of the window. Use the paper towel to wipe the window down after spraying the window. It will look clean, but clean it again, this time dont use the paper towel to wipe it down, but instead use the squeegee to clean up the solution. Now do the same to the inside of the window.
**To clean under the window seals, wrap the papertowel around the 3 in 1 tool and wipe out the seals. keep wiping untill you dont see any dirt coming out on the cloth... there now the window is clean.
Step 2:
**take your tint roll and roll out enough to cover the window you want to tint. Cut the tint off leaving plenty of room, we will trim it down in a minute. Now that you have a square a little larger than the window, take 2 small pieces of tape; roughly 2 inches long, and place them in the upper corner, overlapping a little. We will pull the tape apart to reveal the adhesive side and the film side of the roll. The clear side should be on the outside.
** spray the window with a good amount of solution.
**Place the tint on the window .
**Spray the film with the solution so our squeegee doesnt stick to the film.
**Now take and put the bottom edge of the film about an 8th inch below the edge of the window and squeegee out as much water as you can to hold the film in place. It is best to go from bottom to top, not side to side. (on roll up windows)
**Now trim the vertical lines, using the window trim as a guide. Dont try to round off corners, just go straight up.
** Squeegee out as much water as you can again.
**Now lift the bottom of the tint off the window and fold it up onto the rest of the tint. we dont want any tint to get dirty, so this will keep the tint from going down onto a dirty body panel when we roll the window down.
**Roll the window down about 2-2 1/2 inches.
** Squeegee again to make sure your edges are all lined up and the tint inst going to move while you cut the top line.
**Take your razor knife and use the top of the window as a guide. It is easy to start on your non-dominant hand side and work to accross. Use the round edges of the top of the window as a quide as well. If you feel the blade not cutting well, break off the used part of the blade so you have a new razor.
** squeegee out as much water as you can, and trim any areas that need it.
**Pull the tint off the window, and roll it up.
There we have our film that we will aplly to the window.
Step 3:
Before you start this step, if you need to take a break do so. you will need to be very very patient from here on out.
**Now go back to the inside and wash the window again.
Pay special attention to the seals on the bottom and sides of the window. any dirt left on the window will leave a bubble in the tint.
**Soak the window with solution.
** Take 2 more pieces of tape and start to seperate the film from the adhesive. Use the spray to keep the tint wet while you seperate it. Pull 3 inches and spray, repeat untill the tint is free.
This will keep static from pulling dust and dirt onto the film as you pull it apart, and keep the tint from sticking to anything that you may accidently touch.
**Spray the window and tint again, we want it soaked.
** Set the tint on the window, taking care not to touch anything with the bottom, top or sides of the film.
** Again we are going to lift the bottom of the tint from the window. make sure everything is good and wet still.
** Roll the window down an inch or so, and line the top line you cut up with the top of the window. pull the tint down, so it is not on the top line, but about a 32nd of an inch from the top.
**Spray the film so our squeege doesnt stick to the outside of the film.
**Squeegee out some water so the tint is held in place. Work from the middle of the film to the top. After you squeege off the top water, wrap your 3 in 1 tool in the lint free cloth and use the hard edge to move the water out from the film. The lint free cloth will absorb water so it doesnt go back under the film..
**After the top is in place and all water is out of the top half, roll the window back up.
**Clean the bottom part of the window again, its better safe than sorry.
**Soak the bottom part of the window again.
** pull the bottom of the tint up a little, so the bottom is lined up with the top edge of the window seal and the area right above that is buldged out toward you. (looks like it is rolled out a little)
**Take your 3 in one tool and use the angled hard edge to pull the seal out. Use one finger to hold teh seal out, and another to push the tint in the seal. It is best to use your non dominant hand to hold the seal out, and your dominant hand to push the tint in. Work from non-dominant side to dominant side.
**Now our tint is in the seal. We are almost done. Work out any bubbles by wrapping the 3 in 1 tool with the lint free cloth and start puching water to the bottom. If you have a problem with the bottom of the tint bubbling up with "finger" like bubbles, take and put paper towel sheets halfway in the seal. this will absorb water that you push out of the film. Keep working the bubbles out... remember to keep a cloth on the 3 in 1 tool. it absorbs water, and keeps the tint from getting scrathced by the card. Dont be afraid to use pressure to get bubbles out.
There, you just tinted your front and back side windows. not too bad huh. now on to the rear window.
Rear window
This is going to be for the solid back window with defroster. the 3 piece window is done the same as the side windows...
We will be working from the out side of the truck and the inside of the truck, so you might need to pull off a bed cover to get to the window
I am explaining how to do this in one piece, so the same size roll of tint that you used on the side windows.
You might also want to get a shop light to make your life a little easier.
**Take your tint solution and clean the outside of the window. Use the paper towel to wipe the window down after spraying the window. It will look clean, but clean it again, this time dont use the paper towel to wipe it down, but instead use the squeegee to clean up the solution.
**Soak the window with solution.
**Roll out your tint so that it is long enough to go from one side to the other. Squeegee as you go to hold the tint up.
**Trim it off so it is easy to work with.
**Squeegee out as much water as you can.
**Now this is the part where the shop light comes in handy. Turn it on so you can see the outline of the window on the inside of the truck. Trim along the outline, use the hard edge of the 3 in 1 tool so your edges are nice and straight. in the curved area, use your finger to carefully make a round edge.
**Squeegee out as much water as you can.
** now look in the top corners of the window and cut out the area where the defroster clip is. Cut this area out as well.
**This step is totally up to you, you can remove the rear seats to allow easy access to the window.
**Clean the inside of the window just like you did the inside of the side windows.
**Now start on your non-dominant hand side and peel the backing off the film, soaking the window and film as you go. Set the tint on the window and pull the backing off while you go. Do not squeegee out a lot of water, we want to be able to move and position the tint still.
**After the backing is off the film, and the film is set on the window, position the notches so the clips for the defroster are inside the notches you made.
**Soak the outside of the tint so the squeegee doesnt stick.
**Start to squeegee out all the solution under the film. A towel might be handy to keep water off the upholstery.
**Work out all bubbles and water.
Your done! the back window is easy once you get it in.
I hope it helps, if you have any questions PM me.
123abc

Professional
Joined: Jul 2006
Posts: 133
Likes: 0
Well, I guess I'll be the first one to say thanks for a great write up. The part I have always had issues with is cutting the vertical lines. I just can't seem to get the tint to lay on the glass enough when you get close to the edge to get an accurate cut (trying to use the window seal as a guide). I try to squeegy it flat, but the raise area of the seal always pulls the tint far enough away from the glass that I don't make an accurate vertical edge cut. Practice makes perfect I guess. Any specific tips for this problem. Thanks again for the write up.
Guest
Posts: n/a
Well, if you can trim it close enough, slide the extra film into the seal. an easy way to do this is to slide the film to the right, Trim the left edge using the window seal as your guide, then slide the film into the seal as you move the film over to the left. now you will want to create a vertical "bubble" to pull the right edge inward. make the "bubble" about an inch tall, trim along the right side seal, then push the film in under the seal. now you have the film in the seals, but it is still too large. Break off the old razor so a fresh one is out. Squeege your film out flat and trim the vertical edges again, now using the seal again as your guide. you should end up with about an 1/8th to a 1/4 inch of film on both sides... and if you are patient nice straight vertical cuts.
hope it helps. it is hard to explain, cuz some of the stuff I do, I do out of habit.
hope it helps. it is hard to explain, cuz some of the stuff I do, I do out of habit.