Dodge Ram 1994-2001: How to Flush Radiator Coolant
Flushing your cooling system is an easy process that only takes minutes to do yourself. Your water pump and, crucially, your engine will thank you.
This article applies to the Dodge Ram 2nd Generation (1994-2001).
If you have ever taken your truck to a quick oil shop and balked at the outrageous prices they charge for a radiator flush, you have come to the right place. For a few bucks and a couple of gallons of premix fluid, you can do this job in a matter of minutes in your own garage, saving you a bundle. The biggest obstacle is finding a large enough container to catch all the fluid you flush out of it. This is the most important thing you must do. Radiator fluid is extremely toxic to any living thing that ingests it. It smells as well as tastes very sweet to dogs and cats. Once they ingest it, the mortality rate is nearly 100 percent. So please collect it, clean up any spills, and take it to an oil change place for disposal. It will likely cost you nothing for taking it in. Also, be sure that you do this job on a COLD engine.

Materials Needed
- Flush kit
- Garden hose
- Large catch can or receptacle
- Safety goggles
- Latex gloves
- Teflon tape
Step 1 – Disconnect battery
- Whenever you work on your engine, it is always good practice to remove the negative (black) battery terminal.

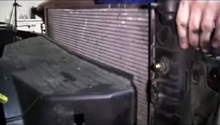
Step 2 – Remove radiator cap
- Make sure you have a fully cooled engine.
- Remove the radiator cap to relieve cooling system pressure.

Warning
It cannot be stressed enough to only remove the cap on a cool engine. Hot fluid under pressure can cause severe burn injuries.
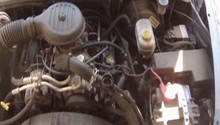
Step 3 – Install the flushing kit according to label directions
- Install the discharge nozzle from the kit into the radiator fill hole.
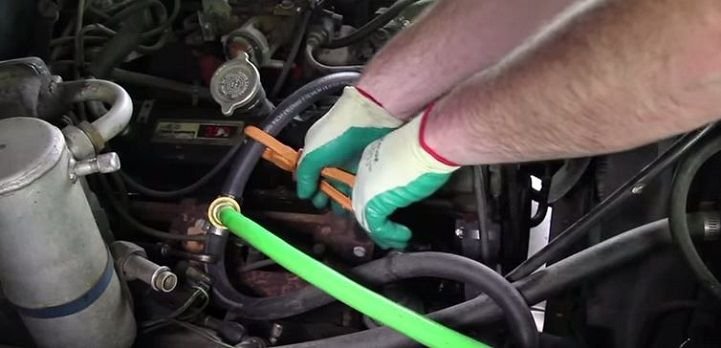
- Install the flushing T into the hose that goes from the engine block to the heater core.
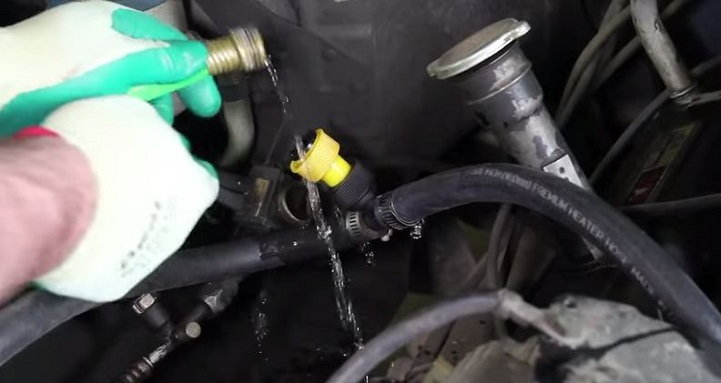
- Install the back flow valve into the flushing T that you just installed.
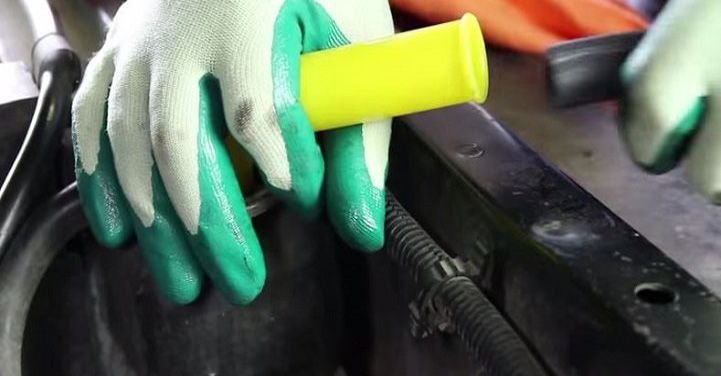
Figure 3. Install the discharge nozzle that came with the kit into the radiator. 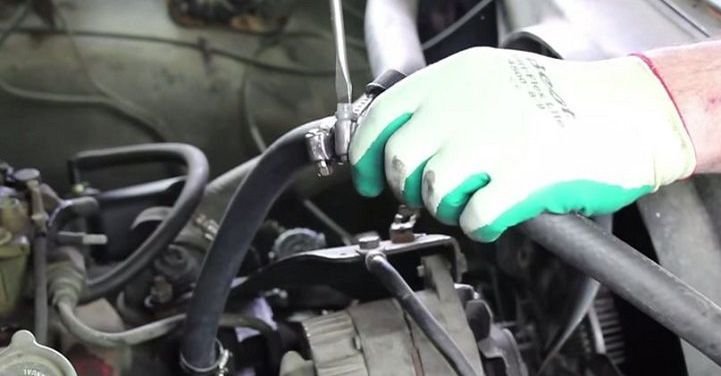
Figure 4. Install the flushing T onto the hose from the engine block to the heater core. 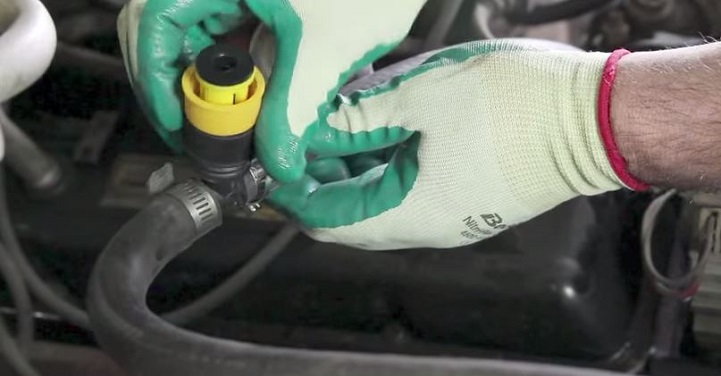
Figure 5. Install the back flow valve onto the flushing T.
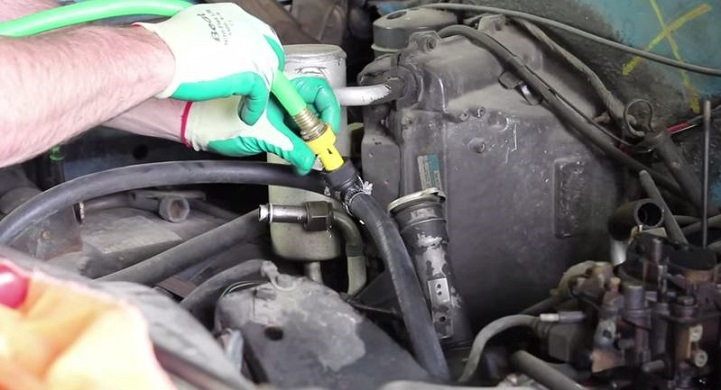
Step 4 – Attach water supply to back flow valve
- Attach the water supply via a standard garden hose to the back flow valve.
Step 5 – Remove lower radiator hose and flush the old fluid
- Place the end of the lower radiator hose into an approved catch can container.
- Clamp the heater hose between the flushing T and the heater core. This allows you to back flush through the engine block.
- Turn on the water supply and start flushing the fluid until it runs clear.
Step 6 – Flush the heater core
- Turn off the water supply.
- Remove the hose clamp from the heater hose to the heater core.
- Replace the clamp on the heater hose between the engine block and before the flushing T.
- Turn the water supply on and flush again until the fluid runs clear.
- Once the water runs clear, the flush is complete.
- Turn off the water supply.
Step 7 – Remove the flushing kit components
- Remove the water supply hose.
- Remove the back flow valve.
- Replace the flushing T cap that came with the kit. The flushing T will remain on the vehicle.
- Replace the lower radiator hose.
Step 8 – Remove drain plugs from radiator and engine block
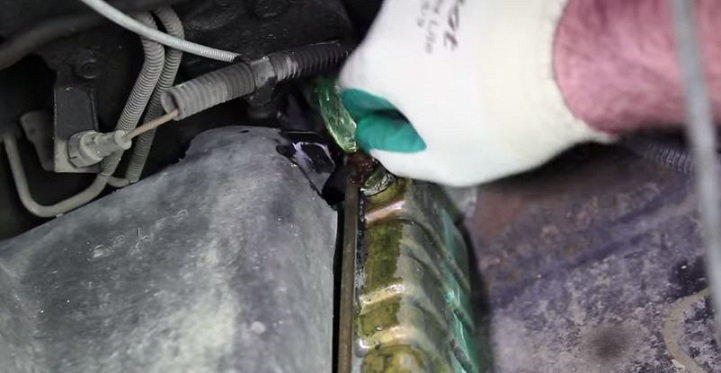
- Remove the radiator and engine block coolant drain plugs to remove the residual fluids.
- You should also remove the coolant recovery tank and wash it out as well; although, this is an optional step.
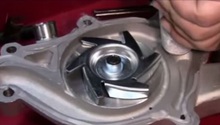
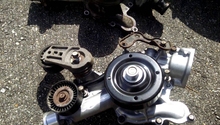
Pro Tip
While you are doing this process, you may wish to replace the thermostat. It's not very expensive and is a peace of mind preventative measure.
Step 9 – Replace coolant and burp system
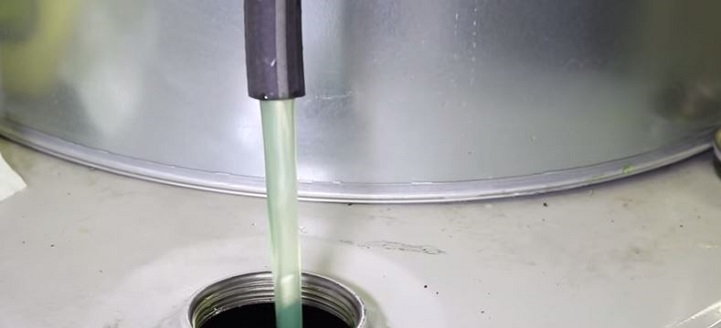
- Use the recommended coolant (make sure to get the correct color) and fill the radiator as well as reservoir tank.
- Replace the radiator cap.
- Replace the drain plugs. Use Teflon tape on the threads for the engine block.
- Replace the battery cable.
- Run the engine with the heater on full blast for at least five minutes, or until the engine is sufficiently warmed up.
- Check the coolant level and add more if necessary.
Featured Video: How to Flush and Fill Cooling System
Related Discussions
- Coolant Flush and T-Stat Change - DodgeForum.com
- Coolant Flush and Fill Kits - DodgeForum.com
- Coolant Flush - DodgeForum.com