Dodge Ram 1994-2008: How to Flush Your Radiator
Keep your Dodge Ram's radiator cooling at its best by flushing it and adding new coolant. This article will guide you through the process.
This article applies to the Dodge Ram 1500 2nd and 3rd Generation (1994-2008).
The radiator is designed to keep the Dodge Ram's monstrous engine cool. It circulates coolant through the engine to ensure it stays cool under any driving condition. After a while, rust and deposits start building up inside the radiator. Flushing the system ensures it stays lubricated, rust free, and without contaminants. It's recommended you perform a radiator flush once a year to prevent the truck from overheating. The process is simple and doing it yourself could save you a good amount of money. You will need to drain the radiator and fill it with distilled water, then drain it again a few times more. It's one of the most underrated maintenance you can do for your truck, and the benefit is remarkable.

Materials Needed
- Crescent wrench
- Coolant
- Distilled water
- Tray
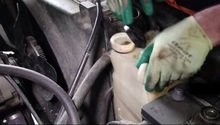
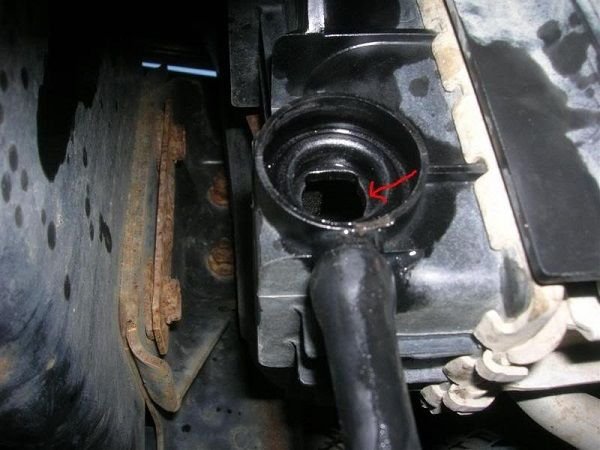
Step 1 – Remove radiator cap
Park on a leveled ground, open the hood, and remove the radiator cap. It's located in the front of the car on top of the radiator.
Warning
Before removing the radiator cap, be sure to put your hand on top of the engine to check if it is hot. If you can't touch the engine, the coolant inside the engine is too hot and will burn you. Don't ever open it when the engine is hot.
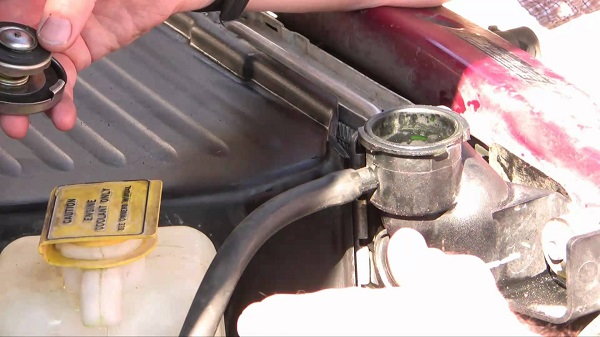
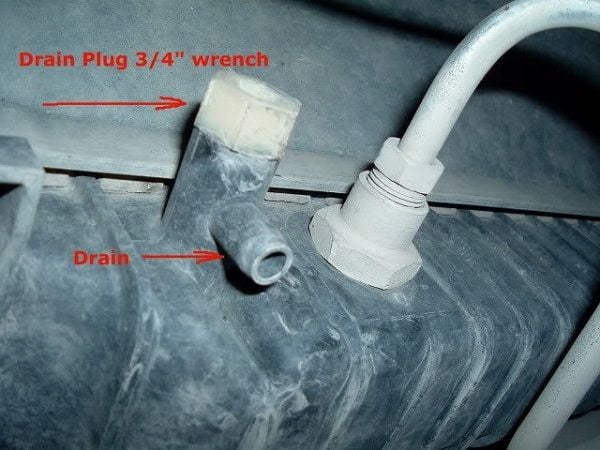
Step 2 – Drain the old coolant
Locate the radiator's drain valve on the bottom of the radiator. You don't need to raise the Dodge Ram since it's a high truck with enough room for this job. Place a tray underneath the drain plug. Then, using your wrench, loosen the drain valve. Let it drain until it's empty.
Step 3 – Fill radiator with distilled water
After you dispose the old coolant, close the drain plug and fill the radiator with distilled water. Once again, open the drain valve and let the water drain out of the radiator. Repeat this process at least three times. Be sure to watch the water draining out of the radiator. Once it becomes clean, clear water, you can move on to the next step.
Step 4 – Fill radiator with new coolant
Tighten the drain valve underneath the radiator. Fill the radiator with the new coolant. You can fill it until you see the coolant within half an inch from the top.

Step 5 – Start the engine
Keep the radiator cap off to bleed any air in the system. Start your truck and let it warm up for a minute or two. Watch the fluid. If it goes down, refill it to the same level. Close the cap on the radiator, make sure it's tight, and put the hood down.
Related Discussions
- Radiator Flush - DodgeForum.com
- Coolant Flush - DodgeForum.com