Dodge Ram 2002-2008: How to Change Dash Lights
Changing the dash lights is an easy way to give your truck's interior a custom look. Read on to learn how.
This article applies to the Dodge Ram (2002-2008).
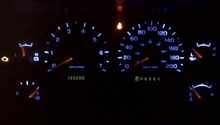
A great way to spruce up the interior of your truck is to change out the dash lights to a different color. Many owners especially like to do this to match the lighting of an aftermarket stereo, to give the whole dashboard a complete and customized look. Once you have the replacement LEDs, it's an easy retrofit. Just take care to be gentle with the factory plastic, and you can have your new lights installed in just a few hours.

Materials Needed
- Trim prying stick (or equivalent)
- Screwdriver set
- Small socket/extension set and ratchet
Step 1 – Disconnect battery and remove dashboard trim pieces
First and foremost, before beginning any work on or near an airbag, it's extremely important to disable the SRS system. Disconnect the negative battery lead, and let the truck sit for two minutes before beginning.
Remove the screws on the bottom of the steering column cover. Next, use your prying tool to pop the clips out from the top. Try not to subject any of these plastic pieces to odd angles, as it could break the plastic or the clip.

Use the prying tool to pop out the left side vent/headlight switch panel. There are no screws here, but there is a harness connector that you will need to disconnect as you pull the panel out.

Finally, the center bezel. Open the cupholder/ashtray, and remove the single screw behind. Just like the headlight panel, pry the edges out and unplug the harness connectors.

Step 2 – Remove the gauge cluster
Remove the two screws at the top of the instrument cluster bezel, and unclip the bottom and sides. Remove it to reveal the actual gauge cluster and its bolts.

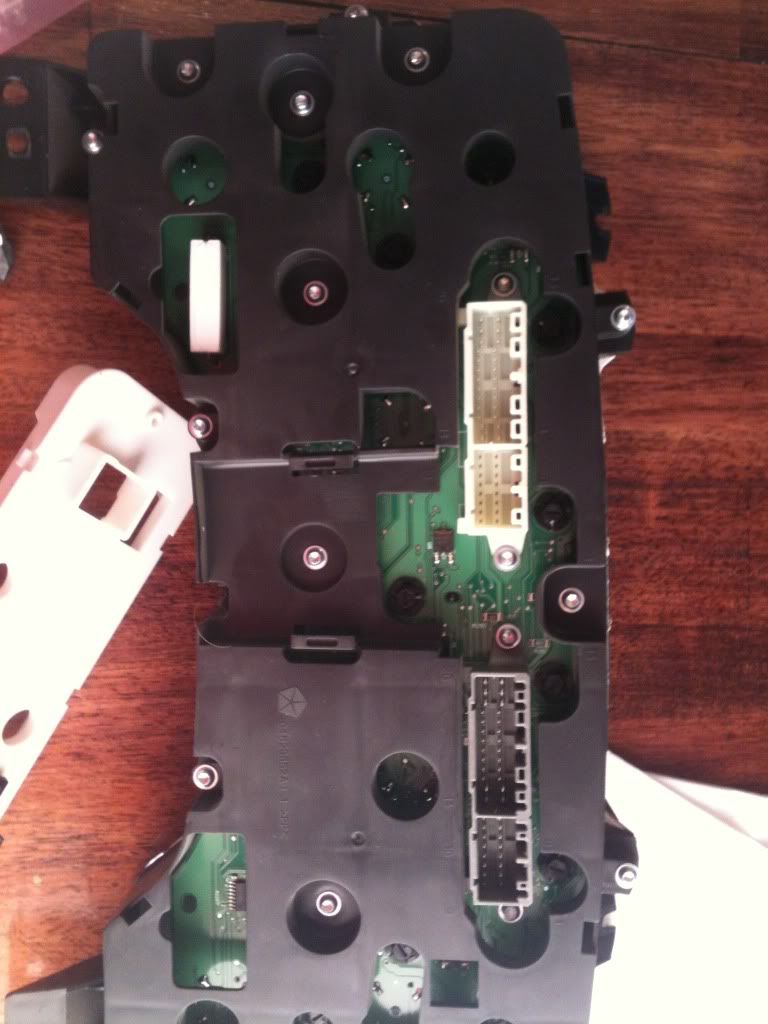
Remove the four screws that hold the cluster to the dashboard, and pull it out enough to unhook the harnesses from behind. Once it's free, pull it out and you are ready to swap the bulbs.

Step 3 – Swap the bulbs
You will have either 11 or five bulbs to change, depending on the year of your truck. Give each bulb a quarter turn counter clockwise, and it will pop out. Simply replace them with the new LEDs, and plug the cluster back in.
Unlike standard bulbs, LEDs are polarized: that is, they will only work if the + and - are oriented the correct way. Once it's plugged back in, verify that all of the LEDs are lighting up, then proceed with bolting and clipping the gauge cluster and the dash trim back together.
Related Discussions
- 2002 Dodge Ram 1500 Dash Lights - Dodgeforum.com
- New Blue LED Dash - Dodgeforum.com