Dodge Ram 2002-2008: How to Replace and Paint Headliner
Are you tired of looking up at the same headliner? Changing its color is not as expensive as you think. Here is how to paint and replace your Dodge Ram headliner.
This article applies to the Dodge Ram (2002-2008).
Are you tired of the same ol' look of your Dodge Ram cabin? Refurbishing the headliner is a great way to revive the interior and add a different feel to the vehicle. There are a few ways you can go about changing the look of your headliner. The most expensive option is to completely replace the whole assembly with a different color. However, our focus is to help save you money, so the more effective budget friendly solutions require you to change the outer-layer or foam parts of the headliner. If you choose to replace the foam material, you have to go about removing the old fabric, while painting it requires prep work. Both options are thoroughly explained in this DIY article. Here is how to refurbish the headliner in your Dodge Ram.

Materials Needed
- Metric socket set
- Phillips screwdriver
- Allen key set
- Wire brush
- Vinyl paint
- Cardboard slab
- Headliner glue
- Pry tool
Step 1 – Remove the A-pillars
- Use a 10mm socket to remove the A-pillar mounting bolts.
- Take a pry tool and pull upwards to release the pillars from their clips.
- Remove the pillars.

Step 2 – Remove the seat belt holders and headliner accessories
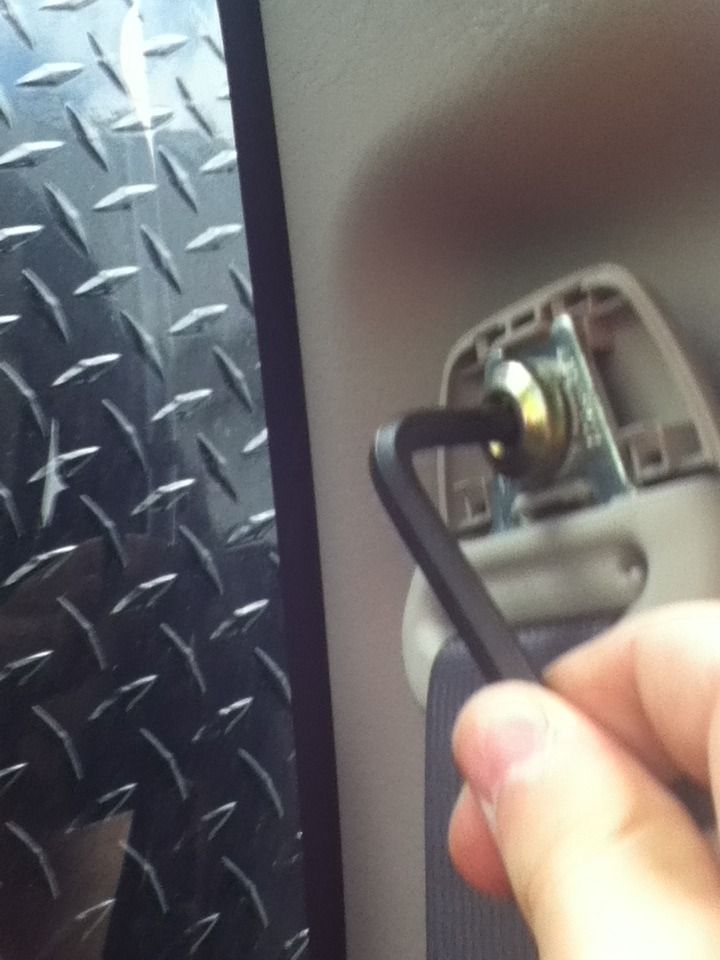
- Pry off the covers on the seat belt holders and access the Allen key bolts.
- Remove each Allen key.
- Pop off the roof trim.
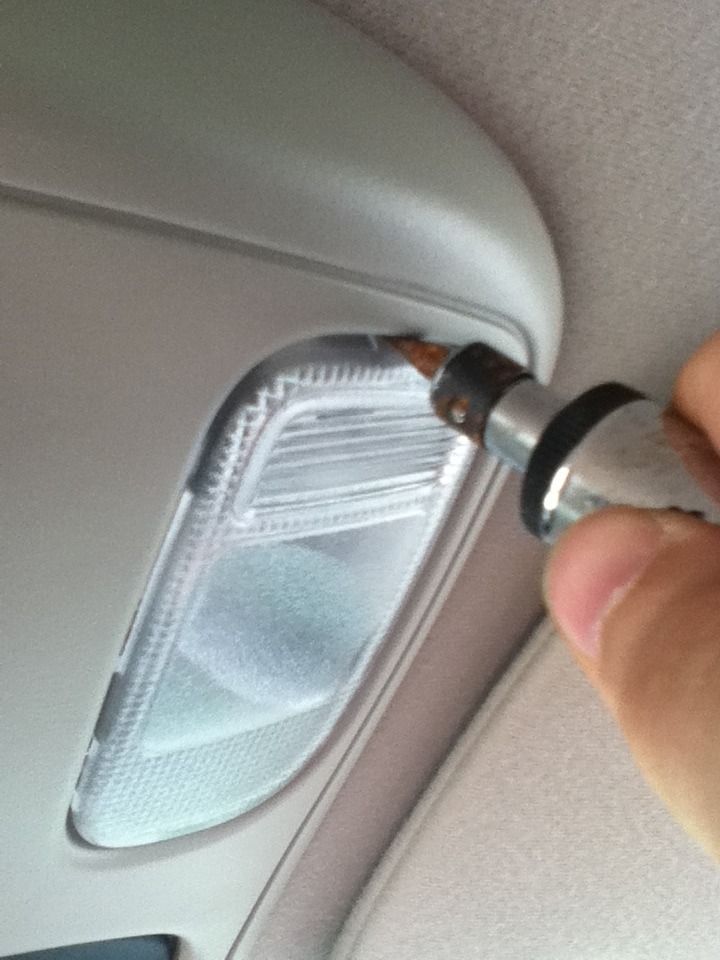
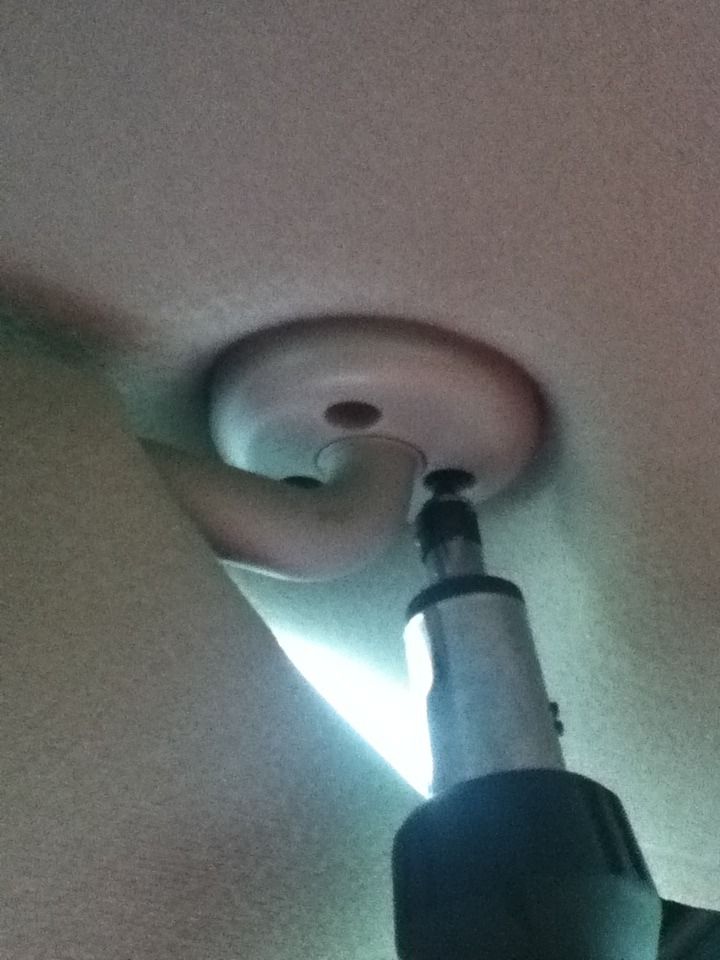
- Pry out the dome lamps.
- Disconnect their wiring plugs.
- Loosen the mounting screws for each sun visor.
- Remove them.
Continue removing the rest of the hooks, which are held in place via clips. If you have a mirror mounted to the roof, loosen the screws and remove it as well.
Step 3 – Remove the headliner and scrape off the old material
Once all the trim pieces are removed, grab the headliner and pull it down. Here you have two options; you can either paint the fabric or lay on new foam. Although painting the fabric requires less work, it does not provide the same result as applying a different colored foam. However, for those of you interested in using the painting procedure, skip to Step 5.
- Pull off the old over-laying fabric.
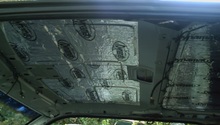
- Grab a wire brush and begin to scrape off the old headliner material.

Figure 5. Remove the over-laying fabric from the headliner. 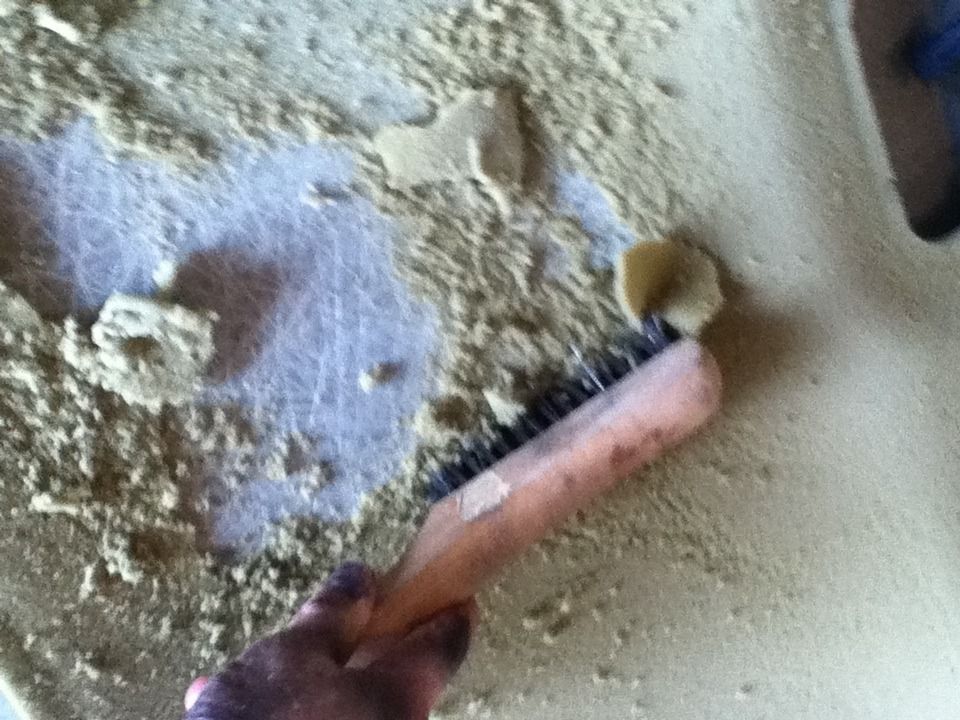
Figure 6. Scrape off the old foam.
Step 4 – Lay the new foam
- Take the roll of headliner foam and place it onto the backing.
- Fold the foam half way and begin to spray glue on top of the headliner backing.
- Carefully lay the new foam onto the backing.
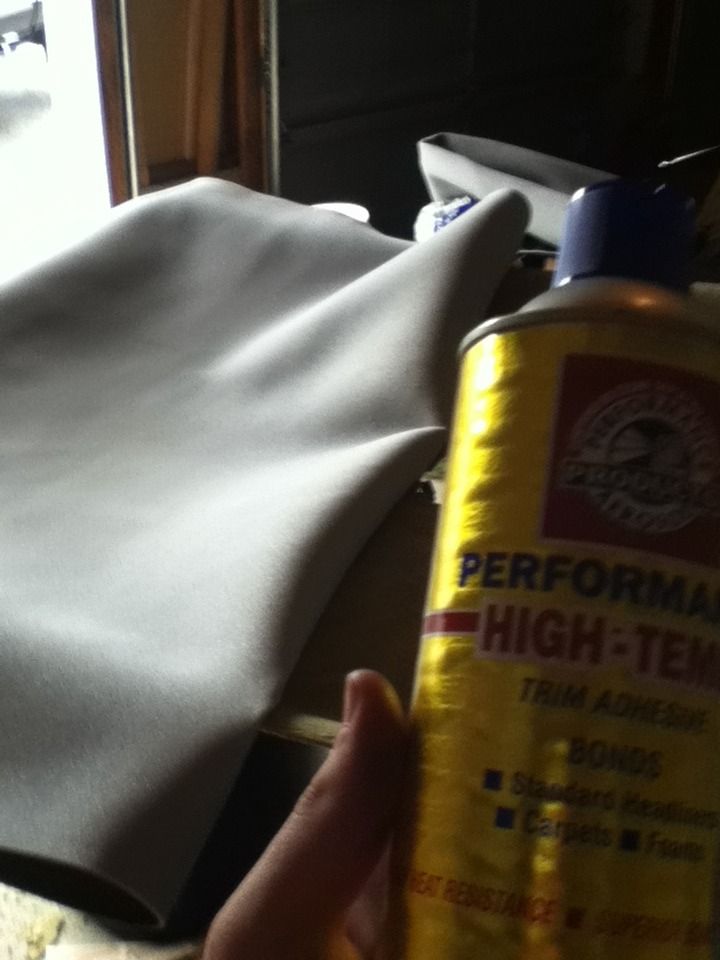
Figure 7. Spray glue onto the foam backing board. 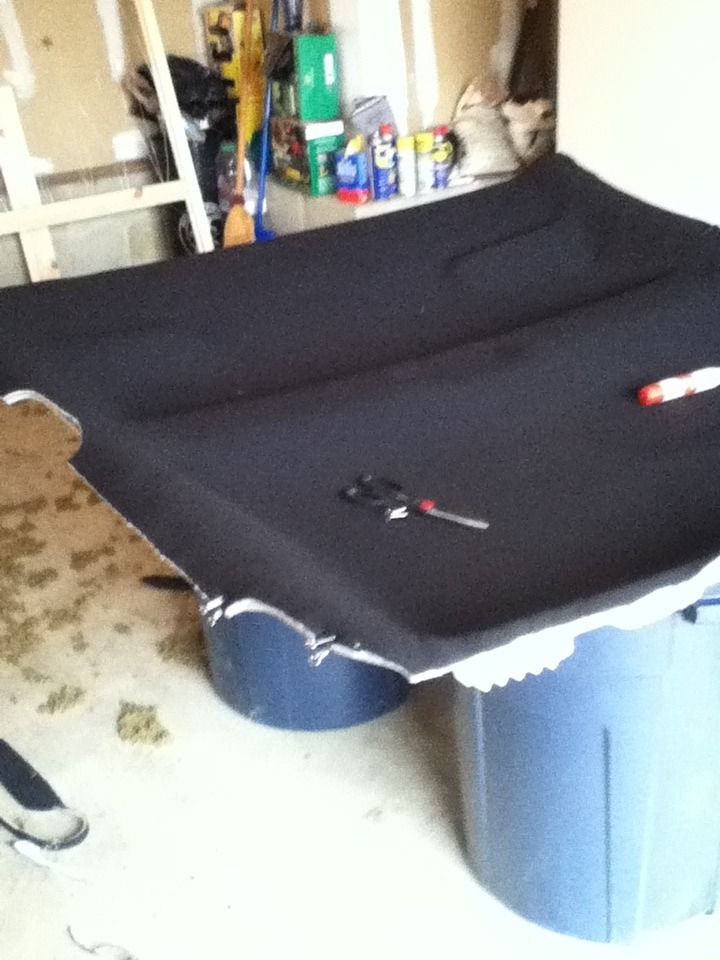
Figure 8. Apply the headliner foam.
Step 5 – Clean the headliner
Painting the headliner will not result in saving money (you will need at least four cans of special vinyl based paint), and it will also increase the amount of time to complete the procedure by several hours.
- Clean the headliner and remove any lint or dust of loose pieces of fabric.
- Use a fabric based primer and spray an even coat.
- Allow it to dry, then spray the first coat of paint.
- Apply several coats of paint, until getting the desired tint.
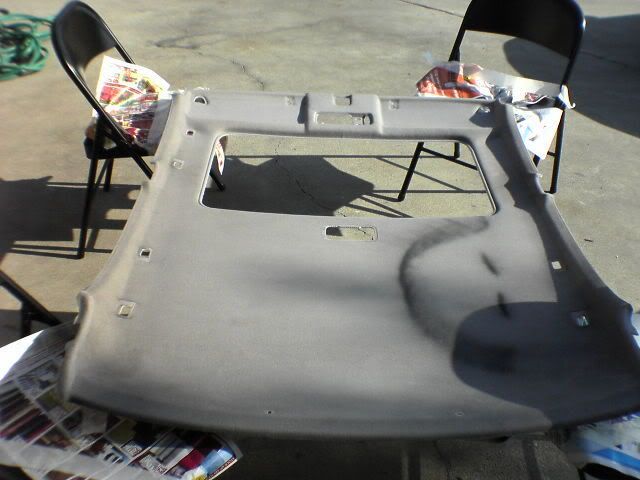
Figure 9. Prop the headliner up. 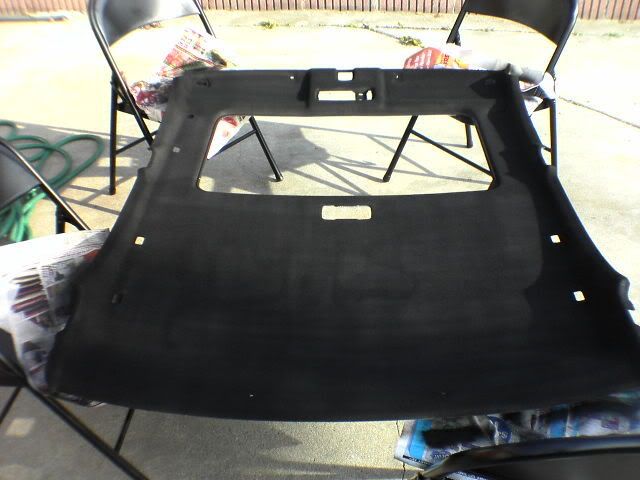
Figure 10. Apply paint.
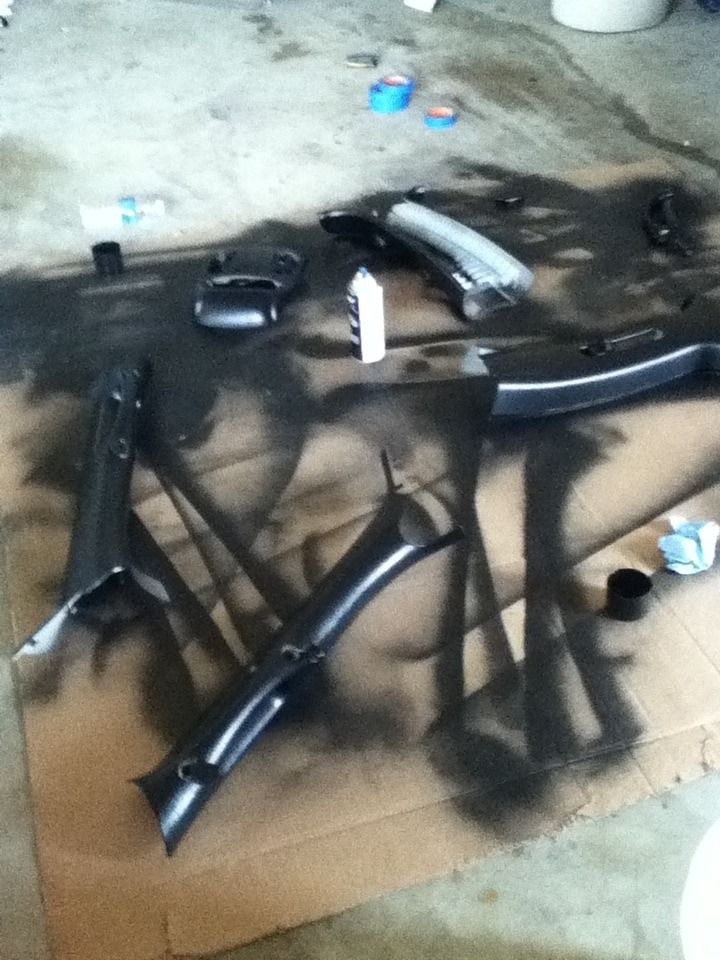
Step 6 – Paint the trim pieces
- Lay out each trim piece on a piece of cardboard.
- Sand down each plastic piece to remove the old paint and help provide a smooth finish.
- Spray each plastic trim piece with one to three layers of paint.
- Allow them to dry.
Step 7 – Re-assemble the headliner and accessories
- Mount the new headliner in place.
- Install the sun visors, dome light and roof hooks.
- Mount the seat belt handles and install the pillars.
Related Discussion and Site
- DIY Headliner and Trim Color Change - Dodgeforum.com
- How I Painted My Black Headliner Pics - My.is