Dodge Ram 2009-Present: How to Install Shock Absorbers
The suspension is one of the most neglected components on any truck. Don't settle for a bumpy or mushy ride. Change out those shocks today.
This article applies to the Dodge Ram 4th Generation (2009-Present).
You don't have to live with a rough ride from your truck just to avoid having costly suspension work done at your local professional garage. The shocks on your truck affect more than the feel of your ride. Worn shocks can cause steering problems, which could be dangerous in the long run. When worn, they can also cause additional stresses to other suspension components that will be most definitely necessary to repair, costing you much more than if you just took care of those shocks from the start. There's no need to panic when thinking about the cost. For only a couple large bills, you can replace those shocks in your own garage with little mechanical skills and abilities in just a few short hours, saving you a bundle of money from taking it to a garage for a professional to do the work. Follow these simple steps to be on your way with a much nicer ride, and the pride of knowing you did the work all by yourself.

Materials Needed
- Ratchet and sockets (18-24mm)
- Mallet or short-handle sledge
- Jack and jack stands
- Zip ties
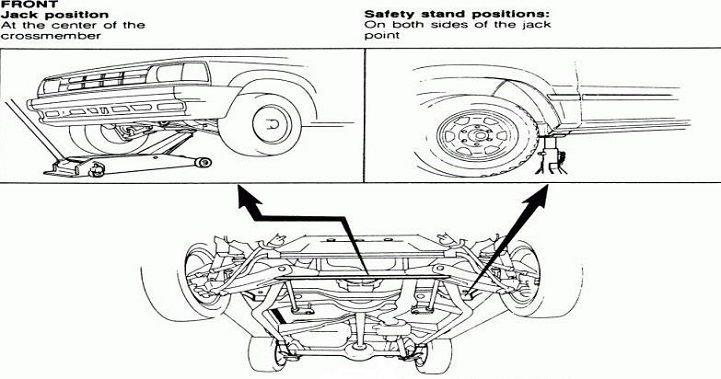
Step 1 – Lift the truck
Lift the rear end of the truck at the manufacturer's approved jacking sites and jack stand locations. Place the truck on the jack stands. You may want to lift the front up as well, so that the entire truck is in the air. If you are doing one end at a time, make sure to chock out the wheels that are still on the ground both in front and behind them. You may have to do some heavy pushing, pulling, and hammering, which could cause those wheels to roll, so be safe. Then remove the wheels.
Pro Tip
Never work on a car or truck that is only being held up with a floor jack. Always use jack stands if no lift is available.
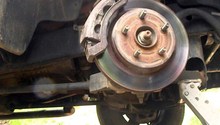
Step 2 – Remove the brake calipers and rotors (optional)
Removing the brake calipers (secure them to the frame with zip ties or otherwise) and the rotors will make the job much easier. You will have much more room to move around, but you are also spending more time removing extra components that you do not necessarily have to move.

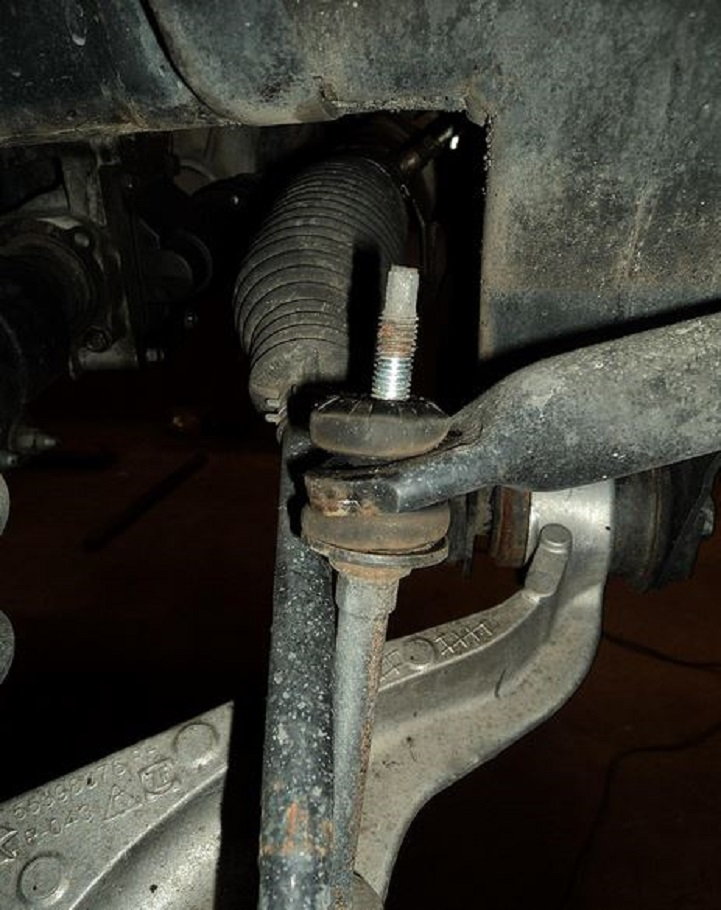
Step 3 – Remove the sway bar linkage nut
Use a 15mm socket to remove the nut on the sway bar linkage. This should come off rather easily; no pounding needed. Remove the washer as well as the rubber bushing, and set aside.
Step 4 – Remove the three nuts from the strut tower
Use a 15mm socket and remove the three bolts from the upper strut tower.
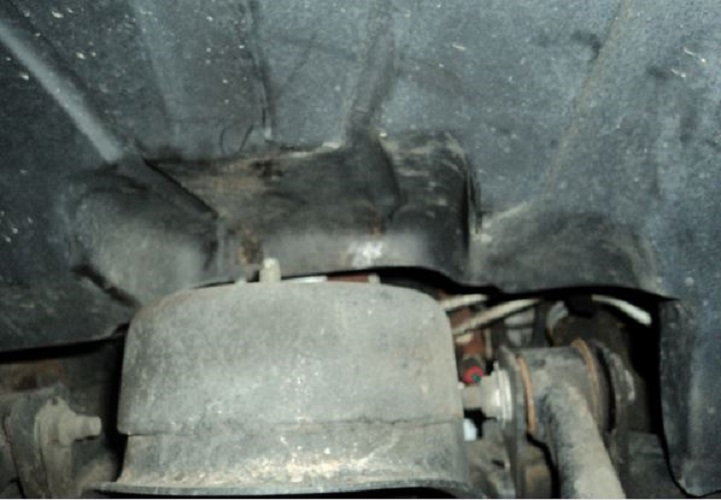
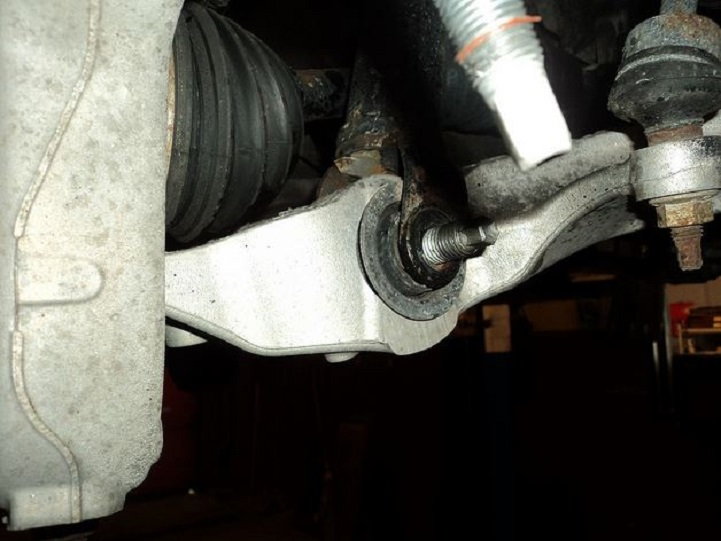
Step 5 – Remove lower strut bolt from lower control arm
Use a 21mm socket and 24mm wrench to hold the nut as well as bolt from the lower strut where it attaches to the lower control arm. You'll likely have to wrench on this really hard in order to remove it.
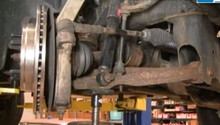
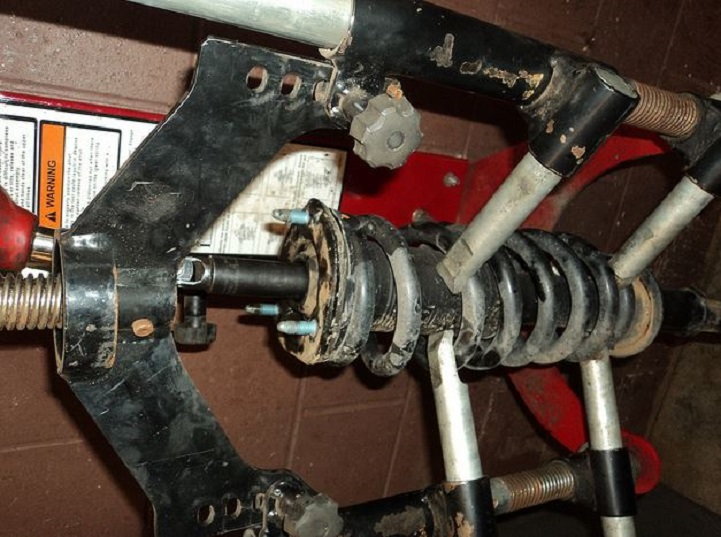
Step 6 – Remove strut assembly and compress spring
The entire strut assembly can be lowered and removed from the truck. This is made much easier if the calipers and rotor had been removed. Once the assembly is out of the truck, put it into a spring compressor in order to remove the shock from the tower hat.
Pro Tip
Take extreme care when working with a spring compressor. You may want to take it to a professional to remove the shock if you have never used one before, or have some doubts about your abilities.
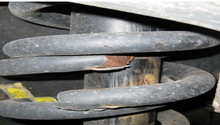
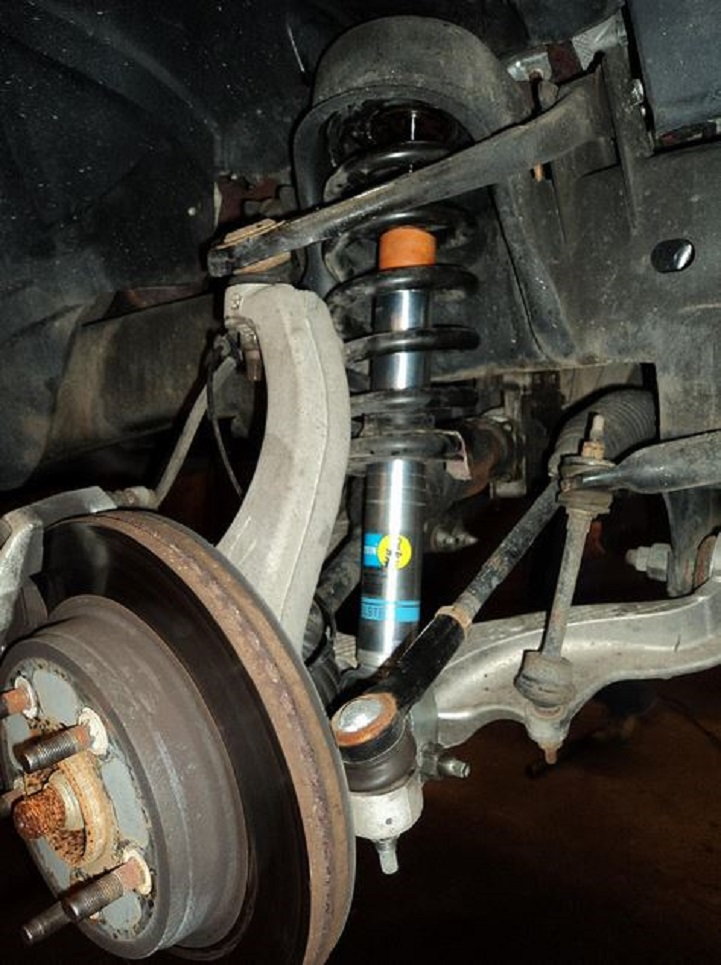
Step 7 – Install the new spring and re-install the strut assembly
Once you have removed the old spring and spring perch, you can install the new spring onto the pad or perch and place it back into the compressed spring. Depending upon your shock setting, you may have to compress that spring more. Just take caution when you do this. Follow the manufacturer's instructions when reassembling the spring. Re-install the strut assembly into the truck, and replace the calipers as well as rotors if you removed them.
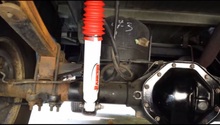
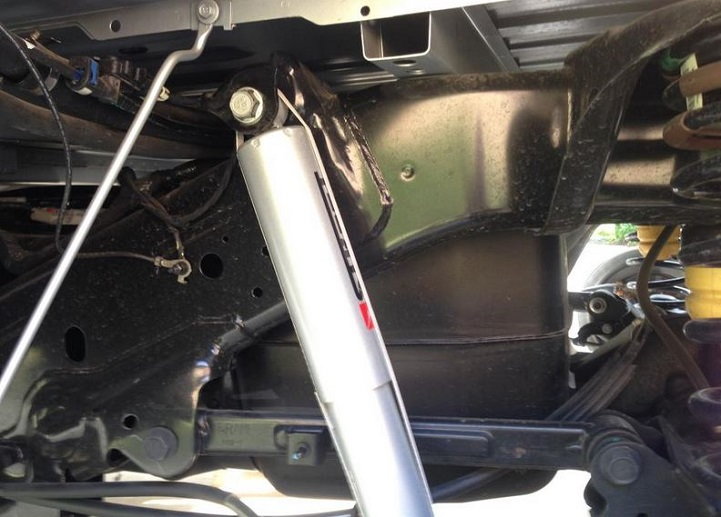
Step 8 – Remove and replace rear shock
The rear shocks are super easy to remove and replace. Remove the upper mounting bolt, and then remove the lower mounting bolt. Once these two bolts are removed, pull the shock and replace with new. Finally, re-install the wheels and lower the truck.
Related Discussions
- Shock Replacement How-to - DodgeForum.com
- Rear Upper Shock Bolt - DodgeForum.com
- Rear Shocks - DodgeForum.com
- Billstein 5100 Install - DodgeForum.com