Dodge Ram: How to Clean Foggy Headlights
There is a simple solution for cleaning foggy headlights; learn what to do here.
This article applies to the Dodge Ram (1999-present).
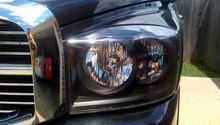
Don't let foggy headlights increase your risk for a collision. By following a few simple steps, you can be back on the road enjoying properly functioning headlights as state law says you must. Because of a wide selection of high performing automotive cleaning products that are currently out on the market, you can complete this DIY job in very little time and for very little cost. You will need to sand your headlight lens using fine sandpaper, but don't worry – this won't cause any damage. It is simply a part of the restoration process.

Materials Needed
- Soapy water
- Microfiber cloth
- 1200, 2000 grit sand paper
- Polish and wax (optional)
- Plexus Plastic Cleaner (optional)
Step 1 – Clean and dry the lens
You'll want to work the interior and exterior of the headlight lens using a clean microfiber cloth and a bucket or container of soapy water. Dry the headlight lens when you are done using a separate microfiber cloth.
Step 2 – Grab your masking tape and cut off small strips
Create a barrier around the headlight lens using strips of masking tape. This will protect your paint from further damage that could occur in upcoming steps.
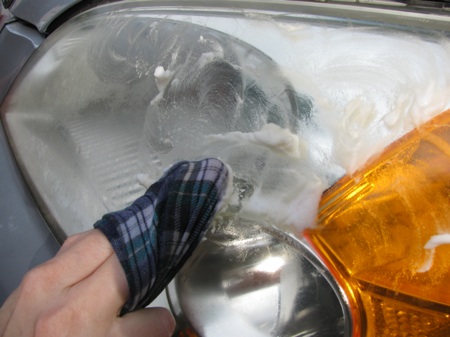
Step 3 – Sand the lens
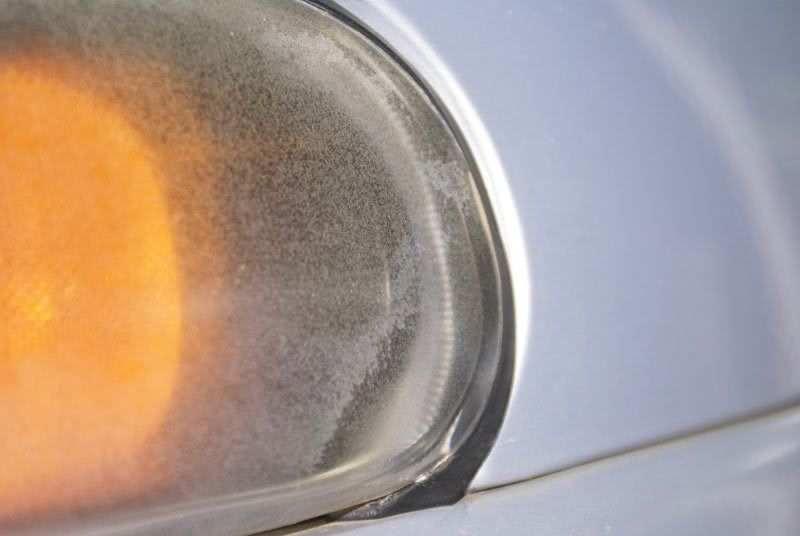
Sand the headlight lens based on the amount of damage observed. For a significant amount of clouding and fogginess on the lens, test a small area using 600 grit sandpaper.
- You might want to kneel down closer to the ground, so you are observing the headlight lens from a straight on angle.
- If you are in an area where there is low lighting, it's recommended that you grab a flashlight and use it to check the lens for obvious and hidden cloudiness and grime.
- Spray lubricant directly onto the lens, not the sandpaper, before beginning the sanding process.
- As stubborn oxidation and grime lifts from the lens, it's recommended that you switch to a higher grit such as 1200 or 2000.
- If the damage to the lens is not severe, it's recommended that you start at 1200 grit and then progress to 2000 grit, if necessary.
Pro Tip
Soak your sandpaper and then hang back for approximately 20 minutes while it softens. When the sandpaper is ready, grab a sanding block or pad and begin sanding.
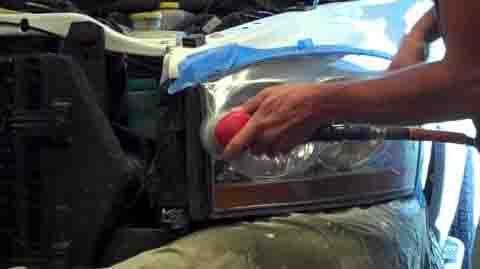
Step 4 – Polish the lens
Grab a 3-inch polishing pad and use it, along with a plastic polish, to re-glaze the lens. Work small amounts of polish into the lens one at a time until you reach a cloud-free finish. Repeat the above steps for the next headlight lens. Check your work when you are completely done. Carry out touch up as needed.
Pro Tips
- Seal and protect your work with a high performing automotive wax.
- Clean your lens regularly with a clean/polish product such Plexus Plastic Cleaner for complete restoration and shine.
Related Discussion
- How to Clean Headlights - Dodgeforum.com