

Painting the dak (lots o' pics)

Thread Starter
|
All Star
Joined: Jan 2008
Posts: 770
Likes: 0
From: Southwest Michigan
Hi all,
I decided that I was sick of all the flaking paint and rust holes on my truck so I did a little searching on the internet and found this site... http://board.moparts.org/ubbthreads/...art=1&vc=1
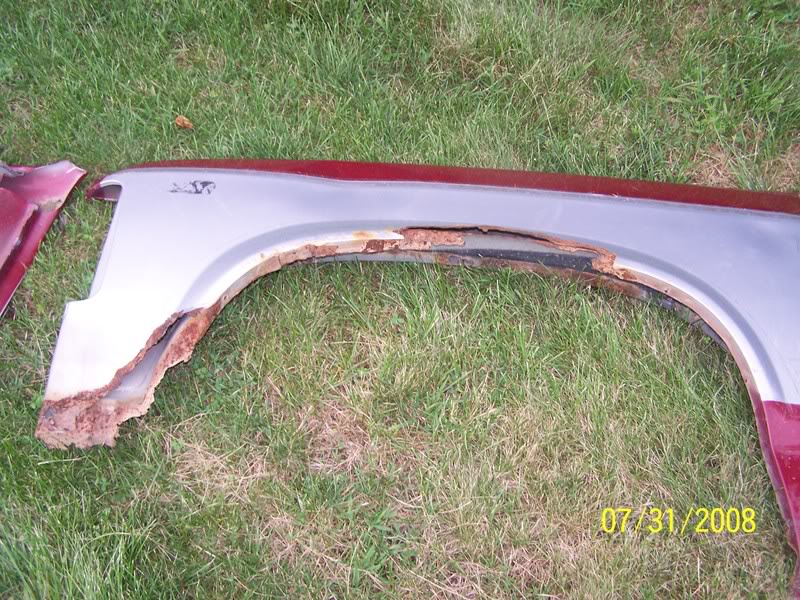
It seemed that this process gave decent results and it was well within my budget so I decided to give it a shot. I started by removing all the trim which revealed even bigger rust problems. Both front fenders were completely rusted out under the front bumper and the drivers side panel was rusted through underneath the fender flare. Here's how the drivers side fender looked...
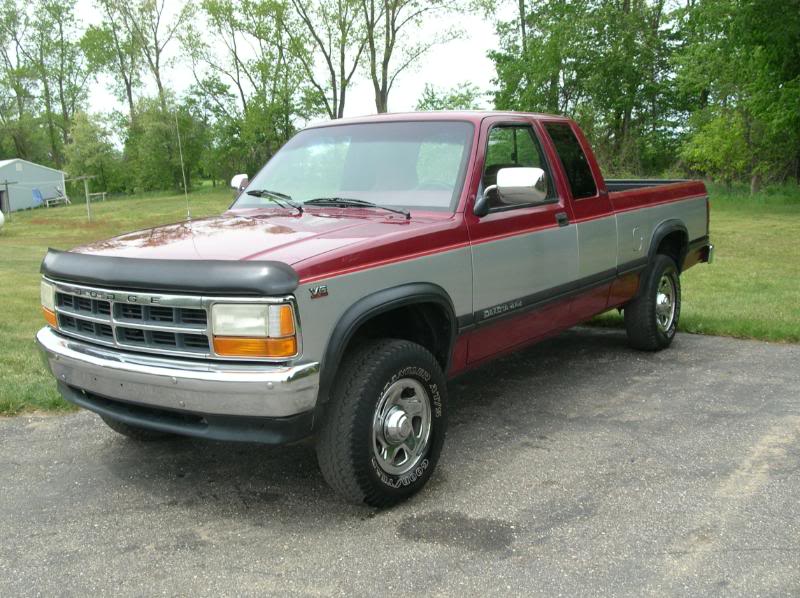
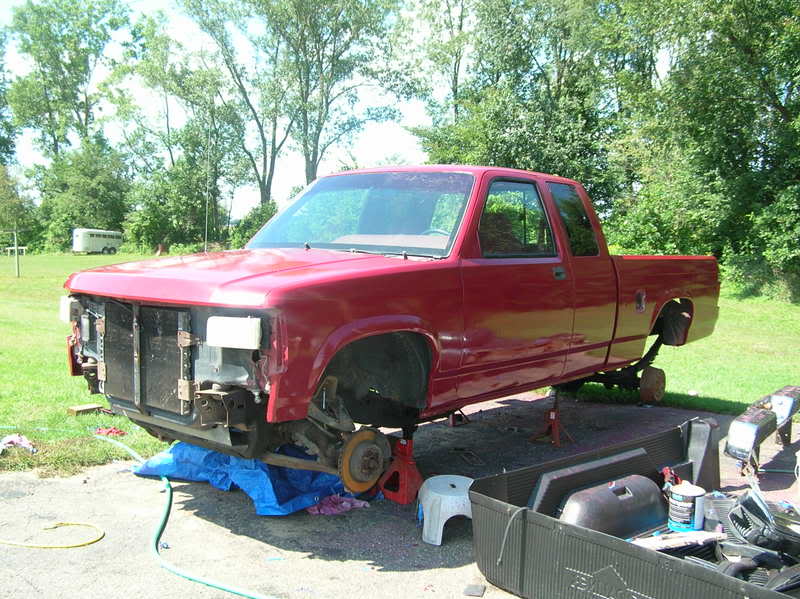
So... I went to the local boneyard and wrenched off a couple of fenders that were in better shape. To get the fenders off my truck I removed the front bumper, grille assembly, hood, and front valance. I also removed the bed so I could paint the frame rails and fix the fuel gauge (see my other post). I decided to paint the hood, fenders and valance when they were off the truck so I could have more control over the paint. Here's how it looked before...
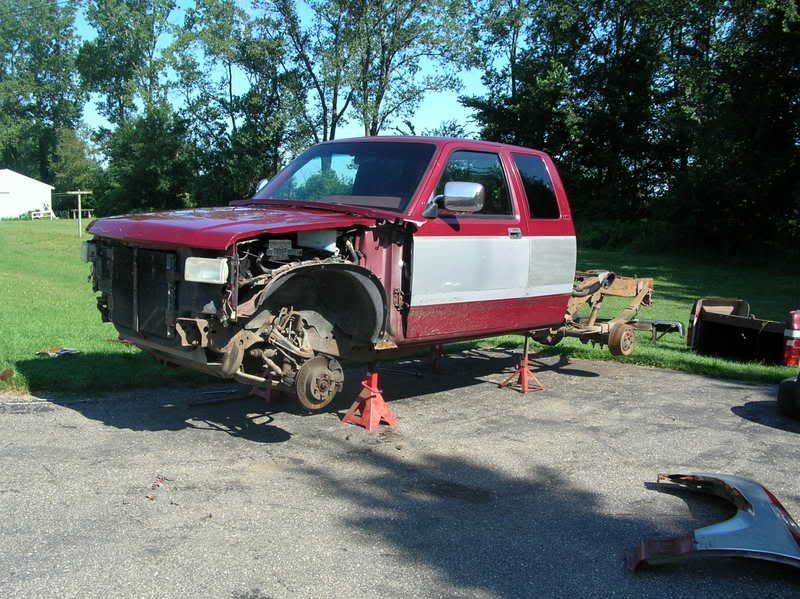
And here's how it looked after the teardown.
Next came a lot of body work and sanding. My plan is to roughly sand out and repair any dents/scratches and then spray the whole truck with rustoleum automotive primer. I have already prepped and painted the hood, valance, and fenders. Here are the fenders after 4 coats of paint...

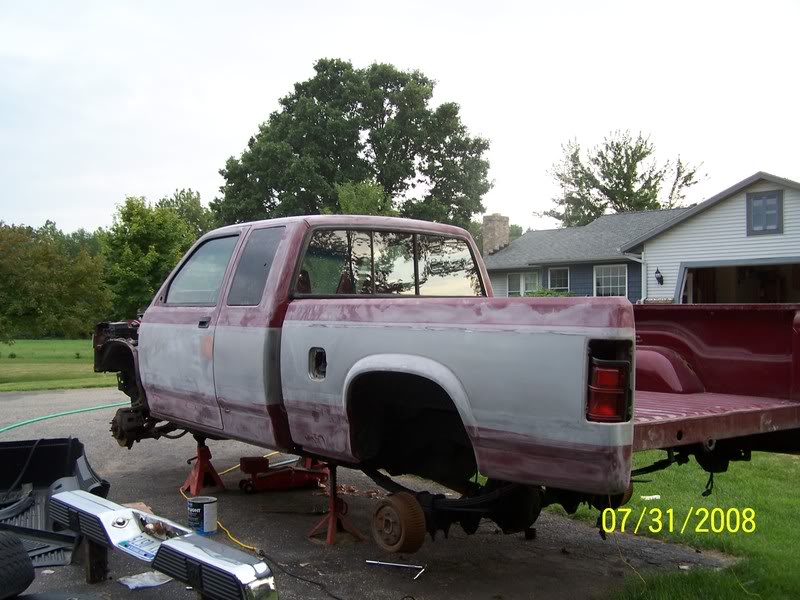
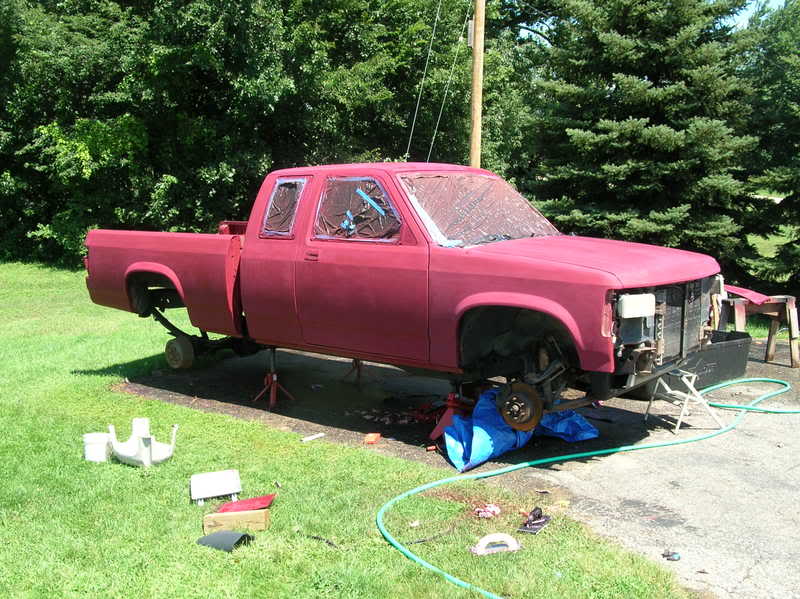
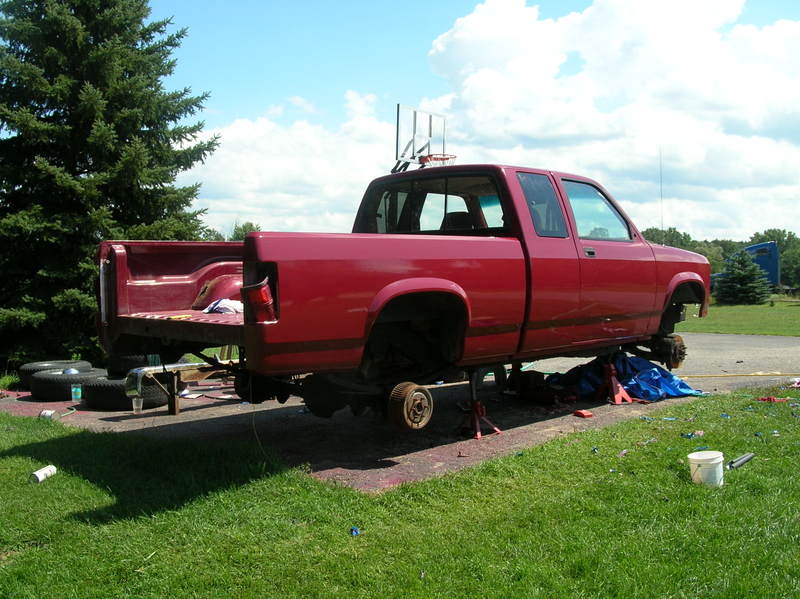
After 3 days of sanding and a lot of bondo this is how the truck looked before it was sprayed with primer...
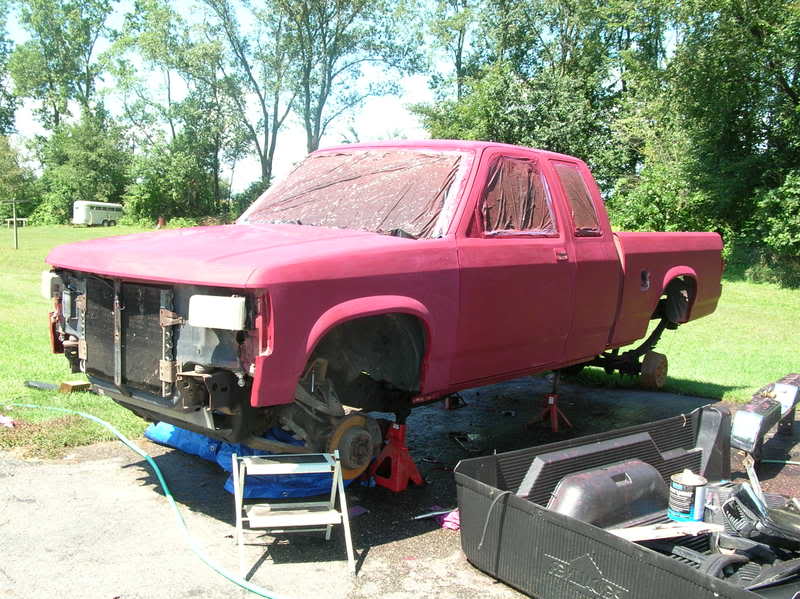
I have just finished coating the truck with primer (It took 7 cans!). I'll have more progress shots up tomorrow if everything goes right. If you have any questions I'd be happy to answer them.
I decided that I was sick of all the flaking paint and rust holes on my truck so I did a little searching on the internet and found this site... http://board.moparts.org/ubbthreads/...art=1&vc=1
It seemed that this process gave decent results and it was well within my budget so I decided to give it a shot. I started by removing all the trim which revealed even bigger rust problems. Both front fenders were completely rusted out under the front bumper and the drivers side panel was rusted through underneath the fender flare. Here's how the drivers side fender looked...
So... I went to the local boneyard and wrenched off a couple of fenders that were in better shape. To get the fenders off my truck I removed the front bumper, grille assembly, hood, and front valance. I also removed the bed so I could paint the frame rails and fix the fuel gauge (see my other post). I decided to paint the hood, fenders and valance when they were off the truck so I could have more control over the paint. Here's how it looked before...
And here's how it looked after the teardown.
Next came a lot of body work and sanding. My plan is to roughly sand out and repair any dents/scratches and then spray the whole truck with rustoleum automotive primer. I have already prepped and painted the hood, valance, and fenders. Here are the fenders after 4 coats of paint...
After 3 days of sanding and a lot of bondo this is how the truck looked before it was sprayed with primer...
I have just finished coating the truck with primer (It took 7 cans!). I'll have more progress shots up tomorrow if everything goes right. If you have any questions I'd be happy to answer them.
All Star
Joined: May 2006
Posts: 867
Likes: 3
From: Crawfordville, FL
i remember the days of painting mine, mine was in a wreck when i got it though so i decided to prime the whole truck and block it and then prime it again, then spray the whole truck in black, taped off the stripes, and shot the maroon and 4 coats of clear on it. just a tip, be sure to sand really really good around the edges of the roof trim in the little crack, i saw mine luckly before it happened
Hall Of Fame
Joined: Aug 2007
Posts: 10,923
Likes: 19
From: NM
Dang that rust sucks! But it looks great! Good job! Im sure glad I live in the desert whe re rust is not the issue, but wehave the dry heat kil ls anything rubber.
Thread Starter
|
All Star
Joined: Jan 2008
Posts: 770
Likes: 0
From: Southwest Michigan
Thanks for the tip Bad96_3.9. I can see how that would be a problem area.
I sprayed the primer coat on, wetsanded and then put the first two coats of paint on the truck since my last post. I had some trouble with runs as you can see in the pics but I should be able to sand those out.
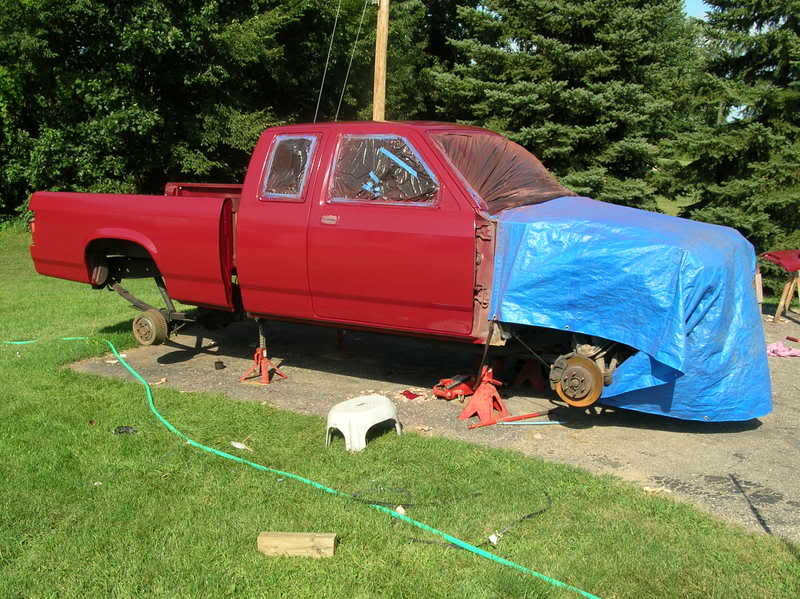
I sprayed the primer coat on, wetsanded and then put the first two coats of paint on the truck since my last post. I had some trouble with runs as you can see in the pics but I should be able to sand those out.
Registered User
Joined: Dec 2007
Posts: 14
Likes: 0
From: pa
looks good just painted my 89 dak plum crazy purple it takes time to do all the body work but it is worth it in the end. i put a fuel cell in the bed and filled the gas door that was fun filling that but having a weld helped u will have to check out the pic of my and let me now what u think my 89 was 4x4 at one time
talk to u later
bob
talk to u later
bob
Last edited by 340 dakota; Aug 5, 2008 at 06:38 PM. Reason: wanted too ad more

Thread Starter
|
All Star
Joined: Jan 2008
Posts: 770
Likes: 0
From: Southwest Michigan
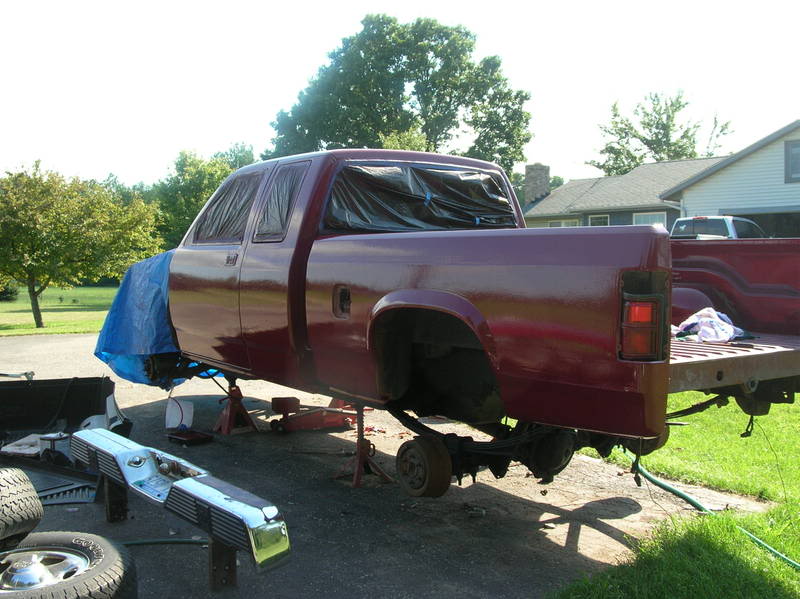
After a LOT of sanding I finally got all the runs out. My problem was that I applied the paint too thick and it dripped all over the place. Since my last post I've applied 2 more coats and put the front end panels back together. Getting the new fenders back on was a lot more work than I thought it would be. They both seemed to be warped just a little bit which threw off the mounting holes. Here are a few pics of the 4th coat after being sanded with 600 grit. Only one more coat till I'm done!

I also found a couple pics of what the fenders looked like when I brought them home from the junkyard. Not the prettiest things in the world, but for 30 bucks I couldn't complain.

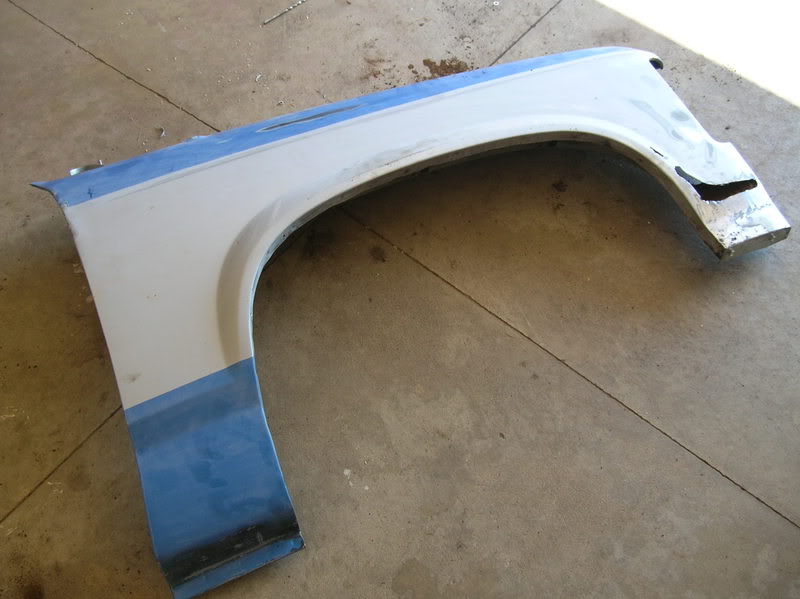
I also found a couple pics of what the fenders looked like when I brought them home from the junkyard. Not the prettiest things in the world, but for 30 bucks I couldn't complain.
Trending Topics
Thread Starter
|
All Star
Joined: Jan 2008
Posts: 770
Likes: 0
From: Southwest Michigan
Thanks for the complements guys. The fifth coat went on Thursday morning but it has not been sanded or polished yet. I also removed the masking which proved to be very difficult. I had some trouble with the paint peeling around the door handles and weather stripping but I should be able to fix that with some touch up paint.
Now all I have to do is sand everything down with 1500 grit sandpaper and then polish it up. Sounds easy enough but I'm sure it will be a PITA. I also have to start prepping and painting the tailgate and the gas cap. I kinda forgot about them while I was painting the rest of the truck.
Now all I have to do is sand everything down with 1500 grit sandpaper and then polish it up. Sounds easy enough but I'm sure it will be a PITA. I also have to start prepping and painting the tailgate and the gas cap. I kinda forgot about them while I was painting the rest of the truck.