

Afternoon Project


Thread Starter
|
Professional
Joined: Jul 2009
Posts: 161
Likes: 0
From: CANADA EH!
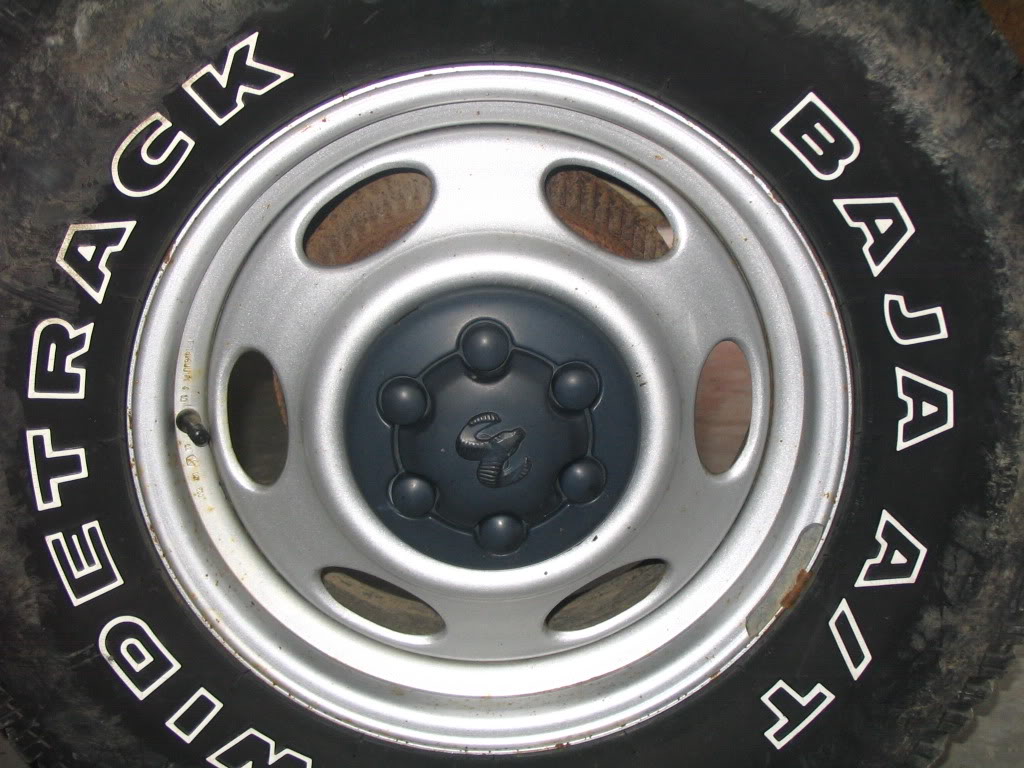
I got bored and decided to do something. I wanted new rims but i made the stock ones look pretty sick if you ask me.
Before:
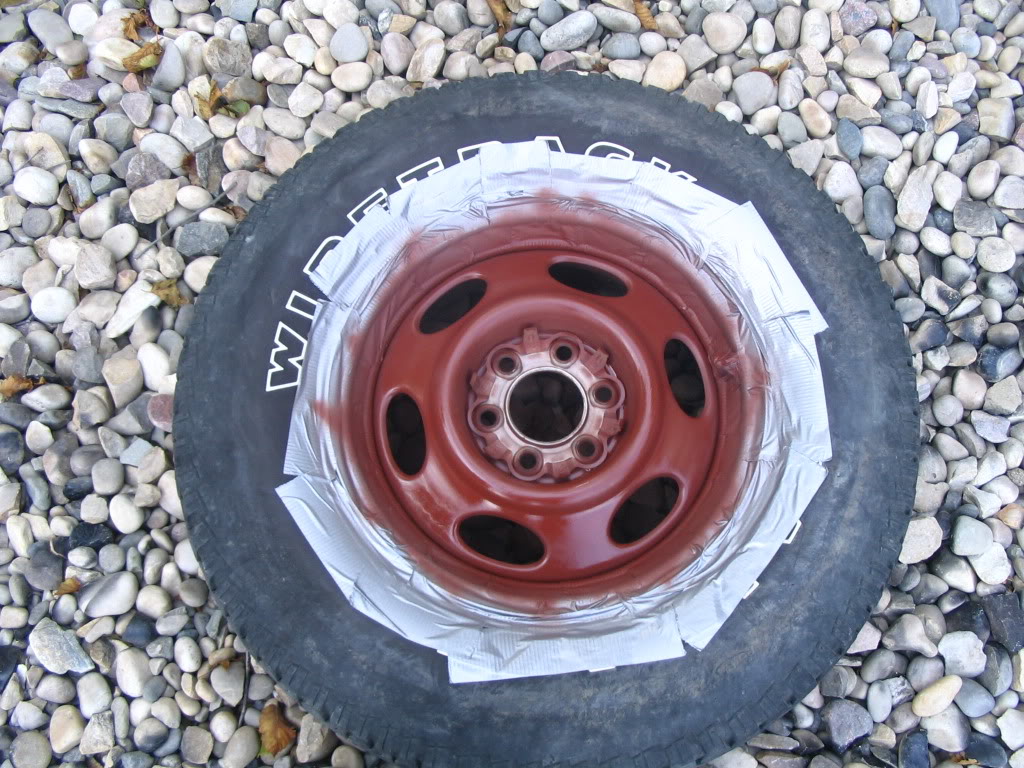
Primed/taped:
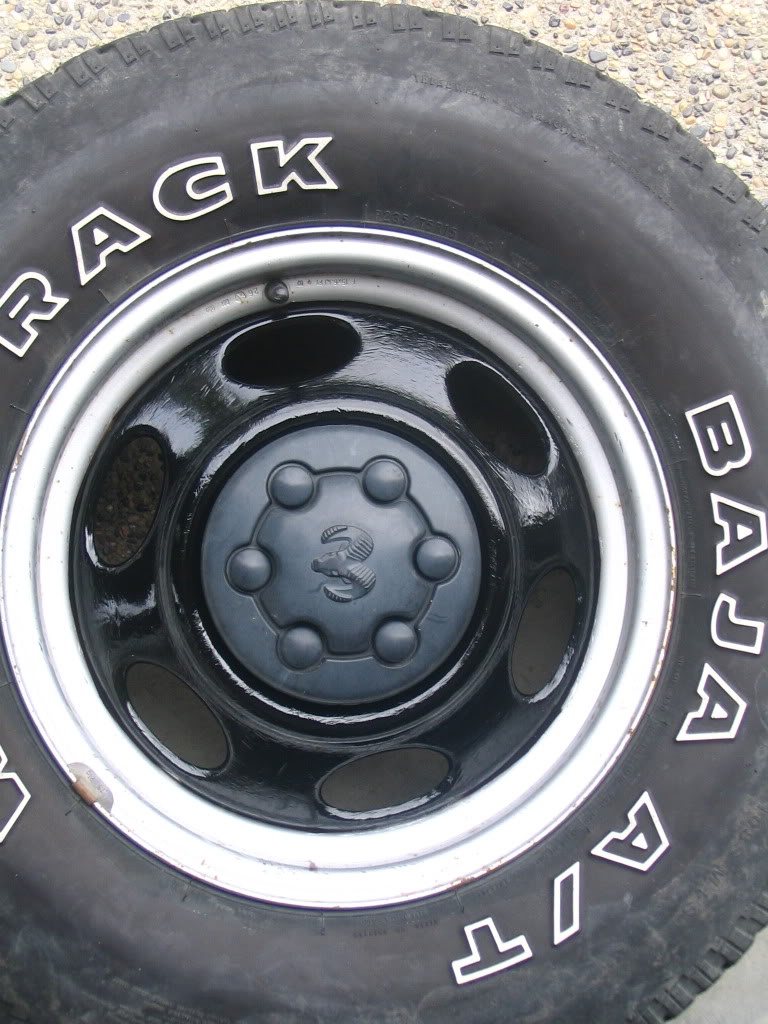
After:
Fronts doen, rears tmrrw:
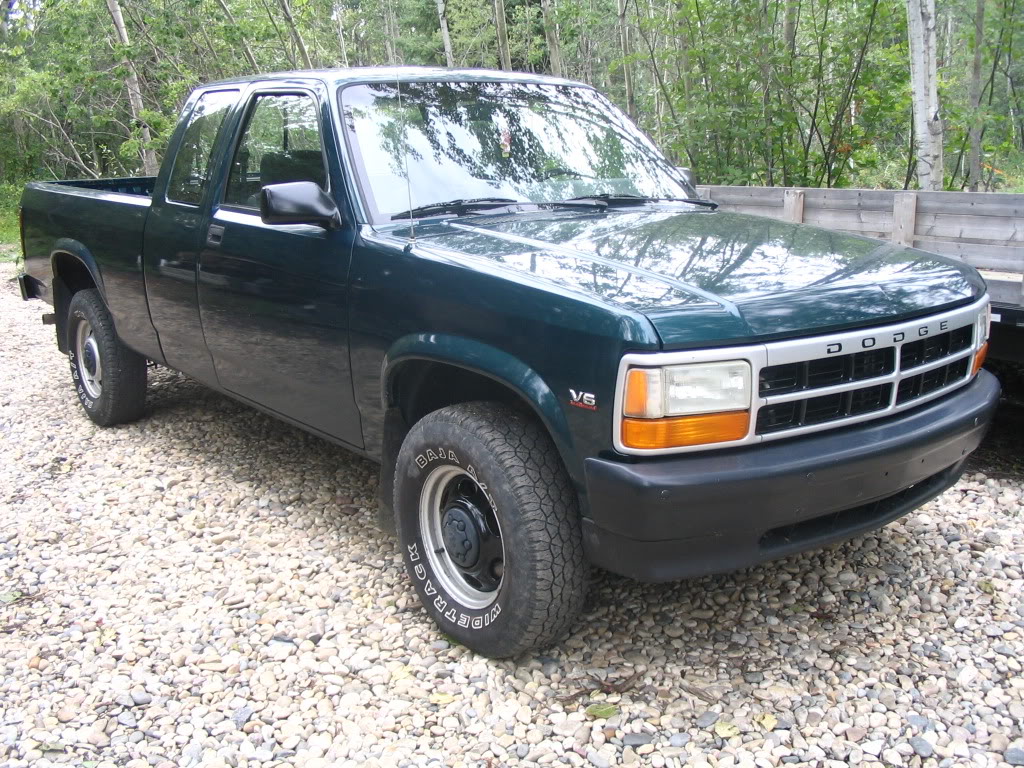
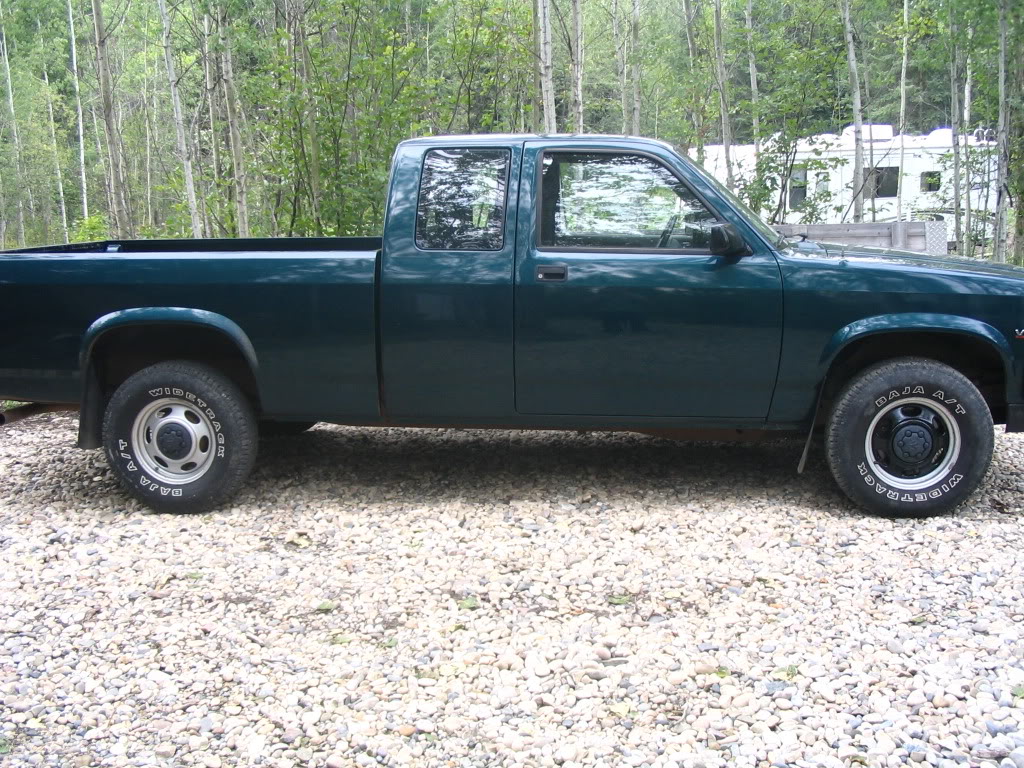
I sanded them down with a sanding drmel type thing in a drill to etch them up. Then i took some good 'ol duct tape and taped them off. Put down about 4 coats of primer, then about 5 coats of paint. Then i went over them for a few mins with a torch to sorta bake it on. Turned out alot better then i had expected.
Comments welcome!
Before:
Primed/taped:
After:
Fronts doen, rears tmrrw:
I sanded them down with a sanding drmel type thing in a drill to etch them up. Then i took some good 'ol duct tape and taped them off. Put down about 4 coats of primer, then about 5 coats of paint. Then i went over them for a few mins with a torch to sorta bake it on. Turned out alot better then i had expected.
Comments welcome!

Thread Starter
|
Professional
Joined: Jul 2009
Posts: 161
Likes: 0
From: CANADA EH!
yea, i know. I used a grinder wheel type thing to get the paint off for the first one. The second one doesnt look like that at all, its smooth.
Champion

Joined: May 2008
Posts: 4,839
Likes: 5
From: Apex, NC
Yeah, take it from someone who has worked in a body shop... never lay paint over anything thats heavier than 320 grit scratches. And even that rule has its limitations. Should look good when your done though.
Thread Starter
|
Professional
Joined: Jul 2009
Posts: 161
Likes: 0
From: CANADA EH!
For the second one i just used the sanding wheel, not the grinder wheel and it came out much better.
I'll post more pics when its all done. Pretty stoked on my good idea

Professional
Joined: Apr 2009
Posts: 169
Likes: 0
From: central NJ
Trending Topics
Champion
Joined: May 2008
Posts: 4,839
Likes: 5
From: Apex, NC
When you prep the center caps, go buy a grey scotch-brite pad from a home improvement store or an autoparts store in the paint section and scuff them wet with a non waxy car wash soap and water. Then clean them very thoroughly with a paint prep spray you can get at any autoparts store and don't touch them afterwards. Then spray on 2 to 3 light coats.
Last edited by 95_318SLT; Aug 27, 2009 at 08:20 PM.